If you’re keen on recording audio with Raspberry Pi, start by gathering the right hardware. USB microphones like the Blue Yeti are great for beginners, offering easy setup. You’ll need to tweak the configuration files and can use software like Audacity for recording and editing. Make sure to optimize audio settings for better sound quality. Monitor your environment to minimize background noise, and don’t forget to troubleshoot any connectivity issues. With these basics in place, you’re well on your way to enhancing your audio projects. Stick around, and you’ll uncover more tips and techniques to boost your recording skills!
Key Takeaways
- Choose a compatible microphone, like a USB mic or external sound card, for easy setup and superior audio quality on the Raspberry Pi.
- Install essential software like Audacity or using command-line tools such as arecord for recording and editing audio on Raspberry Pi.
- Ensure proper configuration by updating the system, managing audio drivers, and verifying microphone detection with commands like ‘lsusb’.
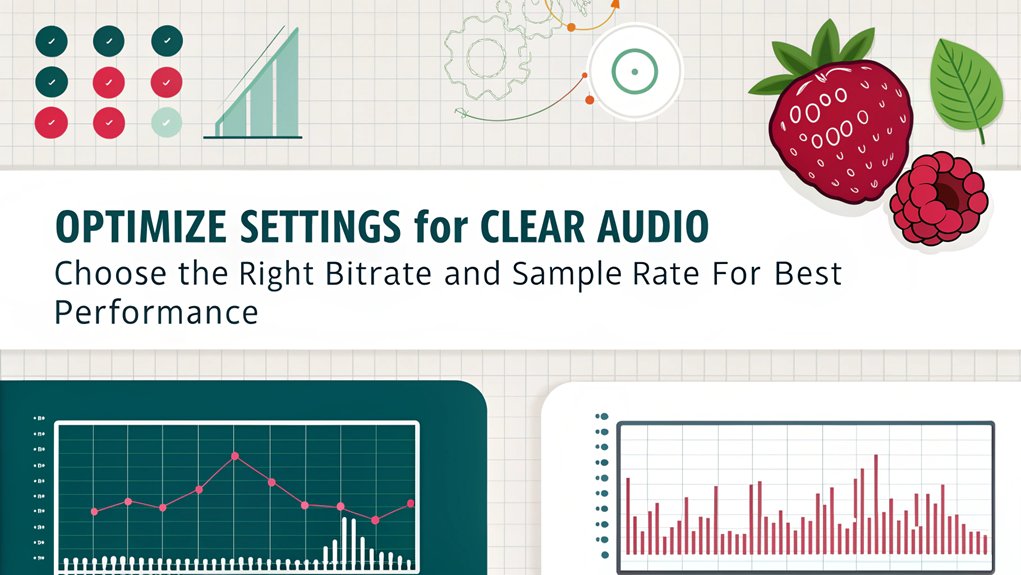
- Optimize recording settings by selecting high sample rates and bit depths to improve audio fidelity and reduce background noise.
- Regularly monitor system performance and update drivers to maintain smooth recording sessions and prevent technical issues.
Hardware Requirements for Recording Audio With Raspberry Pi
When setting up audio recording with your Raspberry Pi, you’ll need to contemplate various hardware requirements to secure peak performance.
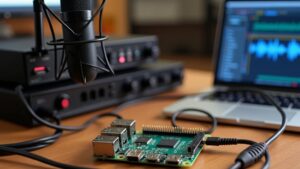
Start by selecting the right microphone types. If you prefer an easy, plug-and-play solution, USB microphones like the Blue Yeti can deliver decent sound quality without any extra setup. For a more professional touch, consider an external sound card such as the Audio Injector Sound Card. This option connects via RCA plugs and enhances audio quality, making it a solid choice for serious recording projects. It is important to remember that the 3.5mm port on the Raspberry Pi serves only as an output and cannot be used for audio input.
For those who value convenience, Bluetooth microphones provide wireless connectivity, but be cautious of potential compatibility issues and unpredictable audio quality. Furthermore, incorporating specialized audio HATs can significantly enhance your Raspberry Pi’s recording capabilities and improve overall audio performance.
If you’re looking for versatility, specialized audio HATs can be ideal. The Raspberry Pi Codec Zero supports various microphone types, including MEMS and electret, and allows for bi-directional digital audio. Additionally, HATs like the Raspberry Pi DAC+ can help you achieve high-resolution audio output, but confirm you meet the specific power requirements.
Software Options
For anyone looking to record audio on a Raspberry Pi, selecting the right software is just as essential as choosing the appropriate hardware.
One popular option is Audacity, which is free and open-source. Its robust audio editing capabilities and user-friendly interface make it a fantastic choice for beginners. Audacity features include the ability to work seamlessly with USB microphones, like the Blue Yeti, and it’s fully compatible with Raspberry Pi OS. This compatibility ensures that you can utilize the RPi’s audio recording capabilities without issues.
If you’re after something more advanced, consider Reaper. While it requires a 32-bit operating system, it serves as a lightweight yet powerful Digital Audio Workstation (DAW). With Reaper benefits like professional-grade recording and editing features, it’s suitable for everything from music production to podcast recording(high-quality audio recording capabilities). Plus, its strong community support guarantees you won’t be left in the dark if you run into issues.
Alternatively, Zencastr offers a web-based solution for those who prefer not to install software. For more tech-savvy users, command line tools like arecord and SoX provide a low-level approach for recording and editing audio.
Each of these options empowers you to create high-quality recordings on your Raspberry Pi.
Setup and Installation
How do you get started with audio recording on your Raspberry Pi? First, gather your hardware. You’ll need a Raspberry Pi model with a 40-pin GPIO header and an audio input device like a USB microphone or an audio HAT. Here are some installation tips to help you along the way:
For GPIO connections, confirm you properly mount the audio board using spacers and screws provided. You won’t need soldering unless you’re making hardwired connections. After setup, edit your configuration file by commenting out the line enabling on-board audio. Don’t forget to set your audio device as the default in the ‘.asoundrc’ file. Additionally, streaming options such as GStreamer can enhance the audio quality and allow for better performance in your recordings. Ensure you have a stable power supply similar to those used in solar power monitoring to prevent power-related issues during recording sessions. It is also important to use high-resolution outputs for optimal sound quality.
| Step | Description | Tools Required |
|---|---|---|
| Choose Audio Device | Select between USB mic or audio HAT | USB microphone or audio HAT |
| Connect to GPIO Header | Attach the audio board | Mounting hardware |
| Configure System | Edit ‘config.txt’ for audio settings | SSH access, terminal commands |
| Reboot | Apply changes | Reboot command |
Finally, reboot the system to apply your configurations and get started with your audio recording journey. Additionally, multi-room audio setups allow for more sophisticated recording configurations, enhancing the versatility of your projects.
Recording Audio
When you’re ready to record audio with your Raspberry Pi, you have several methods to choose from, including built-in microphones, USB devices, and sound cards. Each method can impact the quality of your recording, so it’s important to evaluate your audio sources carefully. For instance, using a USB microphone with your Raspberry Pi is one proven method to enhance voice recording quality. Additionally, you can use the command ‘arecord’ to easily record audio directly from your Raspberry Pi’s terminal. In the following sections, we’ll explore these recording methods and how to achieve the best sound quality.
Recording Methods Overview
Raspberry Pi offers a variety of recording methods that cater to different audio input needs, whether you’re using built-in hardware or external devices. Understanding the microphone types and recording techniques available can help you choose the right setup for your project. Additionally, be mindful that the Raspberry Pi 4 features an AV jack that provides both audio and video output, which affects your connection options.
| Method | Features |
|---|---|
| Built-in MEMS Mic | Mono recording, no extra hardware needed |
| External USB Microphone | Converts analog to digital, supports various mics |
| I2S Microphones | Real-time processing, no conversion hardware needed |
| Bluetooth Microphones | Wireless flexibility, requires Bluetooth setup |
You can opt for the built-in MEMS microphone on some Raspberry Pi HATs like the Codec Zero. Alternatively, you can connect external electret microphones via a 3.5mm input or explore USB audio dongles for more extensive setups. If you want high-quality sound, consider I2S microphones or Codec boards for advanced audio capability. Each method has its own set of benefits and requires specific configurations via ALSA settings. By selecting the right recording method, you’ll streamline your audio recording process and enhance your ability to innovate with Raspberry Pi.
Audio Quality Considerations
Audio quality is essential for successful recordings, and several factors influence it when using a Raspberry Pi. Consider investing in an external sound card or a high-quality USB microphone, as these can greatly enhance audio fidelity through better frequency response and dynamic range. Additionally, utilizing a sound card can provide enhanced audio quality through digital-to-analog conversion. Using USB microphones can also simplify the setup while delivering decent quality results.
If you’re aiming for near-CD-quality sound, using a DAC board in conjunction with an aluminum case can also improve output capabilities.
In the domain of audio formats, choosing the right settings is important. Higher sampling rates and bit depths yield better quality, though they demand more processing power. Additionally, software to handle audio like ALSA or PulseAudio can optimize playback and recording, contributing to effective noise reduction.
It’s critical to confirm your drivers and operating system configurations are up to date, as this can directly affect audio performance.
Don’t forget to adjust equalization settings to balance frequency components to your liking. By addressing these considerations, you’ll set yourself up for achieving the best possible audio quality when recording with your Raspberry Pi.
Audio Quality and Settings
Achieving high-quality audio on your Raspberry Pi involves several key settings and considerations.
To enhance your recording, focus on the following aspects:
- Choose your audio output: Decide between HDMI, 3.5mm jack, USB audio, or external sound cards based on your project needs.
- Sample rate and bit depth: Higher sampling rates and increased bit depth can greatly improve audio quality but require more storage and processing power. Additionally, be mindful of the frequency response to avoid high-frequency noise that can impact audio quality. Some audio solutions may demonstrate significant differences in quality based on device performance.
- Use external sound cards and amplifiers: These devices can dramatically improve your audio with features like digital-to-analog conversion and better signal clarity.
- Update drivers: Verify that your Linux audio drivers are current for peak performance and compatibility with various audio formats.
- Customize configurations: Edit files like ‘/boot/firmware/config.txt’ to set the primary audio output and fine-tune settings for your specific requirements.
Advanced Use Cases
For those looking to push the boundaries of audio capabilities, advanced use cases of the Raspberry Pi offer exciting possibilities. Utilizing MATLAB and Simulink, you can deploy advanced algorithms to process audio signals, capturing live input from webcams or USB microphones. With the Simulink Support Package for Raspberry Pi Hardware essential for model execution, you can manipulate audio in real time, enabling features like pitch shifting while visually analyzing the output with Spectrum Analyzer and Time Scope blocks. This capability allows for seamless integration with various audio devices, enhancing the user experience with audio input/output.
Additionally, Python’s pyaudio library allows for custom audio signal processing. You can easily adjust audio levels, mix signals, or invert them into a single mono channel, empowering you to implement real-time analysis and signal enhancements. With support for various sampling rates and bit depths, you can tailor your audio projects to match your needs.
Don’t forget the Raspberry Pi’s ability to record and stream audio. Whether you’re building a podcasting system or a baby monitor, you can save recordings as .wav files. Integrating with external hardware through ALSA guarantees detailed audio management, ensuring your innovative projects reach their full potential.
Troubleshooting Common Issues
When you’re recording audio with your Raspberry Pi, you might run into common issues like a microphone not being detected or poor audio quality. It’s important to troubleshoot software installation problems and guarantee all components are set up correctly. Testing different high-performance filesystems can lead to more reliable recordings and reduce the chances of encountering errors. Utilizing high-quality equipment can also significantly improve the clarity and overall sound quality of your recordings. Additionally, ensuring your system is up-to-date with the latest security patches using system updates can help prevent software-related issues.
Let’s take a closer look at potential solutions to these challenges.
Microphone Not Detected
Microphones can sometimes be a hassle to get working with the Raspberry Pi, and troubleshooting is often necessary. If your microphone isn’t detected, don’t worry—many common issues can be resolved with a few steps.
Here’s a quick checklist to help:
- Check microphone compatibility: Verify your microphone is suitable for Raspberry Pi hardware and software.
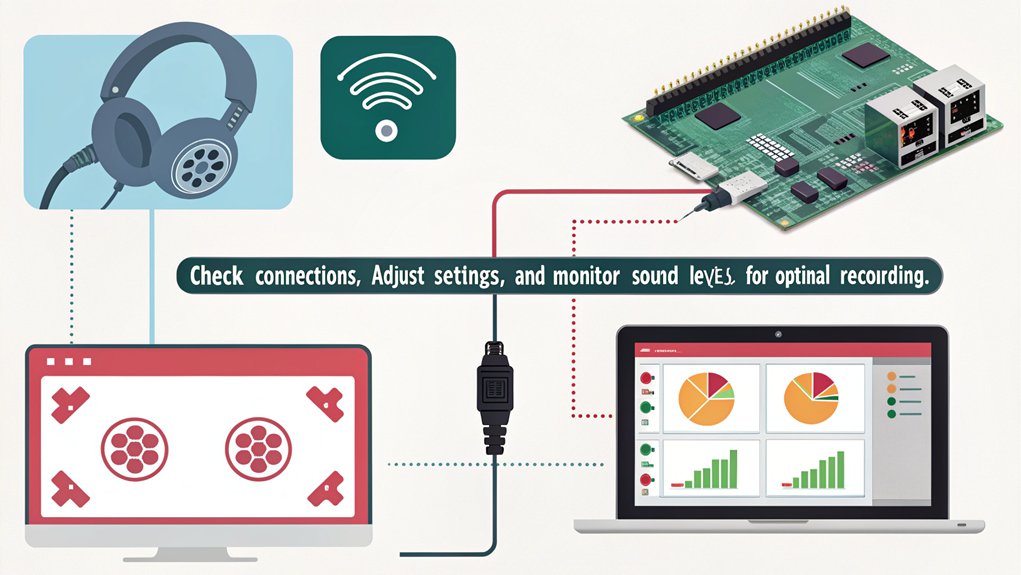
- Confirm connections: Make certain your USB or Bluetooth microphone is correctly connected and recognized by the system.
- Adjust settings: Use commands like ‘arecord’ or ‘alsamixer’ to make your external microphone the default audio source. Many users find USB microphones a cost-effective option suitable for testing. Additionally, PulseAudio Sound Server can enhance your control over audio settings.
- Install drivers: Some microphones need specific drivers; validate you’ve installed all necessary components.
- Reboot: Sometimes a simple restart can solve detection problems, so give it a try.
Poor Audio Quality
Getting your microphone detected is just the start; poor audio quality can still plague your recordings. To tackle this, first check your audio configuration. Make sure sound isn’t directed to HDMI instead of the headphone jack—use ‘raspi-config’ to fix this.
If PulseAudio is interfering, uninstall it with ‘sudo apt-get remove pulseaudio’ to simplify your setup. Removing PulseAudio can ensure compatibility with your default audio configuration, which is vital for clear audio.
For audio quality improvements, use ‘alsamixer’ to adjust levels and settings, ensuring ideal volume. Consider disabling timer-based scheduling by editing ‘/etc/pulse/default.pa’, which can enhance playback quality markedly. High-quality equipment also plays a fundamental role—aim for recording at 16-bit, 48kHz using a superior microphone.
Additionally, testing your audio is essential; use ‘speaker-test -c2 -t wav’ to diagnose issues. Don’t overlook hardware aspects either—ensure you’re using quality cables and a stable power supply to minimize noise.
Implementing these audio interference solutions and focusing on microphone quality improvements will lead to cleaner, more professional recordings, turning your Raspberry Pi into a reliable audio recording device.
Software Installation Issues
Often, software installation issues can derail your audio recording project on the Raspberry Pi. To tackle these challenges effectively, keep the following points in mind:
- Check the default audio output: Make sure the right output is selected; default settings often prioritize HDMI.
- Stay updated: Run ‘sudo apt update’ and ‘sudo apt upgrade’ regularly for driver updates and software compatibility.
- Remove conflicting software: If you have PulseAudio installed, this could cause issues. Uninstall it with ‘sudo apt remove –purge pulseaudio’.
- Test your audio devices: Verify that your USB microphones and sound cards are recognized using ‘lsusb’ and check functionality with ‘arecord’ and ‘aplay’.
- Configure audio libraries: Make sure essential packages such as ‘alsa-utils’ are properly installed to enable seamless audio recording.
Tips for Better Recordings
To achieve high-quality audio recordings with your Raspberry Pi, it’s essential to pay attention to both hardware and software configurations.
Start by selecting a high-quality USB microphone like the Blue Yeti to capture clean sound. If you’re serious about audio quality, consider integrating an external sound card or an audio HAT for enhanced performance.
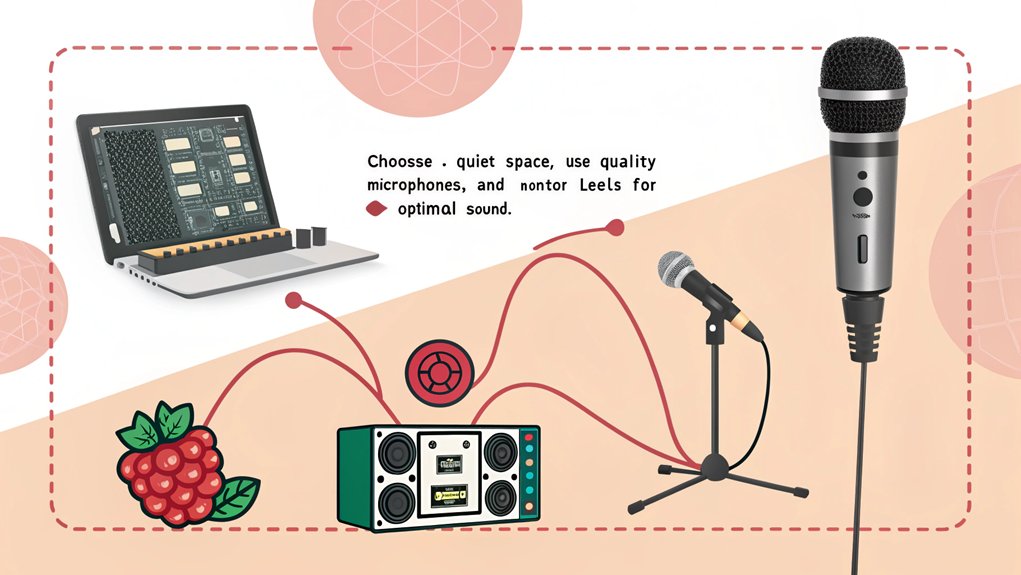
Next, focus on microphone placement strategies. Position your microphone away from noise sources to minimize background interference. Experiment with distances to find the sweet spot that balances sound quality and volume.
Don’t overlook audio filtering techniques; adjusting equalization settings will help you enhance specific frequencies and create a professional sound.
On the software side, use tools like Audacity or ALSA to record and manage your audio. Make sure to set a higher sampling rate of at least 48kHz and a bit depth of 16-bit for clearer recordings.
Finally, regularly update your operating system and audio drivers to guarantee compatibility and peak performance.
Frequently Asked Questions
Can I Use Multiple Microphones at Once?
Yes, you can use multiple microphones at once by ensuring microphone compatibility with your audio interface. USB microphones offer easy plug-and-play options, while devices like the QuadMic reliably handle multiple inputs for advanced audio recording.
What Is the Best Microphone for Podcasting?
To find the best microphone for podcasting, consider the Shure MV7. Its dynamic range and flexibility shine at various microphone placements, ensuring crisp audio quality. This makes it ideal for creating engaging and professional-sounding content.
How Do I Clean My Audio Recordings?
To clean your audio recordings, use audio editing software with noise reduction features. Experiment with settings like equalization and compression, and always analyze your waveform for unwanted sounds, ensuring a polished final product.
Can I Record in Different Audio Formats?
You can definitely record in different audio formats! Explore audio format comparisons, utilize recording software options like Audacity, and leverage tools such as ‘ffmpeg’ to enhance your audio experience and flexibility. Experiment and innovate!
What Are Common Audio Recording Mistakes to Avoid?
When recording, avoid common pitfalls like incorrect device configuration and overlooking interference issues. Focus on effective recording techniques, ensuring ideal hardware setup and system performance to capture high-quality audio without interruptions or distortions.
Conclusion
In your hands, the Raspberry Pi becomes a powerful microphone, capturing sounds like a painter’s brush strokes on a blank canvas. You’ve navigated the setup, tinkered with settings, and now you’re ready to record. With every tap and whisper, you’re weaving a tapestry of audio that reflects your unique perspective. Embrace the journey; each recording is a glimpse into your world. So go ahead, release your creativity and let your voice echo through time.

I am a retired software engineer with experience in a multitude of areas including managing AWS and VMWare development environments. I bought a relative a mini-PC a year ago and have become passionate about the technology and its potential to change how we deploy software.