
To build robust retro gaming consoles with Raspberry Pi, start by choosing the right hardware: opt for the Raspberry Pi 4 for its enhanced RAM and HDMI capabilities. Ascertain you have a high-capacity, high-speed microSD card and a stable power supply to prevent shutdowns. Install and configure RetroPie using the Raspberry Pi Imager, and customize your system with EmulationStation settings and controller remapping. Manage heat with heatsinks and fans, especially if you’re overclocking. Design user-friendly controls using USB-compatible or original controllers with USB adapters. Optimize power consumption by adjusting CPU cores and clock speeds. Finally, document your build with progress photos to troubleshoot and improve your setup further. By following these tips, you’ll be well on your way to creating an exceptional retro gaming experience.
Key Takeaways
- Choose the right Raspberry Pi model, such as the Pi 3B+ or Pi 4, for adequate performance and features like HDMI and multiple USB ports.
- Ensure a high-capacity, high-speed microSD card and a stable power supply to prevent shutdowns and data loss.
- Install RetroPie using the Raspberry Pi Imager, selecting the compatible version and ensuring the SD card has sufficient capacity.
- Configure EmulationStation by editing ‘es_systems.cfg’ and creating a custom copy to avoid losing changes, and restart EmulationStation after updates.
- Optimize performance with high-quality HDMI cables, proper cooling mechanisms like heatsinks and fans, and regular system updates.
Choose the Right Hardware
When building a retro gaming console with a Raspberry Pi, selecting the right hardware is essential for a superior gaming experience.
Start by choosing the right Raspberry Pi model. The Raspberry Pi 3B+ and Pi 4 are highly recommended for retro gaming due to their enhanced capabilities and features. The Pi 4, in particular, offers more RAM options, which are critical for running complex games like those from the Nintendo 64. Ensure your chosen model has the necessary power supply requirements. Consider models with energy-efficient designs to minimize electricity costs, similar to the Beelink T5’s energy-efficient design.
Ensure your chosen model has an HDMI port to connect to your display device and at least two USB ports for your controllers. This will allow you to use multiple USB controllers simultaneously, enhancing your gaming interaction.
A high-capacity, high-speed microSD card is necessary for storing the operating system and game files. A stable power supply with the correct voltage and current ratings is essential to prevent sudden shutdowns or damage to your Raspberry Pi. For instance, a 5V power supply with specific current needs (such as 2.5A for Pi 3 or 3A for Pi 4) is crucial.
For peak performance, consider using a high-quality HDMI cable and compatible USB controllers. An 8bitdo controller is a great option due to its retro design and wide compatibility. Ensure that your setup includes extensive connectivity options like those found in compact PCs, such as multiple USB ports and Gigabit Ethernet for robust connectivity.
Additionally, ensure that you have a reliable power source to maintain stable electricity, as proper voltage is crucial to prevent damage and ensure longevity.
With these components in place, you’ll be well on your way to creating a robust retro gaming console.
Install and Configure RetroPie
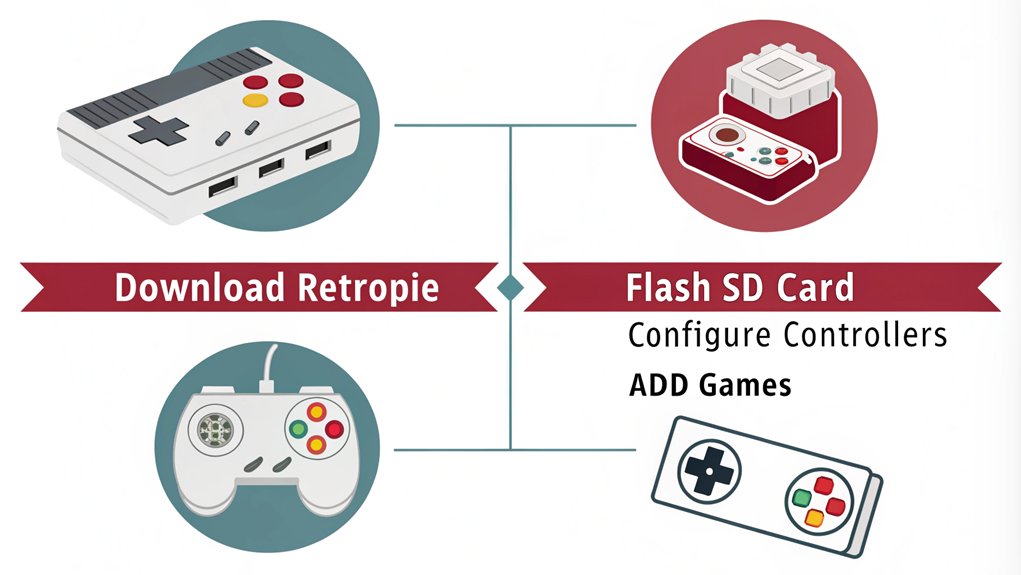
To build your retro gaming console, you’ll start by installing the RetroPie image using Raspberry Pi Imager or Etcher.
Next, you’ll configure EmulationStation during the first boot, setting up your controller and following the wizard to map all controller keys. Ensure you use a fast and large SD card, as SD card speed impacts game loading times.
After initial setup, it is recommended to use a higher RAM model, such as the 8GB Raspberry Pi 4, for optimal performance.
After initial setup, you’ll update and maintain the system by updating RetroPie packages and the underlying OS, ensuring your console stays optimized and ready for gaming.
Install RetroPie Image
Installing the RetroPie image is the first important step in transforming your Raspberry Pi into a retro gaming console. To begin, download and install the Raspberry Pi Imager from the official Raspberry Pi website.
Once installed, open the Imager and click on “Choose OS,” then select “Emulation and game OS.” From this submenu, choose RetroPie and make sure you select the version compatible with your specific Raspberry Pi model, such as the Raspberry Pi 4, for peak performance.
Next, prepare your storage by connecting a compatible SD card to your computer. Click on “Choose storage” and select the SD card from the list, confirming it has sufficient capacity for the RetroPie image and future ROMs. Ensure that the SD card is formatted correctly, preferably as FAT32 or exFAT.
It is important to note that you should use a legacy Raspberry Pi OS for RetroPie installation since the Bullseye release is unsupported legacy OS.
Click “Next” to start the image writing process. Wait for the RetroPie image to be written to the SD card; this step is vital for ROM compatibility.
Once the image writing is complete, safely eject the SD card. Insert it into your Raspberry Pi, making sure it’s securely seated.
Now you’re ready to boot up your Raspberry Pi with the RetroPie image and follow the on-screen instructions for initial setup. This meticulous process sets the foundation for a seamless retro gaming experience. During setup, remember to enable SSH if you plan to transfer games via SCP.
Configure EmulationStation
Now that your Raspberry Pi is booted up with the RetroPie image, it’s time to plunge into configuring EmulationStation. To start, you need to edit the ‘es_systems.cfg’ file located in the ‘/etc/emulationstation’ folder.
However, to avoid losing changes during updates, create a custom copy of this file in the ‘/opt/retropie/configs/all/emulationstation’ folder. Exit EmulationStation before making any changes by pressing F4 or using the Quit option.
Add a new system entry within the ” and ” tags, defining the ”, ”, ”, ”, ‘
Specify the ROM folder path in the ” tag and verify this folder exists (e.g., ‘/home/pi/RetroPie/roms/newsystem’). Transfer your ROM files to this specified folder. Ensure you include all necessary file extensions in ‘es_systems.cfg’ to avoid any issues with launching ROMs.
For best system performance, configure your controller during the initial setup or through the RetroPie Setup menu, following on-screen instructions to assign controller keys. Also, make sure your setup includes a compatible MicroSD Card to ensure smooth operation.
Finally, restart EmulationStation or reboot your system to reflect these changes and enjoy seamless file management and theme customization.
Update and Maintain System
With your Raspberry Pi booted up and EmulationStation configured, it’s time to guarantee your RetroPie system remains updated and well-maintained. To keep your RetroPie system in top shape, you need to perform regular system updates.
Access the RetroPie Setup menu and select “Update” to update both the RetroPie packages and the underlying system. When prompted, answer “Yes” to all questions to confirm the update process completes successfully. After updating, reboot your Raspberry Pi to apply all changes.
For ongoing maintenance, it’s essential to update your system periodically. This guarantees that all components are up-to-date with the latest fixes and improvements. Regularly checking for BIOS files, such as the GBA_BIOS.bin, is also important for certain systems.
Additionally, make certain your APT packages are current by running ‘sudo apt update && sudo apt upgrade’ in the terminal. Ensuring proper file placement for ROMs is also crucial for smooth operation.
To manage your RetroPie system more efficiently, use the RetroPie Manager web interface. Access it via http://:8000 to upload new games and manage your setup remotely.
Regularly backing up your ROMs and configuration files is also a good practice for maintaining your system’s integrity. By following these maintenance tips, you’ll confirm your retro gaming console remains stable and fun to use.
Customize Your RetroPie System
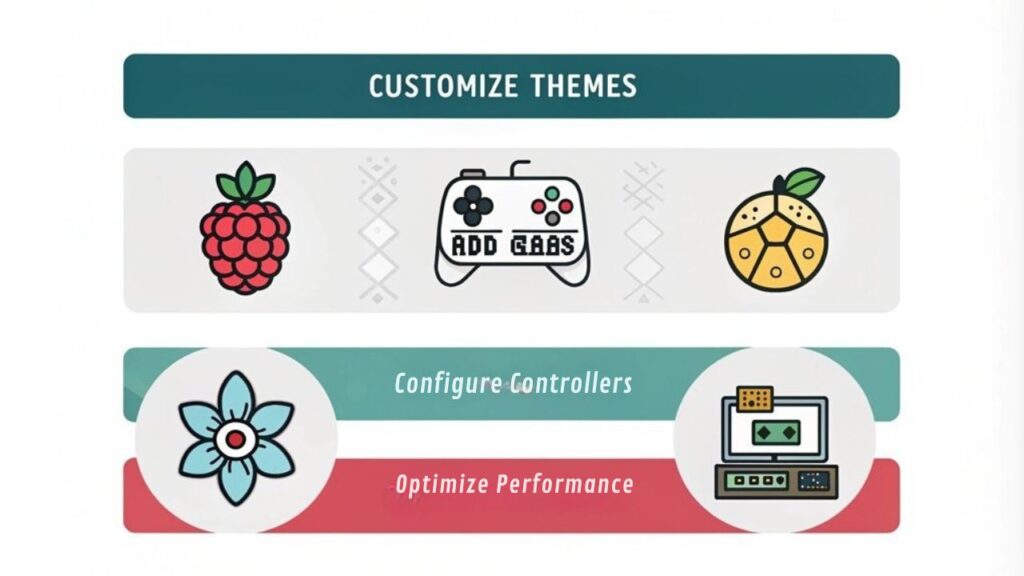
Customizing your RetroPie system is where the real fun begins. To enhance the visual settings, you can apply overlays with scanlines to most systems for a retro look. Set custom resolutions to maintain the original aspect ratio of games, and use integer scaling for pixel-perfect rendering. Adjusting the ‘video_font_size’ in ‘retroarch.cfg’ improves readability.
Controller configuration is also essential. You can set up controllers like iBuffalo and 8bitdo pads for a superior gaming experience. Remap buttons for specific games using core input remapping in RGUI, especially useful for NES games. Enable ‘input_hold_fast_forward_btn’ for joystick functionality and ‘all_users_control_menu’ for universal menu access.
To reduce input lag, ensure that you set ‘video_driver = dispmanx’ in your configuration settings input lag reduction.
Organizing your game collection is made easier by editing the ‘custom-YOURTITLE.cfg’ file to create custom collections. Add new entries to the ‘es_systems.cfg’ file to categorize games by system or theme, and split out specific roms like Neo Geo roms from fba-next.
To enhance user experience, configure RetroAchievements with hardcore mode enabled for added challenge. Scrape the systems to update game metadata and artwork, and create themes for new systems by customizing existing ones.
Remember to copy any manual changes to the custom version of ‘es_systems.cfg’ to avoid losing settings during updates. Restart EmulationStation after making any configuration changes to apply them.
Manage Heat and Cooling
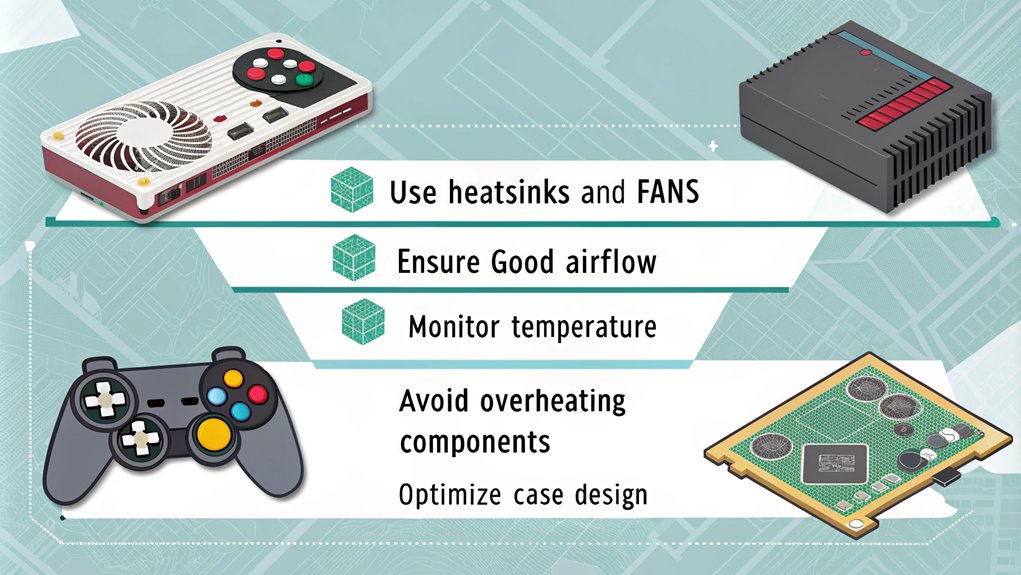
Managing heat and cooling is vital for your Raspberry Pi retro gaming console, as excessive heat can greatly impact performance and longevity.
The primary heat source in your Raspberry Pi 3 B+ is the Broadcom BCM2837 System on Chip (SoC), which includes the CPU, memory, and various Input/Output channels. Other components like the GPU and network chip also contribute to heat generation.
To manage heat effectively, consider adding a heatsink directly to the SoC. This can reduce case temperature by up to 5.4°C, but make sure to use thermal paste for best heat transfer. Using a high-quality thermal paste like Arctic MX4 can further improve heat transfer.
Copper heatsinks are more effective than aluminum ones due to their higher thermal conductivity.
Airflow management is essential; enclosures without vents can trap heat. Adding top vents allows hot air to escape, increasing airflow and cooling efficiency. For instance, inefficient vent locations can cause hot air recirculation, which hampers effective cooling.
Proper ventilation design should direct hot air out of the enclosure. Active cooling with a small fan in conjunction with a heatsink greatly enhances cooling performance.
If you plan on overclocking or running intense applications like video processing, active cooling becomes necessary to prevent overheating.
Replacing thermal paste with high-quality alternatives like MX4 can further improve heat transfer.
Monitoring temperature regularly will help you adjust your cooling strategies accordingly, ensuring your Raspberry Pi runs smoothly and efficiently.
Design User-Friendly Controls
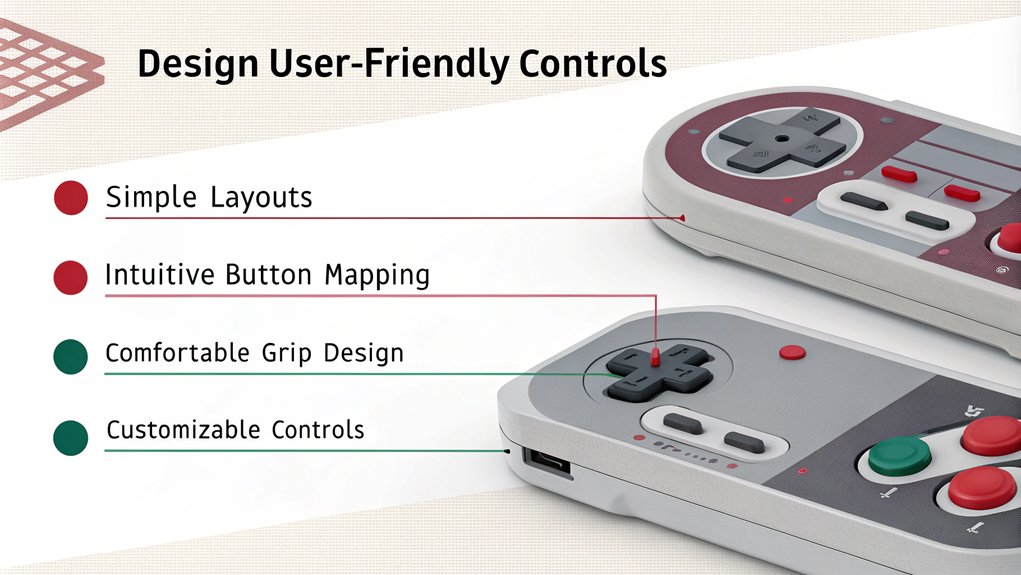
Designing user-friendly controls for your Raspberry Pi retro gaming console is vital for an immersive and enjoyable gaming experience. When choosing the right controllers, consider USB-compatible gaming controllers that mimic classic consoles like the NES, Genesis, or Playstation. You can also use original controllers with USB adapters if you prefer a more authentic feel.
For a nostalgic touch, opt for arcade-style controls featuring large buttons and classic joysticks from Atari or Commodore. Ensure your controller aesthetics align with your gaming preferences. For example, joystick sensitivity can be significant; passive joysticks and buttons often work well, but those with optical sensors may require additional power and logic considerations.
Connect your controllers to the Raspberry Pi using the GPIO pins, making sure to use ground connections effectively and trim or solder wires to avoid blocking adjacent pins. Custom controller options allow for even more flexibility. You can build DIY retro game controllers using breadboards, buttons, and joysticks connected to GPIO pins.
Using cost-effective solutions like USB-compatible controllers or DIY setups can make your project more affordable and customizable. Use GPIOnext software to interface your custom controller with the Raspberry Pi, ensuring ergonomic designs and thorough testing before finalizing your setup. During the initial RetroPie setup, configure your controllers carefully, mapping joystick directions and button contacts precisely to enhance your gaming experience.
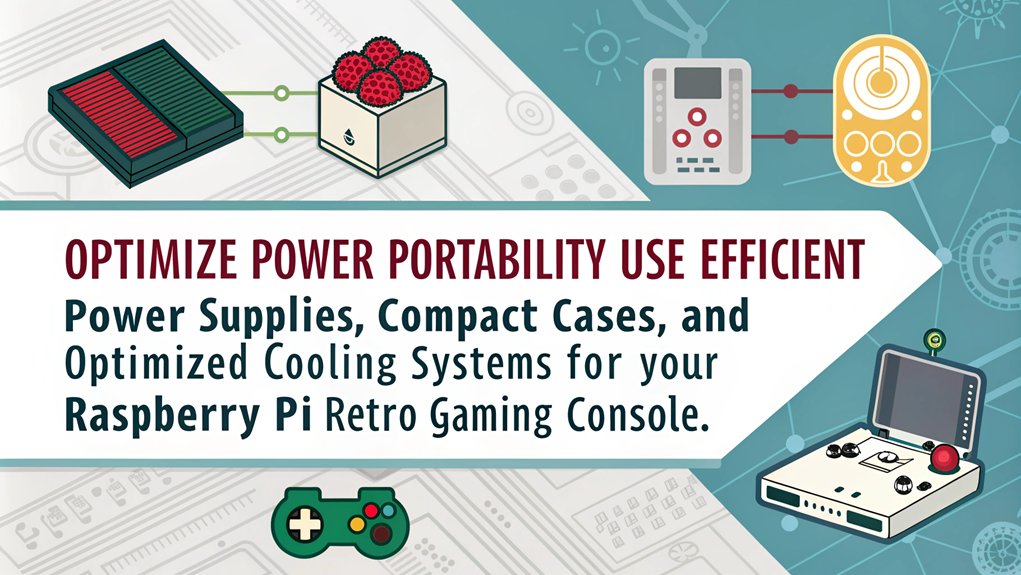
Optimize Power and Portability
Power Management
- Reduce CPU Cores: Limit the number of active CPU cores using the ‘maxcpus=n’ command. This can greatly reduce power usage, especially since the default is 4 cores for Model 2 and 3.
- Adjust Clock Speeds: Lower the maximum and minimum clock speeds for cores by using dynamic governor settings like ‘powersave’ when on battery power and ‘ondemand’ otherwise.
- Disable Unnecessary Components: Disable the LAN chip if not needed by running ‘echo 0 | sudo tee /sys/devices/platform/soc/3f980000.usb/buspower > /dev/null’.
- Optimize Power Settings: Use governors like ‘ondemand’, ‘conservative’, or ‘powersave’ to adjust settings dynamically based on power source and load.
Portability Enhancements
When it comes to enhancing portability, you should consider the following:
- Choose the Right Hardware: Select a Raspberry Pi model like the Pi Zero for low power consumption and use compact components. Ensuring stable performance with high-quality SD cards is crucial.
- Implement Power Management: Use internal rechargeable battery packs with micro USB charging ports and implement dynamic clock speed adjustments.
- Design for Mobility: Create a handheld design with integrated buttons, switches, and audio output.
- Battery and Power Supply Considerations: Confirm a sufficient power supply (e.g., 2.5A) and choose high-quality SD cards for stable performance.
Document and Troubleshoot Your Build
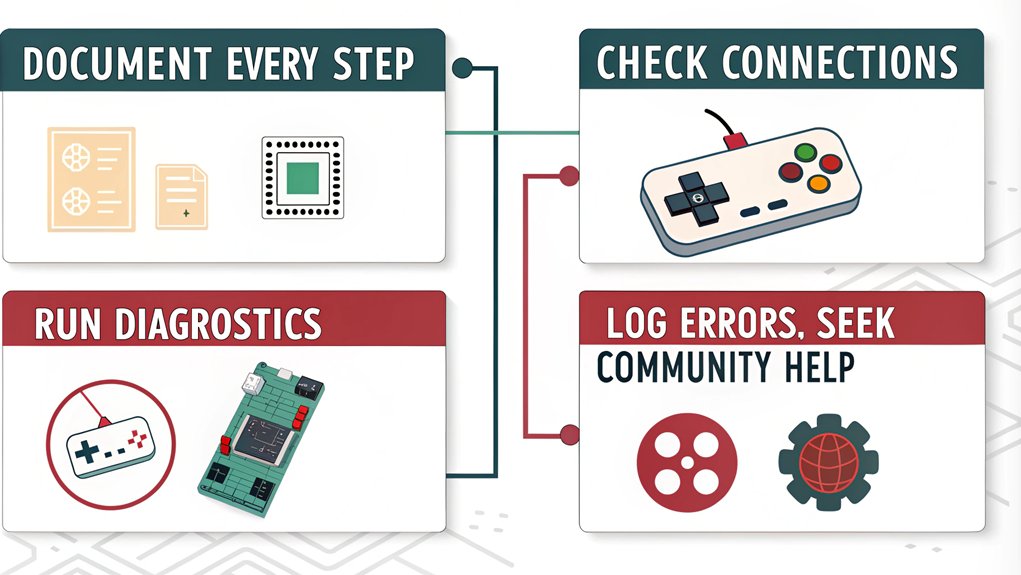
Documenting and troubleshooting your Raspberry Pi retro gaming console build are important steps that can save you a significant amount of time and frustration in the long run.
To guarantee you have a thorough build documentation, keep a detailed log of each step in the build process. Record your hardware and software configurations, note any custom modifications or tweaks, and include photos and diagrams of the build. Use a project journal to write down the date and time of each step, list the tools and materials used, and note any challenges or errors encountered along with their solutions.
Creating a wiring diagram is vital; it should illustrate connections between components, label GPIO pins and their functions, include power supply connections, and show any additional hardware like fans or LCD screens.
Take progress photos at each stage of assembly to identify potential issues and share them for community feedback if needed. Community feedback plays a vital role in content accuracy, as seen with community contributions.
When troubleshooting, focus on common issues such as power-related problems by checking the power supply compatibility and confirming proper cooling. Ensure that the power supply does not show a lightning bolt icon, which indicates an insufficient power supply.
For controller issues, verify the correct pin configurations in retrogame.cfg and test buttons in different configurations.
For emulator and ROM issues, check the correct file formats and look for updates to emulators or RetroPie.
Enable SSH for remote configuration and use ‘raspi-config’ to adjust system settings to resolve software and configuration issues efficiently.
These troubleshooting techniques will help you resolve problems swiftly and enhance your overall build experience.
Frequently Asked Questions
How Do I Backup and Restore My Retropie Configuration?
To backup your RetroPie configuration, identify essential directories like ‘/home/pi’, ‘/opt/retropie/’, and ‘/etc/emulationstation’. Use scripts or tools like ‘rpi-clone’ to create backups of these configuration files. Store them securely and organize by date. For restoration, use scripts to restore these directories, apply necessary permissions, and validate settings to guarantee full functionality.
Can I Use a Raspberry Pi With a Non-Retropie OS for Retro Gaming?
You can use a Raspberry Pi with alternative OS options like Batocera, Recalbox, or Lakka for retro gaming. These OSes offer different performance comparisons and customization levels, so you can choose one that best suits your needs.
What Are the Best Games to Test for Performance on Different Emulators?
To gauge your emulator’s prowess, immerse yourself in a game selection that pushes the limits. For NES, try Super Mario Bros. and The Legend of Zelda with lr-nestopia. On N64, test GoldenEye 007 and The Legend of Zelda: Ocarina of Time. For Dreamcast, Crazy Taxi is a benchmark, while God of War on PSP and Super Smash Bros. Melee on GameCube will test your setup’s mettle. Confirm emulator compatibility for peak performance.
How Can I Add Wireless Connectivity to My Retropie Console?
To add wireless connectivity to your RetroPie console, use a compatible WiFi adapter for older Raspberry Pi models or utilize the built-in WiFi on Raspberry Pi 3 and later. Configure the network setup via the RetroPie menu or by creating a ‘wpa_supplicant.conf’ file in the ‘/boot’ folder. Ascertain the WLAN country is set via ‘raspi-config’ and reboot to apply changes.
Are There Any Legal Considerations When Downloading and Using ROMS?
When downloading and using ROMs, consider ROM legality, copyright issues, and fair use. Make certain you own the game for personal backups, as distributing or sharing ROMs is illegal. Emulation ethics dictate using legally obtained ROMs to avoid copyright violations and support game preservation. Community resources often provide guidance on ethical emulation practices.
Conclusion
You’ve just created a retro gaming console that’s a powerhouse of nostalgia and tech wizardry. With your Raspberry Pi setup, you’re ready to conquer the universe of classic games Remember, managing heat, customizing controls, and optimizing power are key to a flawless experience. Document every step to troubleshoot like a pro. Now, go forth and relive the golden age of gaming with a console that’s as robust as it is retro-cool

I am a retired software engineer with experience in a multitude of areas including managing AWS and VMWare development environments. I bought a relative a mini-PC a year ago and have become passionate about the technology and its potential to change how we deploy software.