
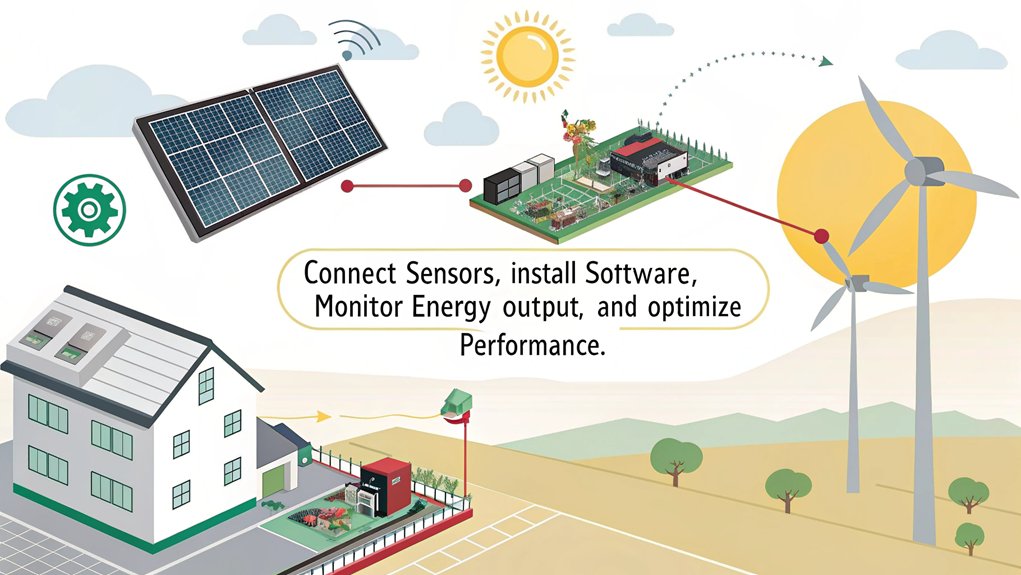
To do solar power monitoring with a Raspberry Pi, you’ll need a compatible model like the Raspberry Pi 4, along with a reliable 5V power supply. Connect your inverter using a USB to RS485 converter, ensuring compatibility with brands like Growatt or Deye. Install essential software like SolarAssistant on Raspberry Pi OS to facilitate data processing. Utilize sensors like the ACS712 for voltage and current monitoring and set up a Python environment for scripting. With real-time tracking and remote access via web or mobile, you can maximize your solar energy efficiency. Explore further for more technical insights and implementation tips.
Key Takeaways
- Utilize a Raspberry Pi 4 or 5 with a compatible power supply and USB to RS485 converter to communicate with inverters effectively.
- Install SolarAssistant software on Raspberry Pi OS to manage and monitor your solar power system easily.
- Implement data collection scripts in Python for real-time monitoring of key metrics every two seconds.
- Ensure secure user access management by defining roles and customizing permissions for remote monitoring.
- Visualize energy data trends using libraries like Matplotlib and integrate cloud services like ThingSpeak for continuous availability.
Hardware Requirements
When setting up your solar power monitoring system with a Raspberry Pi, you’ll need to gather specific hardware components to guarantee everything runs smoothly.
First, you’ll want to choose a compatible Raspberry Pi model, like the Raspberry Pi 4 or 5, along with a suitable power supply of at least 5V. Consider using an optional metal case with a built-in heatsink for improved cooling.
Next, make sure you’ll have a USB to RS485 converter for connecting your Raspberry Pi to the inverter. Aim for a model that features the CP2102 chip. This will allow for effective communication between the Raspberry Pi and the solar inverter. Additionally, ensure your system supports remote access so you can monitor and adjust settings efficiently from anywhere.
Regarding inverter compatibility, selecting an inverter that matches your setup is crucial—models from Growatt or rebranded Voltronic and Deye work well.
The RS485 connection between your converter and the inverter’s port should be established securely, and you’ll need a USB cable for this link.
For networking, you can choose between a LAN cable or WIFI for internet access. Make certain your connections are reliable, especially for managing data effectively. With careful hardware selection, you’ll pave the way for a robust solar monitoring system.
Software Setup For Solar Power Monitoring with a Raspberry Pi
To set up the software for solar power monitoring on your Raspberry Pi, you’ll first need to download and install SolarAssistant. After installation, you’ll configure the necessary drivers and set up the communication between your inverter and the Raspberry Pi. Understanding the configuration steps is essential for ensuring that all components interact seamlessly. Additionally, high reliability has been reported by users who have maintained functionality with minimal issues, underscoring the importance of solid setup practices. Many users have found that the integration with Home Assistant enhances the overall monitoring experience.
Required Software Tools
Setting up your Raspberry Pi for solar power monitoring involves several key software tools that guarantee efficient operation and integration. First, you’ll need to download and install SolarAssistant from its official website, ensuring a seamless experience in managing your solar system. A compatible operating system, such as Raspberry Pi OS, forms the foundation of your setup, alongside a configured Python environment for any necessary scripting.
To optimize integration options, make sure to install essential packages, including ‘python3’, ‘python3-pip’, ‘gpiozero’, ‘schedule’, and ‘mysql-connector-python’. These packages facilitate communication with various inverters, including rebranded Voltronic or Deye models, as well as battery management systems for thorough monitoring. Additionally, the software supports integration with battery BMS, enhancing the overall functionality of your solar system. Implementing a solution to monitor energy consumption provides valuable insights into your solar energy usage patterns.
SolarAssistant features such as automatic discovery for Home Assistant allow you to tap into powerful analytics. You can visualize data stored locally or in databases like InfluxDB for further insights.
Access the user-friendly interface through web browsers or mobile apps for real-time monitoring, and invite multiple users for role-based access.
With these software tools, your Raspberry Pi becomes an innovative hub for enhanced solar power management and data analytics.
Configuration Steps Overview
How do you guarantee a streamlined configuration for your Raspberry Pi solar power monitoring setup? Follow these essential configuration methods to tackle any potential connection challenges along the way:
- Headless Setup: First, configure your Raspberry Pi to run without a monitor or keyboard. Enable SSH for easy remote management and confirm it’s powered adequately with a reliable PSU. Additionally, leveraging solar power in your setup improves its energy sustainability. This approach is essential for making the most of monitoring capabilities provided by the solar panel setup.
- Inverter Connection: Use a USB to RS485 converter to link your Raspberry Pi with the solar inverter. Double-check the com port settings and verify proper pin connections between the inverter and the Raspberry Pi.
- Data Collection Scripts: Develop or modify existing Python scripts to fetch parameters from the inverter consistently. Store this data systematically in a database like InfluxDB and make sure scripts execute at startup.
- Web Interface: Construct or adapt an HTML interface to showcase your collected data dynamically. Make it accessible through any web browser, both locally and remotely, incorporating user authentication for security.
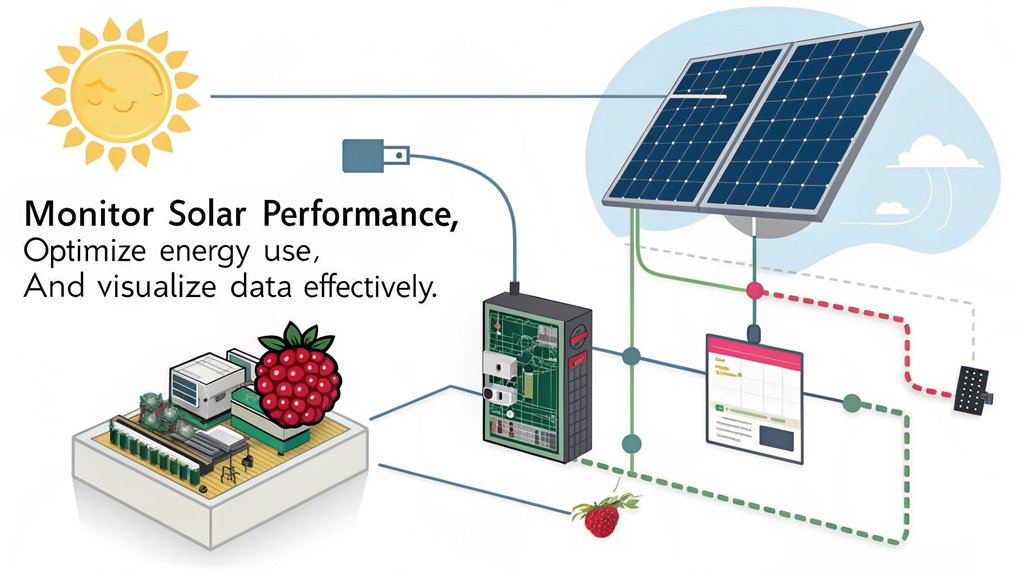
Monitoring Features
In your solar power monitoring setup, real-time data tracking is essential for evaluating system performance. Furthermore, implementing a solar tracking system can significantly enhance the overall energy yield, providing a 20-30% increase in power generation when compared to fixed solar panels. You’ll also find historical data analysis invaluable for identifying trends and optimizing energy usage over time. Furthermore, effective user access management guarantees that your system remains secure while allowing multiple users to interact based on their roles. The system also continuously samples critical solar energy parameters, ensuring that you have up-to-date information to maximize efficiency.
Real-time Data Tracking
With real-time data tracking, you can monitor essential metrics of your solar power system, guaranteeing ideal performance and efficiency. This innovative approach offers you live insights with updates every two seconds, allowing for critical performance enhancement. Additionally, your data is uploaded to the ThingSpeak cloud every 15 seconds, ensuring continuous data availability. Furthermore, the system is designed to enhance energy efficiency by providing detailed information about your solar energy production.
Key metrics you can track include:
- Output Voltage: Keeps tabs on solar panel voltage to assure optimal energy production.
- Battery Voltage: Monitors battery health and guarantees longevity.
- Power Consumption: Tracks energy usage for better efficiency planning.
- Remote Access: Access your system anytime, anywhere via web browsers or mobile apps.
Your data visualization experience is streamlined through user-friendly interfaces, compatible with any device connected to your network.
You’ll appreciate the support for role-based access, meaning multiple users can efficiently manage settings. Significantly, the system operates even without an internet connection, making sure you’re never left in the dark.
Incorporating voltage sensors, the ACS712 current sensor, and a 12V MPPT solar charger module assures reliable data capture.
With these features, you gain actionable feedback, empowering you to enhance your solar energy strategy confidently.
Historical Data Analysis
Historical data analysis plays an essential role in optimizing the performance of your solar power system. By utilizing local storage solutions such as SQLite databases, you can keep your data safe and secure for over ten years, independent of internet connectivity. This guarantees your performance insights remain private and easily accessible, whether you’re at home or on the go. Utilizing a Raspberry Pi as your hardware platform allows for seamless integration with your solar panel data, enhancing your monitoring capabilities significantly. This setup allows for comprehensive Renewable Energy Data Logging, ensuring that all performance metrics are meticulously recorded for future analysis.
Interactive charts and graphs, generated from your historical data, allow you to visualize essential data trends effectively. You can leverage libraries like Matplotlib or Plotly to create custom dashboards that deliver detailed insights. These visualizations not only exhibit daily energy production but also facilitate comparisons across seasons.
Here’s a quick overview of data analysis capabilities:
| Analysis Feature | Description |
|---|---|
| Energy Output Analysis | Tracks energy production over time |
| Voltage Trends | Monitors voltage fluctuations |
| Environmental Correlations | Links output to weather conditions |
| Multi-Inverter Comparisons | Compares data from various inverters |
User Access Management
Effective user access management is essential for maintaining control over your solar power monitoring system.
With robust features designed for efficient account management, you can guarantee that only authorized individuals have access to specific functionalities.
Here are four key aspects to take into account:
- User Roles: Assign roles such as Administrator or View-Only to define responsibilities and access levels for each user.
- Permission Settings: Customize settings based on individual requirements, allowing different users to access only what they need.
- Security Protocols: Implement secure single logins to safeguard all authorized sites, preventing unauthorized access while maintaining flexibility.
- User Interface: Utilize a user-friendly interface, accessible via web, Android, and iPhone, for seamless monitoring and adjustments.
In addition, as the global growth in solar energy adoption shows a 24% increase from 2020 to 2021, having a reliable user access management system becomes even more critical to effectively manage the expanding user base. Moreover, the integration of the Internet of Things (IoT) enhances the functionality of these monitoring systems, allowing for better data-driven decisions.
Remote Access Options
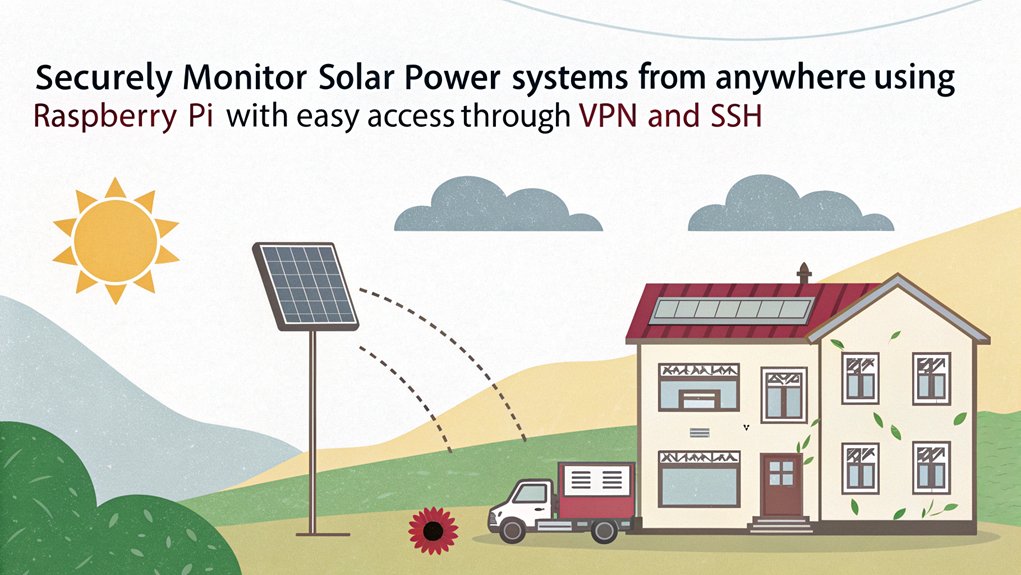
Remote access options for solar power monitoring allow you to effortlessly track your system’s performance from virtually anywhere, providing you with invaluable metrics and insights. With cloud connectivity advantages, you gain real-time analytics through web browsers or apps on both Android and iPhone devices. This flexibility guarantees that local network access remains available while enhancing your system’s functionality. Notably, the DIY solar power project showcases the effectiveness of integrating remote monitoring with solar energy systems. Additionally, utilizing UART interfaces in modern charge controllers enables seamless communication for monitoring devices.
| Feature | Benefits | Access Control |
|---|---|---|
| Real-time Metrics | Updated every 2 seconds for immediate insight | Role-based permissions |
| Multi-Device Compatibility | Access via PC, MAC, Chromebook, Android, iPhone | Invite unlimited users |
| Data Security | Data stored locally, guaranteeing data integrity | Secure remote access |
Remote access security is paramount; you can manage user roles effectively, guaranteeing the right people have the appropriate access. Additionally, interactive charts and historical data access keep you informed about your solar system’s performance. Should you need to adjust inverter settings, remote access allows for quick optimization. This combination of features provides a seamless and secure monitoring experience, fostering informed decisions as you harness solar energy’s potential.
Protecting Your Raspberry Pi from Loss of Power
If you are using your Raspberry Pi in a remote location or on solar power as we are, you want to protect it from power shutdowns. The way to do this is to use an Uninterruptable Power Supply made for the Raspberry Pi and configure the Raspberry Pi so that it will automatically shutdown on a signal from the UPS indicating loss of power. It’s also important that it restart when power returns. An example of this is the Geekworm X1200 5V UPS HAT Shield for Raspberry Pi.
Technical Configuration
Achieving successful solar power monitoring through technical configuration hinges on meticulous hardware and software setup. To guarantee efficiency, focus on the following key components:
- Raspberry Pi Model: You should use a Raspberry Pi 3+ or another compatible version, equipped with a reliable 5V PSU.
- Inverter Integration: Set up USB to RS485 converters to enable seamless communication with inverters using established inverter protocols.
- Sensors and Modules: Incorporate ACS712 current sensors and ADS1115 modules for accurate voltage and current measurements. The successful integration of these components ensures effective data collection.
- Monitoring Software: Utilize Raspberry Pi OS alongside robust software like SolarAssistant or custom Python scripts for real-time data processing and storage.
Once your hardware is in place, configure the software for prime data visualization. Create a graphical interface using HTML or existing web solutions to present collected data clearly.
This won’t only enhance user interaction but will also facilitate insightful monitoring. Ultimately, combining a solid hardware foundation with efficient software enables you to maintain nuanced oversight of solar output, fostering a proactive approach to energy management and system effectiveness.
Additional Components
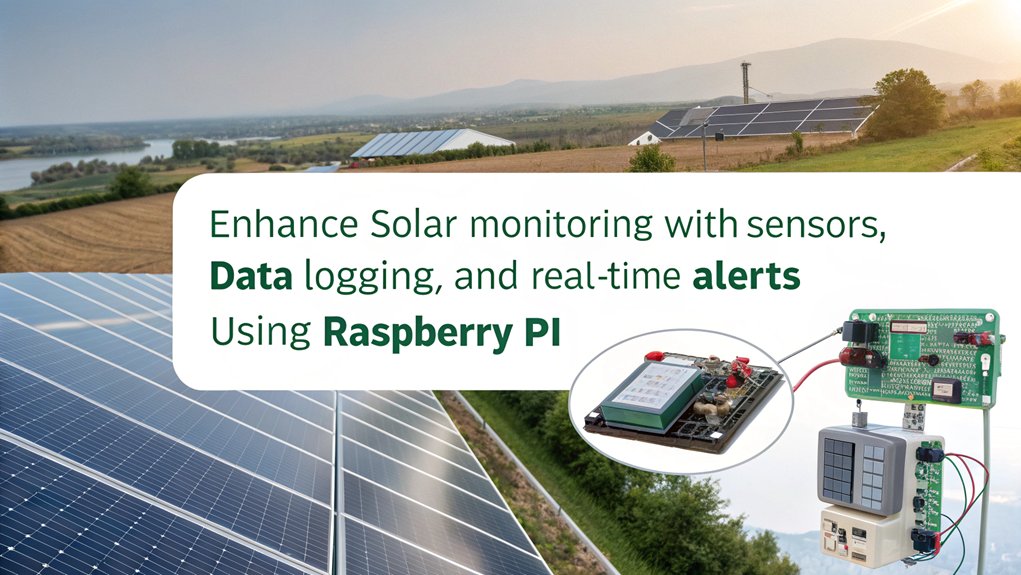
To enhance your solar power monitoring system, consider integrating additional components that optimize performance and functionality. Start by adding more sensors to monitor various parameters, such as voltage and current output, utilizing devices like the ACS712 current sensor. These will provide you with thorough visibility into your solar panel’s performance.
Don’t overlook power adapters; secure USB to RS485 converters are essential for facilitating communication between your Raspberry Pi and inverters. Confirming system compatibility across all components, from sensors to the central microcontroller, guarantees cohesive operation.
Next, explore various mounting options for sensors and the Raspberry Pi. Secure mounting enhances data accuracy by minimizing vibration and misalignment.
Additionally, consider a high-quality MPPT solar charger, like the CN3791, which assures you’re getting maximum energy harvested from your setup.
Lastly, integrating a robust battery management system can revolutionize energy storage and consumption tracking. Always opt for components that not only enhance functionality but also provide reliability and seamless integration into your existing framework.
This will ensure your solar power monitoring system is powerful, efficient, and capable of meeting your energy needs.
Troubleshooting Tips
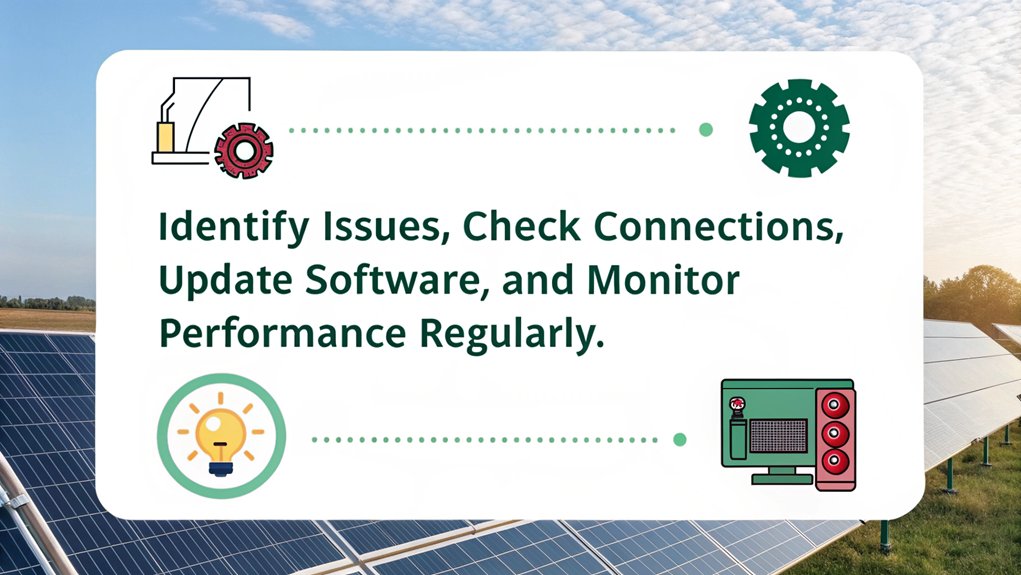
When troubleshooting solar power monitoring systems, it’s vital to identify potential sources of power fluctuations quickly. Follow these tips to guarantee ideal performance and enhanced battery efficiency:
- Check Your Inverter: Power surges can occur if your inverter’s output waveform isn’t compatible with your equipment. Make sure it meets your power needs.
- Inspect Device Compatibility: Some devices, like X10, may struggle on battery power. Verify that your appliances are designed to work with your solar setup and consider alternatives such as the ESP8266 for data collection.
- Optimize Monitoring Intervals: Real-time data accuracy hinges on the monitoring system’s sampling rate. Adjust your Raspberry Pi settings to match system requirements, particularly for changing conditions like cloud cover.
- Verify Communication: Proper configuration of the com port and using the correct converters (like USB to RS485) is important for seamless data transfer from your inverter.
Frequently Asked Questions
Can I Use Any Solar Inverter With the Raspberry Pi Setup?
Think of solar inverter compatibility like finding the right puzzle piece; not every inverter fits your Raspberry Pi setup. You’ll need to check specifications and protocols to guarantee seamless integration for peak performance.
How Do I Ensure Data Privacy With Remote Access?
To guarantee data privacy with remote access, implement robust data encryption and secure authentication mechanisms. Regularly audit user permissions and maintain strong firewalls to safeguard your sensitive information from unauthorized access and breaches.
What Type of Internet Connection Is Needed for This Setup?
Imagine surfing the web like it’s 1999. For your setup, choose Ethernet for stability or explore Wi-Fi options for flexibility. Verify your connection handles updates seamlessly, prioritizing reliability to maintain data accuracy and performance.
Will the System Work in Areas With Unstable Internet?
Yes, the system’s offline capabilities guarantee it functions effectively in areas with unstable internet. With local storage, data is collected and analyzed, enabling continuous operation and monitoring despite connectivity challenges, enhancing system resilience and performance.
Can I Monitor Multiple Solar Systems Simultaneously?
Picture a dashboard glowing with real-time insights; yes, you can monitor multiple solar systems simultaneously. The system’s scalability and data aggregation capabilities guarantee seamless oversight, empowering you to optimize energy management across diverse installations effortlessly.
Conclusion
To summarize, setting up solar power monitoring with a Raspberry Pi can greatly enhance your energy management. As the saying goes, “A stitch in time saves nine”—investing time in proper configuration and troubleshooting now will save you headaches later. With the right hardware, software, and remote access options, you’re poised to optimize performance and track your solar energy production effectively. Embrace the technology, and take control of your renewable energy usage today.

I am a retired software engineer with experience in a multitude of areas including managing AWS and VMWare development environments. I bought a relative a mini-PC a year ago and have become passionate about the technology and its potential to change how we deploy software.