
Installing an SSL certificate on a Raspberry Pi can enhance your project’s security considerably. You’ll need a few essential tools and commands to get started, but the process is straightforward. By the end of this guide, you’ll know how to set up Let’s Encrypt and guarantee your certificate renews automatically. Ready to secure your connection? Let’s explore the steps to make it happen.
Key Takeaways
- Install Certbot by running ‘sudo apt install python3-certbot-apache’ for Apache setups or ‘sudo apt install certbot’ for others.
- Obtain your SSL certificate using ‘sudo certbot –apache’ for Apache or clone the Let’s Encrypt repo and run ‘./letsencrypt-auto’.
- Include all domain variations when generating your SSL certificate to ensure secure access across different addresses.
- Renew your SSL certificate on a Raspberry Pi every 90 days using ‘sudo certbot renew’ or automate renewal with a Cron job.
- Test your SSL certificate on a Raspberry Pi by accessing ‘https://YOUR_FQDN’ in a browser or using ‘openssl s_client -connect YOUR_FQDN:443’ for error checks.
Understanding SSL Certificates
An SSL (Secure Sockets Layer) certificate is a digital certificate that authenticates a website’s identity and enables an encrypted connection between a web server and a browser. For Raspberry Pi enthusiasts running web servers, blogs, IoT dashboards, or any internet-facing services, implementing SSL is no longer optional—it’s essential for modern web security.
What is an SSL Certificate?
An SSL certificate serves as a digital passport that establishes a secure connection between your Raspberry Pi server and visitors’ browsers. When installed correctly, it activates the HTTPS protocol, creating an encrypted channel that protects sensitive information like passwords, credit card details, and personal data from potential eavesdroppers.
Why Your Raspberry Pi Needs SSL
Your humble Raspberry Pi might seem like an unlikely target for security concerns, but any device connected to the internet can become vulnerable. Whether you’re hosting a personal blog, a home automation dashboard, or a media server, implementing SSL offers several crucial benefits:
Advantages of an SSL Certificate on a Raspberry Pi
- Enhanced Security: SSL encrypts data transmission, preventing man-in-the-middle attacks and unauthorized access to sensitive information.
- User Trust: Browsers display a padlock icon for secure connections, reassuring visitors that their connection to your Pi-hosted service is private and secure.
- Improved SEO Rankings: Search engines like Google prioritize HTTPS websites in search results, potentially improving visibility for any public services you host.
- Modern Browser Compatibility: Many browsers now warn users about non-HTTPS connections, labeling them as “Not Secure,” which could deter visitors from your Pi-hosted services.
- Access to Modern Web Features: Certain advanced web features like service workers, progressive web apps, and precise geolocation only function on secure HTTPS connections.
- Free Options Available: With services like Let’s Encrypt, an SSL certificate on a Raspberry Pi can be implemented at no cost.
Disadvantages to Consider
- Resource Overhead: The encryption/decryption process requires additional computational resources, which might impact performance on lower-end Pi models.
- Maintenance Requirements: As highlighted in the main article, certificates expire every 90 days and require renewal, though this can be automated.
- Configuration Complexity: Initial setup requires some technical knowledge, though the step-by-step process in this guide simplifies the procedure considerably.
- Domain Requirement: For standard SSL certificates, you’ll need a registered domain name pointing to your Raspberry Pi, which may involve additional costs and configuration.
- Potential for Misconfiguration: Improperly configured SSL can cause connection issues or security vulnerabilities if not implemented correctly.
Making the Right Choice
Despite the few drawbacks, the security benefits of implementing SSL on your Raspberry Pi overwhelmingly outweigh the minor inconveniences. With modern browsers increasingly flagging non-HTTPS connections as insecure, securing your Pi-hosted services with SSL has become a standard practice rather than a luxury.
Now that you understand the importance of an SSL certificate on a Raspberry Pi projects, the following sections will guide you through the practical implementation steps, ensuring your Pi-powered services remain secure, trusted, and accessible.
Equipment List
Before diving into the SSL certificate installation, you’ll need to gather a few essential pieces of equipment. First, grab a Raspberry Pi, ideally a model like the Raspberry Pi 3, along with a compatible Micro SD card for your storage needs.
A stable power supply is vital to keep your Raspberry Pi running smoothly. Make certain you have an Ethernet cable or a reliable Wi-Fi connection to access the internet for downloading necessary software.
It’s also wise to have a Raspberry Pi case for protection and better airflow. Finally, verify your operating system is up to date by running ‘sudo apt update’ and ‘sudo apt upgrade’ before you start setting up your Apache server and configuring your SSL certificate for your domain name.
Installing and Running LetsEncrypt
Now that you’ve prepared your Raspberry Pi and confirmed your system is up to date, it’s time to install and run Let’s Encrypt.
Start by installing Certbot with the command ‘sudo apt install python3-certbot-apache’ for Apache or ‘sudo apt install certbot’ for other setups.
If you’re using Apache, you can automatically obtain and install your Let’s Encrypt SSL certificate by running ‘sudo certbot –apache’ in the terminal.
Your certificate files will be stored in the ‘/etc/letsencrypt/live/example.com/’ directory, where you’ll find essential files like ‘fullchain.pem’ and ‘privkey.pem’ for your SSL configuration.
Finally, remember to automate certificate renewal every 90 days with ‘sudo certbot renew’ or set up a cron job to keep your connection secure.
Creating a Lets Encrypt SSL Certificate on a Raspberry Pi
To create a Let’s Encrypt SSL certificate on your Raspberry Pi, you’ll first need to verify Git is installed on your system.
Clone the Let’s Encrypt repository using the command: ‘git clone https://github.com/letsencrypt/letsencrypt’.
Next, navigate to the cloned directory and run ‘./letsencrypt-auto -d FIRST_DOMAIN -d SECOND_DOMAIN –redirect -m YOUR_MAIL’. This command helps generate your SSL certificates while automatically redirecting HTTP to HTTPS.
Don’t forget to include all variations of your domains, like subdomains and both www and non-www versions.
After your certificate is set up, confirm your private key is secure, and plan to automate renewals every three months with ‘./letsencrypt-auto –renew-by-default’.
Always check official documentation for updates!
Renewing the SSL Certificate on a Raspberry Pi
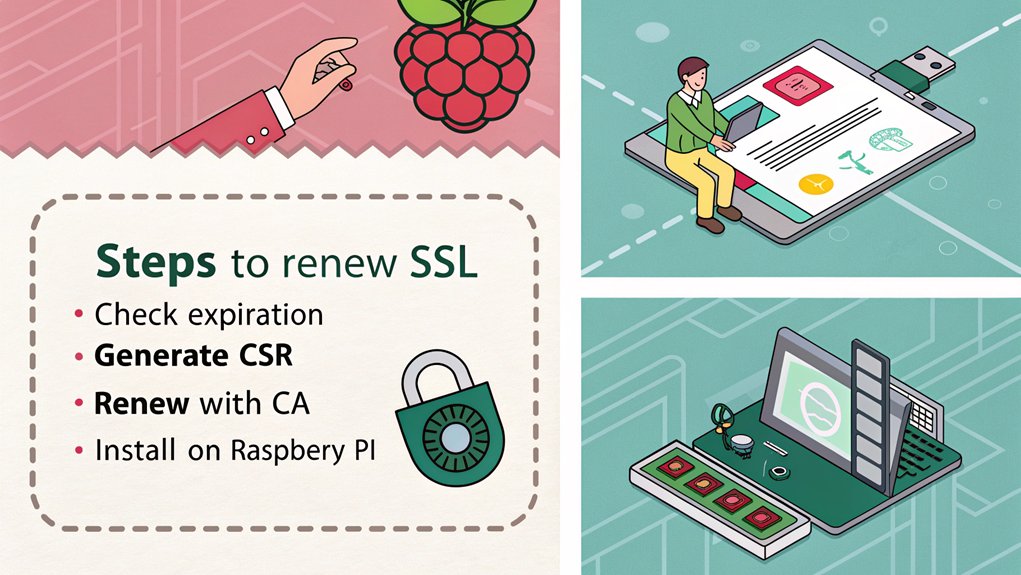
Since Let’s Encrypt SSL certificates expire every 90 days, you’ll need to renew them regularly to keep your web applications secure. You can manually renew your certificate by executing the command ‘sudo certbot renew’. However, to streamline this process, consider setting up a Cron job to automate the renewal monthly. This way, you won’t have to worry about manual updates.
Here’s a quick overview of the renewal process:
| Step | Description |
|---|---|
| 1. Check Certificates | Run ‘sudo certbot certificates’ to verify. |
| 2. Manual Renewal | Use ‘sudo certbot renew’ if needed. |
| 3. Automate Renewal | Set a Cron job for monthly renewals. |
| 4. Web Server Config | guarantee your server handles renewals correctly. |
| 5. Monitor Expiration | Regularly check certificate expiration dates. |
This keeps your Raspberry Pi secure and your applications running smoothly.
Testing the Raspberry Pi SSL Certificate
After ensuring your SSL certificate is renewed and up-to-date, it’s important to test its functionality on your Raspberry Pi.
Start by opening your web browser and checking to ‘https://YOUR_FQDN’. If everything’s set up correctly, your browser shouldn’t display warnings, confirming that the raspberry pi ssl certificate is valid.
To verify your setup, visit ‘https://YOUR_FQDN’ in your browser and ensure there are no warning messages.
Additionally, you can verify the SSL connection by using the command ‘openssl s_client -connect YOUR_FQDN:443’ in the terminal. This checks for any certificate errors.
Make sure your dynamic DNS service is operational, as it’s essential for secure access.
Finally, double-check that the ‘/etc/apache2/ports.conf’ file is correctly configured to include port 443, ensuring smooth SSL traffic without misrouting.
Frequently Asked Questions
How Do I Manually Install an SSL Certificate?
To manually install an SSL certificate, create a directory for your certs, generate your certificate with OpenSSL, then configure your server’s settings to point to those files. Finally, verify the installation by accessing your site securely.
How to Install Certbot on Raspberry Pi?
To install Certbot on your Raspberry Pi, run ‘sudo apt update’ and ‘sudo apt upgrade’, then execute ‘sudo apt install certbot’. This sets you up for easy SSL certificate management and enhances your web security effortlessly.
How to Install a Free SSL Certificate?
To install one for free, use Let’s Encrypt. Just follow the steps, and you’ll secure your domain in no time.
How to Install SSL Using SSH?
To install SSL using SSH, you’ll connect to your server, update packages, and install Certbot. Then, run the appropriate command for your web server to obtain and configure your SSL certificate effortlessly.
Conclusion
By following these steps, you’ve successfully secured your Raspberry Pi with an SSL certificate. Now, you’ve got peace of mind knowing your data is safe and sound. Remember, keeping your certificate renewed is a piece of cake, so don’t let that slip through the cracks. With your Raspberry Pi ready for secure connections, you can focus on what really matters—creating amazing projects and sharing them with the world! Happy tinkering!

I am a retired software engineer with experience in a multitude of areas including managing AWS and VMWare development environments. I bought a relative a mini-PC a year ago and have become passionate about the technology and its potential to change how we deploy software.
I want a certificate
You can get a certificate from the let’s encrypt website