
What IDEs for Raspberry Pi Are Available?
When developing projects, you have several exceptional IDEs for Raspberry Pi to choose from. For beginners, Thonny and Mu offer user-friendly interfaces and robust debugging capabilities. Each of these IDEs for Raspberry Pi offers unique features that can enhance your coding experience, and exploring them further will help you find the perfect fit for your needs.
Key Takeaways
- Thonny IDE is pre-installed on Raspberry Pi OS, offering a beginner-friendly interface and robust debugging capabilities.
- Mu IDE provides a streamlined coding experience, supporting multiple programming modes and being lightweight for Raspberry Pi resources.
- PyCharm is a powerful IDE for advanced development, best used via remote SSH for efficiency, with smart code assistance and Git integration.
- Geany IDE is lightweight, using less memory, and supports multiple languages with built-in terminal and file management capabilities.
- Adafruit WebIDE offers a web-based interface with cloud integration, auto-save, and support for multiple programming languages, ideal for experienced users.
Thonny for Beginners
When starting with Raspberry Pi development, Thonny is an ideal Integrated Development Environment (IDE) for beginners. Pre-installed on Raspberry Pi OS, Thonny eliminates the need for additional installation steps and is ready to use right away. It is one of two IDEs for Raspberry Pi that you can find it under the Programming menu in the desktop environment.
Thonny’s interface design is clean and simple, making it highly beginner-friendly. The default minimalist mode can be switched to a more traditional mode with additional options if needed. The IDE features big buttons for main actions like creating a new file, saving, and running code, along with supportive keyboard shortcuts such as CTRL+R to run the current script and CTRL+SPACE for auto-complete suggestions.
Thonny’s debugging features are particularly useful. The powerful debug mode allows you to step through your code line by line, view variable values during execution, and use the “Step over” button to execute the next program instruction. Thonny also includes a built-in Python interpreter that provides immediate feedback, enhancing productivity with syntax highlighting.
Errors in your code are displayed in the shell, providing immediate feedback. This makes it easier to identify issues such as blocks of code not being executed due to incorrect variable updates. With Thonny’s robust debugging capabilities, you can quickly resolve errors and improve your coding skills.
Mu for Simplified Coding
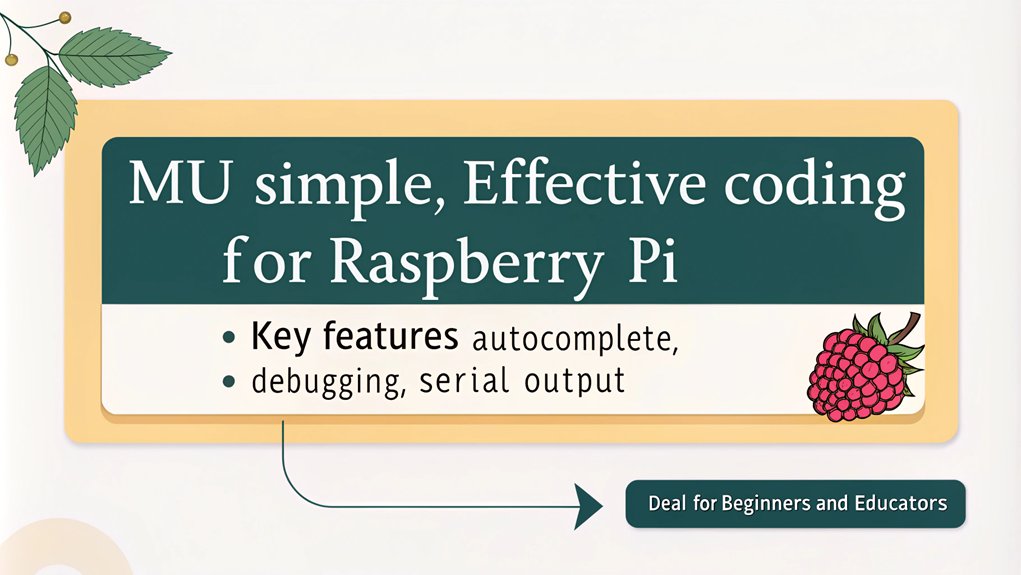
Mu offers a streamlined coding experience, making it an excellent choice for those looking to simplify their development process on the Raspberry Pi. If Mu isn’t preinstalled on your Raspbian operating system, you can easily install it using the Recommended Software application or via the command line with ‘sudo apt-get install mu-editor’.
Although the installation process can take around 40 minutes on a Raspberry Pi 4 with Raspbian Buster, it’s a worthwhile investment. To ensure compatibility and optimal performance, it is important to keep your Raspbian operating system up-to-date using sudo apt-get update.
Mu’s user experience is highly user-friendly, especially for beginners. The editor provides clear and intuitive menus and settings, making navigation a breeze. It supports multiple modes, including Python 3, MicroPython, and CircuitPython, as well as specific modes for devices like the Raspberry Pi Pico, Microbit, and ESP devices.
This versatility allows you to work on a variety of projects without needing to switch between different IDEs.
In terms of performance, Mu is efficient and lightweight, making it well-suited for the Raspberry Pi’s resources. It includes features like code completion and indentation, enhancing your coding experience.
Mu also boasts cross-platform compatibility and supports various microcontrollers and boards beyond just the Raspberry Pi, ensuring broad device compatibility. Whether you’re working with pygame or simple Python programs, Mu’s simplicity and robust features make it an ideal choice for simplified coding on the Raspberry Pi.
PyCharm for Advanced Development
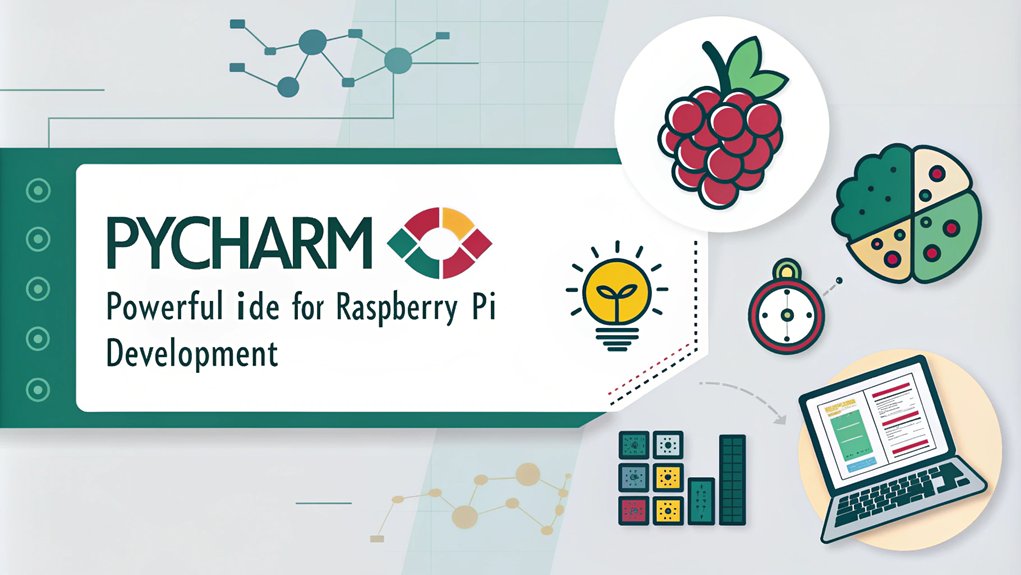
For advanced development on the Raspberry Pi, PyCharm stands out as a powerful and feature-rich Integrated Development Environment (IDE). To leverage PyCharm’s capabilities, you’ll need the professional version, which supports remote development via SSH. Confirm your Raspberry Pi is powered on, has SSH enabled, and a static IP address set up.
Installing PyCharm directly on the Raspberry Pi isn’t recommended due to performance issues; instead, use PyCharm on a more powerful machine and connect to the Raspberry Pi via SSH. In PyCharm, set up a new project by selecting “New Project” and choosing “Pure Python.”
Then, configure the remote interpreter by adding an SSH connection, specifying credentials and the script folder location. This process ensures you can utilize PyCharm’s advanced features efficiently, even with a GNU General Public License. PyCharm also integrates with popular version control systems like Git for collaborative coding efforts.
PyCharm offers advanced features such as smart code assistance, including code refactoring, database access, and real-time code inspections. These tools enhance your coding experience and confirm high-quality code.
While the Raspberry Pi may struggle with running PyCharm efficiently due to its resource-intensive nature, using it remotely avoids these performance issues. This approach allows you to benefit from PyCharm’s robust features while maintaining a smooth development experience.
Geany IDE for Multi-Language Support
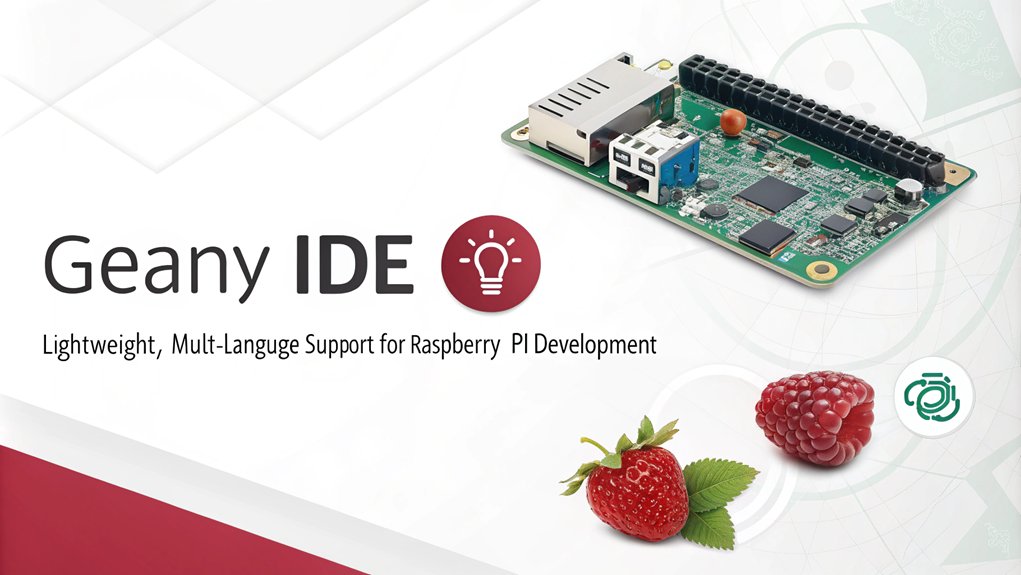
Geany’s performance is commendable due to its lightweight nature, using considerably less memory compared to other IDEs like VSCode (22MB vs 380MB on a Raspberry Pi).
It includes a built-in terminal for running scripts and a documents view to manage files.
Geany’s simplicity and ease of use make it highly recommended for beginners and simple projects, although more advanced developers may find it lacking in certain features. Additionally, Geany supports multiple programming languages, including Python and C.
Geany is also highly efficient in utilizing CPU and RAM resources, making it optimized for low-resource environments. Despite this, its portability across different operating systems enhances its usability.
Ninja IDE for Efficient Coding
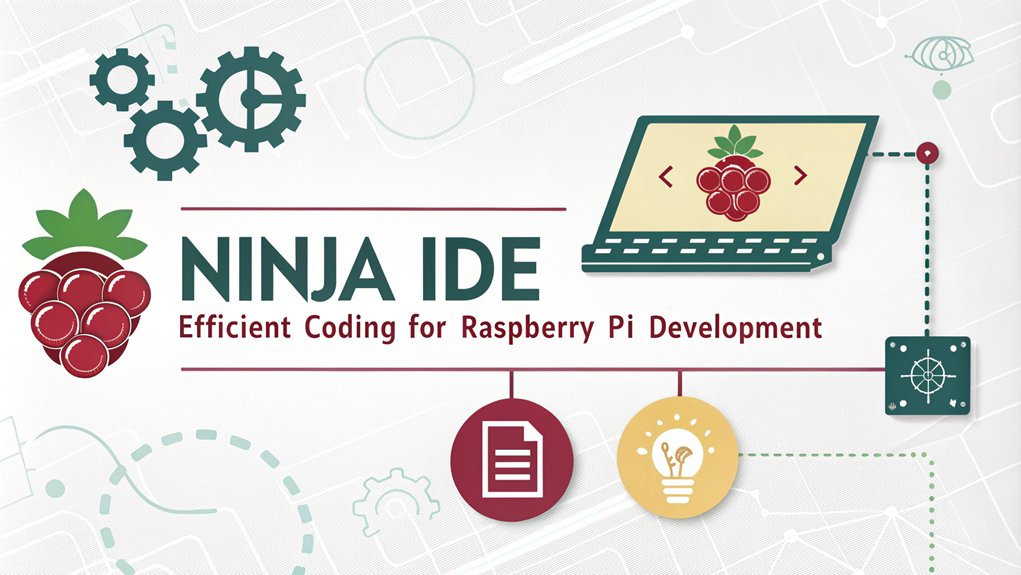
When it comes to efficient coding on the Raspberry Pi, Ninja IDE stands out as a powerful and feature-rich environment. Designed for cross-platform compatibility, Ninja IDE is available for Linux, Windows, Mac OS, and specifically for Raspberry Pi, making it an excellent choice for embedded projects.
Ninja IDE enhances your coding efficiency with features like code completion, syntax highlighting, and error detection. The embedded console allows you to run and troubleshoot scripts directly within the application, streamlining your development process. Additionally, the upcoming version 2.0 will introduce support for program execution with console inputs.
File management tools such as find in files, code locator, and go to line functions make traversing your project seamless. The IDE also includes project management modules that help you manage complex projects with multiple files and libraries.
You can work with multiple files side-by-side using tabs and the Follow Mode for simultaneous scrolling. The plugin system allows for plugin enhancements to extend the default functionality of Ninja IDE.
Additionally, Ninja IDE supports automatic indentation, editor zoom, and PEP 8 error highlighting to maintain high code quality. It also facilitates code migration between different projects or environments, ensuring your code remains versatile. Moreover, Ninja IDE can be easily installed via Homebrew on Mac OS, simplifying the setup process for users familiar with command line interfaces.
With easy installation options and stability backed by a generally stable repository, Ninja IDE is a top choice for efficient coding on the Raspberry Pi.
Adafruit WebIDE for Web-Based Development
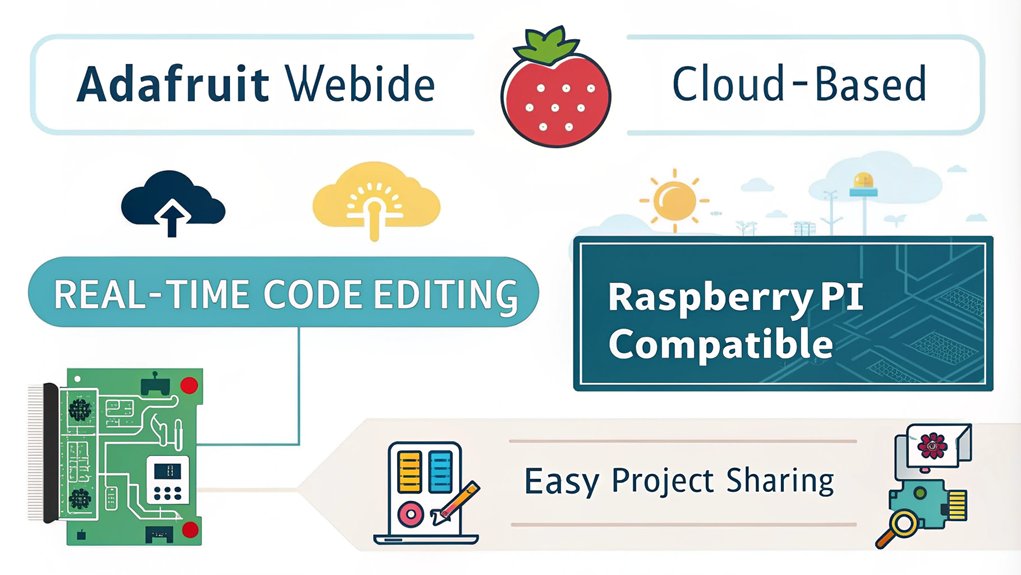
Adafruit WebIDE offers a unique approach to development on the Raspberry Pi by providing a web-based interface that eliminates the need for downloading additional software. This makes it incredibly convenient for developers who prefer working directly from their web browsers.
Here are some key features that make Adafruit WebIDE stand out:
- Multi-Language Support: You can write code in various programming languages, including Python, Ruby, JavaScript, and shell scripts.
- Built-in Terminal: The IDE includes a built-in terminal for running commands and testing your code.
- Auto-Save and Commit: Your code changes are automatically saved and committed to a connected repository like Bitbucket.
- Cloud Integration: With seamless integration with Bitbucket, your code is stored in the cloud, ensuring secure and synchronized storage.
Adafruit WebIDE is highly extensible and comes bundled with a debugger and visualizer for tracking and testing your source code. The user interface is easy to use and accessible via web browser on ports 8080 or 80. The installation process is relatively straightforward, with deployment via an installer script that takes only minutes on the Raspberry Pi deployment via installer script. Additionally, it aligns well with the ethos of open source technologies which foster innovation and collaboration.
Although it’s currently in an early alpha stage, regular updates are expected to address any issues and improve functionality. For now, it’s recommended for experienced Linux users who can navigate its potential bugs and minor issues.
Frequently Asked Questions
How Do I Integrate Version Control With My Raspberry Pi IDE?
To integrate version control with your Raspberry Pi IDE, use Git. Update your OS, install Git with ‘sudo apt install git’, and configure user info. Integrate Git into PyCharm or use command line Git commands for other IDEs.
Can I Use These IDES for Other Programming Languages Besides Python?
Just as a Swiss Army knife serves multiple purposes, many IDEs on your Raspberry Pi offer versatile language support. Geany, Ninja IDE, and Adafruit WebIDE provide development flexibility beyond Python, ensuring IDE compatibility for various programming tasks.
Are There Any Free Alternatives to Pycharm for Advanced Development?
For advanced development, you can use VS Code, Atom Editor, or even Jupyter Notebooks as free alternatives to PyCharm. These tools offer robust features like smart code completion, debugging, and extensive plugin support, similar to Sublime Text.
How Do I Troubleshoot Common Errors in Mu and Thonny?
To troubleshoot Mu errors, check installation logs, verify correct versions, and launch from the terminal to identify hidden errors. For Thonny debugging, switch to regular mode, manage packages through Thonny’s interface, and update to the latest version.
Can Adafruit Webide Be Used Offline or Is Internet Required?
You can use Adafruit WebIDE offline once it’s set up. For example, if you’ve installed it on a Raspberry Pi, you can edit, compile, and run code without internet as long as your local network is intact. Adafruit features like terminal access, code editing, and debugging work offline. Internet is only required for initial setup and updates.
Conclusion
As you explore the world of Raspberry Pi development, these seven IDEs stand as your arsenal, each a unique tool in your coding journey. Thonny simplifies the beginner’s path, while PyCharm elevates advanced projects to new heights. Geany and Ninja IDE offer versatility and efficiency, respectively. Adafruit WebIDE brings the cloud into play, and AlgoIDE sharpens your algorithmic skills. With these at hand, you’re not just coding—you’re crafting innovation. The future is yours to code.

I am a retired software engineer with experience in a multitude of areas including managing AWS and VMWare development environments. I bought a relative a mini-PC a year ago and have become passionate about the technology and its potential to change how we deploy software.