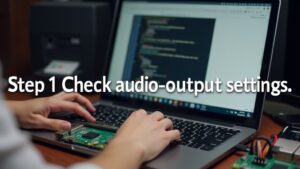
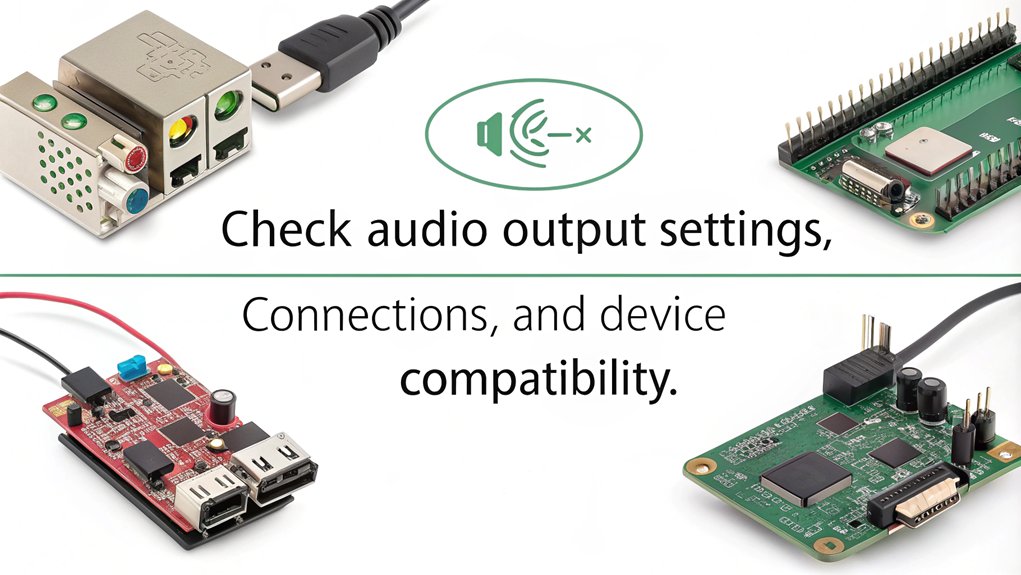
To troubleshoot sound on a Raspberry Pi, first check your audio output settings in ‘raspi-config’ or via the desktop volume controls. Make sure your audio cables are secure and verify that any USB sound devices are recognized using ‘lsusb’. Update the system with ‘sudo apt update’ and reboot to apply any changes. Adjust PulseAudio settings if needed, or try uninstalling it if issues persist. Test playback with commands like ‘speaker-test’ or ‘aplay’. If sound problems continue, community forums can provide additional strategies to explore.
Key Takeaways
- Verify that the 3.5mm audio cable is securely connected and check for any external audio boards being powered correctly.
- Use commands like ‘sudo apt update’ and ‘sudo apt full-upgrade’ to ensure your system is up-to-date and functioning optimally.
- Adjust PulseAudio settings using ‘pavucontrol’ or ‘pamixer’ to select the correct output device and resolve any muted devices.
- Check USB sound device recognition with ‘lsusb’ and ‘aplay -l’ to confirm compatibility and ensure it is set as the default playback device.
- Explore community forums and subreddits for tips and shared experiences on troubleshooting persistent audio issues.
Default Audio Output Settings
When you set up your Raspberry Pi, the default audio output settings can considerably impact your audio experience. You can modify these settings using ‘raspi-config’ or the desktop volume control to choose your preferred output modes, such as HDMI or analog. In a headless setup, consider editing configuration files like ‘/boot/firmware/config.txt’ or creating a ‘.asoundrc’ for device selection. If you encounter sound issues, follow troubleshooting steps like ensuring connections are secure and verifying that the correct audio profiles are selected. If problems persist, examine your PulseAudio configuration or consider purging and reinstalling it. Additionally, the Raspberry Pi OS auto-detects audio settings, which may help resolve some sound issues automatically. Users have reported mixed success with raspi-config changes for configuring the audio output. Tailoring these default audio settings can lead to a much improved sound experience on your Raspberry Pi.
Troubleshoot Sound on a Raspberry Pi: System Updates and Reboot
One way to troubleshoot sound on a Raspberry Pi is to start with important system updates. Running essential update commands keeps your software current and can fix bugs that affect audio performance. Ensuring the correct audio output is critical for sound functionality, so be sure to check the settings after your updates. Be aware that changing HDMI ports may also help if you encounter problems with audio. Remember to back up any critical data before making significant changes and reboot your system afterward for the best results.
Update Commands Overview
Maintaining your Raspberry Pi’s performance requires regular updates to both the software and firmware. By staying proactive with your updates, you enhance security and functionality. Here’s a straightforward guide to your update commands:
- Update Package Lists: Run ‘sudo apt update’ to retrieve the latest package lists, ensuring you’re aware of available versions. Make this a regular routine for ideal package management.
- Upgrade Installed Packages: Use ‘sudo apt full-upgrade’ to install the latest versions and remove obsolete packages. Confirm before proceeding.
- Clean Up Unnecessary Packages: Execute ‘sudo apt autoremove’ and ‘sudo apt clean’ to free up disk space and maintain system cleanliness. Regular updates are essential for protecting against security vulnerabilities. Remember that frequent updates are crucial for maintaining device security and stability.
Embrace this update frequency to keep your Raspberry Pi innovative and efficient!
Importance of Rebooting
Rebooting your Raspberry Pi after system updates is essential for ideal performance and security. Whenever you install updates, especially those that include the Linux kernel or critical components like ‘systemd’, a reboot becomes necessary. This action allows your system to utilize updated code, maintaining peak system performance. Ignoring this step can result in instability and security vulnerabilities, as outdated components may still be in use. A reboot is particularly important if updates involve the raspberrypi-bootloader, which requires a restart to implement the changes. Monthly updates should also be combined with regular reboots to enhance overall system stability.
Establishing a regular reboot frequency after significant updates is a best practice, ensuring your Pi runs smoothly and securely. Additionally, be attentive to update outputs that indicate when a reboot is essential—this small task can prevent larger problems down the line.
Always prioritize a reboot to keep your system in top shape.
Backup Critical Data
After guaranteeing your Raspberry Pi is updated and rebooted, backing up your critical data should be a top priority. Regular updates are crucial for system security and performance, so ensuring your data is protected will allow for smoother troubleshooting if issues arise.
You can choose from several effective methods to safeguard your work:
- File Backup: Use the ‘rsync’ command to copy specific files or directories, automating the process with cron jobs to guarantee regular backups. It’s important to remember that rsync only transfers changed bits, optimizing backup efficiency.
- System Cloning: Employ the ‘rpi-clone’ script to clone the entire SD card, including the operating system and applications, securing complete recovery if needed.
- Image Copy: Power down your Raspberry Pi, remove the SD card, and create a full image file on your computer for a thorough snapshot.
PulseAudio and ALSA Issues
Everyone can encounter audio issues on their Raspberry Pi, and understanding both PulseAudio and ALSA is crucial for resolving these problems.
Start with PulseAudio configuration: if you face conflicts or muted devices, try uninstalling PulseAudio with ‘sudo apt-get remove pulseaudio’, then restart your device. If problems persist, adjust settings using ‘pamixer’ and verify the correct output device is selected in ‘pavucontrol’. It is important to note that the missing audio library in Raspberry Pi OS can affect functionality when using snap packages. Additionally, it’s advisable to install ALSA utilities as a foundational step for troubleshooting audio issues.
For ALSA troubleshooting, install ‘alsa-utils’ and load the sound driver with ‘sudo modprobe snd-bcm2835’.
Check output settings using ‘alsamixer’ and edit ‘/usr/share/alsa/alsa.conf’ as necessary. Test audio playback with ‘aplay’ or ‘speaker-test’ to confirm everything’s working smoothly.
Engaging with these steps can greatly enhance your audio experience.
Checking USB Sound Devices
To troubleshoot sound issues with a USB sound device on your Raspberry Pi, you’ll start by checking if the device is recognized by the system. Use commands like ‘lsusb’ and ‘aplay -l’ to confirm its detection and compatibility. Ensuring a proper connection and configuration will help you identify any potential problems. Modifying the configuration in ‘alsa-base.conf’ to include the options for USB audio can significantly improve device recognition. Additionally, switching to a USB sound card is recommended as a robust solution to bypass typical onboard sound issues, enhancing reliability.
Device Detection Steps
When you’re troubleshooting sound issues on your Raspberry Pi, the first step is checking if your USB sound device is properly detected. Use these troubleshooting techniques to get started:
- Run ‘dmesg | grep ‘ to check if the device connects correctly. Additionally, many cheap USB audio devices utilize a C-Media chipset that can enhance your audio experience.
- List connected USB devices with ‘lsusb’ and confirm your device is recognized.
- Verify the ‘snd-usb-audio’ module is loaded using ‘lsmod | grep snd_usb_audio’. Additionally, ensure that your USB audio device is recognized as card 0, which is important for proper audio playback.
Compatibility Considerations
Before diving into troubleshooting sound issues, it’s vital to ascertain your USB sound device is compatible with your Raspberry Pi setup.
First, verify that your USB sound card supports ALSA, as this compatibility is significant for peak performance. Check its Linux support before purchasing, and be mindful that older devices may require specific drivers or configurations. Additionally, confirm that the sound card won’t draw more power than your Raspberry Pi can provide, and don’t forget to review its physical compatibility with other USB ports. After any OS upgrade, like moving from Raspbian Buster to Bullseye, revisit your ALSA configuration tips to set the USB sound card as the default device. This preparation will streamline your troubleshooting efforts. Notably, issues with USB microphone detection have been reported by users upgrading to Bullseye, indicating potential compatibility challenges with sounddevice.
To enhance your setup, consider researching the importance of checking USB sound device compatibility with ALSA before purchase, as this can prevent potential sound issues later on.
Hardware Configuration Considerations
Sometimes, ensuring proper hardware configuration can be the key to troubleshooting sound issues on your Raspberry Pi. Start by evaluating your hardware connections, as faulty setups often lead to problems.
Consider these steps:
- Confirm the 3.5mm audio cable is securely plugged into the audio jack.
- Verify external audio boards, like the DigiAMP+, are connected to the 40-pin header with the correct power supply. Additionally, you should configure the audio settings to ensure that your selected audio device is operational.
- Check your Raspberry Pi OS recognizes and configures the audio board; comment out ‘dtparam=audio=on’ if needed for best audio board configuration. Additionally, ensure that your speakers support wired connections for effective audio playback.
Testing Audio Output
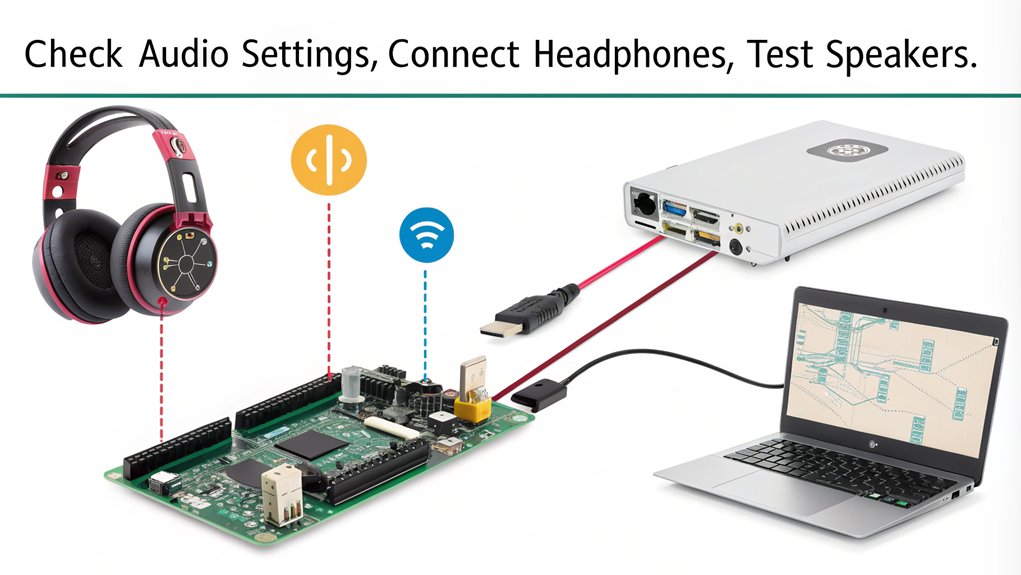
After ensuring your hardware setup is correct, the next step is to test the audio output on your Raspberry Pi.
For audio testing, you can use command-line tools like ‘speaker-test’ with ‘speaker-test -c2 -twav -l3’ for stereo output verification. To play WAV files, use ‘aplay filename.wav’, and for MP3 files, rely on ‘mpg321 filename.mp3’.
If you prefer a graphical approach, VLC Media Player allows direct audio playback. Remember to check that the correct audio output device is selected in the settings.
Performing these tests will help confirm your audio configuration is functioning as intended, paving the way for any necessary adjustments and further innovation in your projects.
Adjusting Volume and Mute Settings
Adjusting volume and mute settings on your Raspberry Pi is essential for optimizing your audio experience.
Here’s how you can achieve effective volume adjustment:
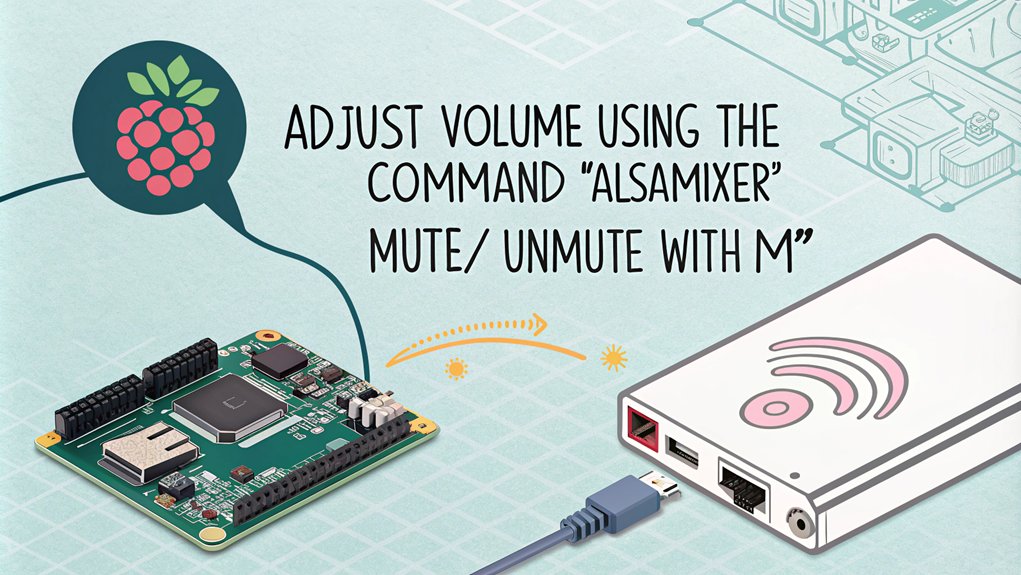
- Open ALSA Mixer: Launch the terminal and type ‘alsamixer’. Use the up and down arrows to adjust your volume levels.
- Use Amixer Commands: For precise control, type commands like ‘amixer set PCM 50%’ to set the volume to 50%, or ‘amixer set PCM mute’ to mute sound.
- Configuration Tweaks: Edit the ‘/etc/asound.conf’ to enhance your audio settings, and don’t forget to restart ALSA with ‘sudo /etc/init.d/alsa-utils restart’.
Seeking Additional Support
If you’ve tried adjusting the volume and mute settings but are still struggling with sound issues on your Raspberry Pi, seeking additional support can be the next step.
You can turn to community forums, where experienced users share insights and solutions that may address your specific problem. Websites like the Raspberry Pi Foundation forum or Reddit’s dedicated Raspberry Pi subreddit are excellent places to start.
If you need more specialized assistance, consider looking for professional support to get troubleshooting help tailored to your setup. Many developers and tech companies offer services that could resolve persistent audio issues with your device effectively.
Frequently Asked Questions
Can I Use Bluetooth Audio Devices With Raspberry Pi OS?
Yes, you can use Bluetooth audio devices with Raspberry Pi OS. By ensuring proper Bluetooth connectivity and configuring audio streaming settings, you’ll enjoy seamless audio playback and elevate your listening experience effortlessly. It’s that simple!
What File Formats Are Supported for Audio Playback?
You’ll find broad audio format compatibility with MP3, OGG, and WAV supported out of the box. For FLAC, DSD, and other formats, you’ll need to install additional codecs to enhance your playback experience.
How Can I Check if My Sound Card Is Functioning?
Imagine your sound card’s a symphony waiting to play. Tune into sound card diagnostics by running ‘aplay -l’; confirm audio driver updates are current. If silent, explore connections and hardware for issues. Let the music flow!
Are There Specific Audio Apps Recommended for Raspberry Pi?
For audio streaming on Raspberry Pi, check out Navidrome and Volumio. They offer innovative features for sound visualization and high-fidelity playback that enhance your listening experience while keeping it user-friendly and self-hosted.
How Do I Reset Audio Settings to Default?
To reset your audio configuration, edit ‘/boot/firmware/config.txt’ by commenting out custom settings. Confirm ‘dtparam=audio=on’ is active, then save and reboot. This method enhances sound troubleshooting for ideal performance.
Conclusion
In troubleshooting sound on your Raspberry Pi, remember it’s like tuning a finely crafted instrument. Each setting and adjustment shapes the final symphony of your project. By following the steps outlined, you can harmonize your audio output, ensuring your project resonates perfectly. Should you face challenges, don’t hesitate to reach out for help—it’s the extra hand that can help you hit all the right notes. Now, go on, let your Raspberry Pi sing!

I am a retired software engineer with experience in a multitude of areas including managing AWS and VMWare development environments. I bought a relative a mini-PC a year ago and have become passionate about the technology and its potential to change how we deploy software.