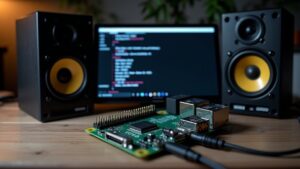
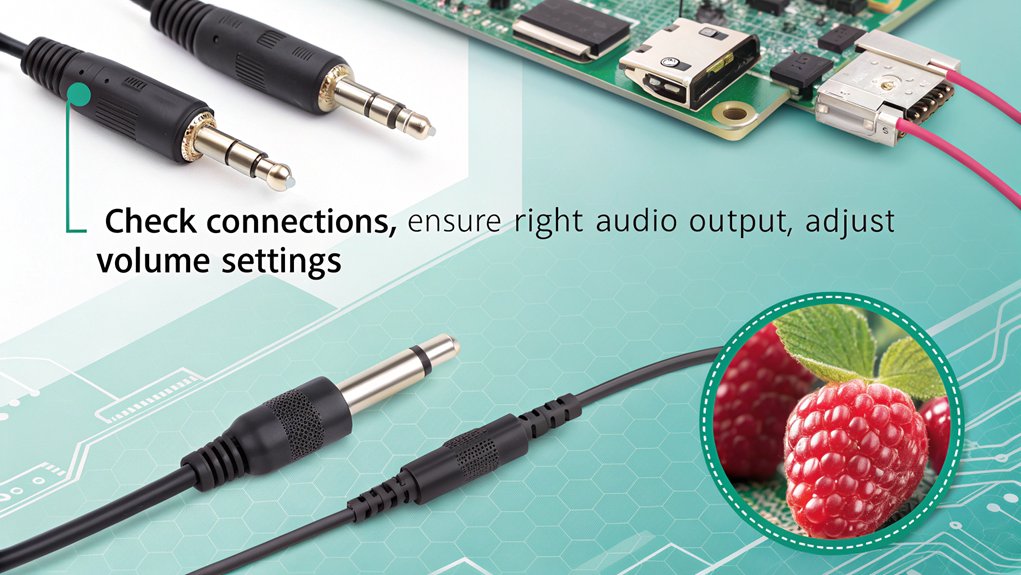
To troubleshoot Raspberry Pi audio issues, start by checking the default audio output in the ‘raspi-config’ tool. If you’re using USB audio, verify it’s detected with the ‘lsusb’ command and set as the default output in ALSA. Don’t forget to check connections and volume settings. Regularly update your system with ‘sudo apt update’ and reboot to stabilize audio. Install and configure PulseAudio for better control. Finally, test audio with ‘speaker-test’ to confirm functionality and confirm sampling rates. You’ll find further tips and techniques to enhance your audio experience if you explore more.
Key Takeaways
- Verify your audio output settings with ‘raspi-config’ to ensure the correct device (headphones or HDMI) is selected.
- Use ‘lsusb’ to confirm USB audio devices are recognized and properly connected; ensure limits on USB devices to avoid congestion.
- Test audio output with ‘speaker-test’ to check for sound activity and correct device selection.
- Update your system regularly using ‘sudo apt update’ and reboot to stabilize audio configurations.
- Look for driver issues and configure ALSA or PulseAudio settings for your USB audio device to ensure optimal performance.
Default Audio Output Configuration
When it comes to configuring your Raspberry Pi’s audio output, setting the default audio output correctly is essential for optimal sound performance. Start by using the ‘raspi-config’ tool to choose your audio destination. You can do this with the command ‘$ sudo raspi-config nonint do_audio ‘, where ” corresponds to your desired output—0 for the headphone jack or 1 for HDMI, for example.
If you’re working with a headless setup, edit the ‘/boot/firmware/config.txt’ file to disable onboard audio by commenting out ‘dtparam=audio=on’ and enabling your selected audio device. This is important because the configuration settings determine how the Raspberry Pi routes audio signals to the correct output. Additionally, confirming your audio output in the audio configuration page is crucial for ensuring proper sound distribution through your chosen device audio device selection. Ensure you have run system updates using ‘sudo apt update’ and ‘sudo apt full-upgrade’ to maintain the latest package lists and upgrade installed packages.
Always verify your audio output settings are configured correctly in the system settings to prevent unwanted defaults to HDMI.
For external devices like USB sound cards, confirm they’re recognized by running ‘arecord -l’. Use ‘pactl’ to load necessary PulseAudio modules and adjust mixer levels for peak output. Make sure the USB sound card supports ALSA for optimal performance.
Finally, to maintain persistent configuration settings, edit the ‘/etc/rc.local’ file with your audio device commands, verifying your setup remains consistent after reboots. Following these steps guarantees smooth audio output, enhancing your Raspberry Pi experience.
System Updates and Reboot
Maintaining up-to-date software is essential for your Raspberry Pi’s performance, especially regarding audio functionality. Regularly check and apply updates using the commands ‘sudo apt update’ and ‘sudo apt upgrade’. Staying consistent with update frequency helps fix potential bugs, including those affecting audio issues. It’s important to note that system updates can also introduce new dependencies that affect existing audio packages. An upgrade to newer versions of Sonic Pi can significantly enhance your audio experience.
Be aware that while most updates enhance performance, they can sometimes lead to new audio problems due to package changes.
After performing updates, always reboot your device with ‘sudo reboot’. Rebooting resets configurations altered during updates and recreates critical files like ‘.asoundrc’, guaranteeing your audio system is stable and ready for use. It also helps you determine if audio issues are temporary or persistent.
Check for any recent changes that could impact your audio setup. If you’ve installed new packages during updates, they may disrupt your audio output settings.
Always back up essential data prior to major updates to prevent data loss and guarantee a smooth process.
Finally, avoid using ‘rpi-update’, which may put you in an unstable system state. Stick to stable commands for updates to maintain the best possible audio performance on your Raspberry Pi.
PulseAudio Configuration

Configuring PulseAudio on your Raspberry Pi frees enhanced audio capabilities and confirms a smoother experience. To get started, you’ll need to install PulseAudio and essential modules. Use this command: ‘sudo apt-get install pulseaudio pulseaudio-module-zeroconf avahi-daemon’. This setup not only includes the core PulseAudio components but also enables network audio functionality through Zeroconf. Additionally, Raspberry Pi’s versatility allows it to be used in a variety of media streaming applications.
Next, confirm PulseAudio starts on boot by editing ‘/etc/default/pulseaudio’. Set ‘PULSEAUDIO_SYSTEM_START’ to 1 and make certain ‘DISALLOW_MODULE_LOADING’ is set to 0. Then, initiate the service with ‘sudo /etc/init.d/pulseaudio start’. This allows PulseAudio to function more effectively over network connections.
For network access, modify ‘/etc/pulse/system.pa’ by adding necessary network modules. Adjust the IP access list to cover your specific network.
After configuring the environment variable ‘PULSE_SERVER’ to ‘localhost’, you can fine-tune your audio using the ‘daemon.conf’ file, confirming superior playback settings.
To maximize performance, consider PulseAudio tuning, especially if you’re experiencing low volume or clipping issues. Restart PulseAudio after applying changes, and watch your audio experience transform into something capable of innovation and seamless network integration.
Audio Driver Reinstallation

After validating PulseAudio is properly configured, audio issues may still arise due to problematic audio drivers. One effective approach to tackle these challenges is through audio driver reinstallation, utilizing audio troubleshooting techniques.
Start by uninstalling ALSA utilities if they haven’t functioned as expected. You can do this with the command: ‘sudo apt-get remove alsa-utils’. Once removed, reinstall the utilities using ‘sudo apt-get install alsa-utils’ to get the latest version. This guarantees all necessary dependencies are also refreshed. Additionally, ensure that you also install MP3 tools with the command ‘sudo apt-get install mpg321’ for comprehensive audio functionality. Checking the settings for audio source selection is also important to ensure proper output.
Next, you may need to load the sound driver specifically designed for Raspberry Pi, using the command ‘sudo modprobe snd-bcm2835’.
After reinstallation, it’s essential to restart the audio service or simply reboot your system to apply the changes.
For driver diagnosis methods, always check and confirm your audio settings. Test audio output using ‘aplay /usr/share/sounds/alsa/Front_Center.wav’ and verify everything functions correctly.
USB Audio Device Setup
When setting up a USB audio device with your Raspberry Pi, the first step is ensuring it’s detected properly. You’ll want to check compatibility and support for your specific device, as not all USB audio interfaces work seamlessly with the Pi. To enhance your audio experience, consider using a variety of audio devices that utilize the C-Media chipset, which are often cost-effective options for DIY audio projects. Once you’ve confirmed detection, you can move on to configuring it for peak performance. To avoid congestion on the USB bus, limit the number of connected devices to improve USB bandwidth and audio output quality.
USB Device Detection
To successfully detect your USB audio device connected to the Raspberry Pi, start by verifying the device is properly plugged in while the system is powered off. After powering on the Raspberry Pi, you can check for device recognition with a few straightforward troubleshooting steps.
- Open the terminal and run the ‘lsusb’ command to list all connected USB devices.
- Confirm your USB sound card is correctly connected. If it requires external power, make sure it’s supplied appropriately.
- Install ALSA utilities by entering ‘sudo apt-get update’ and ‘sudo apt-get install alsa-utils’ to guarantee peak USB audio card performance.
- Edit the ALSA configuration file to set your USB sound card as the default audio output, adjusting necessary parameters. It’s also essential to note that only some USB audio devices may be recognized in Home Assistant settings.
After these steps, reboot your Raspberry Pi for the changes to take effect.
If your USB audio device isn’t detected, you might want to investigate potential conflicts with other devices or consider a fresh installation of the operating system. These techniques should enhance your troubleshooting efforts, helping you successfully utilize your USB audio device.
Compatibility and Support
Ensuring compatibility and support for your USB audio device on a Raspberry Pi is vital for seamless audio performance. All Raspberry Pi models, including the Pi Zero, support USB sound devices, making it a versatile option even without an audio jack. Additionally, many users face challenges with USB sound configurations, highlighting the importance of troubleshooting guides. It’s important to note that the device features 40 GPIO pins, which allows for the connection of multiple sensors and peripherals.
When choosing a USB sound card, make sure it’s compatible with Linux-based systems like Raspberry Pi OS, with the C-Media chipset being a popular choice for easy integration.
To set up your USB audio device, edit the ‘/usr/share/alsa/alsa.conf’ file, changing ‘defaults.ctl.card 0’ and ‘defaults.pcm.card 0’ to match your USB device’s card number. If needed, install ALSA utilities with ‘sudo apt-get install alsa-utils‘ after updating your package list.
Testing your setup is essential; use ‘aplay example.wav’ to confirm everything is configured correctly.
Remember to reboot your Raspberry Pi after making any changes to apply them. If you encounter issues, double-check your ALSA configuration and consult the power requirements of your USB sound card, ensuring they’re met either through USB power or an external supply.
Achieving ideal sound on your Raspberry Pi hinges on this compatibility and support.
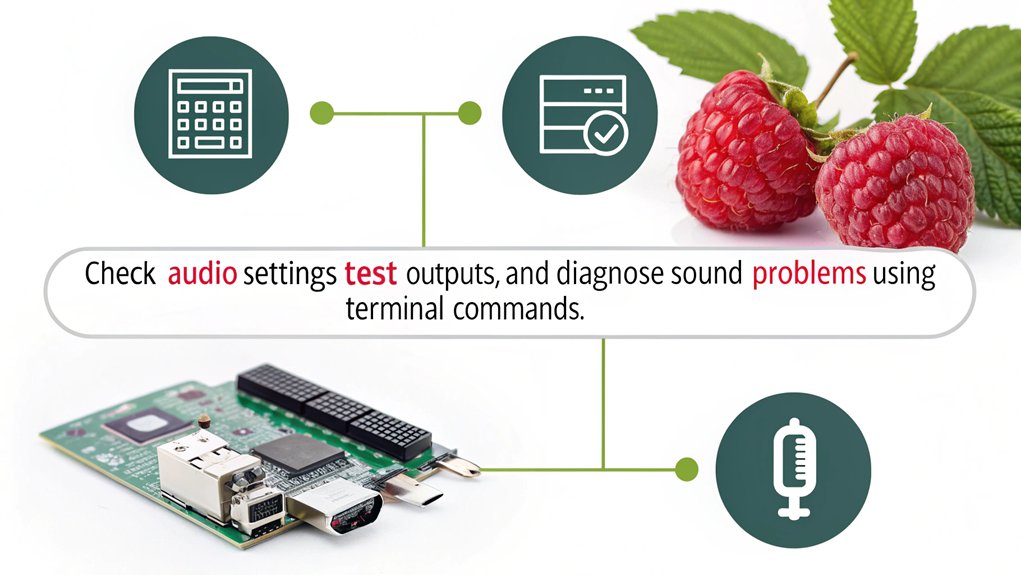
Testing Audio Functionality
To guarantee your Raspberry Pi’s audio is functioning properly, you’ll want to conduct some tests.
Start by using the speaker-test command to check which speakers are active, and then confirm your audio levels aren’t muted or too low. Ensure that you select the correct audio output device to achieve optimal sound quality. Additionally, remember that HDMI-0 is recommended for audio connection to ensure compatibility with your device. It’s also important to verify the sampling rates and bit depths for high-quality audio output.
Finally, verify that your audio devices are compatible and correctly configured for peak performance, considering options like USB audio devices for enhanced quality.
Speaker Testing Command
The speaker-test command is a powerful tool for diagnosing audio functionality on your Raspberry Pi. It helps you evaluate your sound setup and troubleshoot any audio issues by providing speaker test examples that can identify working channels. With Raspberry Pi’s flexibility in hardware choice, you can easily adapt your audio testing setup to match different devices.
Here’s how to effectively use it:
- Basic Channel Test: Run ‘speaker-test -c2’ to check your left and right audio channels.
- WAV Sound Test: Add ‘-twav’ for a WAV sound test and use ‘-l’ to specify repetitions, like ‘speaker-test -c2 -twav -l3’ for three tests.
- Sine Wave Test: Generate a sine wave with ‘speaker-test -t sine -f 440 -c 2 -s 1’ to test audio clarity at 440 Hz.
- Device Specification: If using USB sound devices, specify it with ‘speaker-test -c2 -D plughw:1,0’, replacing ‘1’ with your actual device number. Consider utilizing device management commands to ensure the correct audio output is selected during your tests.
Using these commands allows for easy audio channel identification and effectively isolates any issues.
If you don’t hear sound, double-check your device settings and verify that the correct output is selected. Properly utilizing the speaker-test command can greatly enhance your Raspberry Pi audio experience.
Check Audio Levels
Checking audio levels is essential for guaranteeing your Raspberry Pi is delivering the sound quality you expect. You can easily verify your audio playback by adjusting the volume settings via the speaker icon in the upper right corner of the Raspberry Pi OS dashboard. It’s important to select the correct audio output device—be it analog, HDMI, or Bluetooth. Here’s a quick guide to help you manage audio levels effectively:
| Action | Description |
|---|---|
| Verify Connection | Check all cables are securely connected |
| Select Output Device | Choose the output (HDMI/Analog/Bluetooth) |
| Adjust Volume | Guarantee volume is set appropriately |
| Confirm Not Muted | Check that the selected device isn’t muted |
| Reboot After Changes | Save any configuration changes and reboot |
If you’re not hearing anything, check your volume adjustment. Make sure the volume isn’t set too low, and test again. Additionally, if you’re working with efficient sound level measurement modules, those may require specific configurations to ensure proper audio output. If you’ve made changes in configuration files, don’t forget to restart your device. By doing these checks, you’ll take significant steps toward troubleshooting any audio issues you might face. Also, it’s beneficial to consider using a USB sound card as an alternative solution to common onboard sound issues, which can enhance your audio experience.
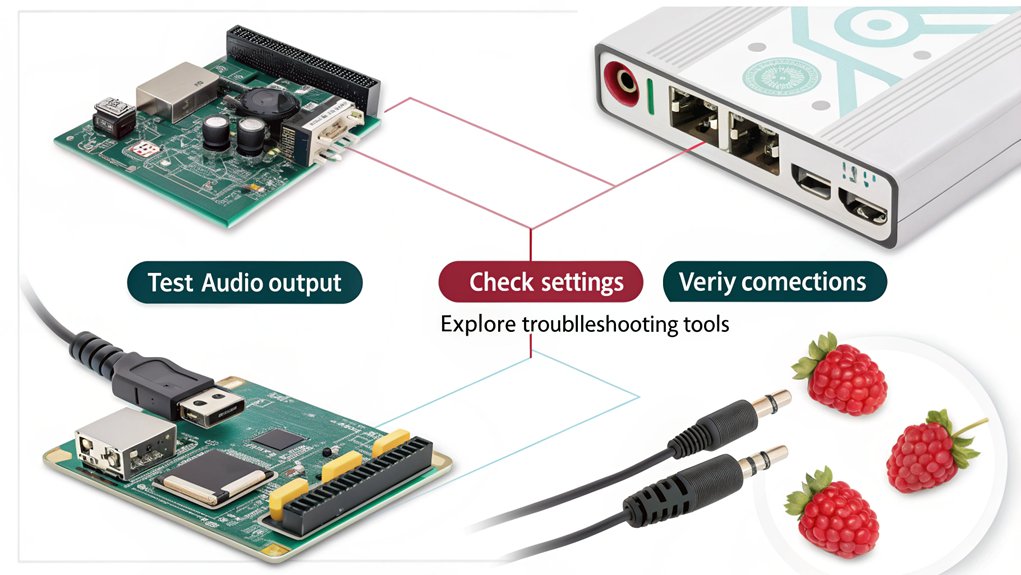
Device Compatibility Verification
Verifying your audio devices are compatible with the Raspberry Pi is essential for a seamless audio experience. To test audio functionality and avoid audio conflicts, follow these steps:
- HDMI Audio: Check if the HDMI mode is set by editing ‘/boot/config.txt’. Uncomment ‘hdmi_drive=2’ if necessary, select the HDMI output via the speaker icon, and test audio using ‘omxplayer -o both file.mp3’.
- Analog Audio (3.5mm Jack): Make sure the analog output is selected in the audio settings. Use ‘speaker-test -c2 -t wav’ to verify audio. Inspect the 3.5mm jack for hardware issues and check for software conflicts, particularly with PulseAudio.
- USB Audio Devices: Confirm the USB device is recognized by the OS. Install any required drivers and set the USB as your primary audio output. Use ‘amixer cset numid=3 2’ to configure it if you have multiple devices.
- Bluetooth Audio: Verify Bluetooth is on and your device is paired. Designate it as the audio output in the settings, then run ‘speaker-test’ or ‘omxplayer’ to test.
Common Sound Issues
Sound quality is crucial for an enjoyable Raspberry Pi experience, but users often encounter common audio issues. It’s essential to check your sound settings first. The default audio output is HDMI, which can be easily changed via the desktop interface. Make sure you’re selecting the correct device when multiple outputs are available.
If you’re using the Raspberry Pi 5 with its dual 4Kp60 HDMI output, ensure that your monitor or TV is compatible and set to the correct input.
| Issue | Solution |
|---|---|
| Static or no sound | Check device connection and plug it in securely. |
| Wrong audio output | Click the audio icon and choose the desired device. |
| Outdated system | Update your system with ‘sudo apt update’. |
If you’re still experiencing problems, consider system updates and a reboot. Installing the latest fixes can resolve potential bugs. If using USB audio devices, confirm compatibility and inspect driver issues. Uninstalling PulseAudio can sometimes enhance sound but might require reinstallation of ALSA utilities if problems persist. Remember to back up your data before diving deeper into troubleshooting.
Once you’ve adjusted these common settings and configurations, you’ll likely notice significant improvements in audio quality and enjoyment on your Raspberry Pi.
Using Command Line Tools
Command line tools offer a powerful way to troubleshoot and configure audio on your Raspberry Pi. By utilizing these audio tools, you can address common issues efficiently. Ensure your Raspberry Pi is properly set up with a reliable 5V DC power supply to avoid any hardware-related issues. Additionally, make sure your Raspberry Pi OS is updated regularly for the latest security patches and feature enhancements.
Here’s a quick roadmap for effective audio configuration:
- Install Necessary Packages: Start by installing ALSA utilities and other useful packages with ‘sudo apt-get install alsa-utils mpg321 lame’.
- Load Sound Drivers: Check the loaded modules using ‘lsmod’ and load the ‘snd-bcm2835’ module if necessary with ‘sudo modprobe snd-bcm2835’.
- Set Audio Output: Use ‘amixer’ to configure sound output; set analog audio with ‘amixer cset numid=3 1’ and use ‘sudo raspi-config’ to assure proper output device selection.
- Test Output: Confirm functionality by testing audio with commands like ‘speaker-test -t sine -f 440 -c 2 -s 1’, ensuring your setup produces sound, especially when using the PIXEL desktop environment.
Checking System Compatibility

After addressing audio configuration through command line tools, the next step involves verifying system compatibility to confirm everything functions as intended.
Begin with compatibility checks on your Raspberry Pi model. For the best audio processing, using a Raspberry Pi 4 is ideal, given its quad-core processor and USB 3.0 ports. Ascertain your model boasts at least 2GB of RAM to meet the system requirements for audio applications.
Next, select suitable audio HATs, like the DAC Pro or Codec Zero. Keep in mind that some require an external power source, so a reliable supply providing at least 2.5A is essential.
If you’re using USB audio interfaces, make sure they’re compatible with Raspberry Pi OS, such as the Focusrite Scarlett Solo. Confirm driver compatibility and check for features like direct monitoring and XLR inputs if needed.
Lastly, be mindful of your case and cable arrangements. Your case should accommodate necessary ports without obstruction, and high-quality cables will confirm sound fidelity.
Ensure that your setup also leverages the Raspberry Pi’s capability for VideoCore VII GPU, which supports advanced multimedia processing, enhancing overall performance.
Seeking Online Support

When you encounter audio issues with your Raspberry Pi, seeking online support can be invaluable. The digital community is rich with knowledgeable individuals enthusiastic to help you troubleshoot.
Here are four effective ways to access support:
- Online Forums: Platforms like Reddit or the Raspberry Pi forums host discussions where many enthusiasts share solutions to similar audio problems.
- Support Groups: Join dedicated Raspberry Pi user groups on Facebook or Discord, where you can pose questions and get advice in real-time.
- Documentation and Tutorials: Websites often host extensive documentation or video tutorials addressing specific audio issues, providing step-by-step guidance.
- GitHub Repositories: If you’re dealing with technical problems related to software, GitHub can be a goldmine. Many developers share fixes in the issue sections of their repositories.
Engaging with these resources not only helps you fix the audio issue but also connects you with a vibrant community of innovators.
Remember to provide details about your setup and the steps you’ve already taken to expedite assistance. Online support can lead you to breakthroughs in no time!
Frequently Asked Questions
How Do I Change Audio Output Using Terminal Commands?
You can change your audio configuration using terminal commands. Use ‘amixer cset numid=3 [value]’ to switch outputs and edit ‘/boot/firmware/config.txt’ to adjust settings. Don’t forget to reboot for changes!
What Are the Implications of Removing Pulseaudio on My System?
If you remove PulseAudio, your audio system might lighten up, improving performance impact for dedicated tasks. However, be prepared for potential issues with compatibility and sacrifices in advanced audio management functionalities. Choose wisely!
Can I Use Bluetooth Speakers With Raspberry Pi for Audio Output?
Yes, you can use Bluetooth speakers with your Raspberry Pi for audio output, ensuring Bluetooth compatibility. Once properly paired, you’ll enjoy enhanced audio quality while enjoying an innovative, wireless listening experience.
Why Is There No Sound When Using Sonic Pi on Raspberry Pi?
When Sonic Pi’s silence echoes, you might find the melody of misconfiguration. Check your audio settings, guarantee updated software, and navigate ALSA or raspi-config to access the harmonious sound you seek. Your creativity deserves it!
What Troubleshooting Steps Should I Take Before Reinstalling Audio Drivers?
Before reinstalling audio drivers, check for driver conflicts and adjust your audio settings accordingly. Verify connections, and make certain the correct output device is selected to diagnose potential issues effectively without unnecessary reinstallation.
Conclusion
In troubleshooting Raspberry Pi audio issues, remember, every cloud has a silver lining. By checking your default output configuration, ensuring your system is up to date, and tweaking PulseAudio settings, you can often resolve the problems. Don’t hesitate to reach out for online support if you need a helping hand. With patience and a bit of exploration, you’ll be back to enjoying crisp audio in no time, making your Raspberry Pi truly sing!

I am a retired software engineer with experience in a multitude of areas including managing AWS and VMWare development environments. I bought a relative a mini-PC a year ago and have become passionate about the technology and its potential to change how we deploy software.
Hey Michael! Great resource to troubleshoot audio issues on a pi! It really covers a lot.
Unfortunately I seem to have an issue that is not described anywhere and it’s getting worse by the minute! I run a RPi5 8gb in an Argon NEO 5 case with a 512GB Transcend NVMe SSD installed. I used it with a keyboard, mouse and speaker connected via bluetooth. I use it a lot as an audio streaming device. All was running fine until some time ago when the audio started cutting out for very short moments (<1Sec). I found out that when I disconnect all bluetooth devices it stops and when I (re)connect them again it starts again.
Do you have any idea what could be causing this?
One possible cause is a conflict between BT and WiFi. Apparently they both share the 2.4 Ghz band and this can lead to conflicts.
Another possible cause is the SSD. Certain SSDs may emit EMI, affecting BT performance.
Some questions:
1. Is the Raspberry Pi connected to a Wi-Fi network during audio streaming?
2. If using Wi-Fi, is it operating on the 2.4 GHz or 5 GHz band?
3. What is the exact model of the Transcend NVMe SSD?
4. Has the Raspberry Pi OS been updated to the latest version?
5. Do other Bluetooth audio devices exhibit the same issue when connected to the Raspberry Pi?
6. Are there any USB 3.0 devices or other potential sources of interference near the Raspberry Pi?
Two things I would try right away btw
– patch if you haven’t and just try rebooting – I have found sometimes computers act weird if they are not rebooted once in awhile.
– try only using the 5 Ghz band if possible