
Powering Through: Why Your Raspberry Pi Deserves Uninterrupted Protection
In the world of DIY computing projects, your Raspberry Pi often serves as the beating heart of critical systems—from home automation hubs to media servers, security systems to data collection nodes. Yet this mighty minicomputer faces a significant vulnerability: power interruptions. When the lights flicker and power fades, your carefully crafted projects can come crashing down, potentially corrupting data, damaging hardware, and requiring hours of restoration work.
Enter the Uninterruptible Power Supply (UPS)—the unsung hero that stands guard between your Raspberry Pi and the unpredictable nature of power delivery. More than just a backup battery, a properly configured UPS serves as a comprehensive power management solution that can detect outages, regulate voltage, communicate status updates, and orchestrate graceful shutdowns when necessary.
This guide will walk you through everything you need to know about implementing a UPS solution for your Raspberry Pi—from hardware selection and physical setup to software configuration and monitoring. Whether you’re protecting a mission-critical application or simply tired of unexpected reboots interrupting your projects, you’re about to discover how a UPS can transform your Raspberry Pi into a truly reliable computing platform that keeps running when everything else shuts down.
Key Takeaways
- Choose a compatible UPS model with USB connection for easy integration with your Raspberry Pi and ensure driver support is available.
- Connect the UPS to the Raspberry Pi and verify its recognition using ‘lsusb’ to confirm vendor and product IDs.
- Install necessary software like NUT or APCUPSD and configure appropriate settings in their respective configuration files for optimal performance.
- Set up automated shutdown procedures to prevent data loss, ensuring the Raspberry Pi can gracefully shut down during power outages.
- Monitor the UPS status in real-time using dashboards or command-line tools, and configure alerts for critical power events.
What is a UPS and Why Would You Need One For A Raspberry Pi?

An Uninterruptible Power Supply (UPS) is a critical power backup device that provides emergency power when your main power source fails. For Raspberry Pi implementations, a UPS acts as a protective bridge between your board and the main power supply, offering both backup power capabilities and voltage regulation to prevent damage from power fluctuations.
Think of a UPS as an intelligent battery system that seamlessly switches to battery power during outages, much like a laptop battery keeps your computer running when unplugged. However, unlike a simple battery pack, a UPS includes sophisticated circuitry for voltage regulation, surge protection, and controlled shutdown capabilities.
Here’s why a UPS becomes essential for Raspberry Pi setups:
| Scenario | Impact Without UPS | UPS Solution |
| Sudden Power Outage | System crash, potential SD card corruption | Automatic switchover to battery power |
| Voltage Fluctuation | Component stress, potential hardware damage | Voltage regulation and surge protection |
| Brownouts | Unstable operation, system resets | Consistent power delivery |
| Extended Downtime | Complete system shutdown | Controlled operation and graceful shutdown |
Key applications where a UPS becomes particularly crucial include:
- Home automation hubs requiring 24/7 uptime
- Network attached storage (NAS) systems
- Security camera servers
- Remote monitoring stations
- Critical data collection systems
- Home media servers
- Internet gateways and routers
A properly sized UPS for a Raspberry Pi typically provides several hours of backup power, depending on the battery capacity and power consumption of your specific setup. Modern UPS systems designed for single-board computers like the Raspberry Pi often include features such as:
- Real-time battery monitoring
- USB communication for automated shutdown
- Smart charging algorithms
- Temperature monitoring
- Mobile notifications
- Web-based management interface
Setting Up the UPS Hardware
When setting up the UPS on a Raspberry Pi, you’ll first want to verify that you’ve chosen a compatible UPS model. Begin by consulting the official hardware compatibility list, confirming the UPS supports the Network UPS Tools (NUT). Look for a model with a USB connection; this makes integration with your Raspberry Pi straightforward. Additionally, using NUT on Raspberry Pi allows for simplified monitoring of UPS backup power during outages.
Once you’ve selected a UPS, connect it to your Raspberry Pi using a USB cable. Run the ‘lsusb’ command to list connected devices; identify your UPS by its vendor and product IDs—this step confirms that the hardware specifications match your requirements. Ensure your UPS model has programmable BACK-TO-AC auto power-up functionality to facilitate reliable operation after power outages.
Make certain the UPS you choose is fully compatible with your specific Raspberry Pi model. Different UPS models may necessitate distinct drivers, such as ‘usbhid-ups,’ which is common among many devices.
When connecting components, double-check that all necessary cables and adapters are secure to prevent disconnections.
If you’re using a UPS module like the UPS Plus V6, also verify battery polarity and type, such as 18650 lithium batteries. Setting up correctly guarantees peak performance and reliability for your Raspberry Pi project.
Configuring the UPS Software
As you prepare to configure the UPS software for your Raspberry Pi, it’s essential to choose between two primary options: APCUPSD or NUT, each offering distinct features tailored to your needs.
For APCUPSD configuration, install the software using your package manager and connect your UPS to the Raspberry Pi via USB.
Edit the configuration file by running ‘sudo nano /etc/apcupsd/apcupsd.conf’, setting a unique UPS name (e.g., ‘UPSNAME PIMON’) and adjusting necessary parameters like UPS detection and communication settings.
Additionally, it’s crucial to ensure that system packages are regularly updated before the installation to enhance reliability.
Make certain you save and exit, then restart the APCUPSD service to apply your changes. To help safeguard against potential data corruption, implementing proper shutdown procedures is vital.
In contrast, for NUT installation, follow a similar installation process. Again, connect your UPS via USB and edit ‘sudo nano /etc/nut/ups.conf’ to detail the UPS driver and specifics like port and vendor ID.
Add a unique name and configure the monitoring details in ‘upsmon.conf’, setting up password authentication for security.
Whichever option you select, be sure to test the configuration, guaranteeing proper monitoring and shutdown procedures, thereby enhancing your Raspberry Pi’s reliability during power interruptions.
Integrating With NUT
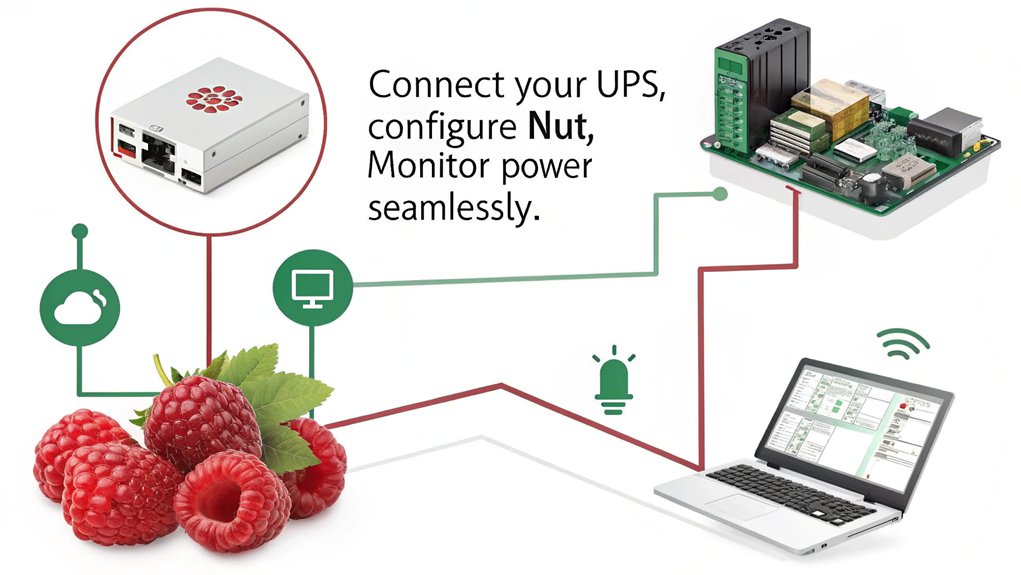
Integrating Network UPS Tools (NUT) with your Raspberry Pi enables efficient power management and monitoring, guaranteeing uninterrupted operation during outages. To start, update your package list with ‘sudo apt update’ and make certain your system is up-to-date by running ‘sudo apt upgrade’. Next, install NUT using ‘sudo apt install nut’. This command integrates both client and server components, essential for seamless UPS configuration.
After installation, configure the UPS on a Raspberry Pi by editing the ‘/etc/nut/ups.conf’ file. Here, you’ll add significant entries such as the UPS name, driver, port, vendor ID, and product ID. Many CyberPower devices work with the usbhid-ups driver despite not being listed on outdated compatibility lists. Furthermore, you can utilize multiple UPS devices with automated discovery features to enhance your setup.
Then, specify service details in ‘upsd.conf’, setting the appropriate IP and port. For user access, modify ‘upsd.users’ to create a list of users permitted to interact with NUT services; confirm that passwords are stored securely. For enhanced functionality, consider web-based monitoring by installing ‘apache2‘ and ‘nut-cgi’. This allows you to track UPS performance through a web interface.
Monitoring and Managing the UPS
To effectively monitor and manage your UPS on a Raspberry Pi, you’ll need to set up a dashboard that provides real-time insights into its status. You’ll also want to configure power event notifications to stay informed about critical issues like outages or battery failures. Utilizing various status monitoring tools will empower you to optimize your UPS’s performance and guarantee reliable operation for your Raspberry Pi. Incorporating features such as integrated boost converter will enhance the reliability and efficiency of your system.
Dashboard Setup Options
Setting up a dashboard for monitoring and managing your UPS on a Raspberry Pi offers a streamlined approach to oversee power conditions and device status. You can utilize Network UPS Tools (NUT) or APCUPSD, depending on your UPS model and preferences. For NUT, install the system using a package manager, guaranteeing your UPS is recognized with the ‘lsusb’ command. Configure the ‘ups.conf’ and ‘upsmon.conf’ files to include essential parameters, then restart the NUT server to monitor your UPS status. The Pi Zero W allows for low power consumption while ensuring prolonged UPS monitoring.
To create a user-friendly web interface, install Apache to host the NUT-CGI web interface. Access this interface through your Raspberry Pi’s IP address, enabling real-time monitoring of UPS data. Remember to focus on dashboard customization, tailoring the user interface to simplify monitoring of multiple UPS units. Additionally, the UPS for Raspberry Pi provides over one hour of backup power, which enhances its utility in critical situations.
Alternatively, you can employ command-line monitoring using the ‘upsc’ command for specific UPS parameters such as battery level and input voltage, which can be further integrated into automation scripts. Whichever method you choose, guarantee it aligns with your innovative monitoring goals, allowing you to respond efficiently to your power conditions.
Power Event Notifications
Once you’ve established a monitoring dashboard, it’s important to implement power event notifications to respond promptly to changes in your UPS status. By leveraging scripts in tools like ‘apcupsd’ or NUT, you can automate notifications that keep you informed about critical power events. This UPS monitoring aims to prevent power loss incidents, ensuring that you are always alerted to any status changes in your system. Ensuring that your UPS configuration is correctly set up using NUT software will enhance the reliability of your notifications.
Here’s a brief overview of how to set this up:
| Power Event Trigger | Notification Action |
|---|---|
| On Battery | Send an email alert |
| Power Restored | Notify successful recovery |
| Scheduled Events | Periodic status updates |
Begin by setting up ‘apcupsd’ event scripts in the ‘/etc/apcupsd/’ directory, particularly modifying the ‘onbattery’ and ‘offbattery’ scripts to include your SMTP settings for email notifications. For NUT users, update ‘upsmon.conf’ and utilize the ‘upssched’ command to facilitate notification automation during battery changes. Confirm to test your scripts by simulating power failures, verifying that alerts trigger accurately. Integrating these systems optimizes your Raspberry Pi’s resilience against power outages, providing a proactive approach to power management that emphasizes innovation and reliability in monitoring.
Status Monitoring Tools
Effective monitoring and management of your UPS are essential for maintaining system reliability and minimizing downtime. By leveraging tools like APCUPSD and NUT, you can considerably enhance your UPS oversight capabilities.
APCUPSD offers benefits such as straightforward installation and configuration on your Raspberry Pi, particularly for APC and compatible UPS brands. It provides instant access to detailed UPS parameters via the ‘apcaccess’ command, allowing you to retrieve real-time battery status and power source data.
On the other hand, NUT boasts a wider range of compatibility with various UPS models, providing thorough status monitoring and configuration options. Its command-line tools like ‘upsd’ and ‘upsmon’ facilitate efficient management, enabling you to query UPS data remotely. This versatility makes NUT a strong candidate for integrating with virtual devices to display UPS status in Hubitat. Additionally, the implementation of ‘nutupsd‘ enables you to expose UPS statistics for monitoring in real time.
Both tools can integrate seamlessly with other systems, enabling innovative solutions like dashboards that visualize UPS performance metrics.
For those seeking advanced features, consider using Docker to run NUT services or implementing InfluxDB and Grafana for sophisticated data visualization. In this way, you gain the insights needed to optimize your UPS performance, ensuring your system remains operational even during unforeseen power events.
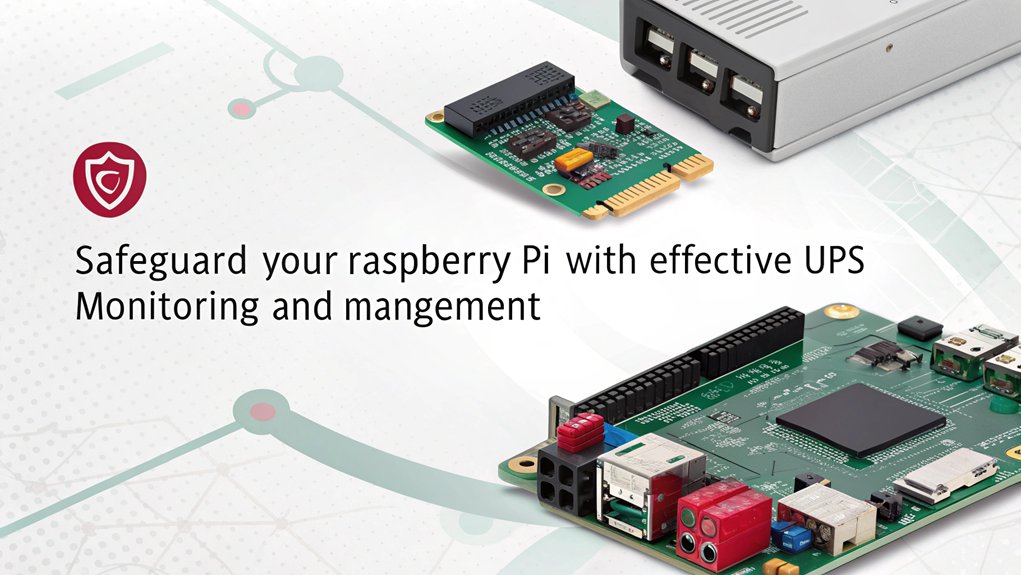
Importance of Using a UPS
Using a UPS with your Raspberry Pi is essential for maintaining data integrity and ensuring continuous operation during power interruptions. This setup not only protects your projects from data loss and SD card corruption but also enhances reliability by allowing safe shutdowns and avoiding hardware damage. Additionally, a UPS provides continuous power during outages, further safeguarding your Raspberry Pi projects from unexpected disruptions. Moreover, certain UPS models, like the König CMP-UPS1200, are compatible with NUT, allowing easier integration for power management.
Data Integrity Protection
Data integrity protection is essential for anyone utilizing a Raspberry Pi, especially in projects involving data collection or sensitive operations. Without a proper Uninterruptible Power Supply (UPS), you risk data corruption, unexpected file losses, and compromised system operations.
To emphasize the importance, consider the following:
- Your hard work could vanish in a blink due to power outages.
- Critical system files may become irretrievably corrupted.
- Ongoing data collection might yield incomplete or inaccurate results.
- Sudden power loss can lead to permanent hardware damage.
- Future updates and backups may fail without reliable power management. Utilizing a UPS setup can significantly mitigate these risks by ensuring clean shutdowns during low battery conditions. Additionally, implementing a UPS offers surge protection to safeguard your system against voltage spikes.
Continuous Operation Assurance
For anyone running critical applications on a Raspberry Pi, having a UPS is a game changer. A UPS offers reliable backup power during outages, ensuring your Raspberry Pi remains operational without a hitch. This uninterrupted operation is essential for applications like web servers and home automation, where sudden shutdowns can lead to hardware damage or SD card corruption. Plus, a UPS manages power efficiency, allowing the system to power down gracefully when battery life wanes, safeguarding your data. Additionally, a UPS functions as a pass-through device, powered via USB-C connection while delivering stable performance.
In environments with unstable power conditions, the UPS serves as a protective barrier against voltage fluctuations that could jeopardize hardware compatibility. It maintains stability, reducing the risk of damage from surges or drops. With some UPS models offering 3-4 hours of backup, you can keep critical applications running, allowing for manual intervention or restoration of power without disarray. Moreover, advanced UPS models can communicate with your Raspberry Pi for automated shutdown procedures, enhancing system reliability. Integrating UPS with power management boards provides crucial information on battery status and runtime predictions, ensuring continuous operation aligns with your innovative project goals. Additionally, using a UPS can help mitigate risks associated with data corruption, allowing for safer operations during unexpected power loss.
Given the increasing demand for high-performance, compact devices like the Mac Mini, ensuring continuous operation with a UPS becomes even more critical in modern computing setups.
With these advantages, a UPS becomes indispensable for anyone serious about leveraging a Raspberry Pi in demanding roles.
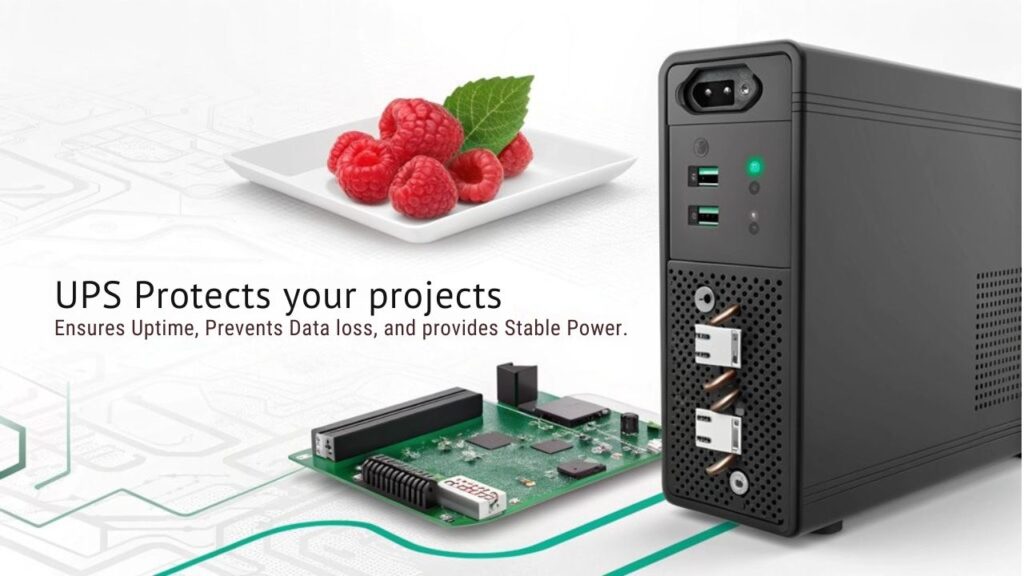
Enhanced Project Reliability
Enhanced project reliability hinges on the integration of a UPS with your Raspberry Pi setup. By implementing a UPS, you notably enhance project performance and increase reliability, protecting your data and hardware from unforeseen disruptions.
- Prevents SD card corruption during unexpected power outages, ensuring your image stays usable.
- Protects against data loss while you’re writing code or files, giving you time to save your work.
- Reduces the risk of hardware damage from sudden power interruptions.
- Maintains system stability by preventing critical processes from being interrupted.
- Allows for graceful shutdowns, ensuring data is saved and the system is prepared for shutdown. Furthermore, the UPS acts as a bridge during power interruptions, maintaining operation and allowing for continued usage of the Raspberry Pi.
With these benefits, the integration of a UPS transforms your project into a robust, resilient system. It’s crucial for projects demanding high availability, such as network routers and home automation systems.
Additionally, it shields against power surges and brownouts, offering a buffer for voltage fluctuations. When configured correctly, it simplifies power management, facilitating smooth communication between the UPS and the Raspberry Pi.
Fundamentally, a UPS isn’t just an accessory; it’s important to achieving uninterrupted service and enhancing the overall reliability of your Raspberry Pi projects.
Choosing the Right UPS

Selecting the right Uninterruptible Power Supply (UPS) for your Raspberry Pi is fundamental to guarantee stable operation and avoid unexpected shutdowns. When evaluating UPS selection criteria, consider compatibility first; verify your UPS works with the specific Raspberry Pi model you’re using, like the Raspberry Pi 3, 4, or Zero. Additionally, support for peripheral devices like external hard drives is essential.
Power capacity considerations play an important role too. Your Raspberry Pi typically requires between 400mA and 2.5A of 5VDC power, so pick a UPS that meets or exceeds these requirements. Look for UPS systems designed for low power consumption to maximize efficiency, particularly lithium-ion options which reduce waste heat.
It’s significant to calculate the total power draw, including the UPS and all connected devices, to determine the appropriate battery capacity in Watt-Hours (WH). For extended runtime, confirm the UPS can provide adequate battery size and features like voltage conversion and battery charging control.
Finally, seek solutions that offer easy setup and thorough documentation for an innovative, hassle-free experience. Properly matching your UPS with your Raspberry Pi enhances both performance and longevity. Ensure the UPS includes Automatic Voltage Regulation (AVR) to correct minor power fluctuations and protect your hardware from under-voltage and over-voltage conditions.
Common Troubleshooting Tips
When using a UPS with your Raspberry Pi, common issues can arise that require systematic troubleshooting. To prevent unnecessary downtime, here are some effective UPS troubleshooting strategies:
- Check charger recognition to verify it’s picked up correctly.
- Verify battery compatibility checks to avoid mismatches leading to system failure.
- Utilize power continuity solutions to maintain a consistent charge during fluctuations.
- Conduct indicator status assessments, making sure LED signals reflect accurate battery health.
- Implement automated detection and alerts for seamless power change management.
Start by verifying your UPS detects the charger. If it doesn’t, try reattaching it or sampling multiple times to rule out momentary dropouts.
If batteries aren’t charging fully, you might encounter voltage issues—double-check the specifications and confirm your UPS recognizes them.
Don’t forget to monitor background scripts for accuracy, as errors could hinder the UPS from reporting its status effectively. Ensure that your setup is robust enough for solar system monitoring, which may involve complex data management and real-time tracking.
Finally, choose the right battery types to prevent compatibility issues. By addressing these points, you can enhance your UPS performance and confirm reliable operation for your Raspberry Pi.
Frequently Asked Questions
Can a UPS Be Used With Other Devices Besides Raspberry Pi?
Yes, a UPS can power other devices besides a Raspberry Pi. Confirm the UPS compatibility by verifying it meets the combined power requirements, and strategically connect devices for efficient power management during outages or disruptions.
How Long Can a UPS Power a Raspberry Pi During an Outage?
How long can a UPS keep your Raspberry Pi running during an outage? Generally, expect a power duration of up to 4 hours, depending on battery capacity and the outage impact on power consumption.
What Type of Batteries Are Recommended for UPS Systems?
For UPS systems, consider lead-acid batteries for budget-friendly options and proven performance. However, lithium batteries offer superior efficiency, lighter weight, and longer lifespans, making them a more innovative choice for advanced applications.
Will Using a UPS Void My Raspberry Pi Warranty?
Using a compatible UPS typically won’t void your Raspberry Pi warranty, as long as it’s not causing hardware modifications or damage. Confirm you check warranty considerations to maintain system integrity while enhancing power reliability.
How Can I Extend the Battery Life of My UPS?
To extend your UPS battery life, implement efficient battery management strategies and enhance energy efficiency. Regularly monitor performance, avoid over-discharging, and keep the operating environment cool. Follow manufacturer recommendations for maintenance and replace batteries when necessary.
Conclusion
By harnessing the power of a UPS for your Raspberry Pi, you’re not just safeguarding your projects; you’re building a fortress against power fluctuations. This shield guarantees your data remains unscathed and your uptime relentless, even when storms brew. Choosing the right UPS and properly configuring it transforms your device into a resilient bastion of innovation. With the tips provided, you can navigate potential issues like a seasoned captain steering through rough waters, guaranteeing smooth sailing for your creations.

I am a retired software engineer with experience in a multitude of areas including managing AWS and VMWare development environments. I bought a relative a mini-PC a year ago and have become passionate about the technology and its potential to change how we deploy software.