
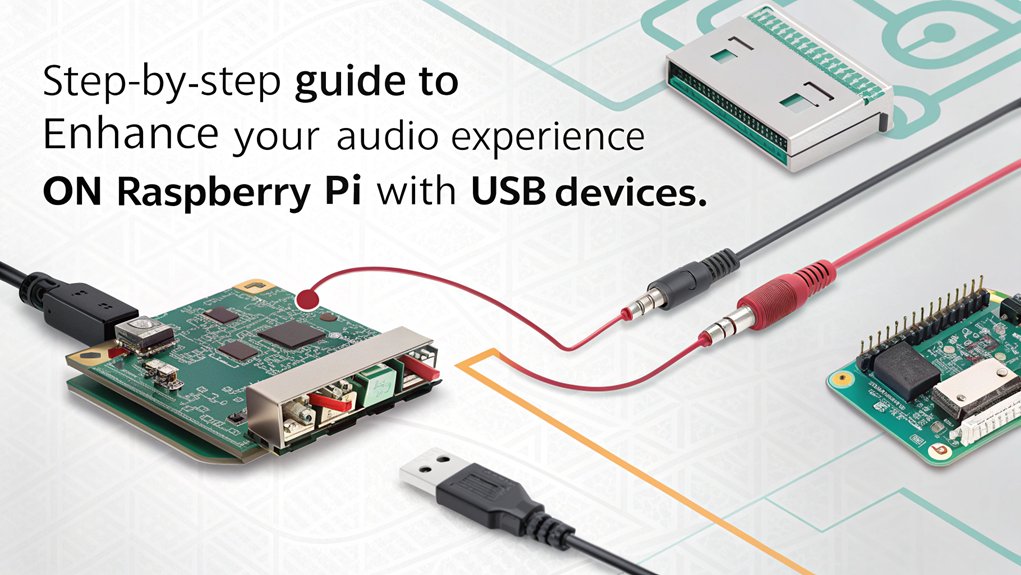
Unleash the hidden audio potential by connecting USB audio devices to Raspberry Pi that transform this compact computing powerhouse into an audiophile-grade sound system. While the Pi’s onboard audio capabilities satisfy basic needs, tapping into external USB sound cards opens a realm of crystal-clear playback, reduced noise, and enhanced volume control that rivals dedicated audio equipment. Whether you’re building a DIY music streamer, creating an immersive gaming setup, or designing a smart home audio solution, the marriage of Raspberry Pi with quality USB audio peripherals delivers exceptional sound fidelity at a fraction of commercial alternatives’ cost. This guide will navigate you through the essential compatibility requirements, straightforward connection processes, and crucial configuration steps to elevate your Raspberry Pi’s audio performance from ordinary to extraordinary, ensuring your digital audio experiences reach their full potential.
Key Takeaways
- Ensure compatibility of USB audio devices with Raspberry Pi models and verify support for Linux-based systems and ALSA drivers before connecting.
- Power down the Raspberry Pi before connecting the USB sound card to avoid hardware issues and ensure proper detection.
- Use commands like ‘lsusb’ and ‘aplay -l’ to verify that the system recognizes the USB audio device once connected.
- Configure ALSA settings and prioritize the USB sound card to ensure optimal audio output by editing relevant configuration files.
- Utilize high-quality DACs and external amplifiers to enhance sound quality, minimize background noise, and achieve a superior listening experience.
Compatibility and Requirements
When connecting USB audio devices to a Raspberry Pi, you’ll need to guarantee compatibility across various models and operating systems. USB audio compatibility is essential, as several Raspberry Pi models, including Raspberry Pi 2, Zero, and Zero W, support USB audio cards. Significantly, the Pi Zero and Zero W, which lack onboard audio jacks, especially benefit from such devices. Moreover, a USB audio adapter enhances sound quality and volume beyond the onboard audio jack, providing an ideal solution for these models.
While older models like the Raspberry Pi 2 work with USB audio cards, you may encounter variability in compatibility. Your chosen USB sound card must also align with your Raspberry Pi’s operating system. Preferably, it should support Linux-based systems and be compatible with the Advanced Linux Sound Architecture (ALSA) drivers. Additionally, using a PCM5122 DAC can further improve audio performance when paired with USB audio devices.
Ensure that your setup includes proper network configuration to manage and troubleshoot any issues remotely. Confirm that the kernel module, such as snd_usb_audio, is compatible and loadable. Additionally, guarantee adequate USB power, as some sound cards require external power supplies. It’s also essential to take into account the hardware specifications of your USB audio card. Quality codecs, compact design, and additional features can enhance your audio experience.
Installation and Connection of USB Audio Devices to Raspberry Pi
Establishing a successful connection between your USB audio device and Raspberry Pi involves careful installation and configuration. Begin by physically connecting the USB sound card to a free USB port on your Raspberry Pi. Make sure to power down the device first to prevent any potential damage. Once connected, power on the Raspberry Pi and check for system recognition. Use the following commands for hardware troubleshooting:
- ‘lsusb’ to list all USB devices
- ‘lsmod | grep snd_usb_audio’ to verify the kernel module is loaded
- ‘aplay -l’ and ‘arecord -l’ to identify playback and capture devices
Ensure that power management is also considered. If your sound card requires more power than the USB port can provide, connect an external power supply. Regularly monitor system logs with ‘sudo tail -f /var/log/messages’ to catch any issues early. This step can be essential for maintaining stable connectivity. Additionally, checking Linux support for the sound card before purchasing can help prevent compatibility issues. After confirming that the USB sound card is detected, perform a sound test using the ‘speaker-test’ command to validate your connection. Using a high-resolution audio output, such as DAC PRO, can significantly enhance the audio quality of your connections.
With these steps, you’ll be well on your way to achieving superior sound quality on your Raspberry Pi. Furthermore, using a Raspberry Pi equipped with an audio card can significantly enhance the audio output quality of your connections.
Configuration of ALSA Drivers
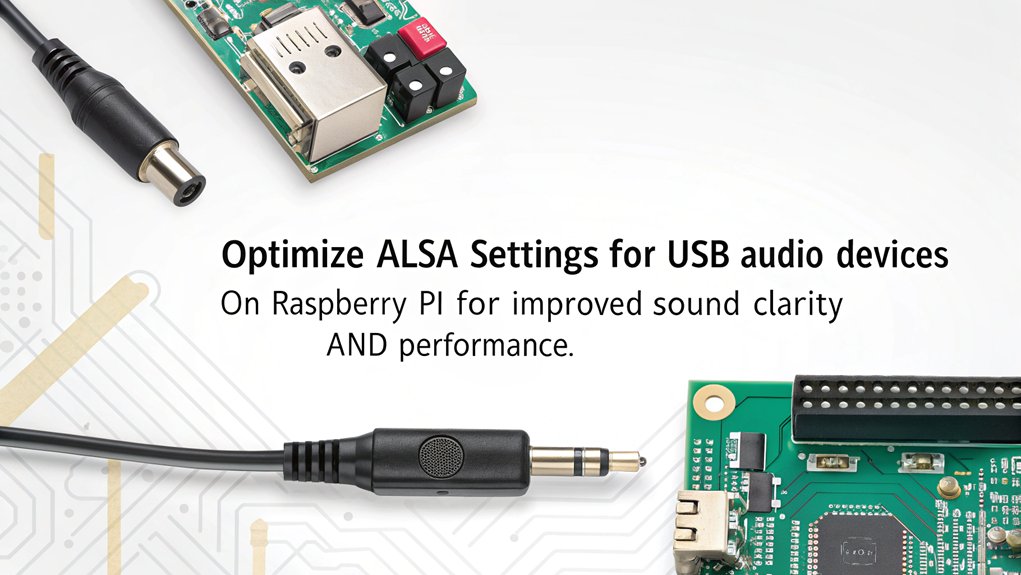
After confirming your USB audio device is recognized by the Raspberry Pi, the next step involves configuring the ALSA drivers to ascertain proper functionality and peak audio performance. Start by identifying your USB audio device using the command ‘cat /proc/asound/cards’. Look for “USB Audio” in the output to determine its device number.
Next, disable the built-in audio by editing ‘/etc/modprobe.d/raspi-blacklist.conf’ to include ‘blacklist snd_bcm2835’, then save and reboot.
You’ll then configure ALSA settings. Edit ‘/lib/modprobe.d/aliases.conf’ and comment out ‘options snd-usb-audio index=-2’ to allow your USB card to be prioritized.
Verify its status with ‘sudo aplay -l‘.
Additionally, ensure that you have installed the necessary ALSA utilities to facilitate optimal audio configuration.
To enhance audio performance, consider the installation of “pulseaudio(https://www.freedesktop.org/wiki/Software/PulseAudio/)” which can help address compatibility issues with certain USB DACs.
For testing, use ‘aplay’ to check audio playback and ‘speaker-test’ to validate speaker output. Don’t overlook troubleshooting ALSA if issues arise; edit ‘/usr/share/alsa/alsa.conf’ if necessary.
Consider creating custom configurations within ‘asound.conf’ to tailor performance specifically for your USB DAC. This meticulous approach guarantees peak audio quality and prepares your system for an innovative sound experience.
Setting Default Audio Devices
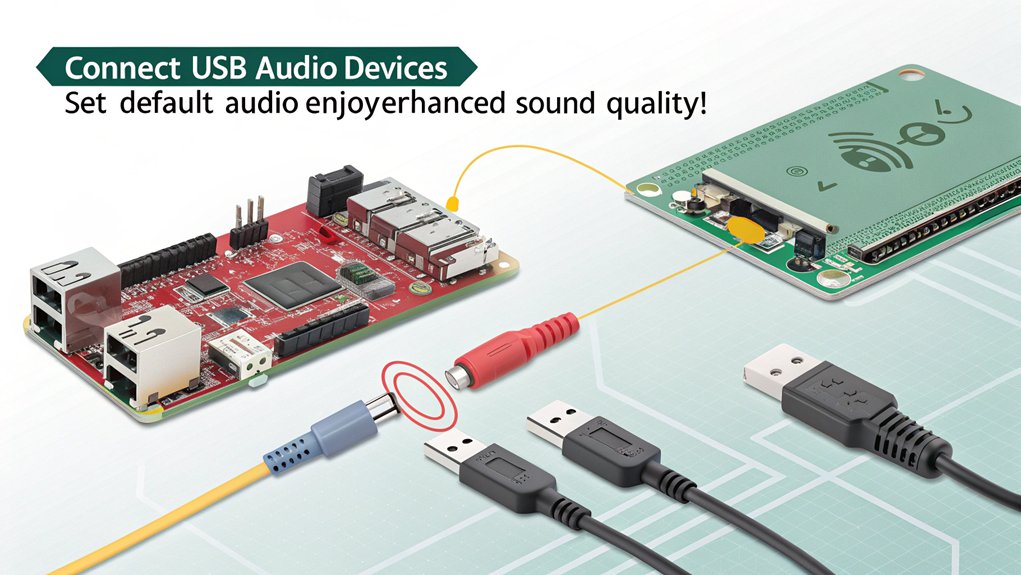
Setting the default audio device on your Raspberry Pi is essential for achieving superior performance with your USB audio hardware.
To guarantee the best audio device selection, follow these steps:
- Use ‘aplay -L’ or ‘aplay -l’ to list your available audio devices, and ‘cat /proc/asound/cards’ to view the connected audio cards.
- Open ‘alsamixer’ in the terminal, press F6, and select your desired USB audio device. Adjust the volume and check that it’s not muted.
- Store your ALSA configuration with ‘alsactl store’, or edit the ‘~/.asoundrc’ file to specify your default device for permanent changes. This is important because user-specific configurations can address sound issues related to permissions. Additionally, switching to a USB sound card is recommended as a robust solution to bypass typical onboard sound issues, enhancing reliability.
For temporary audio settings, you can use the command ‘aplay -D file.wav’.
If you’re using PulseAudio, remember to run ‘pacmd set-default-sink ‘, and restart PulseAudio as needed.
Modifying ‘/etc/asound.conf’ allows for system-wide settings.
Enhancing Sound Quality
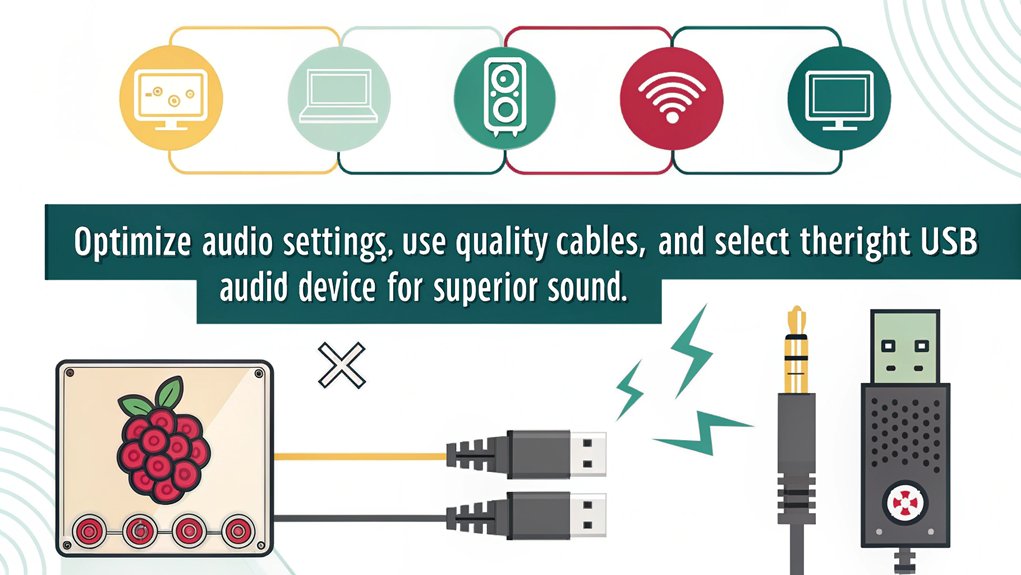
To enhance sound quality in your Raspberry Pi audio setup, you should focus on both hardware and software upgrades. Implementing external sound cards and amplifiers can markedly improve sound fidelity, volume, and clarity, while fine-tuning your audio drivers and settings guarantees ideal performance. Additionally, ensuring audio output options are compatible with your setup can further elevate your listening experience. Utilizing cheap USB audio devices is an excellent way to achieve significant audio enhancements without breaking the bank.
Improved Sound Fidelity
Improved sound fidelity when connecting USB audio devices to a Raspberry Pi hinges on several critical factors. Understanding how these elements come together can greatly elevate your audio experience, especially when dealing with advanced audio formats and sound processing.
- Device Compatibility: Verify your USB audio device, especially those with C-Media chipsets, is compatible with the Raspberry Pi. Ensuring compatibility is crucial due to the 64-bit architecture of the Raspberry Pi.
- Noise Management: Consider the Type of DAC you’re using, as quality can greatly affect noise rejection. Jack must be configured correctly for Sonic Pi to recognize USB devices, which ensures seamless audio playback.
- Software Configuration: Properly configure Raspbian settings and tools like JACK for ideal output. This involves utilizing the full capabilities of the Linux OS, which supports multitasking and extensive customization.
The Raspberry Pi 4 provides notable advantages over older models, thanks to better USB audio quality and reduced electrical noise. Additionally, the improved USB audio performance of the RPi 4 allows for a clearer sound experience compared to previous models.
However, keep in mind that the quality of your DAC will influence how well it copes with noise introduced by the USB connection. This is particularly important given the high RAM capacity of the Raspberry Pi, which can handle complex audio processing tasks.
Subjective listening tests suggest that with the right setup, the Raspberry Pi can compete with dedicated audio devices, leading to a rich, immersive listening experience.
Balancing these technical considerations allows you to maximize the sound fidelity of your Raspberry Pi audio setup, transforming it into a robust sound processing hub.
Volume and Clarity Enhancement
Releasing the full potential of your audio setup involves meticulously adjusting volume and enhancing clarity through USB audio devices connected to your Raspberry Pi.
Employing effective volume control techniques is vital. By using software like AlsaMixer, you can fine-tune volume levels with precision; simply press F6 to select your sound device and navigate using arrow keys. Setting levels to ideal points helps avoid distortion and clipping, guaranteeing a more pleasant listening experience. Additionally, adjusting volume through code enables seamless integration and flexibility in managing audio levels for various projects.
To enhance audio clarity, consider integrating external sound cards, which reduce background noise and hiss considerably. High-quality USB audio devices mitigate white noise, allowing for clearer sound reproduction. Proper configuration of audio drivers, such as ALSA or PulseAudio, is essential; keeping them updated guarantees optimal clarity. Implement equalization techniques to balance frequency components, further improving clarity.
Additionally, utilizing SSH and terminal commands to adjust your volume allows for real-time changes without physical interaction.
Remember that a well-configured audio environment, incorporating noise-reduction features of USB audio adapters, can greatly enhance your overall sound quality, offering an immersive listening experience that showcases the true capabilities of your Raspberry Pi audio setup.
Advanced Configurations and Software

In advanced configurations, you can optimize your USB audio setup using tools like JACK Audio Connection Kit and RNBO Runner for efficient audio management. Choosing an audio device is essential for ensuring proper audio output setup, allowing you to select the best option for your specific project. You’ll also benefit from integrating PipeWire with Bluetooth to enhance your connectivity options. These configurations allow you to fine-tune audio outputs, ensuring superior performance for your projects, while also being mindful of buffer size range to prevent audio playback issues.
Using JACK Audio Connection
Utilizing JACK Audio Connection Kit on your Raspberry Pi opens up a world of real-time audio and MIDI capabilities, enhancing your audio projects markedly. JACK acts as a professional sound server, providing low-latency connections for both audio and MIDI data and allowing for advanced JACK routing configurations. To harness JACK effectively, consider the following:
- JACK Installation: You’ll need to install JACK and manage audio devices through the ‘jackd’ daemon.
- Configuration: Access settings via the command line or OSC messages to select your active soundcard and set parameters like sample rate. Note that proper audio configuration attempts are essential for ensuring your device recognizes and utilizes the correct output. Furthermore, make sure to disable onboard audio to prioritize your USB audio device.
- Integration: Combine JACK with various audio applications for seamless management of soundcards and low-level settings.
For peak performance, use tools like ‘aplay’ or ‘omxplayer’ to test audio output.
Monitor kernel logs to ascertain the correct driver is active, and if issues arise, utilize ‘alsamixer’ for adjustments.
Additionally, automating your configurations with OSC can streamline your workflow and enhance your audio projects’ efficiency.
Configuring RNBO Runner
Configuring the RNBO Runner offers powerful options for tailoring audio settings to meet your project’s unique needs.
You’ll begin by selecting the appropriate audio output device through the “Audio: Interface” option in the export sidebar. If you only see the “Dummy” soundcard, reconnect your audio device.
Make certain you choose a suitable sample rate using the “Audio: Sample Rate” option—available selections include 22050, 44100, and 48000. If you need a rate not shown in the menu, use the OSC interface for advanced configurations. Additionally, it’s crucial to ensure that correct paths are set up, as they are critical for successful builds and configurations. This interface allows you to manage listener ports effectively for improved communication with your audio devices.
To optimize performance, leverage the OSC interface for configuring JACK settings. By sending OSC messages, you can specify the audio device and sample rate tailored to your hardware capabilities.
Don’t forget to activate your changes using the ‘/rnbo/jack/active’ path, making sure JACK runs in real-time mode if necessary.
For troubleshooting glitches, verify your audio device is recognized using ‘lsusb’ and make sure ALSA identifies it correctly.
If you’ve made changes but don’t see results, consider restarting JACK and revisiting your settings.
A thorough understanding of these configurations allows you to maximize your audio experience on the Raspberry Pi.
Integrating Pipewire With Bluetooth
Integrating Pipewire with Bluetooth expands your Raspberry Pi’s audio capabilities, allowing seamless wireless connectivity with various devices.
By leveraging Pipewire’s advanced features, you can achieve superior audio synchronization, particularly for Bluetooth streaming. Here’s how to get started:
- Install Pipewire, Pipewire-Pulse, and the WirePlumber using ‘sudo apt install pipewire pipewire-pulse wireplumber’.
- Configure BlueZ for Bluetooth support by installing ‘bluez’ and ‘bluez-alsa-utils’, while enabling automatic re-pairing in ‘/etc/bluetooth/main.conf’.
- Create a systemd unit file to manage Bluetooth speaker agents on boot, guaranteeing your audio setup is always ready.
To connect, put your Bluetooth device in pairing mode and use ‘bluetoothctl’ for seamless pairing.
The ‘bluealsa’ service will efficiently manage your audio connections, streamlining your experience. Confirm to set the audio output correctly with ‘amixer cset numid=3 1’ for analog outputs.
Optionally, automate the discovery mode with ‘hciconfig hci0 piscan’ when devices disconnect, ensuring uninterrupted audio playback and quick reconnections.
With these configurations, you’ll enjoy robust Bluetooth streaming with uncompromised audio synchronization.
Frequently Asked Questions
Can I Use Multiple USB Sound Cards Simultaneously?
You can’t reliably use multiple sound cards with the Raspberry Pi 4B due to bandwidth restrictions. For improved audio performance, consider using USB hubs or exploring software solutions, but results may vary based on configuration and application.
What Is the Difference Between USB Sound Cards and HDMI Audio?
USB sound cards offer superior DAC quality and enhanced processing capabilities, while HDMI audio has limitations in flexibility and can’t utilize external sound solutions. Your choice hinges on audio quality versus setup simplicity for innovation.
Will a USB Sound Card Work With Other Linux Distributions?
Compatibility concerns creep in, but most USB sound cards don’t demand driver support. They typically function seamlessly across various Linux distributions, revealing innovative audio experiences without the hassle of complex configurations or additional installations.
How Do I Troubleshoot Audio Issues on Raspberry Pi?
To troubleshoot audio issues on your Raspberry Pi, guarantee proper audio configuration by verifying device recognition through commands like ‘lsusb’. Test playback effectiveness with ‘speaker-test’ and adjust settings in ‘alsamixer’ and ‘pavucontrol’ as necessary.
Can I Use a USB Microphone With the Sound Card?
Absolutely, you can connect a USB microphone with your sound card. Just verify it’s compatible with your setup—great microphone sound quality awaits if everything aligns properly. Check ALSA support for ideal performance.
Conclusion
Incorporating USB audio devices with your Raspberry Pi not only elevates sound quality but also enhances your overall media experience. While some may worry about compatibility and setup complexity, the straightforward installation and configuration processes mitigate these concerns effectively. By following the outlined steps, you can achieve a significant auditory upgrade without prior expertise. Embrace this opportunity to transform your Raspberry Pi into an advanced audio platform, accessing superior sound performance that traditional outputs simply can’t provide.

I am a retired software engineer with experience in a multitude of areas including managing AWS and VMWare development environments. I bought a relative a mini-PC a year ago and have become passionate about the technology and its potential to change how we deploy software.