
If you want to maximize your Raspberry Pi’s capabilities, knowing these 45 essential Raspberry Pi commands is key. You should start with basics like ‘sudo apt update’ to refresh package lists, or ‘shutdown -h now’ to power off your device. For managing storage, use ‘df -h’ to check disk space and ‘sudo apt autoremove’ to clean up unused packages. System monitoring commands like ‘top’ and ‘free -h’ provide insights into resource usage. Don’t overlook network tools, like ‘ping’ for testing connectivity. Keep exploring, and you’ll discover even more valuable commands to enhance your Raspberry Pi experience.
Key Takeaways
- Use ‘sudo apt update’ to refresh package lists and ensure you have access to the latest software versions available for your Raspberry Pi.
- Employ ‘df -h’ to check disk space usage and monitor available storage on your Raspberry Pi’s filesystems.
- Utilize ‘free -h’ to quickly view total, used, and free memory, helping optimize resource management on your device.
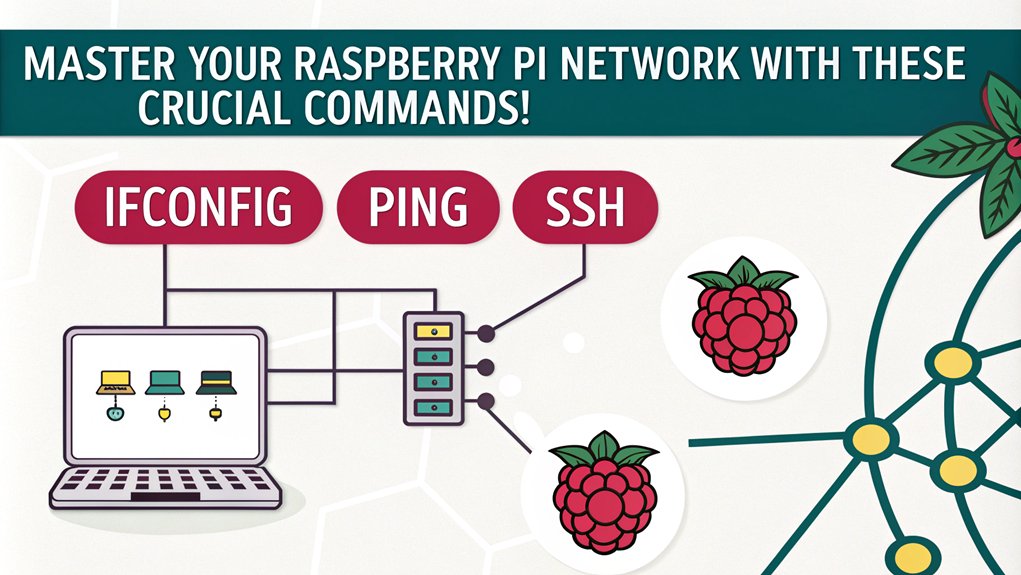
- Run ‘ifconfig’ or ‘ip addr’ to display network interface settings and troubleshoot connectivity issues on your Raspberry Pi.
- Use ‘sudo apt install [packagename]’ to easily install new software packages along with their dependencies on your Raspberry Pi.
| Command | Description | Limitations |
|---|---|---|
| apt autoremove | Removes unnecessary packages and dependencies | Requires sudo privileges |
| apt full-upgrade | Upgrades all installed packages, including kernel updates | Requires internet connection |
| apt install | Installs new software packages | Requires sudo privileges, needs package name |
| apt remove | Uninstalls software packages | Requires sudo privileges, can potentially break system dependencies |
| apt update | Refreshes package lists to latest available versions | Requires internet connection |
| cd | Changes current directory | None |
| chmod | Modifies file and directory permissions | Requires appropriate user permissions |
| chown | Changes file or directory ownership | Requires sudo or root access |
| cp | Copies files and directories | Overwrites files by default without warning |
| df -h | Displays disk space usage in human-readable format | None |
| du -sh | Shows total disk usage for a directory | None |
| find | Searches for files with advanced filtering options | Can be slow on large filesystems |
| free -h | Displays memory usage in human-readable format | None |
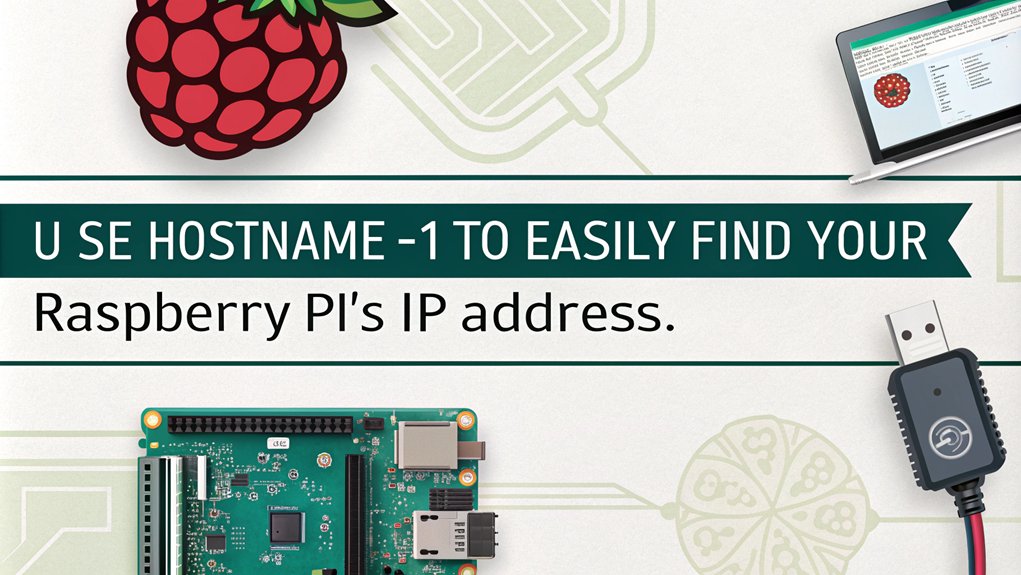
| hostname -I | Shows local IP address | Requires network connection |
| ifconfig | Displays network interface information | Some modern systems recommend using ‘ip addr’ instead |
| kill | Terminates running processes | Requires process ID or name |
| ln -s | Creates symbolic links | Requires source and destination paths |
| locate | Quickly finds files by name | Requires regularly updated database |
| ls | Lists directory contents | None |
| mkdir | Creates new directories | Requires appropriate write permissions |
| mv | Moves or renames files and directories | Overwrites files by default |
| ping | Tests network connectivity | Requires target IP or hostname |
| ps aux | Lists all running processes | Can generate extensive output |
| raspi-config | System configuration tool | Requires sudo access |
| reboot | Restarts the Raspberry Pi | Requires sudo privileges |
| rm | Removes files and directories | Permanent deletion, use with caution |
| shutdown | Powers off or restarts the system | Requires sudo privileges |
| ssh | Enables secure remote access | Requires network configuration |
| sudo | Executes commands with administrative privileges | Requires password |
| systemd-analyze | Analyzes system boot performance | None |
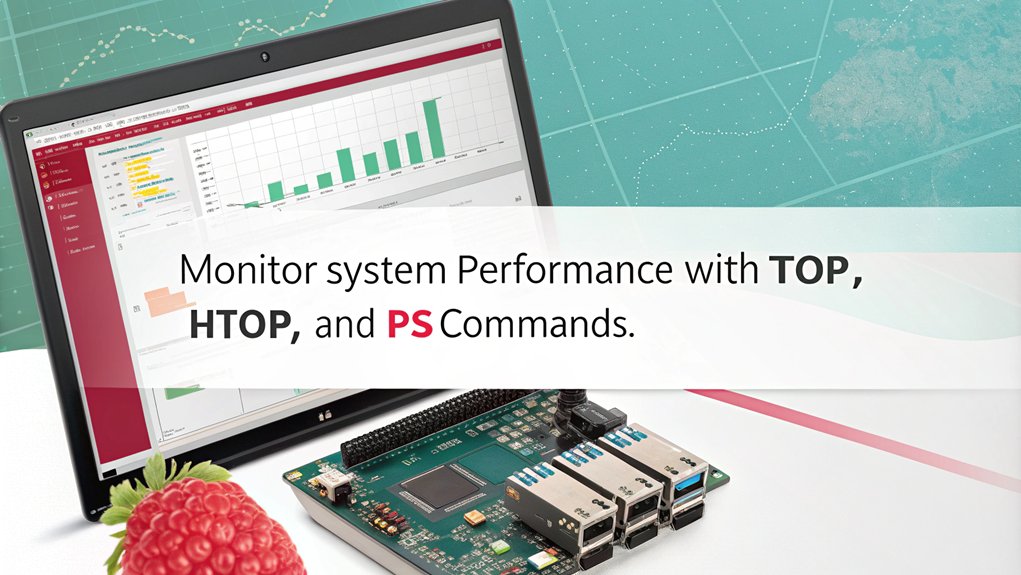
| top | Displays real-time system resource usage | None |
| uname -a | Shows system and kernel information | None |
| uptime | Shows how long system has been running | None |
| vcgencmd measure_temp | Checks system temperature | Specific to Raspberry Pi hardware |
| whoami | Displays current user | None |
General Commands
When working with a Raspberry Pi, knowing some general commands can greatly enhance your experience and efficiency. Mastering terminal navigation is essential as it allows you to maneuver through directories seamlessly. Regularly updating your system with commands like apt-get update ensures you have the latest features and security patches. Utilizing network commands enables you to check connectivity or download files directly from the internet.
Utilize command shortcuts like ‘ls’ for listing files and ‘cd’ to change directories. For file operations, commands like ‘mv’, ‘cp’, and ‘rm’ empower your user management by easily moving, copying, or deleting files. Monitoring system performance is straightforward with commands like ‘uptime’ and ‘free’. When you need to see your command history, simply type ‘history’.
Don’t forget networking basics; use ‘hostname -I’ to find your IP address. These powerful system commands let you harness your Raspberry Pi like a pro.
Package Management
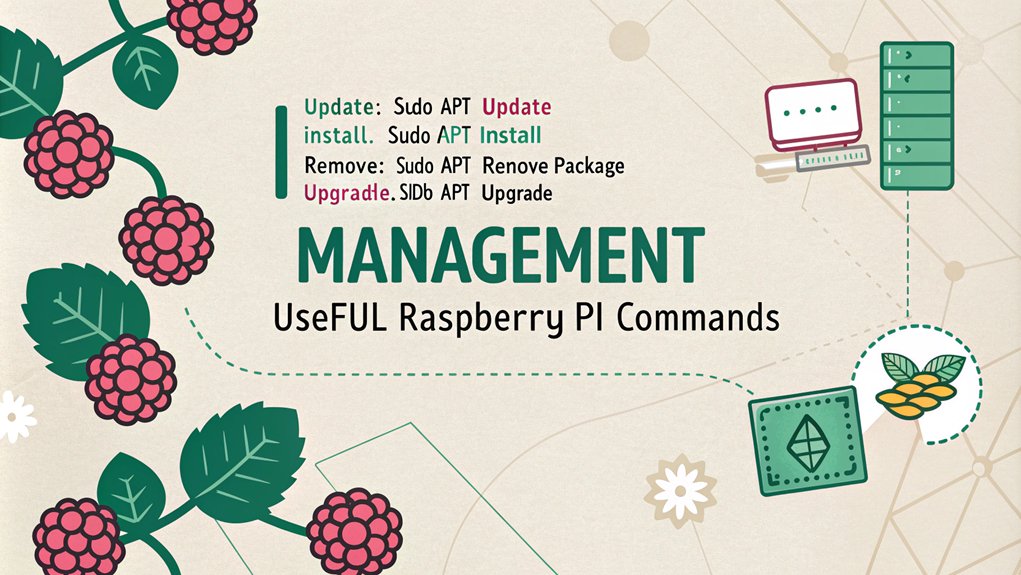
Managing packages on your Raspberry Pi is critical for keeping your system up to date and functional. Start with package updates by running ‘sudo apt update’ to refresh available packages, followed by package upgrades using ‘sudo apt upgrade’ to enhance your system. For installation, use ‘sudo apt install [packagename]’, and be aware of any automatic package dependencies that may arise. Additionally, you have access to thousands of free open-source programs in the repository. To remove a package, try ‘sudo apt remove [packagename]’ or purge it completely with ‘sudo apt purge [packagename]’. Keep your system tidy with ‘sudo apt autoremove’ for unnecessary packages and ‘sudo apt autoclean’ to free space. Participation in community events can also help you discover new packages and gain insights into useful tools. Always verify your package status using ‘dpkg –get-selections | grep [packagename]’ to confirm cleanup and integrity of your installations.
System Information
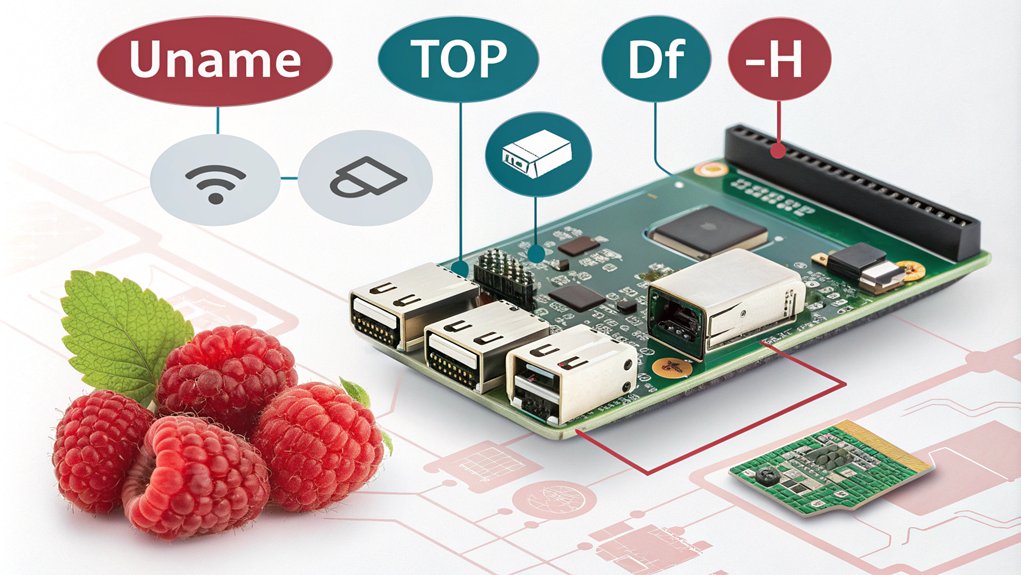
When managing your Raspberry Pi, you’ll want to keep an eye on memory usage, disk space, and system version details. You can quickly check how much RAM you have left and how much disk space is available using simple commands. Understanding these metrics helps guarantee your device runs smoothly and efficiently. Regularly checking system information can provide insights into performance and potential issues that may arise. Additionally, monitoring MemAvailable is crucial for ensuring your projects have sufficient resources to operate effectively.
Checking Memory Usage
To keep your Raspberry Pi running smoothly, it’s essential to regularly check its memory usage. You can start with the ‘free’ command, which displays total, used, and free memory, aiding in effective memory monitoring. This is particularly important because the RAM size impacts overall performance and can change based on the model of your Raspberry Pi. Furthermore, monitoring memory usage is crucial for maintaining system stability and avoiding performance bottlenecks.
For a deeper dive, the ‘top’ command provides a live view of running processes and their memory usage percentage. If you prefer a more visual representation, install ‘htop’ for a user-friendly interface that offers real-time updates and customizable sorting options.
Don’t forget about ‘/proc/meminfo’ for detailed memory stats. By staying on top of these commands, you enhance performance optimization and guarantee your projects run efficiently without unnecessary slowdowns.
Disk Space Overview
After monitoring memory usage, it’s important to keep an eye on disk space as well. You can check disk usage with the ‘df -h’ command, which provides a human-readable overview of your filesystems. For filesystem management, identifying large directories using ‘sudo du -h / –max-depth=1 | sort -hr’ helps in understanding space allocation. Implement cleanup strategies, like ‘sudo apt-get clean’ to clear the APT cache and ‘sudo apt-get autoremove’ to eliminate unused packages. Regular maintenance routines, such as setting up cron jobs for monitoring tools and optimizing files, can enhance disk performance. Additionally, understanding how space management commands like ‘df’ and ‘du’ work can greatly assist in maintaining your disk usage. Don’t forget about backup solutions for critical data while ensuring effective file organization to maximize your storage optimization. Additionally, monitoring your disk space using the ‘df -h’ command is crucial for identifying storage issues before they escalate.
System Version Details
Understanding your Raspberry Pi‘s system version details is vital for effective management and troubleshooting. To check your OS versioning, use the ‘hostnamectl’ command or view the ‘/etc/os-release’ file for thorough details. The importance of knowing OS version cannot be overstated, as it aids in timely updates and enhances security. The ‘lsb_release -a’ command will also provide important release updates, including the code name and version number—both essential for understanding the age of your release, which is often based on Debian. Additionally, being aware of the OS version helps users distinguish between fresh installs and upgrades, which can lead to different system behaviors. For kernel information, run ‘uname -a’ to view your current kernel version and system details without needing root privileges.
Keeping track of these details helps guarantee compatibility checks and prepares you for any updates, maintaining your Raspberry Pi’s performance and aligning it with your innovative projects.
Memory Information

Memory information on a Raspberry Pi is crucial for optimizing performance and diagnosing issues.
You can use the ‘free’ command to quickly check RAM and swap space usage, with options like ‘-h’ for a human-readable format. For continuous monitoring, try ‘free -s 3’ to see updates every three seconds.
To dive deeper into memory analysis, utilize the ‘top’ command, which shows real-time memory usage by processes; sort by memory usage with ‘Shift + m’. Additionally, the ‘top’ command offers detailed views of running processes, helping you identify memory-intensive tasks. Understanding swap space management is also important, as it allows your system to handle memory demands more effectively.
For more detailed insights, ‘vmstat’ can help you monitor memory in real-time, while ‘htop’ offers an interactive view—install it with ‘sudo apt install htop’.
These tools are essential for effective RAM optimization and maintaining system efficiency.
Storage Partitions
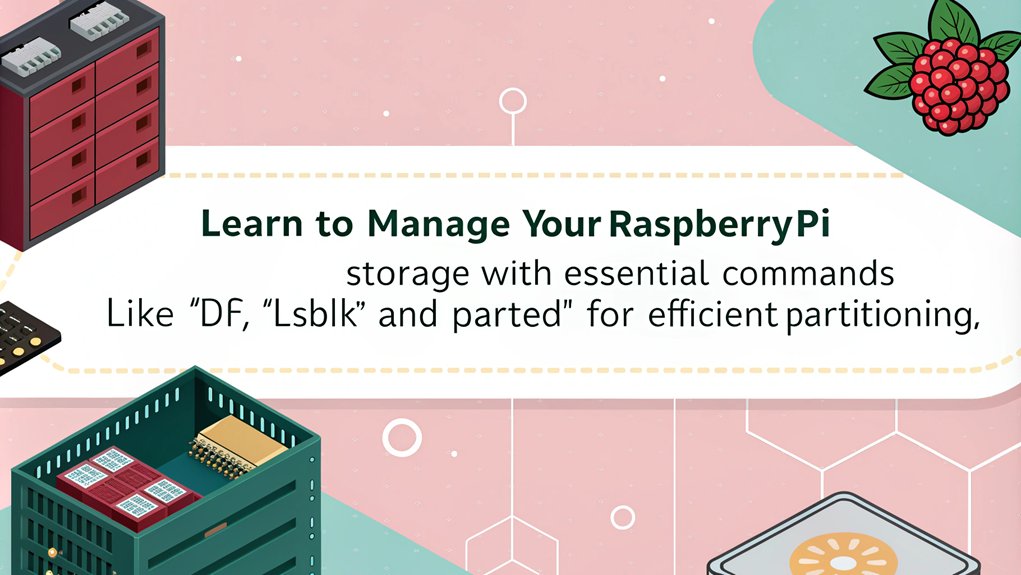
To manage your storage partitions effectively, you need to view partition information and check disk space usage. Use commands like ‘sudo blkid’ and ‘df -h’ to gather essential details about your partitions and how much space they’re using. Regularly monitoring this information helps keep your Raspberry Pi running smoothly and guarantees you don’t run out of storage. Additionally, it’s important to create backups of any data on the drive to prevent loss during the partitioning and formatting process. Implementing tools like Disk Usage Analyzer can also provide a graphical representation of your disk space usage, making it easier to identify large directories.
Viewing Partitions Information
Many users find that viewing partition information on their Raspberry Pi is essential for effective storage management, especially when setting up projects involving home automation.
You can utilize the ‘fdisk’ command by typing ‘sudo fdisk -l’ to list all disk partitions, including their size, sectors, and file system types.
For a more detailed view, ‘parted’ offers a similar function with ‘sudo parted -l’, which highlights partition tables and disk flags.
To identify disk devices, use ‘hwinfo –block –short’, which provides a quick overview of all connected storage devices.
Additionally, commands like ‘cat /proc/partitions’ and ‘lsblk’ can enhance your understanding of partition layouts.
Together, these tools empower you with effective partition management and insights into disk formatting.
Checking Disk Space Usage
Keeping track of disk space usage on your Raspberry Pi is essential for maintaining superior performance and preventing storage issues. Use the command ‘df -h’ to check disk space in a human-readable format. This command displays filesystems, their size, used space, available space, and usage percentage, helping you manage your storage effectively. Understanding file system access is crucial, as the output of the ‘df’ command reflects the perspective of the user running it, showing only accessible file systems. If you want to dive deeper into specific directories, ‘du -sh ~’ reveals disk snippets used by that directory. You can also visualize your usage with Disk Usage Analyzer, great for pinpointing bloated directories.
Raspberry Pi Version

When exploring Raspberry Pi versions, you’ll find a range of models designed to cater to various needs and applications. If you’re deciding between the Raspberry Pi 3 vs Raspberry Pi 4, here’s a quick comparison:
| Feature | Raspberry Pi 3 | Raspberry Pi 4 |
|---|---|---|
| Processor Speed | 1.2 – 1.4 GHz | Up to 1.5 GHz |
| RAM Options | 1 GB | 1, 2, 4, or 8 GB |
| Connectivity | Wi-Fi 802.11n, Bluetooth | Wi-Fi 802.11ac, Bluetooth 5.0 |
For beginners, the Raspberry Pi 3 Model B is often recommended due to its simplicity and ample features. However, the Raspberry Pi 4 offers superior performance, making it ideal for more advanced projects. The Raspberry Pi 5, announced in September 2023, is reported to be over twice as powerful as the Pi 4, further enhancing the options available for users. Additionally, the Raspberry Pi 400 features a built-in keyboard and a powerful quad-core processor, catering to those looking for an all-in-one solution.
Disk Space Usage
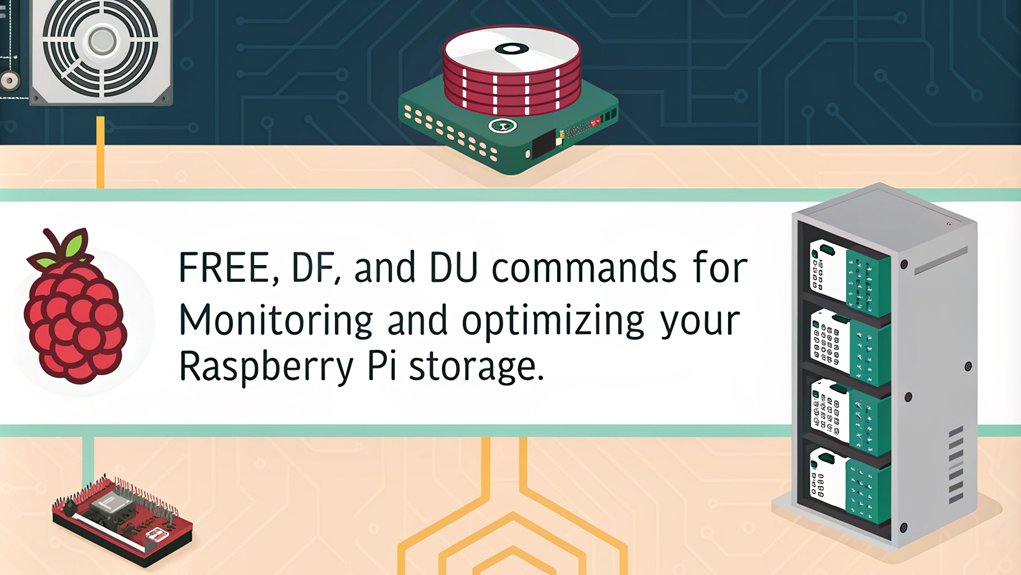
Monitoring your disk space usage is essential to keep your Raspberry Pi running smoothly. You can use commands like ‘df’ and ‘du’ to check overall disk usage and analyze specific directories. Understanding how your storage is allocated helps you manage your partitions effectively and free up space when needed, especially when working with resource-intensive tasks like 4K video playback. Regularly checking your disk space can help prevent out-of-space errors that might disrupt your Raspberry Pi’s performance. It is also important to ensure that your OS is updated regularly to maintain system integrity, as updating can sometimes require additional disk space for new packages and security patches, such as those provided through APT updates.
#
Check Disk Usage
Often, you’ll want to check disk usage on your Raspberry Pi to verify you have enough space for your projects and files.
The ‘df -h’ command is your go-to for a quick overview of digital storage. It shows total size, used space, available space, and usage percentage for each filesystem.
For a deeper dive, use ‘du -sh ~’ to check your home directory’s usage or ‘sudo du -sh /’ to assess the entire disk. These commands help with effective file management, allowing you to identify space hogs and take action, whether that’s cleaning up files or upgrading your SD card. Regular checks can prevent running out of space when you need it most.
Using tools like the Raspberry Pi Imager can also help streamline your setup process and ensure you’re using your storage efficiently from the start.
Analyze Storage Partitions
To effectively manage your Raspberry Pi’s storage, analyzing storage partitions is vital. Start by using the ‘df -h’ command to display disk space usage in a human-readable format.
This command provides essential details like total space, used space, and available space. If you’re curious about a specific mount point, run ‘df -h /’ for targeted insights.
For directory sizes, the ‘du -sh ~’ command helps you check storage usage without overwhelming you with details.
To visualize disk usage, install Disk Usage Analyzer with ‘sudo apt install baobab’ and explore its interactive interface. This way, you can efficiently manage storage in your system, just like when configuring keyboards for maximum performance.
Ensure your microSD card meets the recommended Class 10 specifications for optimal performance and reliable OS operation.
Free Memory Check
A quick way to check your Raspberry Pi’s memory usage is by using the ‘free’ command in the Terminal.
Just type ‘free -m’ for a detailed view of your RAM, including total, used, and free memory.
This command gives you an instant snapshot of your system’s memory, which is essential for custom dashboards and effective memory visualization. Ensuring a stable power supply, such as using a compatible power supply, is also crucial for maintaining optimal performance.
If you want to monitor memory usage continuously, use ‘free -s ‘ to see updates at your preferred intervals.
Understanding your memory usage helps you identify potential performance bottlenecks, allowing you to innovate and optimize your projects efficiently. With these insights, you can make informed decisions about resource allocation and improve your Raspberry Pi’s performance. Regular system updates with ‘sudo apt update’ and ‘sudo apt full-upgrade’ also help in maintaining optimal performance.
Change Directory

Traversing through your Raspberry Pi’s file system is essential for effective management, and the ‘cd’ command is your primary tool for this task.
Mastering this command allows you to navigate directories effectively, whether you’re using absolute or relative paths.
Here are some variations you can use:
- Change to a specific directory: ‘cd /home/pi/Bookshelf’
- Move to the parent directory: ‘cd ..’
- Go back to the previous directory: ‘cd -‘
- Navigate multiple levels up: ‘cd ../../’
- Return to your home directory: ‘cd’
Copy Files
When you need to copy files on your Raspberry Pi, the ‘cp’ command is your go-to tool for basic file copying.
You can easily copy entire directories recursively by using the ‘-r’ option, but be careful—by default, the command will overwrite existing files without asking.
Make sure to check the contents afterward to confirm everything copied correctly.
Basic Copy Command
Copying files on a Raspberry Pi is straightforward with the ‘cp’ command, which serves as the primary tool for this task.
This command is essential for efficient file management and content duplication. The basic syntax is ‘cp source destination’.
Here are some useful options you might consider:
- ‘-i’: Prompts before overwriting existing files.
- ‘-u’: Copies only if the source file is newer.
- ‘-v’: Displays the progress of the copy operation.
- ‘-T’: Treats the destination as a regular file.
- ‘–target-directory’: Specifies where to copy all source files.
Remember to navigate to the correct directory using ‘cd’, and verify your operations with commands like ‘ls’ and ‘cat’ for seamless copying.
Copying Directories Recursively
Many users find that copying directories recursively is an essential skill when managing files on a Raspberry Pi. To perform recursive copying, you’ll use the ‘cp -r’ or ‘cp –recursive’ command.
For example, ‘cp -r ./source_directory ./destination_directory’ effectively duplicates the entire directory structure. If your destination already exists, the source directory will be copied into it, so double-check your paths to avoid errors.
To preserve attributes and permissions, consider adding the ‘-a’ option for an archive copy. You can also explore using ‘rsync’ for a robust alternative. With these techniques, you’ll enhance your directory management capabilities and streamline your workflows on the Raspberry Pi.
Overwriting Existing Files
Over time, managing file copies on your Raspberry Pi can lead to situations where existing files might be unintentionally overwritten.
The default behavior of the ‘cp’ command doesn’t prompt you before overwriting files, which can result in data loss.
To enhance your file management and data protection, consider these options:
- Use ‘cp -i’ for interactive prompts before overwriting.
- Implement ‘cp -n’ to skip copying if the destination file exists.
- Always verify the destination with ‘ls’ before executing the command.
- Utilize ‘cp -v’ to monitor the progress of your copy operations.
- Backup important files before any copy operation that might overwrite.
List Files
Have you ever wondered how to quickly see what files are in your current directory on a Raspberry Pi? The ‘ls’ command is your go-to tool for effective file navigation and directory management.
Simply type ‘ls’ to list all files and directories in your current location. You’ll notice files appear in white text, while directories show up in blue, making it easy to differentiate them.
For more detailed information, try ‘ls -l’, which reveals permissions, owner, and file size. Want to see hidden files? Use ‘ls -a’. By combining options like ‘ls -la’, you can customize your output to suit your needs, enhancing your efficiency in managing files on your Raspberry Pi.
When working with large directories, consider using an external SSD for faster data access, as recommended for optimizing storage.
Create Directory

Creating a directory on your Raspberry Pi is a straightforward process that can help you organize your files effectively.
You can use the ‘mkdir’ command to create custom directories or even hidden directories. Here are some useful options to enhance your experience:
- ‘mkdir -p’ to create parent directories if they don’t exist
- ‘mkdir -m 764’ to set specific permissions for your new directory
- ‘mkdir -v’ for a verbose output as directories are created
- Create multiple directories in one go, like ‘mkdir work college games’
- Use full paths to create directories in specific locations
With these commands, you can streamline your file management and maintain a well-organized system on your Raspberry Pi.
Delete Files
When you need to remove unwanted files on your Raspberry Pi, you have a couple of options at your disposal.
Whether you prefer using the Graphical User Interface or the Terminal, knowing how to delete files securely is essential.
Let’s explore the methods to guarantee you can manage your files effectively.
However, since there’s no specific method mentioned in the original text to explore further, here are the general steps based on available sources:
Using the Graphical User Interface:
- Select the file: Choose the file you want to delete.
- Drag it to the Trash: Move the file to the Trash bin on the desktop.
- Right-click and choose Delete: Right-click the file in the Trash and select Delete to permanently remove it.
Using the Terminal:
- Open Terminal: Access the Terminal application.
- Use the ‘rm’ command: Type ‘rm’ followed by the file name to delete it.
- Delete multiple files: Enter ‘rm’ followed by each file name separated by spaces to delete multiple files at once.
For secure deletion, you can use commands like ‘shred’, ‘wipe’, or ‘srm’ to ensure that files cannot be recovered. For example:
– Using ‘shred’:
‘shred -u file_name’ to securely delete a file.
‘shred -u -r directory_name’ to securely delete a directory and its contents.
– Using ‘wipe’:
‘wipe -rfi /path/to/directory’ to securely erase a directory and its contents.
– Using ‘srm’:
‘srm -rv /path/to/directory’ to securely erase a directory and its contents.
Remember to use these commands with caution as they permanently delete data without prompting for confirmation unless specified by certain options.
Removing Unwanted Files
Removing unwanted files from your Raspberry Pi is essential for maintaining ideal performance and freeing up storage space.
You can delete files using either the GUI or Terminal commands. Here are some effective methods:
- Right-click the file and select ‘Move to Trash’ for temporary deletion.
- Use ‘rm filename’ in the Terminal for direct removal of specific file types.
- For multiple files, you can enter ‘rm filename1 filename2’.
- To delete a directory and its contents, use ‘rm -r directory-name’.
- Always confirm deletion by listing directory contents with ‘ls’.
Using Secure Deletion
For those looking to guarantee their deleted files are truly gone, using secure deletion tools is the best approach.
You can choose among tools like ‘shred’, ‘wipe’, or ‘srm’, depending on what’s available on your system. Each of these commands enhances file security and guarantees data protection by overwriting files multiple times, making recovery nearly impossible.
For instance, to securely erase a directory, you might run ‘sudo shred -r /home/pi/files’.
Always navigate to the correct directory first using ‘cd’ and verify that you’re ready to delete with ‘ls’. Once you’ve executed the command, confirm deletion by checking the directory again.
Network Configuration
Configuring your Raspberry Pi’s network settings is essential for establishing a reliable connection, whether you’re using a wired Ethernet or WiFi.
To set up a static IP and configure WiFi effectively:
- Use ‘ifconfig’ to review your current network settings.
- Backup your configuration with ‘sudo cp /etc/dhcpcd.conf /etc/dhcpcd.backup’.
- Edit the ‘dhcpcd.conf’ file using ‘sudo nano /etc/dhcpcd.conf’ to specify your static IP setup. Add the necessary lines at the bottom of the file:
interface [interface-name]

static ip_address=[ip-address]/[cidr-suffix]

static routers=[router-ip-address]

static domain_name_servers=[dns-address]
- For WiFi configuration, open ‘sudo raspi-config’ and navigate to “Network Options”.
- Restart your Raspberry Pi with ‘sudo reboot’ to apply all changes.
With these steps, you’ll ensure a robust network connection tailored to your needs.
Network Information
Understanding your network information is crucial for troubleshooting and optimizing your Raspberry Pi’s connectivity.
To start, use the ‘ifconfig’ or ‘ip a’ commands to view your network interface details and configuration.
If you encounter connectivity issues, the ‘ping’ command is your go-to tool. It tests connectivity by sending packets to another device, allowing you to check for packet loss.
If local pings fail, verifying your interface status using commands like ‘sudo ifconfig wlan0 up’ to bring it online is imperative.
For a more detailed view of your network, employ ‘nmap‘ to scan connected devices.
These commands collectively empower you to diagnose and enhance your Raspberry Pi’s network performance effectively.
Display IP Address
To check your current IP configuration on a Raspberry Pi, you can use commands like ‘ifconfig’ or ‘hostname -I’.
These commands will help you quickly identify your local IP address and the status of your network interfaces.
Knowing how to display your IP address is essential for troubleshooting and network management.
Check Current IP Configuration
Checking your Raspberry Pi’s current IP configuration is crucial for managing network connections effectively.
By understanding IP addressing and network configuration, you can guarantee seamless connectivity.
Some useful commands to check your IP details include:
- ‘hostname -I’: Displays your local IPv4 and IPv6 addresses.
- ‘ip a’: Reveals detailed network interface information, including MAC addresses and subnet masks.
- ‘ip r’: Shows the default gateway IP address and routing table information.
- ‘curl’/’wget’: Retrieves your public IP address with commands like ‘echo $(curl -s https://api.ipify.org)’.
- Network Icon: Hover over the icon to view your local IP address directly on the desktop.
Utilizing these methods will enhance your Raspberry Pi’s network management skills.
Using ‘ifconfig’ Command
The ‘ifconfig’ command provides a straightforward way to display the IP address and other settings of your Raspberry Pi’s network interfaces.
When you run ‘ifconfig’ without any options, it will show you the network configuration for all active interfaces, including details for ‘eth0’ and ‘lo’.
Look for the ‘inet addr’ parameter to find your IP addressing information.
You can also temporarily assign a static IP address using the command ‘sudo ifconfig eth0 192.168.5.11 netmask 255.255.255.0′, but remember that this won’t persist after a reboot.
While ‘ifconfig’ is useful, consider moving to the ‘ip’ command for more robust network configuration in the future.
Ensure that your Raspberry Pi’s GPIO pins are configured correctly to avoid any potential hardware issues, especially considering proper voltage levels.
Alternative ‘hostname -I’ Method
If you’re looking for a quick way to display your Raspberry Pi’s IP address, the ‘hostname -I’ command is a great option. This command provides your device’s local IP addresses effortlessly, making it perfect for quick network configuration checks. Here are some alternative methods for displaying your IP addresses:
- Use ‘hostname’ to show the hostname.
- Execute ‘ip addr show’ for detailed network interface information.
- Filter with ‘ip addr show | grep inet’ for IPv4 addresses.
- Check ‘ip route show’ to see public addresses in your routing table.
- Review ‘/etc/dhcpcd.conf’ for static or DHCP configurations.
These commands and files can help you navigate your Raspberry Pi’s network configuration efficiently.
Connected USB Devices
Identifying connected USB devices on your Raspberry Pi is straightforward and can be done using a few simple commands.
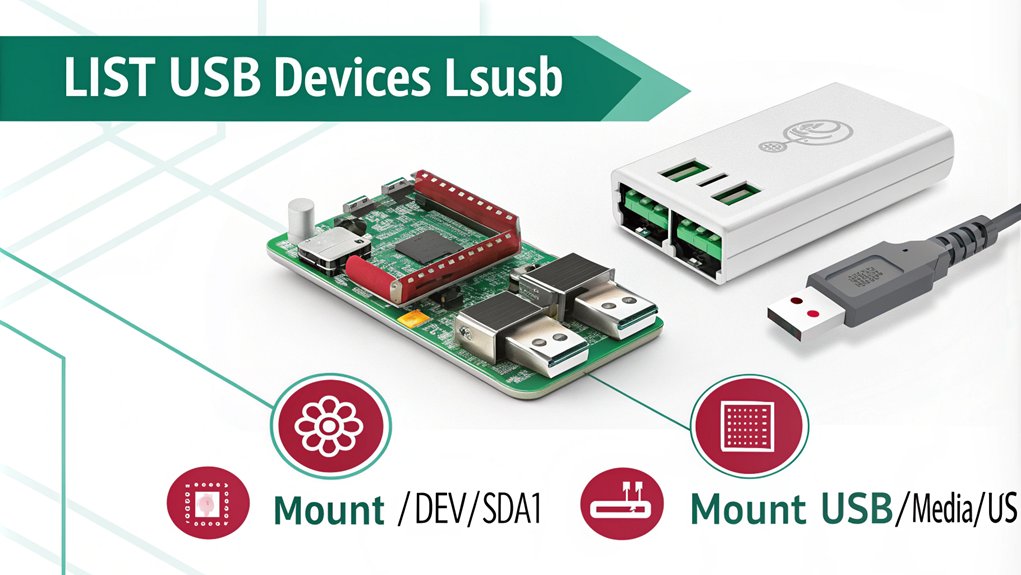
Start by using the ‘lsusb’ command, which lists all connected USB devices along with their bus and device numbers.
For more detailed information, you can add the ‘-v’ option for a verbose output or the ‘-t’ option to view the USB hierarchy in a tree format.
If you need to monitor USB connections live, the ‘watch’ command can help by updating the output every second.
To create persistent names for your USB devices, utilize ‘udev’ rules. This guarantees that your devices maintain their assigned names even after being unplugged and reconnected, reducing confusion.
Ensuring stable power supply is crucial; using a dedicated power supply as recommended in the hardware requirements will prevent power-related issues.
Configure Raspberry Pi
To effectively configure your Raspberry Pi, you’ll need to adjust various settings that influence its network and system behavior.
Proper Raspberry Configuration is vital for optimizing performance and ensuring reliable connectivity.
- Check Current Network Settings with ‘ifconfig’ to troubleshoot configurations.
- Backup Network Configuration using ‘sudo cp /etc/dhcpcd.conf /etc/dhcpcd.backup’.
- Modify Network Settings by editing ‘/etc/dhcpcd.conf’ for a static IP.
- Test Network Settings with the ‘ping’ command to verify connectivity.
- Change Hostname using ‘sudo raspi-config nonint do_hostname ‘ for easier identification.
SSH Connection
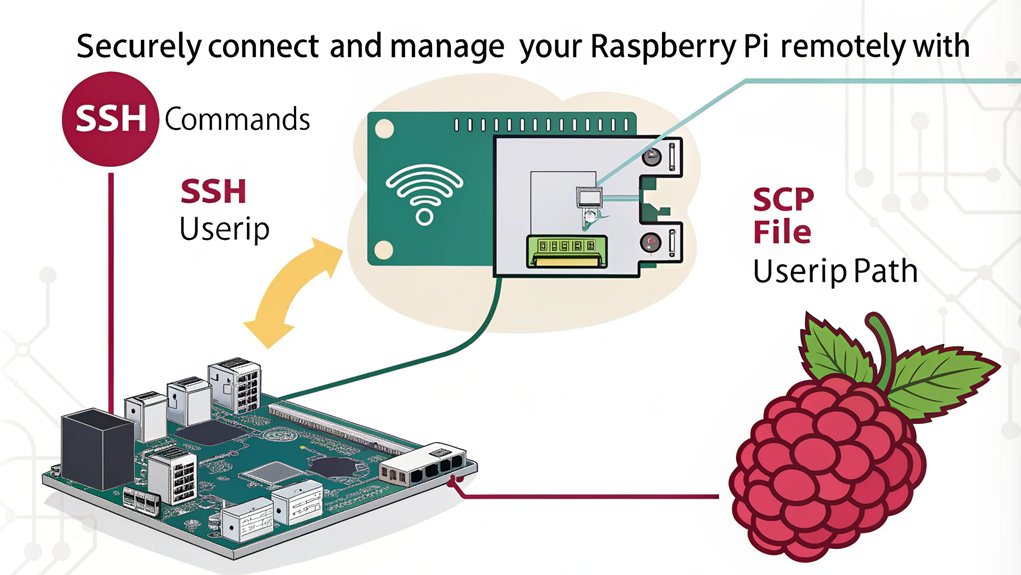
Establishing an SSH connection to your Raspberry Pi opens up a world of remote management possibilities.
First, enable SSH by running ‘sudo raspi-config’, accessing ‘Interfacing Options’, and selecting ‘SSH’. After enabling, reboot your Pi.
You’ll need the IP address, which you can find using ‘ifconfig’ or ‘ip address’. From your terminal, connect using ‘ssh @—the default username is ‘pi’ and the password is ‘raspberry’. If prompted, type ‘yes’ to continue.
For secure SSH, consider changing the default password. If you run into issues, verify your Pi’s on the same network and confirm your credentials. Troubleshooting SSH connections may involve checking your SSH keys and network settings.
Super User Commands
[group] [file]: Change the owner and group** of a file.
– sudo reboot: Restart your Raspberry Pi.
These commands empower you to manage users and permissions, enhancing your control over the system.
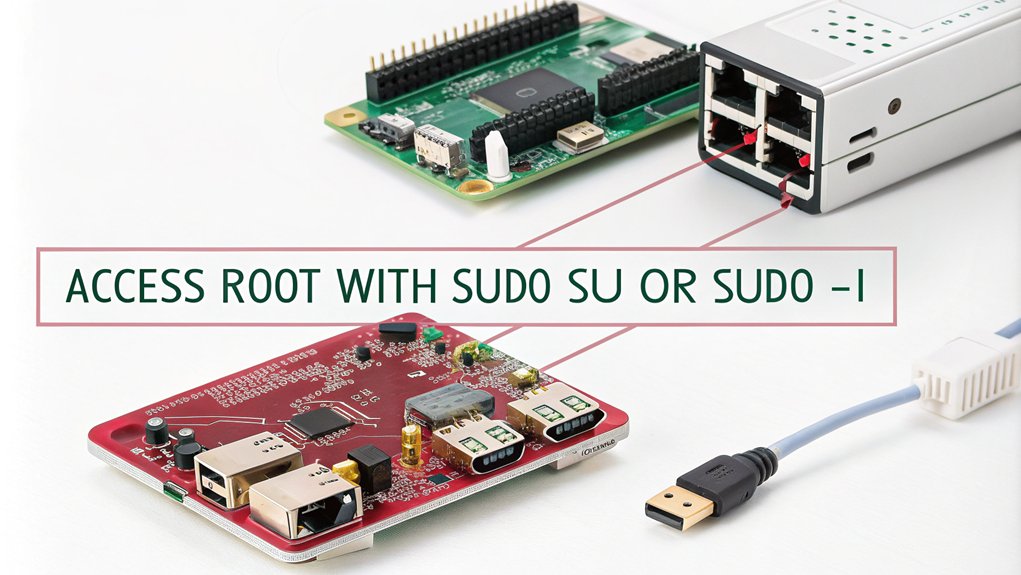
Access Root Prompt
To gain super user access on your Raspberry Pi, you’ll need to enable root login and set a password for the root user.
This allows you to manage system permissions more effectively, providing greater control over your device.
Let’s explore how to access the root prompt and make necessary changes safely.
To access the root prompt:
- Use the command ‘sudo su’ to switch to the root user. This will give you a root terminal prompt, allowing you to execute commands with super user privileges.
- To set a password for the root user, use the command ‘sudo passwd’ and follow the prompts to enter and confirm the new password.
- To enable remote access for the root user via SSH, edit the SSH configuration file with ‘sudo nano /etc/ssh/sshd_config’, find and uncomment the line ‘#PermitRootLogin prohibit-password’, changing it to ‘PermitRootLogin yes’. Then, restart the SSH service with ‘sudo service ssh restart’.
Gain Super User Access
How can you easily gain super user access on your Raspberry Pi?
You can use the ‘sudo su’ command in the terminal or via SSH. This command switches you to the root user, granting super user privileges.
The prompt will change to ‘root@raspberrypi:/home/pi#’.
If you wish to maintain your current user environment, opt for ‘sudo -s’.
- Enabling remote access can expose security risks.
- Set a strong root password with the ‘passwd’ command.
- Consider editing the ‘sshd_config’ file for remote root access.
- Always back up your system before critical operations.
- Use super user access judiciously for maximum security.
Manage System Permissions
Gaining super user access is just the beginning of managing your Raspberry Pi effectively.
With the right commands, you can control User Permissions and Group Management to optimize your system. Use ‘chmod’ to change file permissions, ‘chown’ to modify file ownership, and ‘chgrp’ to adjust the file group.
The ‘ls -l’ command helps you view current permissions. To grant broader access, prefix commands with ‘sudo’, especially outside your home directory.
You can add or remove permissions using ‘+’ or ‘-‘, and set them using numbers like ‘644’. For group management, the ‘groups’ command shows your memberships, while ‘useradd’ or ‘adduser’ can create new users and assign them to groups as needed.
Current User
You often need to identify the current user when managing a Raspberry Pi system. This is essential for effective account management and understanding user details.
To find out who you are, use the ‘whoami’ command, which instantly displays your username.
For more in-depth information:
- ‘finger [username]’: Displays user information, including login time.
- ‘groups’: Lists the groups you belong to.
- ‘cat /etc/passwd’: Shows user account information (edit with caution).
- ‘getent passwd’: Retrieves user info from the password database.
- ‘sudo passwd [username]’: Changes a user’s password.
These tools help you navigate user management efficiently.
Online Users
Understanding the landscape of online users on a Raspberry Pi system is essential for effective management and monitoring.
You can easily list online users and their activities using commands like ‘w’ and ‘who’. The ‘w’ command provides detailed user sessions, including connection details and current activities, while ‘who’ offers a simpler overview.
For more detailed insights, ‘lslogin’ helps track each user session, including durations.
Accessing the ‘/etc/passwd’ file gives thorough user account details. Remember, monitoring these user sessions not only aids in system administration but also enhances online security. By leveraging these commands, you can effectively manage user access, ensuring a secure and efficient environment for your Raspberry Pi projects.
Change File Permissions
Changing file permissions on a Raspberry Pi is essential for maintaining security and ensuring that files are accessible only to authorized users.
You can control access through the ‘chmod’ command, adjusting both File Ownership and File Permissions effectively.
Here are some key commands to remember:
- Use ‘ls -l’ to view current permissions.
- Change ownership with ‘chown user file’.
- Modify permissions in symbolic format, like ‘chmod u+x file’.
- Use octal format for broader changes, such as ‘chmod 777 file’.
- Apply changes recursively with ‘chmod -R mode directory’.
System Reboot

Rebooting a Raspberry Pi is a straightforward process that guarantees your system runs smoothly by restarting its operating state. You can execute an immediate reboot with the command ‘sudo shutdown -r now’ or simply use ‘sudo reboot’.
If you prefer to schedule a reboot, use ‘sudo shutdown -r’ followed by your desired time, like ’10’ for ten minutes later. During this process, all logged-in users receive a message about the impending reboot, making certain everyone is informed.
For enhanced system recovery and crash handling, consider the ‘REISUB’ method for safely rebooting a frozen system. Avoid power cycling to prevent data loss, and guarantee that file systems are unmounted before initiating the reboot for a seamless experience.
Immediate Shutdown
When you need to shut down your Raspberry Pi immediately, you can use commands like ‘sudo shutdown now’ or ‘sudo poweroff’. These commands safeguard your system halts properly, protecting your data and preventing SD card corruption.
You can also schedule a shutdown for later using ‘sudo shutdown +X’, which gives you flexibility for managing your device.
Shutting Down Command
To shut down your Raspberry Pi immediately, you can use several commands that guarantee a quick and safe power-off.
Proper Shutdown Methods are essential for maintaining system integrity and preventing data loss.
Some effective commands include:
- ‘sudo shutdown now’ – Initiates an immediate shutdown.
- ‘sudo shutdown -h now’ – Another way to achieve an immediate shutdown.
- ‘sudo poweroff’ – A shortcut for shutting down the device immediately.
- ‘sudo halt’ – Less common but can also stop the system; however, ‘poweroff’ is preferred.
Before executing any command, verify all applications are closed and check for any ongoing processes using ‘ps aux’ or ‘top’.
Wait for visual indicators, like the ACT LED flashing, before disconnecting the power.
Scheduling Shutdown Time
Scheduling a shutdown on your Raspberry Pi can be a practical way to automate system management. You can use crontab for this purpose, which allows you to set specific shutdown times. Here’s how to set it up:
| Action | Command | Notes |
|---|---|---|
| Access Crontab | ‘sudo crontab -e’ | Edit the root user’s crontab. |
| Add Shutdown Command | ‘0 2 * * * /sbin/shutdown -h now’ | Schedules a daily shutdown at 2 AM. |
| Verify Crontab Entries | ‘sudo crontab -l’ | List current crontab entries. |
Always test your cron setup to guarantee it executes correctly. By automating shutdowns, you enhance efficiency and control over your Raspberry Pi’s operation.
Scheduled Shutdown
Automating your Raspberry Pi’s shutdown can streamline its operation and conserve energy.
By setting up scheduled shutdowns, you guarantee efficient energy use and effective scheduled maintenance.
- Use ‘sudo crontab -e’ to edit the root crontab file.
- Add a shutdown command like ’30 22 * /sbin/shutdown -h now’ for a nightly shutdown at 10:30 PM.
- Save changes with ‘Ctrl+X’, then ‘Y’, and ‘Enter’.
- Test your setup using ‘@reboot /sbin/shutdown +10’ to confirm it works.
- Remember to check the crontab with ‘sudo crontab -l’ to verify your scheduled tasks.
With shutdown scheduling, you maximize your Raspberry Pi’s efficiency and minimize unnecessary energy consumption.
Boot Log

To optimize your Raspberry Pi’s performance, you’ll want to view and analyze the boot logs.
These logs provide essential insights into the startup process and can help you identify any issues or delays.
Viewing Boot Logs
Viewing Boot Logs for Diagnosing Issues
Viewing boot logs is essential for diagnosing issues during the startup process of your Raspberry Pi. By effectively analyzing these logs, you can tackle debugging boot issues and gain insights into the boot log analysis.
- Install Bootlogd – To start, install ‘bootlogd’ with the command: ‘sudo apt-get install bootlogd‘.
- Enable Bootlogd – Enable bootlogd by editing the file ‘/etc/default/bootlogd’.
- Format the Log – Format the log using the command: ‘sed ‘s/^[/o33/g;s/[1G[/[27G[/’ /var/log/boot’.
- Access System Logs:Access system logs with either of the following commands:
- ‘journalctl -b’
- ‘cat /var/log/syslog’
- Check Timestamps: Check timestamps to ensure that the log information is trustworthy.
Analyzing Boot Performance
Analyzing boot performance is essential for fine-tuning the startup process of your Raspberry Pi.
Utilize commands like ‘systemd-analyze blame’ and ‘systemd-analyze critical-chain’ to conduct a thorough performance analysis of your boot sequence. These tools help you identify which services delay the booting process, allowing you to tackle slow services, such as tvheadend or network mounts.
System Uptime
System uptime is crucial for maintaining the reliability of your Raspberry Pi, especially if it’s running as a server.
You can utilize the following commands for effective uptime monitoring and logging:
- Use ”uptime” to check how long your system has been running.
- Try ”uptime -p” for a more human-readable format.
- Implement a simple script for automated uptime logging with ”while true; do uptime -p > /home/pi/uptime.log; sleep 60; done &”.
This script continually logs the system uptime in a human-readable format to a log file named ”uptime.log” every 60 seconds, providing a regular record of the system’s uptime.
- Monitor system load averages over 1, 5, and 15 minutes.
- Review the ”uptime.log” file to identify unexpected shutdowns.
File Permissions Basics
Understanding file permissions is essential for managing security and access on your Raspberry Pi.
File ownership determines who can read, write, or execute a file. You can view permission settings using the ‘ls -l’ command, which shows the file type and permissions in the format ‘rwxrwxrwx’.
Each set of three characters corresponds to the owner, group, and others. To change file ownership, use the ‘chown’ command, like ‘chown user:group file’.
For modifying permissions, ‘chmod’ is your go-to command—employ either symbolic or octal formats. Remember, only the owner or root can adjust these settings. Mastering these commands will enhance your control over your Raspberry Pi’s security.
Create Symbolic Links

Symbolic links are shortcuts that point to files or directories, making it easier to access them without needing to navigate through complex paths.
To create a symbolic link, you can use the command ‘ln -s’, which allows you to link files flexibly, either with absolute or relative paths.
Understanding how to create and manage these links can simplify your file management tasks on the Raspberry Pi.
Understanding Symbolic Links
Creating symbolic links is a straightforward process that enhances your file management capabilities. These links, often seen as shortcuts in Unix, serve as references to original files or folders, making it easier to organize your data.
- Create quick access to frequently used files or directories.
- Organize files efficiently across different filesystems.
- Manage symbolic links for backups and web development.
- Use the ‘ln -s’ command to establish these references.
- Overwrite existing links with the ‘-f’ switch if needed.
Creating a Symbolic Link
When you want to streamline your file management, using the ‘ln’ command with the ‘-s’ option allows you to create a symbolic link easily. This command helps you set up directory shortcuts that make accessing files more efficient. Here’s the syntax:
| Command | Description |
|---|---|
| ‘ln -s ‘ | Creates a symbolic link named ” pointing to ”. |
| ‘ln -s /path/to/file’ | Creates a link in the current directory. |
| ‘ln -s ../file’ | Uses a relative path for the link. |
| ‘rm ‘ | Removes the symbolic link without deleting the target. |
Move Files
Moving files on a Raspberry Pi is a straightforward process that you can accomplish using the ‘mv’ command. This command is essential for effective file management and directory organization.
- To move a single file, use the command: ‘mv file1.txt example/’
- To move multiple files, use the following format: ‘mv file1.txt file2.txt ~/example’
- You can also use wildcards to move all files from a directory with the command: ‘mv example/* ~’
- To move a directory, specify both the source and destination directories: ‘mv example ~/dir1’
- To rename files or directories, provide the old and new names: ‘mv old_name new_name’
Always verify your actions with the ‘ls’ command to confirm your files are in the correct location. By mastering these commands, you’ll streamline your workflow and keep your Raspberry Pi organized.
Search for Files
When you need to locate files on your Raspberry Pi, knowing how to use the right search commands is essential.
You can efficiently find what you’re looking for by utilizing commands like ‘find’ and ‘locate’, each offering various options tailored to your needs.
Let’s explore how these commands can help you search for files based on different criteria.
Locate Files Efficiently
Efficiency in locating files on your Raspberry Pi can considerably enhance your productivity. Mastering file organization and utilizing advanced filtering techniques will save you time.
Here are some powerful commands to help you search for files effectively:
- Find: Use ‘find [DIRECTORY] [OPTIONS] [SEARCH_CRITERIA]’ to search files with specific criteria.
- Locate: For quick name-based searches, ‘locate [OPTION] [SEARCH_PATTERN]’ is your go-to.
- Case Insensitivity: Use ‘-i’ with locate to ignore case.
- Content Search: Employ ‘grep [OPTIONS] [SEARCH_PATTERN] [PATH]’ for searching within files.
- Database: Remember, ‘locate’ needs its database updated for accurate results.
Search Command Options
Searching for files on your Raspberry Pi can be straightforward when you know the right command options. The find command is your go-to tool for file searching.
You start by specifying a path, like ‘find /home/pi/files/’, followed by the -name option to target specific filenames. Wildcards can help match multiple files, for example, ‘find . -name “new*”‘.
You can also refine your search using additional criteria, such as size with -size or ownership with -user. For advanced querying, combine criteria using logical operators like -and or -or.
Don’t forget to check the ‘man’ page for find for even more powerful options to enhance your searches effectively.
View Running Processes
Viewing running processes on your Raspberry Pi is essential for monitoring system performance and resource usage. Utilizing process management commands helps you gain insights into what’s happening on your device. The following commands are worth examining:
- ‘ps aux’: Lists all processes with detailed information.
- ‘ps -A’: Displays every running process on the system.
- ‘ps -U ‘: Filters processes by a specific user.
- ‘ps aux | grep ‘: Searches for a specific process in the output.
- ‘ps aux | less’: Provides manageable output for easier reading.
These commands empower you to control system monitoring effectively, ensuring that you keep your Raspberry Pi running smoothly and efficiently.
Kill a Process
Once you’ve identified processes that may be consuming too many resources or behaving unexpectedly, you’ll want to know how to terminate them effectively.
For process termination, you can use the ‘kill’ command followed by the process ID (PID). The default ‘SIGTERM’ signal (Code 15) allows for safe termination, while ‘SIGKILL’ (Code 9) forces immediate shutdown without cleanup.
If you prefer terminating by name, the ‘killall’ command is handy, using ‘killall -9 name’ for a forceful approach. Alternatively, ‘pkill’ offers more flexibility, like targeting specific users with ‘pkill -u USERNAME’.
Monitor Network Traffic
Monitoring network traffic is essential for maintaining your Raspberry Pi’s performance and security.
By employing various commands and tools, you can guarantee effective Real Time Analysis and streamline Network Troubleshooting.
- ifconfig: Display network interface information and current IP addresses.
- ping: Test connectivity and check for packet loss.
- tcpdump: Capture and analyze network traffic for deeper insights.
- Wireshark: Perform real-time traffic analysis to identify potential security threats.
- ntopng: Get detailed statistics on network usage.
Using these tools helps you optimize your network, troubleshoot issues, and enhance your Raspberry Pi’s overall functionality.
Stay ahead of potential problems by keeping a close eye on your network traffic.
## Check Disk Usage

Checking disk usage on your Raspberry Pi is essential for maintaining superior performance and preventing storage issues. You can utilize the ‘df’ command to assess disk space usage effectively. For a detailed overview, run ‘df -h’, which provides human-readable results.
| Filesystem | Size | Used |
|---|---|---|
| /dev/root | 30G | 15G |
| /dev/sda1 | 500G | 200G |
| tmpfs | 1G | 100M |
| /dev/sda2 | 1T | 800G |
Additionally, the ‘du’ command helps with file management in specific directories, allowing you to identify storage hogs. Regular checks improve efficiency, especially in cloud computing environments where space is critical.
Update System Firmware
Maintaining your Raspberry Pi’s performance goes beyond just monitoring disk usage; keeping the system firmware up to date is equally important.
Regular updates enhance security and guarantee that you’re leveraging the latest features. You can efficiently manage firmware updates as follows:
- Run ‘sudo apt update’ to refresh your package list.
- Execute ‘sudo apt full-upgrade’ to upgrade all installed packages, including kernel updates.
- Use ‘sudo raspi-config’ for a user-friendly firmware management approach.
- Alternatively, run ‘sudo rpi-eeprom-update -a’ for a quick firmware update.
- Don’t forget to reboot with ‘sudo reboot’ to apply all changes.
Backup Files
Backing up your Raspberry Pi is essential to protect your data and configurations from unexpected failures or corruption. You can employ various Raspberry Pi backup strategies to guarantee your files are safe. For instance, use SSH and the ‘dd’ command to create compressed backups directly to your local machine: ‘ssh pi@xx.x.x.xx “sudo dd if=/dev/mmcblk0 bs=1M | gzip -” | dd of=~/Desktop/pibackup.gz’. Alternatively, connect a USB SD card reader and copy the SD card contents using ‘dd’. You can also automate backups with scripts and cron jobs, and integrate cloud storage solutions like rclone for remote backups. Ensuring the microSD card is formatted as FAT32 is crucial for compatibility with the NOOBS installer. This way, your data remains secure and accessible, no matter the circumstances.
Restore Files
How can you effectively restore files on your Raspberry Pi if you’ve encountered data loss?
You can utilize various methods for file recovery and data restoration.
Available Options:
- Download and Install file recovery software like Wondershare Recoverit.
- Use extundelete to recover files from ext3- and ext4-formatted partitions.
- Launch TestDisk to copy lost files from the Raspberry Pi SD card.
- Access backups through the Backups application, selecting the appropriate date.
- Boot from a new SD card, mount the old SD card, and copy the files.
Note: Understanding the type of data loss (logical versus physical damage) and acting promptly can improve recovery chances. Always create regular backups to minimize future data loss risks.
Explanation:
- Wondershare Recoverit:
- Usage: This software allows for remote recovery without removing the SD card from the Raspberry Pi, minimizing the risk of data overwriting.
- Steps:
- Download, install, and launch Recoverit on a Windows or Mac PC.
- Establish a remote connection with the Raspberry Pi using its IP, Port, and Account details.
- Scan for lost files on the Raspberry Pi SD card.
- Preview and recover the desired files.
- Extundelete:
- Usage: Effective for recovering files from ext3- and ext4-formatted partitions but involves installing new software, which can overwrite data if not done carefully.
- Warning: Avoid installing new software before attempting recovery to prevent data overwriting.
- TestDisk:
- Usage: A powerful tool for copying lost files but requires careful handling to avoid further data loss.
- Access Backups:
- Usage: Use the Backups application to restore files by selecting the appropriate backup date and location.
- Steps:
- Open Accessories > Backups.
- Choose the backup date and location.
- Select to restore files to their original locations.
- Enter any required encryption passwords.
- Boot from a New SD Card:
- Usage: Boot from a new SD card, mount the old SD card, and copy the files.
- Steps:
- Insert a new SD card with Raspberry Pi OS.
- Boot up the Raspberry Pi.
- Mount the old SD card.
- Use the file manager to copy files from the old SD card to the new one.
Creating regular backups and using reliable recovery methods can help prevent and mitigate data loss on a Raspberry Pi SD card.
Enable SSH
Enabling SSH on your Raspberry Pi allows for remote access and management, making it an essential step for headless setups.
You can easily enable SSH by creating an empty file named ‘ssh’ in the ‘bootfs’ or ‘boot’ directory after inserting the storage device into your computer.
If your Raspberry Pi is already running, simply open the terminal and run ‘sudo raspi-config’, navigate to ‘Interfacing Options,’ select ‘SSH,’ and choose ‘Yes.’
For the command line enthusiasts, you can start the SSH service with ‘sudo systemctl start ssh’ and enable it on boot using ‘sudo systemctl enable ssh’. With SSH Authentication, you can connect securely by entering ‘ssh @’, streamlining your management process.
Disable SSH
Disabling SSH on your Raspberry Pi can enhance security, especially if you only need local access or want to limit remote connections.
To guarantee a secure SSH environment, follow these steps:
- Edit the SSH config file: ‘sudo nano /etc/ssh/sshd_config’
- Change ‘PasswordAuthentication’ to ‘no’ to disable password login.
- Save changes with [CTRL-X], [Y], and [ENTER].
- Restart the SSH service: ‘sudo /etc/init.d/ssh restart’ or reboot the Pi.
- Verify SSH keys are set up before disabling password access.
Manage Users
Managing Users on Raspberry Pi
Managing users on your Raspberry Pi is essential for maintaining security and guaranteeing that each person has the appropriate level of access.
Start by creating new users with the ‘adduser’ or ‘useradd’ command—’sudo adduser newuser’ is a common choice. Setting user passwords is straightforward; just use ‘sudo passwd newuser’ to secure strong passwords, especially for users with sudo privileges.
To manage user groups, check membership with the ‘groups’ command and add users to multiple groups using ‘usermod -a -G group_name1,group_name2 user_name’.
When it’s time to remove a user, ‘sudo deluser newuser’ deletes the account and home directory. Effective account management guarantees proper user permissions and enhances your Raspberry Pi’s security.
Install New Packages
Installing new packages on your Raspberry Pi is essential for expanding its capabilities and ensuring you have the latest software.
To get started, follow these steps:
- Run ‘sudo apt update’ to refresh your package lists.
- Use ‘sudo apt install ‘ to initiate the software installation, including any necessary package dependencies.
- If you want to skip confirmation, add the ‘-y’ flag.
- Search for packages with ‘sudo apt search ‘ to find specific software.
- Regularly use ‘sudo apt autoremove’ to clean up unneeded files.
Uninstall Packages
Uninstalling packages on your Raspberry Pi is a straightforward process that helps keep your system clean and efficient. You can manage uninstalls using either the Synaptic Package Manager or terminal commands.
To remove a package via the terminal, use ‘sudo apt-get remove ‘ or ‘sudo apt-get –purge remove ‘ for complete removal, including configuration files. If you want to clean up package dependencies, the ‘sudo apt autoremove’ command is your best friend.
For a graphical approach, Synaptic allows you to uninstall multiple applications at once while providing sorting filters for easy navigation. Just be cautious not to remove system packages, as this could destabilize your Raspberry Pi.
Regularly managing uninstalls keeps your system running smoothly.
Frequently Asked Questions
How Can I Change the Hostname of My Raspberry Pi?
To change your Raspberry Pi’s hostname, you can edit the hostname file or use hostnamectl. Unique hostnames enhance your system identifier, making it easier to manage multiple devices. Reboot to apply your changes!
What Is the Command to Check System Temperature?
To disclose your system temperature, simply run the temperature command: ‘vcgencmd measure_temp’. This nifty tool exposes the current temperature, ensuring you’re always in tune with your Raspberry Pi’s performance and health. Keep innovating
How Do I Set up a Static IP Address?
To set up a static IP address, edit your DHCP configuration. This guarantees network stability. Use commands like ‘nmtui’ for an intuitive setup, filling in the necessary fields for your desired static IP configuration.
Can I Access Raspberry Pi Remotely Without SSH?
You can access your Raspberry Pi remotely without SSH by using VNC access. It provides a full remote desktop experience, allowing you to control your Pi effortlessly from anywhere, as long as you have a VNC viewer.
How Do I Check for Software Updates on Raspberry Pi?
To check for software updates on your Raspberry Pi, run ‘sudo apt update’ for package info, then ‘sudo apt full-upgrade’ to install updates. Don’t forget to check and update firmware with ‘sudo rpi-update’.
Conclusion
Mastering these 45 Raspberry Pi commands can transform your experience from novice to expert in no time. Just imagine the possibilities as you navigate your system with confidence and efficiency. Whether you’re managing packages or checking memory, these commands are your trusty toolkit. So, don’t hesitate to delve into and explore – your Raspberry Pi adventure awaits Embrace the power at your fingertips, and watch your productivity soar

I am a retired software engineer with experience in a multitude of areas including managing AWS and VMWare development environments. I bought a relative a mini-PC a year ago and have become passionate about the technology and its potential to change how we deploy software.