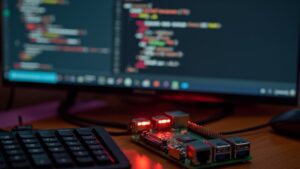
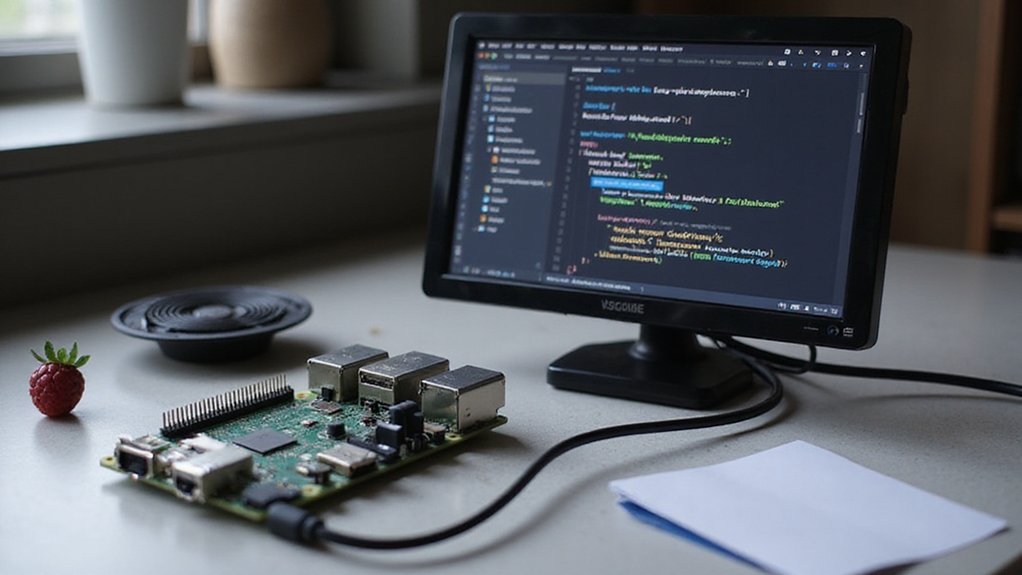
Why Run Visual Studio Code on the Raspberry Pi?
You’ve likely contemplated leveraging your Raspberry Pi‘s capabilities beyond basic tasks. Visual Studio Code on the Raspberry Pi presents a compelling option to transform this compact device into a powerful development station. When configured properly, VS Code delivers professional-grade coding tools without requiring significant hardware investment. This combination offers particular advantages for IoT projects, Python development, and embedded systems work. Let’s examine what you’ll need to get started and how to maximize performance on this resource-constrained platform.
Key Takeaways
- VS Code runs efficiently on Raspberry Pi 4 with 4GB RAM, providing a complete development environment for IoT projects.
- Install VS Code via repository using `sudo apt update && sudo apt upgrade` followed by `sudo apt install code`.
- Disable hardware acceleration and increase swap space to optimize performance on resource-constrained Raspberry Pi systems.
- Use wired peripherals instead of Bluetooth for better responsiveness when coding on Raspberry Pi.
- Install essential extensions like Raspberry Pi Pico Extension and Python tools to enhance your development capabilities.
Why VS Code Is a Great Choice for Raspberry Pi
Visual Studio Code stands out as an exceptional development environment for Raspberry Pi projects due to its versatile feature set and seamless integration capabilities.
You’ll benefit from its cross-platform compatibility, extensive language support, and free open-source nature—making it accessible for everyone from beginners to experts.
VS Code’s thorough debugger, Intellisense, and terminal integration streamline your development workflow on Pi. The educational benefits are significant, with an all-in-one environment that supports learning across various programming languages and project complexities.
VS Code transforms Pi development with smart tools while creating an ideal learning playground for coders of all levels.
Its remote SSH capabilities enable headless IoT device development, while ARM and Debian Linux compatibility guarantee smooth operation. Microsoft now provides official ARM support in rpm, deb, and tar formats for various Raspberry Pi Linux distributions. For optimal performance, ensure you’re using a Raspberry Pi 3 or 4 when connecting via Remote SSH.
With robust community support and thousands of extensions available, you’ll find solutions to virtually any development challenge when working with your Raspberry Pi. When implementing encryption solutions with VS Code, consider using Twofish cipher for better performance on Raspberry Pi’s limited hardware. Before installing VS Code, remember to verify Node.js installation to ensure all dependencies function correctly.
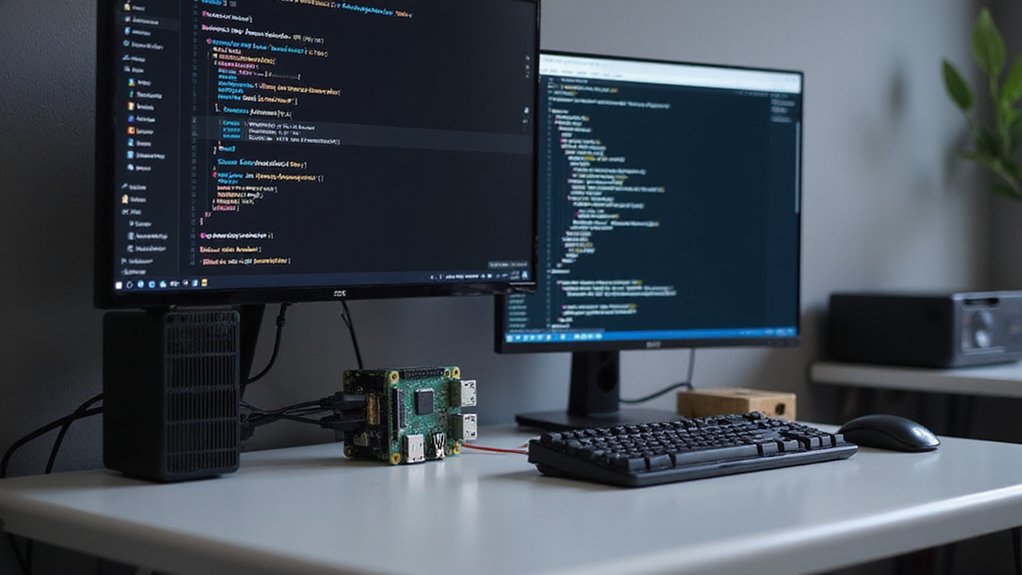
Hardware Requirements for Optimal Performance
To run Visual Studio Code effectively on your Raspberry Pi, you’ll need at least a Raspberry Pi 3 model, though a Pi 4 with 4GB RAM provides considerably better performance for development tasks.
Storage requirements are minimal at under 500MB for the VS Code installation, but additional space will be needed for your project files and any extensions you install. The application is lightweight and suitable for modern hardware including Raspberry Pi systems.
You should also consider connecting a full-sized keyboard, mouse, and external monitor to create a comfortable coding environment, as these peripherals greatly enhance productivity compared to using smaller or touch-based input devices. VS Code is fully supported on both 32-bit and 64-bit variants of Raspberry Pi OS. Like mini PCs, Raspberry Pi devices offer impressive energy efficiency while maintaining adequate performance for development tasks.
Similar to other mini PCs on the market, Raspberry Pi devices have limited upgrade options due to their compact design and fixed components.
Minimum Pi Model Recommendations
When choosing hardware for running VS Code on Raspberry Pi, the Pi 4 Model B stands out as the minimum recommended platform for peak performance. Its quad-core Cortex-A72 processor delivers superior processing power compared to earlier models, ensuring smoother execution of development tasks.
The Pi 4’s compatibility with both ARMv7 and ARM64 architectures makes it ideal for VS Code implementations, with better future-proofing for upcoming updates. The official support for Visual Studio Code is now available on Raspberry Pi, making installation straightforward. You’ll benefit from its enhanced memory bandwidth, multiple USB ports for peripherals, and reliable HDMI output for high-resolution displays.
Community engagement provides valuable optimization tips specific to VS Code on Pi 4, while extensive support resources help troubleshoot potential issues. Many developers also explore creative coding opportunities while working with VS Code on their Pi systems. For more demanding development workloads, consider upgrading to a system with AMD Ryzen processors that deliver exceptional multi-core performance. Using the latest OS version is critical for avoiding dependency errors during installation.
For developers seeking innovation in compact computing environments, this platform offers the processing capabilities necessary for productive coding sessions without compromising performance.
Memory and Storage Needs
Although running VS Code on Raspberry Pi is possible, achieving ideal performance requires careful consideration of memory and storage specifications.
You’ll need a minimum of 1GB RAM, but a Pi 4 with 4GB delivers noticeably better results when multitasking. VS Code itself demands under 500MB of disk space, but plan for additional storage to accommodate extensions and development tools.
Implement memory optimization techniques like closing background applications and limiting resource-intensive extensions. Using a Raspberry Pi 4 with 4GB RAM is highly recommended for development work involving VS Code. For comparison, mini PCs like the Beelink EQI12 offer vapor chamber cooling that helps maintain optimal operating temperatures during extended development sessions.
For storage management strategies, consider utilizing external storage devices for larger projects while keeping your microSD card’s free space sufficient for system operations. Install only the essential extensions that enhance your specific development needs to reduce resource consumption. Dual SSD configurations found in systems like the GMKTEC M2 Mini PC provide quick access to files and programs, greatly enhancing storage flexibility for development environments.
With processor speeds up to 1.8GHz, the Pi 4 meets VS Code’s recommended 1.6GHz threshold, but you’ll maximize performance by maintaining current system updates and adopting a minimalist approach to your development environment.
Peripheral Device Considerations
Successful implementation of VS Code on your Raspberry Pi requires thoughtful peripheral selection to create an effective development environment. Focus on peripheral enhancement for maximum productivity while respecting the Pi’s hardware limitations. A 1080p HDMI monitor delivers ideal visual clarity without overtaxing system resources, while standard USB keyboard compatibility guarantees efficient code entry. The latest VS Code versions require 64-bit architecture support, making hardware selection even more critical.
- Input devices: Use wired keyboard/mouse for responsiveness; Bluetooth peripherals work but may introduce input lag.
- Connectivity: Choose Ethernet over Wi-Fi for stability during remote sessions; employ USB 3.0 external SSDs for faster project access.
- Power management: Implement official power adapters and active cooling solutions to prevent throttling during extended coding sessions. Mini PC cooling systems are essential for maintaining performance during intensive development tasks.
For multi-peripheral setups, consider powered USB hubs to maintain stable connections without draining the Pi’s limited power supply. Transitioning from SD card to USB SSD storage can dramatically improve build times and overall development performance on the Raspberry Pi. Consider a dual-channel memory configuration if your Pi model supports it for significantly improved data throughput and system responsiveness.
Step-by-Step Installation Guide
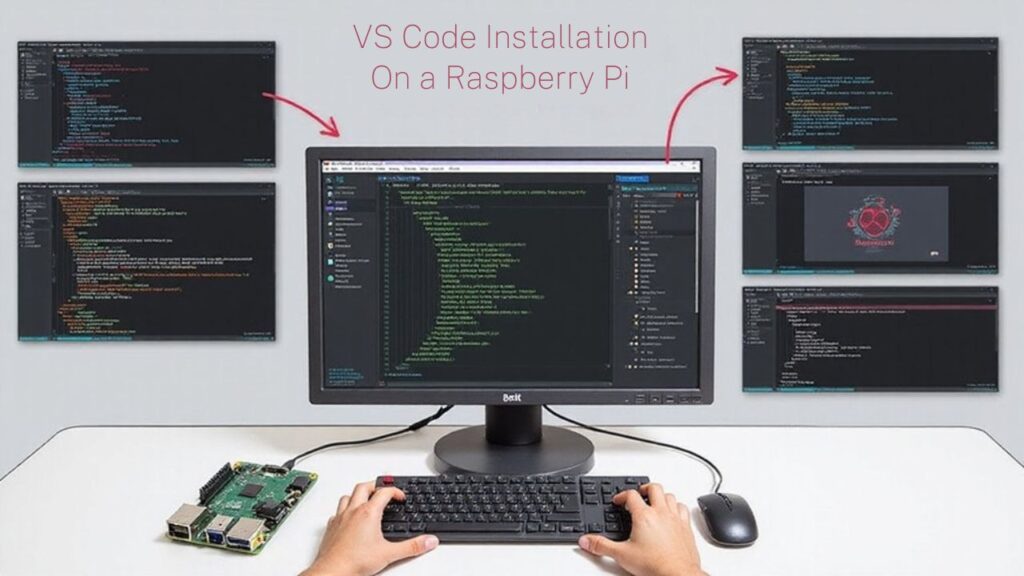
Installing Visual Studio Code on your Raspberry Pi involves five key steps that must be completed in sequence for best results.
First, update your system with `sudo apt update && sudo apt upgrade` to guarantee dependency compatibility and reduce installation conflicts.
Always update your system before new installations to ensure smooth deployment and prevent technical roadblocks.
Second, decide between repository or manual installation methods based on your configuration needs.
For repository installation, add the official package source and run `sudo apt install code` with proper installation permissions. Alternatively, download the ARM-compatible .deb package and install via `sudo dpkg -i file_name.deb`, followed by `sudo apt-get install -f` for dependency resolution if needed. Microsoft now provides official ARM 64 binaries directly, making the installation process much more streamlined.
Similar to the Intel Celeron N4020 processor in mini PCs, Raspberry Pi’s ARM architecture requires specific compatible software versions for optimal performance.
Finally, verify your installation by launching VS Code and configuring automatic updates through the system’s package manager to maintain ideal performance with each new release. For Raspberry Pi 3B and 4B running Buster, you can install VS Code using the Headmelted releases of code-oss 1.45.
Remember that Raspberry Pi OS supports active community participation through forums and online platforms if you encounter installation difficulties or need troubleshooting assistance.
Starting VS Code for the First Time
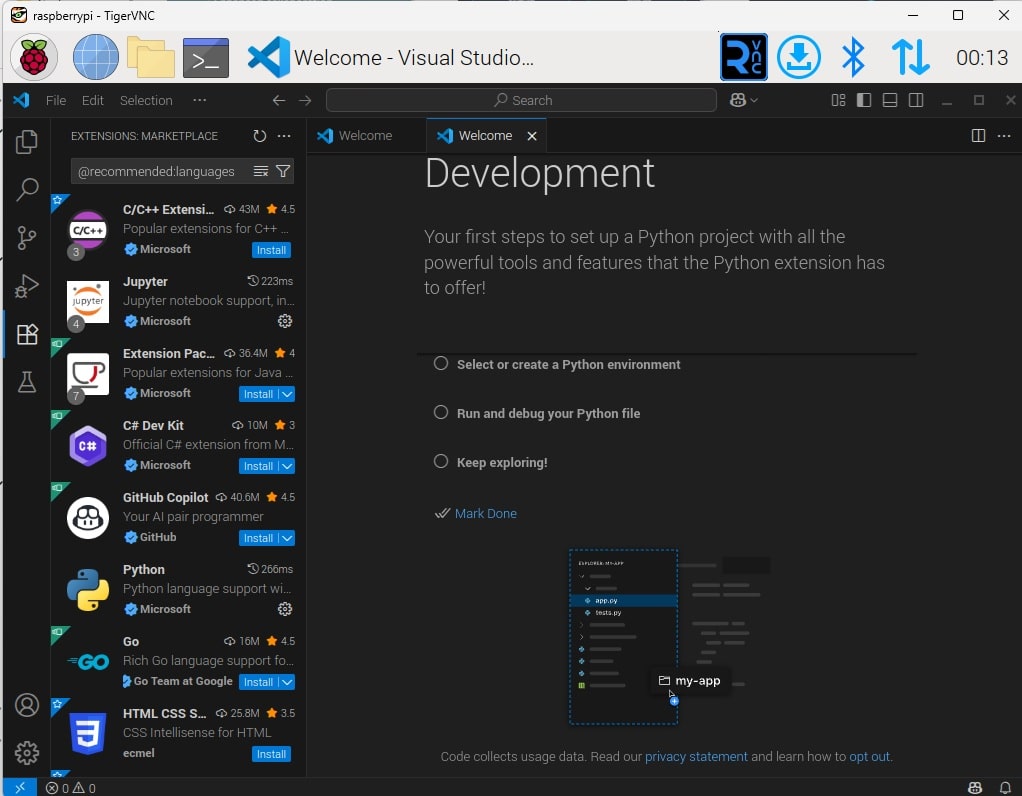
Once you’ve completed the installation process, launching Visual Studio Code on your Raspberry Pi for the first time represents an important configuration milestone.
To initiate the first launch experience, open a terminal window and type `code`. This command starts VS Code and introduces you to its robust development environment.
There are three things you will want to setup during the initial setup:
- whether or not you will want to setup copilot to help you code
- What language extensions you will want to add (I added Python, because that’s what I do)
- Setup the environment in any way
During this initial setup, you’ll want to:
- Explore the default user interface customization options in Settings to optimize your workflow
- Install essential extensions for your programming languages and tools to enhance productivity
- Configure Git integration if you’ll be using version control in your projects
Take time to familiarize yourself with VS Code’s layout, including the Explorer, Editor, and Terminal panels.
These components form the foundation of your development workflow on Raspberry Pi. For remote development capabilities, consider setting up a VS Code tunnel to access your Raspberry Pi projects from any device.
Performance Optimization Tips
Although Visual Studio Code runs on the Raspberry Pi, its performance can be markedly constrained by the device’s limited hardware capabilities. Implementing strategic performance tweaks can greatly improve your development experience on these resource-constrained devices. Switching to lightweight alternatives like Codium may provide a smoother experience on Raspberry Pi devices. Many developers have observed that keystrokes lag significantly when hardware acceleration is enabled. Using Raspberry Pi Imager ensures proper OS installation with optimal configuration for development environments. Consider using a Mini PC alternative like the Beelink or Blackview models for more demanding development tasks that require better processing power.
| Optimization Technique | Expected Impact |
|---|---|
| Disable hardware acceleration | Notable responsiveness improvement |
| Increase swap space | Helps mitigate limited RAM constraints |
| Minimize VS Code extensions | Reduces memory consumption |
| Use faster storage (NVMe SSD) | Improves overall system responsiveness |
| Run at lower display resolution | Decreases graphics processing demands |
For ideal resource management, monitor your memory usage regularly and consider upgrading to a Raspberry Pi with at least 4GB RAM. The Pi 5 with 8GB RAM delivers considerably better performance for development tasks, particularly when paired with fast storage options.
Essential Extensions for Raspberry Pi Development
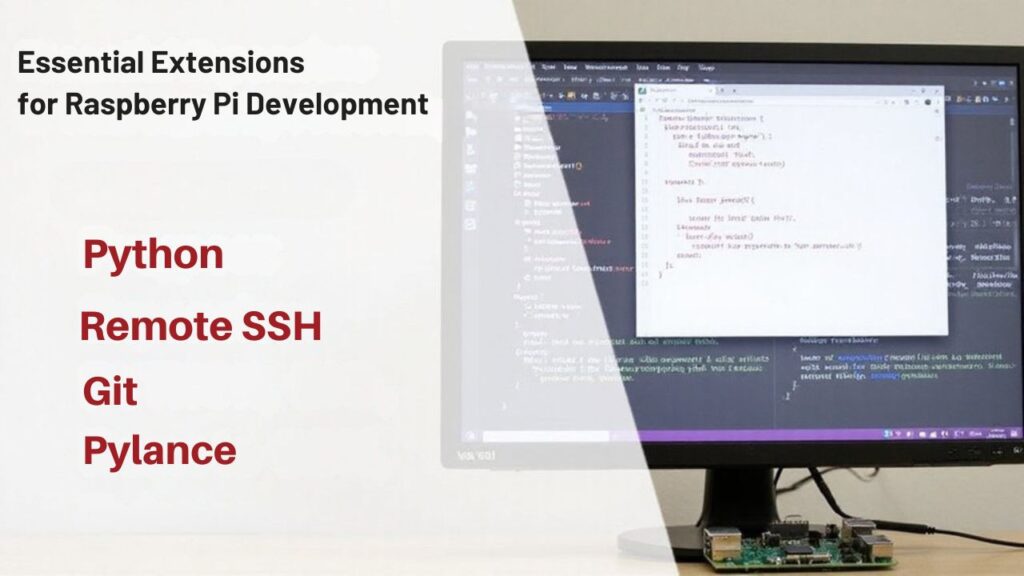
Visual Studio Code’s true power on Raspberry Pi emerges through its extension ecosystem, which can transform the basic editor into a detailed development environment tailored specifically for Pi-based projects.
When developing Raspberry Pi applications, these extensions greatly enhance your workflow and align with development best practices.
- Raspberry Pi Pico Extension – For efficient Pico development with one-click project compilation and simplified deployment, streamlining your microcontroller projects. The extension offers comprehensive offline documentation access within the editor, eliminating the need for internet connectivity during development sessions.
- C/C++/Python Extensions – Provide critical language support with IntelliSense capabilities, debugging tools, and syntax highlighting for core Pi programming languages. These extensions help maximize the computing power of mini PCs that can rival traditional desktops for resource-intensive development tasks.
- Project Management Tools – Components like Task Runner and Git integration create a thorough environment for maintaining complex Raspberry Pi projects while collaborating effectively with team members. However, be aware that using many extensions simultaneously may cause slow performance on Raspberry Pi devices with limited resources. For optimal development experience, consider upgrading to an Intel-based mini PC with 4K display support for better multitasking capabilities.
Keeping Your VS Code Installation Updated
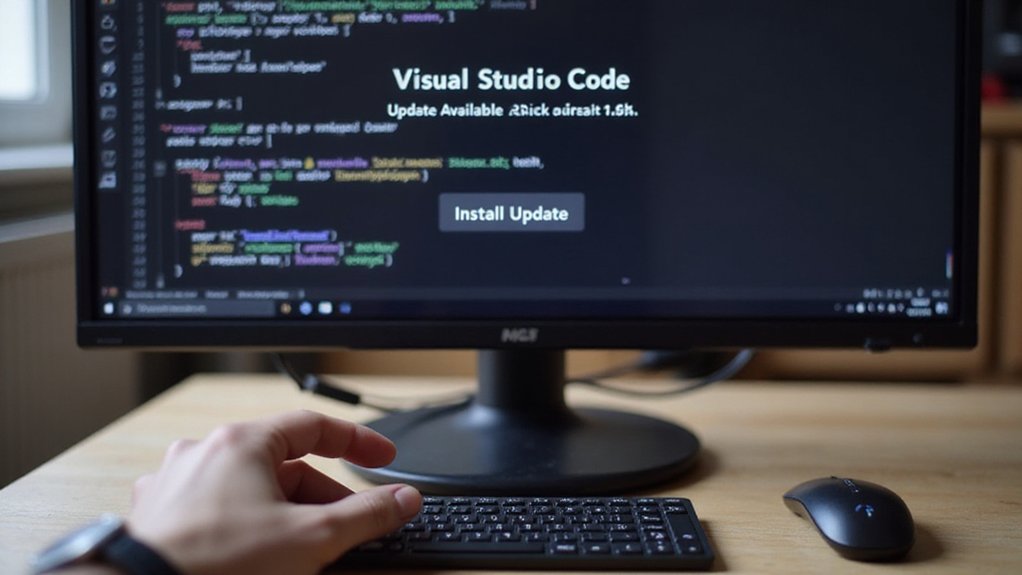
Keeping your Visual Studio Code installation up-to-date on Raspberry Pi requires regular system updates with `sudo apt update` and `sudo apt upgrade code` commands.
You’ll need to ascertain your Raspberry Pi OS version is compatible with newer VS Code releases, selecting the appropriate 32-bit or 64-bit variant based on your system architecture. You can verify your architecture by running Node.js commands like ‘uname -m’ to detect your ARM version before updating. Using the advanced menu in Raspberry Pi Imager can help ensure you have the correct OS version installed initially.
If you encounter connection issues after updating, check your configuration files and consider adding the `arm_64bit=0` line to your `/boot/config.txt` file, followed by a system reboot.
Be aware that the Raspberry Pi repository may not always immediately reflect the latest VS Code version, so patience may be required while waiting for official updates.
For beginners, the integrated terminal feature allows you to execute command-line operations directly within VS Code while connected to your Raspberry Pi.
Update Methods Overview
Once installed on your Raspberry Pi, maintaining VS Code requires understanding the various update methods available to guarantee peak performance and security. The standard approach leverages APT package management, ensuring compatibility with both ARMv7 and ARM64 architectures across Raspberry Pi devices. Using this approach eliminates the need for console editors when developing on the Pi. Creating virtual environments can help manage dependencies for different projects without conflicts. Raspberry Pi OS provides strong community support with extensive documentation for troubleshooting any VS Code issues.
- Repository Updates – Refresh your package lists with `sudo apt update` to identify available VS Code updates through the official APT repository, enabling efficient update automation.
- Applying Updates – Execute `sudo apt upgrade code` to implement the latest security patches, bug fixes, and feature enhancements.
- Verification Process – After updating, launch VS Code via terminal command `code` to verify successful implementation and check the version number in the Help menu.
Troubleshooting Update Issues
While VS Code brings powerful development capabilities to your Raspberry Pi, you’ll inevitably encounter update-related challenges due to the unofficial nature of this platform support.
Update notifications may persistently appear despite your system being current, often because the APT repository lags behind official releases.
When addressing dependency errors, first run `sudo apt update` to refresh your package index. If you encounter specific errors like “unmet dependencies” for packages such as libxkbfile1, consider updating your Raspberry Pi OS to the latest version.
For critical projects, avoid premature updates when stability is essential.
Monitor community forums for known issues, particularly regarding Electron compatibility. If repository versions remain outdated, you might need to manually download the Linux ARM build, though this approach lacks official support.
Troubleshooting Common Issues

Despite its compatibility with Raspberry Pi, Visual Studio Code can present several challenges during setup and operation on these resource-constrained devices. When encountering issues, systematic troubleshooting maximizes your chances of resolving them efficiently.
Visual Studio Code on Raspberry Pi demands methodical troubleshooting to overcome resource constraints and installation hurdles.
- Dependency Resolution – Run `sudo apt update` to refresh package lists before installation; confirm you’re using the latest Raspberry Pi OS version to avoid dependency conflicts with packages like `libxkbfile1`.
- Memory Management – Increase swap space on external storage to prevent crashes, especially for larger projects; monitor system resources with `htop` to identify bottlenecks and close unnecessary processes.
- Performance Optimization – Install only essential extensions to reduce resource consumption; adjust VS Code settings to disable resource-intensive features; consider using alternative lightweight editors when resources are severely constrained.
Real-World Projects to Try on Your Pi

Now that you’ve successfully installed Visual Studio Code on your Raspberry Pi, what compelling projects can you create with this powerful combination?
The possibilities span multiple domains—develop Python automation scripts for home automation systems or implement C/C++ efficiency-focused applications for real-time processing tasks.
Explore IoT integrations by connecting sensors and actuators to monitor environmental conditions or control devices remotely.
Image analysis projects using OpenCV can transform your Pi into an intelligent vision system. For sophisticated applications, implement AI applications with TensorFlow Lite models for on-device inference.
Consider robotics projects that combine sensor data with precise motor control, or build network security tools to analyze your home network traffic.
Data visualization packages can transform sensor readings into actionable insights—perfect for monitoring systems or scientific experiments.
Frequently Asked Questions
Can VS Code Run Python Virtual Environments on Raspberry Pi?
Yes, you can run Python virtual environments on Raspberry Pi with VS Code. Your virtual environment setup integrates seamlessly, allowing efficient Python package management directly within the editor’s interface.
Does VS Code Support Remote Development Between Pi and Other Machines?
Yes, VS Code supports remote development with your Pi. You’ll connect via the Remote-SSH extension, enabling real-time code synchronization between machines while maintaining your familiar development environment.
How Does VS Code Compare to Thonny on Raspberry Pi?
Thonny features a lightweight interface optimized for Pi’s resources and simpler Python development. VS Code advantages include extensive extensions, multi-language support, and advanced capabilities that benefit complex projects despite higher resource demands.
Can I Develop Arduino Projects Using VS Code on Pi?
Yes, you can develop Arduino projects on Pi using VS Code. Install Arduino CLI, add Arduino Libraries through commands, and use the Serial Monitor via extensions or terminal integration for extensive hardware development.
Will VS Code Run on Raspberry Pi Zero Devices?
In a million years, VS Code won’t run on Raspberry Pi Zero devices. Compatibility issues with ARM architecture and performance benchmarks show these devices lack sufficient RAM and processing power for VS Code’s requirements.
Conclusion
You’ll find VS Code on the Raspberry Pi transforms your development workflow despite the platform’s resource constraints. Its lightweight architecture adapts surprisingly well when you’ve optimized settings and limited extensions. While some may argue that dedicated IDEs offer better language-specific tools, VS Code’s extensibility actually provides superior customization for Pi-specific development. Update regularly to maintain performance and leverage new features for embedded system projects.

I am a retired software engineer with experience in a multitude of areas including managing AWS and VMWare development environments. I bought a relative a mini-PC a year ago and have become passionate about the technology and its potential to change how we deploy software.