
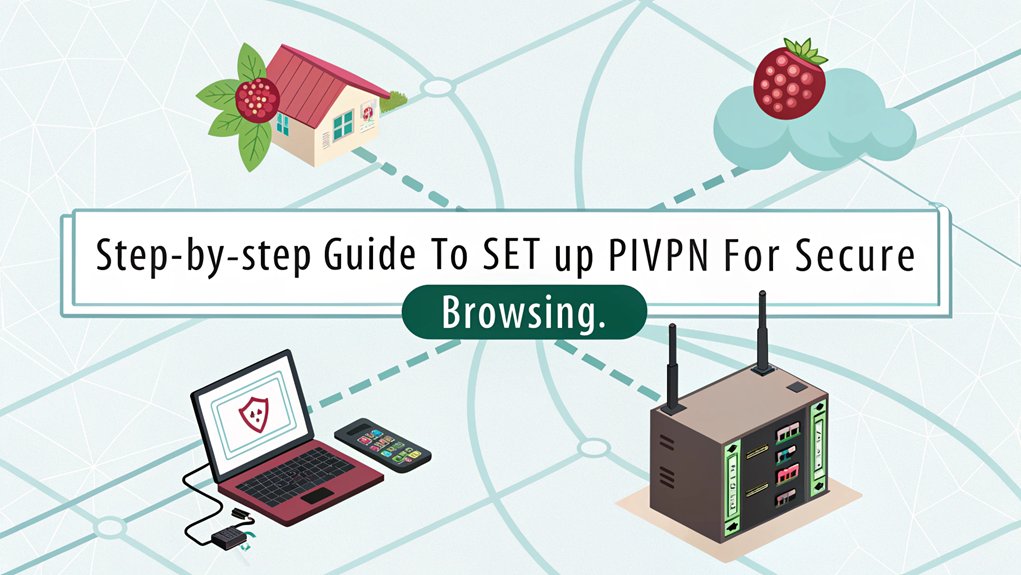
Unlocking Digital Freedom: Your Personal VPN Server with a Raspberry Pi
In today’s connected world, where privacy concerns grow alongside digital surveillance, establishing your own VPN server with a Raspberry Pi represents the perfect balance of accessibility and security. This powerful combination transforms an affordable microcomputer into your personal gateway to the internet, shielding your online activities from prying eyes while granting you unrestricted access to your home network from anywhere around the globe. Unlike commercial VPN services that may log your data or charge recurring fees, your Raspberry Pi VPN server puts you in complete control of your digital footprint.
Whether you’re a privacy enthusiast looking to secure your browsing habits, a remote worker needing access to home resources, or a traveler wanting to bypass geographic restrictions, this compact yet mighty solution delivers enterprise-level protection without the enterprise-level costs. Ready to embark on this journey toward digital sovereignty? Let’s dive into the straightforward process of building your own VPN server with a Raspberry Pi, unlocking a world where online privacy isn’t just a premium service—it’s your personal right.
Key Takeaways
- Set up a Raspberry Pi with Raspberry Pi OS, ensuring a stable internet connection and a secure power supply.
- Install PiVPN by running the command ‘curl -L https://install.pivpn.io | bash’ in the terminal.
- Choose between OpenVPN or WireGuard protocols, customizing settings like port and encryption strength during installation.
- Configure your router to enable port forwarding for the selected VPN to allow external access.
- Maintain security by regularly updating software, using strong passwords, and implementing access controls.
Required Hardware and Initial Setup for a VPN Server with a Raspberry Pi
To set up your home VPN server with a Raspberry Pi, you’ll need some essential hardware to get started.
Choose a compatible Raspberry Pi model—2 or higher is recommended—for peak performance. You’ll need a micro-USB power supply to keep your device running and a micro-SD card preloaded with the Raspbian operating system.
An uninterrupted internet connection, preferably via a wired network cable, guarantees stability for your VPN server. Also, ensure that you utilize VPN (Virtual Private Network) technology to enhance your online privacy and security. Additionally, enabling VPN security features can further protect your data from potential breaches.
Consider setting up a DHCP reservation on your router to assign a static IP address and enhancing accessibility with a Dynamic DNS service.
Finally, secure your network by regularly updating your software and changing the default password to bolster overall security.
The success of your VPN server with a Raspberry Pi starts here!
Installing PiVPN on Your Raspberry Pi
Once you’ve prepared your Raspberry Pi, installing PiVPN is a straightforward process that sets up your OpenVPN server with ease. Start by running the command ‘curl -L https://install.pivpn.io | bash’ in the terminal. The installation script automates configuration and handles tasks like generating encryption keys and setting up the firewall. You’ll be prompted to assess DHCP reservations; if none are present, select ‘
Configuring Your VPN Protocol and Settings
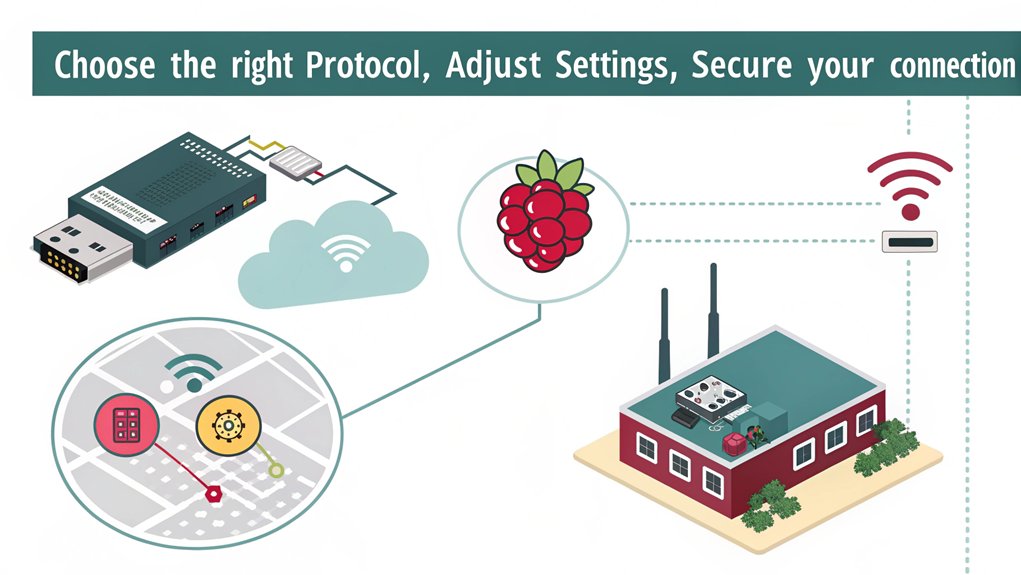
Configuring your VPN protocol and settings is a critical step after installing PiVPN on your Raspberry Pi.
Start by choosing between two main VPN protocols: OpenVPN and WireGuard. OpenVPN offers versatility, whereas WireGuard is noted for its simplicity and speed. For both, UDP is the recommended communication protocol, with OpenVPN using port 1194 and WireGuard utilizing port 51820. Additionally, WireGuard is preferred for better performance compared to OpenVPN. The use of this cost-effective machine allows you to set up a reliable VPN server with a Raspberry Pi without breaking the bank.
Next, guarantee a static IP address for your Raspberry Pi through DHCP reservation to maintain consistent access.
Don’t forget to set up port forwarding on your router, directing the selected VPN port to your Raspberry Pi’s internal IP.
Finally, generate strong encryption keys, ideally 2048-bit, to secure your connections effectively.
Setting Up Client Devices for VPN Access
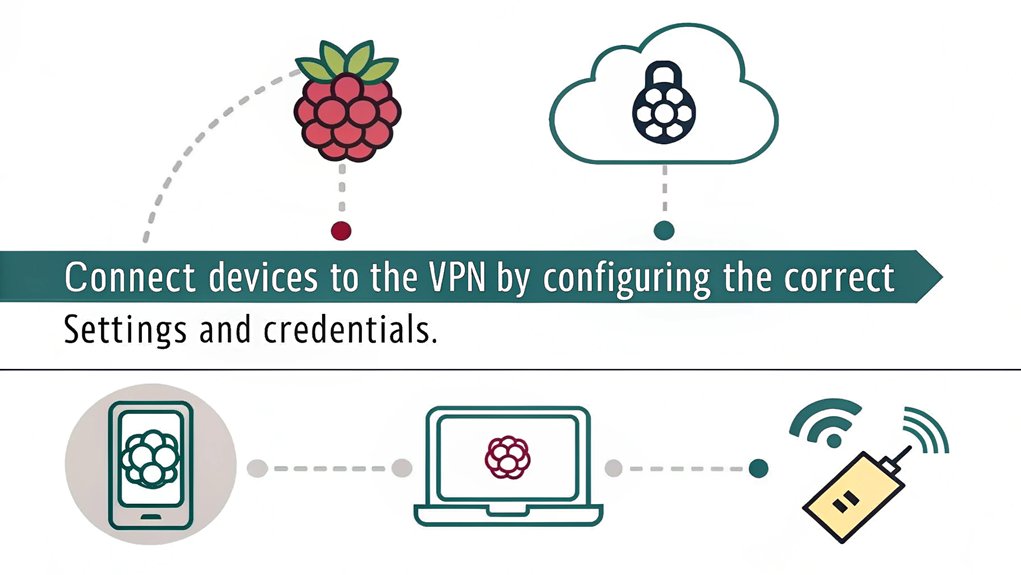
How do you get your devices ready for VPN access? Start by selecting the right VPN client software that supports your chosen VPN protocol. Then, download and install it on each device. Import the client configuration files generated during your server setup for seamless connectivity. Here’s a quick guide:
| Step | Action |
|---|---|
| Choose Client Software | Select compatible software |
| Install Client | Download and install |
| Import Configuration Files | Use files from the server |
| Authenticate | Enter server credentials |
| Verify Connection | Check connection status |
Establishing a VPN can significantly enhance data security during your online activities. Additionally, ensure that your clients support Access Server for optimal functionality. Remember to regularly update your client software to enhance security and performance. This guarantees your devices are primed for a secure VPN experience.
Maintaining Security and Performance of Your VPN
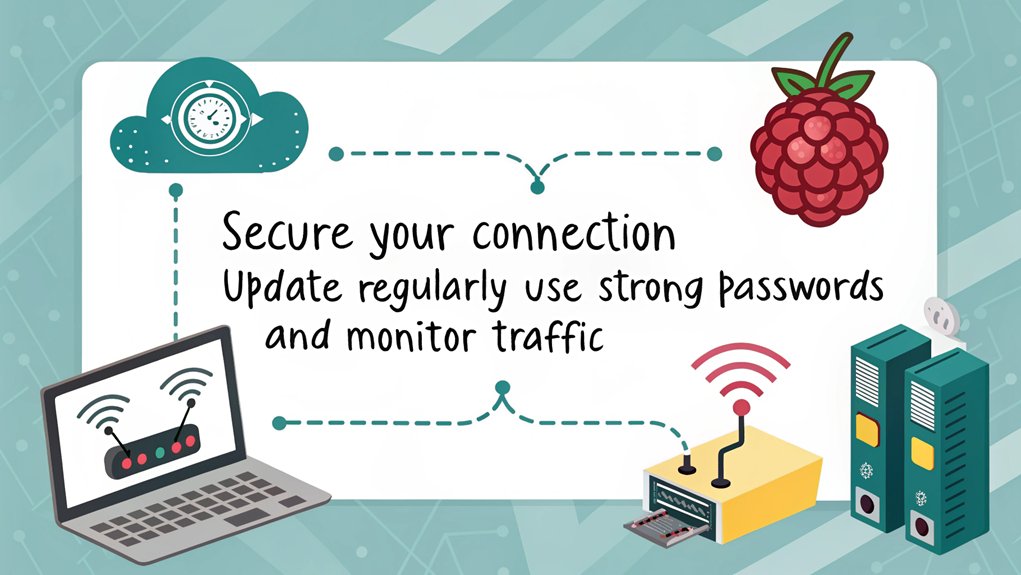
To guarantee your home VPN operates securely and efficiently, you must prioritize ongoing maintenance and updates. Implement regular updates to your VPN software, making sure all components, like routers and gateways, receive the latest security patches. Strong authentication methods, such as multi-factor authentication (MFA) and passwordless options, reinforce VPN security, as the absence of MFA in breaches can lead to significant risks. For performance optimization, apply granular access control, making sure users access only necessary resources—this follows the principle of least privilege.
Ensure effective VM isolation to mitigate malware threats and prevent unauthorized access to sensitive data. Traffic monitoring is essential; enable logging to identify suspicious activities and review logs regularly. Incorporate zero trust policies and verify all third-party code remains up-to-date. Additionally, VPN hardening entails regular audits of your setup to ensure the effectiveness of security measures.
Frequently Asked Questions
Can I Use a Raspberry Pi Zero for the VPN Server?
Yes, you can use a Raspberry Pi Zero as a VPN server. However, its limited hardware may affect VPN performance, making it suitable primarily for light usage with minimal clients under ideal conditions.
What Happens if My Raspberry Pi Loses Power?
When your Raspberry Pi suffers a power loss, you’ll face disrupted connections, halted operations, and potential data recovery challenges. You’ll need to restart services, check configurations, and possibly adjust your time settings for ideal performance.
Is Remote Access Possible from a VPN server with a Raspberry Pi?
Yes, remote access is possible with your VPN setup. You’ll enjoy benefits like secure connections and safe access to internal resources. However, guarantee you address security implications thoroughly to protect sensitive data effectively.
Can I Access My Home Devices While Connected to the VPN?
Yes, you can access your home devices while connected to the VPN. It guarantees secure remote device access, maintaining home network security, so you can control everything as if you’re right there.
How Do I Troubleshoot VPN Connection Issues?
To troubleshoot VPN connection issues, check VPN logs for errors and inspect your connection settings for misconfigurations. Verify valid credentials are used, and monitor network stability to resolve dropped or slow connections effectively.
Conclusion
By setting up a home VPN server on your Raspberry Pi, you’re effectively building a secure fortress for your digital life. This server not only protects your data from prying eyes but also allows you to access your network from anywhere, like having a key to your house no matter where you are. With proper maintenance and security practices, you’ll enjoy a seamless and secure connection, ensuring your online experience is both efficient and private.

I am a retired software engineer with experience in a multitude of areas including managing AWS and VMWare development environments. I bought a relative a mini-PC a year ago and have become passionate about the technology and its potential to change how we deploy software.