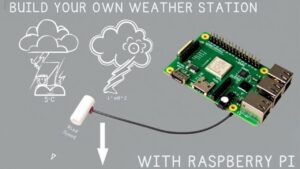
The Raspberry Pi is a powerful, full-fledged computer that opens up endless possibilities for creativity and learning. Whether you’re a beginner or an experienced maker who loves to tinker with electronics and programming, this guide will help you get started building a weather station with a Raspberry Pi.
To build a weather station with a Raspberry Pi, start by selecting essential components like a Raspberry Pi 4, DHT22 sensor, BMP280 sensor, and the Weather HAT. Set up your Raspberry Pi with Raspberry Pi OS, enabling I2C. Connect your sensors and install an MQTT broker for data management. Consider accessing real-time weather via the OpenWeather API. Finally, create a web dashboard for monitoring. Keep going, and you’ll uncover ways to enhance your weather station even more.
Selecting the Right Hardware Components
When you’re ready to build your weather station with a Raspberry Pi, selecting the right hardware components is essential for guaranteeing accurate data collection.
Start with a Raspberry Pi model—consider the Raspberry Pi 5 for its processing power and hardware compatibility with various sensors, especially given its support for dual 4K displays. While older models like the Raspberry Pi 2 can work, they may limit your station’s capabilities.
Choose sensors wisely; for instance, the DHT22 offers excellent temperature and humidity accuracy, while the BMP280 handles barometric pressure seamlessly. Real-time updates on local climate conditions can be achieved through effective sensor integration. Additionally, consider using the Weather HAT designed specifically for easy connection of climate sensors to the Raspberry Pi.
Ascertain you have the necessary jumper wires and connectors for proper sensor connections.
Finally, factor in a reliable power source with a currrent rating recommended for the Raspberry Pi. Consider a weatherproof enclosure if your setup will be outdoors. These choices will enhance both performance and durability.
Setting Up the Raspberry Pi

Once you’ve chosen the right hardware components, it’s time to set up your Raspberry Pi for the weather station. Start by installing the latest Raspbian version using Raspberry Pi Imager, configuring advanced options like SSH and WiFi. Change the hostname to something memorable, like ‘weather.local’, and run ‘sudo apt-get update && sudo apt-get upgrade’ for operating system optimization. Additionally, consider that your complete Raspberry Pi weather system will require specific software and configurations to function effectively.
Ensure that you have a compatible microSD card with sufficient size and speed requirements as outlined in the Raspberry Pi Imager guide. Next, verify Raspberry Pi security by changing the default password. It is crucial to use a stable power supply to ensure reliable operation of your Raspberry Pi. Enable the I2C interface through the Raspberry Pi Configuration tool. Here’s a quick setup checklist:
| Step | Command/Action |
|---|---|
| Change password | ‘sudo raspi-config’ |
| Enable I2C interface | Interfaces tab |
| Set locale | ‘sudo dpkg-reconfigure locales’ |
| Reboot for changes | ‘sudo reboot’ |
This prepares your Raspberry Pi for efficient system performance tuning. Additionally, ensure that I2C communication is enabled for proper sensor functionality.
Installing the Weather HAT

To install the Weather HAT, start by mounting it securely on the Raspberry Pi‘s GPIO header, ensuring that the HAT aligns properly with the 40-pin configuration. If you’re using a full-size Raspberry Pi model, use standoffs and screws to secure it firmly. Remember to connect the HAT while the Raspberry Pi is powered off to prevent damage. Next, open a Terminal window and clone the Weather HAT Python library repository with the command ‘git clone https://github.com/pimoroni/weatherhat-python’.
Make sure you ensure proper alignment of the HAT over the Raspberry Pi body to avoid connection issues. Additionally, follow Cyntech’s Getting Started Guide for library installation to ensure all necessary components are correctly set up. Navigate to the directory and run the installation script using ‘sudo ./install.sh’. This completes the Weather HAT installation, setting you up for sensor calibration and ensuring your weather station with a Raspberry Pi is ready for testing.
Connecting Sensors to the System
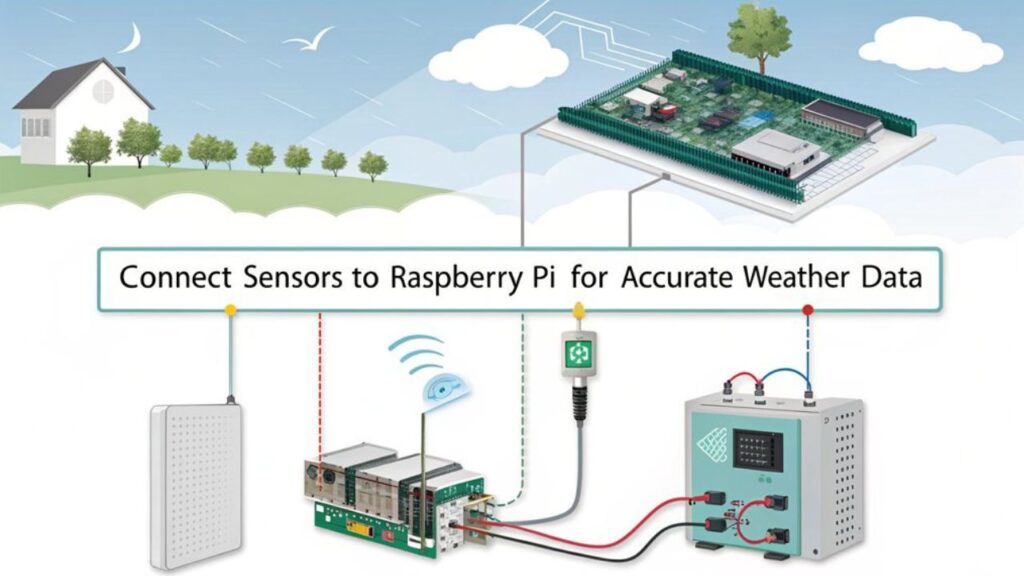
Now that you’ve set up your Weather HAT, it’s time to connect the sensors that’ll gather essential data. You’ll explore various sensor types and learn how to connect them to your system effectively. Understanding these connections is key to ensuring accurate weather measurements. The Raspberry Pi serves as the central hub for communicating with the sensors, enabling efficient data collection and transmission. This kit is a Plug-and-Play Weather kit specifically designed for the Raspberry Pi, making setup even easier.
Sensor Types Overview
Connecting sensors to your weather station system is an important step in gathering accurate data. You’ll want to explore various sensor types to maximize your station’s capabilities. For temperature, consider DHT11, DHT22, or DS18B20 based on their measuring ranges and accuracies. Additionally, the DS18B20 sensor operates on a 1-wire bus, making it easy to connect multiple sensors. Accurate data collection is crucial for monitoring various weather patterns and understanding climate trends. Ensure your setup can handle high-speed data transfer using PCIe 2.0 x1 interface for optimal performance. Utilizing robust GPIO control with libraries like Pigpio can enhance the reliability of your sensor connections.
For humidity, the DHT11 and DHT22 provide important readings, while barometric sensors like BMP180 and BMP280 can enhance your forecasts. Don’t overlook additional sensors like anemometers for wind speed, tipping bucket rain gauges for rainfall, and soil moisture sensors for agricultural insights. Remember, proper sensor calibration is vital to guarantee accuracy and reliability in your measurements.
Connection Methods Explained
After selecting the right sensors for your weather station with a Raspberry Pi, understanding how to connect them to your system is key for accurate data collection. For digital sensor connections, use GPIO pin management to link sensors like the DHT22 and DS18B20. Also, ensure that data captured will be saved locally in a CSV file before transmission. Additionally, consider using wireless communication methods like MQTT for data integration, as demonstrated by users successfully employing RTL-SDR dongles for signal processing.
Employ i2c communication methods for sensors like BMP280, ensuring the I2C bus is enabled and each sensor has a unique address. For analog signal processing, utilize ADC conversion techniques with an MCP3008 to read sensors like UV and wind speed. If you’re integrating wireless sensor networks, set up MQTT data integration with an ESP32 to publish data to a broker. Leverage software library usage in Python for seamless data handling and analysis.
Configuring the MQTT Broker

Now that you’ve connected your sensors, it’s time to configure the MQTT broker. Start by installing a compatible broker and updating your Raspberry Pi‘s operating system. Once you’ve set it up, you’ll configure your MQTT clients and test the communication protocols to guarantee everything runs smoothly. This setup will enable your DIY Raspberry Pi weather station to broadcast data effectively. Additionally, ensure that the I2C interface is enabled on your Raspberry Pi for optimal sensor performance.
MQTT Broker Installation Steps
To configure the MQTT broker effectively, you’ll want to start by editing the Mosquitto configuration file, which is typically found at ‘/etc/mosquitto/mosquitto.conf’. Here, you can implement MQTT security measures and broker performance optimization. It is essential to understand that MQTT brokers operate on a publish and subscribe system where devices publish messages on specific topics. Additionally, you can run Mosquitto as a service to ensure it starts automatically with your system. Use the following table as a guide for essential configurations:
| Setting | Description | Command/Action |
|---|---|---|
| Authentication | Set up user access | Configure password files |
| Logging | Adjust log levels and paths | Edit log settings in config |
| Auto Start | guarantee broker runs on boot | ‘sudo systemctl enable mosquitto’ |
| Service Restart | Apply changes after editing | ‘sudo systemctl restart mosquitto’ |
After making your changes, always verify the service status using ‘systemctl status mosquitto’. This guarantees your setup is robust and secure.
Configuring MQTT Clients
Configuring MQTT clients is essential for effectively communicating with your MQTT broker and receiving weather data.
Start by installing the Paho Python Client to manage your MQTT connections. Define specific MQTT topics for temperature, humidity, and barometric pressure, ensuring you use clear MQTT message formatting like ‘temp:{51.7}’. This enables precise data parsing and interpretation. Additionally, it’s important to note that the MQTT protocol is employed for lightweight messaging transport, facilitating seamless communication between clients and the broker. This is particularly useful for devices publishing or subscribing to topics, allowing for efficient data exchange in your weather station with a Raspberry Pi.
To visualize the data, employ web-based clients or applications like MQTT Dashboard, which allow you to subscribe to these topics and display real-time updates. You can also create custom scripts to enhance your MQTT client visualization further.
Testing Communication Protocols
While testing communication protocols is essential for seamless operation, validating your MQTT broker is properly configured is the first step.
Start by installing MQTT broker software like Mosquitto, making sure it listens on the correct network interface and port, typically 1883. Set up your configuration files in a designated directory, incorporating mqtt security measures such as password protection and SSL/TLS if needed. Additionally, ensure that your broker supports broadcasting sensor data as JSON dict, as this is crucial for the weather station’s functionality. Furthermore, clients can be both publishers and subscribers, allowing for flexible communication between devices.
Next, test client connections using tools like ‘mosquitto_pub’ and ‘mosquitto_sub’ to verify topic subscriptions and message publishing. Monitor performance metrics under various loads to confirm your broker can handle expected traffic.
Accessing Weather Data With Openweather API
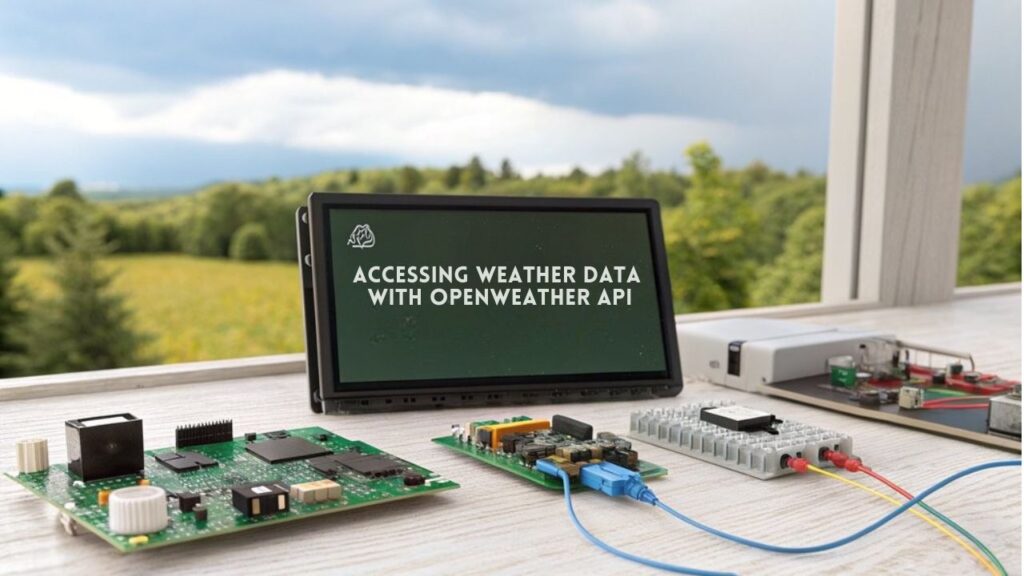
Accessing weather data through the OpenWeather API is straightforward, allowing you to obtain both current conditions and forecasts with just one API call.
By integrating this API into your Raspberry Pi project, you can retrieve real-time data, including temperature, humidity, and precipitation, all formatted in JSON for easy data visualization.
You’ll need to provide parameters like latitude, longitude, and your unique API key, with options for units and language. The API updates every 10 minutes, ensuring you have the latest information.
With historical weather data available for over 46 years and long-term forecasts up to 30 days, this powerful tool enhances your weather station’s capabilities, making your data analysis and visualization more robust and insightful.
Displaying Data on Local Screens

Displaying data on local screens transforms your weather station with a Raspberry Pi into an interactive and informative hub.
You can choose from various display options, ensuring you find the perfect fit for your project.
Here’s a quick display options comparison:
- 7-inch Display: Ideal for an all-encompassing view.
- E-Ink Display: Power-efficient for minimal energy use.
- HDMI Display: Perfect for larger setups.
- Composite Video Display: Great for compact spaces.
Creating a Web Dashboard for Remote Access

Creating a web dashboard for remote access enhances the functionality of your weather station with a Raspberry Pi, allowing you to monitor conditions from anywhere. Start by setting up your Raspberry Pi as a web server. Install Apache and PHP, then configure your server. Create an index.php file to display your dashboard.
Here’s a quick overview of the setup:
| Step | Command/Action |
|---|---|
| Install Apache | ‘sudo apt-get install apache2 -y’ |
| Install PHP | ‘sudo apt-get install php5 libapache2-mod-php5 -y’ |
| Clone Dashboard Code | ‘sudo git clone https://github.com/…’ |
Once everything’s in place, access your dashboard via your Raspberry Pi’s IP address. This setup provides seamless remote access, enabling you to keep track of weather data effortlessly.
Add Additional Features to Your Weather Station With A Raspberry Pi
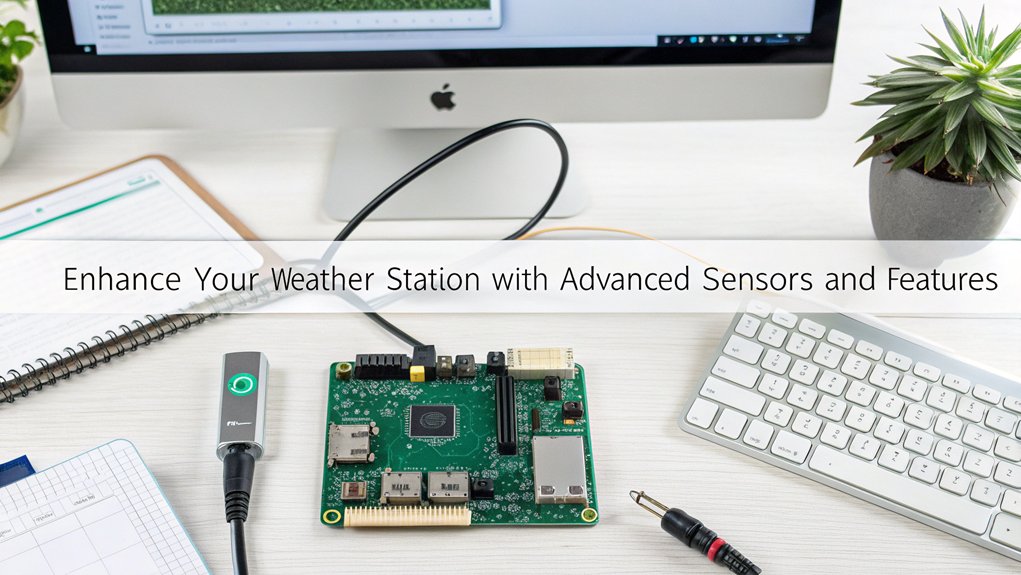
To enhance your weather station’s capabilities, consider integrating additional features that can greatly improve its functionality and data accuracy.
Here are four innovative ways to elevate your project:
- Integrate External APIs: Use the Weather Underground and OpenWeather APIs for advanced analytics and forecasts that local sensors can’t provide.
- Add Camera and Timelapse Capabilities: Capture images at intervals to visualize weather changes, creating engaging timelapses for your dashboard.
- Incorporate Multiple Sensors: Expand your data collection with temperature, humidity, and wind sensors for thorough insights. This approach is similar to building a personalized weather station using sensors connected to a Raspberry Pi.
- Enhance Display and Automation: Use OLED or LCD screens for real-time data visualization and integrate with smart home systems for automated updates.
These enhancements won’t only enrich your data but also provide a more immersive user experience.
Key Takeaways
- Select hardware components like Raspberry Pi 4, DHT22, and BMP280 sensors for accurate weather data collection.
- Set up the Raspberry Pi with the latest Raspberry Pi OS, enabling SSH, WiFi, and the I2C interface.
- Connect multiple sensors, ensuring proper calibration for reliable temperature, humidity, and pressure readings.
- Configure an MQTT broker for wireless data transmission and implement security measures for safe communication.
- Create a web dashboard for real-time data visualization and remote access to your weather station with a Raspberry Pi.
Frequently Asked Questions
Can I Use Any Raspberry Pi Model for This Project?
Yes, you can use any Raspberry Pi model for your project. Just guarantee it meets your sensor selection needs. Newer models offer better performance, while older ones can still handle basic tasks effectively.
How Do I Troubleshoot Sensor Connectivity Issues?
When troubleshooting sensor connectivity issues, think of it like a puzzle. Start with connection testing to verify everything’s linked correctly, then focus on sensor calibration for accurate data. Check compatibility, wiring, and power supply too.
What Power Source Is Recommended for Outdoor Sensors?
For outdoor sensors, you should consider solar power paired with a reliable battery backup. This combination guarantees continuous operation, even during cloudy periods, while maintaining efficiency and reducing reliance on traditional energy sources.
How Can I Protect the Raspberry Pi From Weather Elements?
When it comes to protecting your Raspberry Pi from the elements, think outside the box. Use a weatherproof enclosure for moisture resistance, sealing any gaps and ensuring components are securely mounted and well-placed for ideal protection.
Is There a Way to Automate Data Logging Intervals?
Yes, you can automate data logging by using Python scripts with interval settings. Implement a loop with ‘time.sleep()’ to specify your desired intervals, ensuring consistent and reliable data collection for your project’s needs.
Conclusion
Now that you’ve built your weather station with a Raspberry Pi, picture yourself gazing at a vibrant display of real-time data, with clouds drifting by and raindrops tapping against your window. You’ve transformed a simple Raspberry Pi into a powerful tool, predicting storms and basking in sunshine. With every sensor connected and your web dashboard live, you’re not just observing the weather; you’re engaging with it. Dive deeper, experiment with enhancements, and let your curiosity guide you to new meteorological adventures!

I am a retired software engineer with experience in a multitude of areas including managing AWS and VMWare development environments. I bought a relative a mini-PC a year ago and have become passionate about the technology and its potential to change how we deploy software.