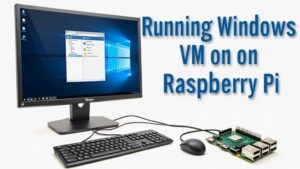
If you’re looking to explore the domain of running a Windows virtual machine on a Raspberry Pi, you’re in for a practical adventure. With the right tools and a bit of setup, you can bring a lightweight Windows environment to your compact device. This guide will walk you through the process step by step, ensuring you get the best performance possible. Ready to see how this can enhance your Raspberry Pi experience?
Key Takeaways
- Choose an appropriate Windows version, like Windows 10 IoT or Windows XP, for better compatibility with Raspberry Pi’s limited resources.
- Use Raspberry Pi OS and install QEMU as the virtualization tool for setting up the Windows virtual machine.
- Ensure you have at least a Raspberry Pi 4 model and 16GB storage for optimal performance during virtualization.
- Enable hardware virtualization in Raspberry Pi settings to improve VM performance and efficiency.
- Obtain a Windows ISO image and properly configure the virtual machine settings before installation in QEMU.
Understanding the Raspberry Pi Capabilities
When exploring the capabilities of a Raspberry Pi, you’ll find it’s a surprisingly versatile device. It excels in numerous applications, from coding projects to basic home automation, but understanding its performance limitations is essential, especially in the context of virtualization.
While you can run a virtual machine on a Raspberry Pi, keep in mind the constraints. The hardware simply doesn’t compare to more powerful PCs—its processing power and RAM are limited. This can lead to sluggish performance if you’re aiming for a seamless Windows experience.
Choosing the Right Windows Version
Choosing the right version of Windows for your Raspberry Pi can greatly impact your virtual machine’s performance and usability. You’ll need to take into account compatibility issues and user preferences before making a decision.
| Windows Version | Key Features |
|---|---|
| Windows 10 IoT | Designed for low-power devices |
| Windows 7 | Familiar interface, lightweight |
| Windows 8 | Better performance, touch-friendly |
| Windows XP | Highly compatible, minimal requirements |
Keep in mind that newer versions may offer enhanced features, but they may also demand more resources. Ultimately, weigh the pros and cons based on your specific use case to guarantee a smooth experience tailored to your needs. Don’t overlook how user preferences can affect your choice, too!
Required Software and Tools
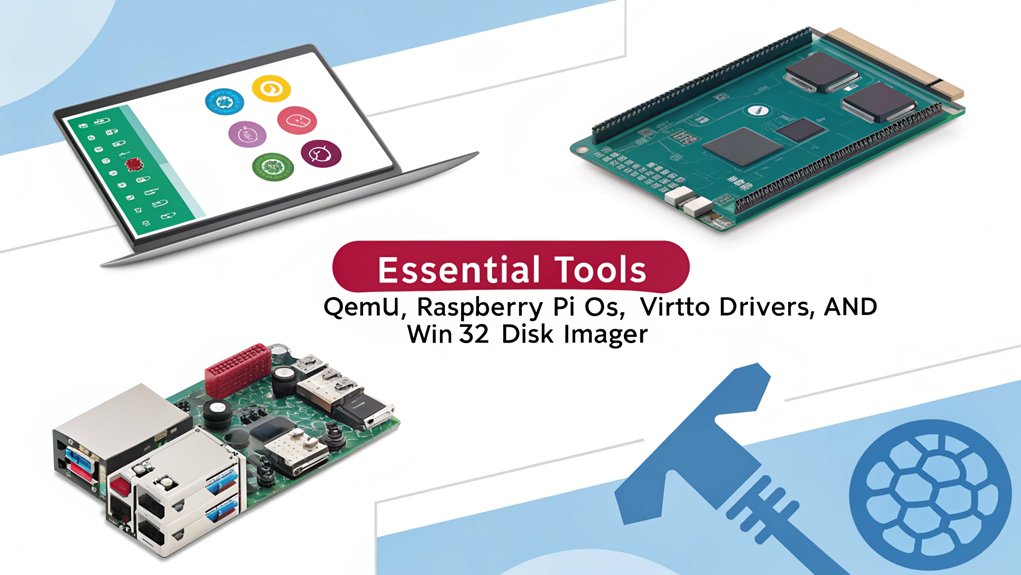
To successfully run a Windows virtual machine on your Raspberry Pi, you’ll need a few essential software tools and applications.
Selecting the right virtualization software is vital for ideal performance and functionality. Here’s a list of what you’ll need:
Choosing the appropriate virtualization software is crucial for optimal performance and seamless functionality.
- Raspberry Pi OS: The foundation you’ll build upon.
- QEMU: A versatile emulator and virtualization tool.
- Pi-hole (optional): For network ad-blocking, enhancing security.
- VirtualBox: A user-friendly interface to manage virtual machines.
- Win32 Disk Imager: To create bootable images for your virtual setup.
These tools enable you to harness the Raspberry Pi’s capabilities effectively while running Windows.
Make sure to download the latest versions for the best experience in virtualization.
Setting Up the Raspberry Pi for Virtualization
Before diving into virtualization, you need to guarantee your Raspberry Pi is properly configured. Start by ensuring you’re using a Raspberry Pi model that supports this functionality; ideally, models 4 or newer with appropriate RAM.
Next, update your Raspberry Pi OS to the latest version to maximize compatibility. Familiarize yourself with the Raspberry Pi architecture, as its ARM-based design imposes certain virtualization limitations, particularly concerning compatibility with x86 applications.
You’ll also want to enable hardware virtualization in the configuration settings. Remember, optimizing your Pi’s performance can greatly enhance your virtualization experience, so consider overclocking or utilizing cooling solutions if necessary.
This foundational setup will pave the way for successful Windows VM installation later on.
Installing and Configuring Windows in VirtualBox
Before you start installing Windows in VirtualBox, it’s important to check the system requirements to guarantee your Raspberry Pi can handle it.
Once you’ve confirmed compatibility, you can follow a step-by-step installation guide to set everything up properly.
Let’s get started on turning your Raspberry Pi into a functional Windows virtual machine.
System Requirements Overview
When considering running a Windows virtual machine on a Raspberry Pi using VirtualBox, it’s vital to check the system requirements to guarantee peak performance.
Understanding system compatibility considerations and recognizing hardware limitations will help you prepare effectively. Here are some essential requirements to keep in mind:
- Raspberry Pi 4 or newer (with at least 4GB RAM)
- Minimum of 16GB microSD card or SSD for storage
- A compatible operating system (like Raspberry Pi OS)
- VirtualBox installed correctly on your Pi
- Sufficient power supply to avoid performance issues
Step-by-Step Installation Guide
To get started with installing and configuring Windows in VirtualBox on your Raspberry Pi, you’ll need to follow a series of steps that guarantee a smooth setup.
First, download the latest version of VirtualBox and install it on your device. Next, obtain a Windows ISO image, which you’ll use to create your virtual machine.
Launch VirtualBox, click “New,” and configure your virtual machine settings, such as memory allocation and disk space. Select the Windows ISO and click “Start.”
After the installation completes, you’ll enjoy the virtual machine benefits, allowing you to run Windows applications seamlessly.
For those exploring Raspberry Pi alternatives, this guide demonstrates how to leverage your Raspberry Pi for innovative computing solutions.
Get ready to explore!
Installing Windows 11 ARM on Raspberry Pi Using Pi-Apps and BVM
Running a Windows virtual machine on a Raspberry Pi has become more accessible with tools like Pi-Apps and Botspot’s Virtual Machine (BVM). This section will guide you through installing Windows 11 ARM using these utilities, enhancing your Raspberry Pi’s versatility.
Prerequisites
Before proceeding, ensure you have the following:
- Raspberry Pi Model: A Raspberry Pi 4 or 5 with at least 4 GB of RAM is recommended for optimal performance
- Operating System: Raspberry Pi OS (formerly Raspbian) installed and updated.
- Storage: A high-speed microSD card or an external SSD with a minimum of 16 GB free space.
- Internet Connection: An active internet connection to download necessary packages and Windows 11 ARM ISO.
Step 1: Install Pi-Apps
Pi-Apps is a free, open-source application installer that simplifies installing various applications on a Raspberry Pi. To install Pi-Apps:
- Open Terminal on your Raspberry Pi.
- Run the following command to install Pi-Apps: bashCopyEdit
wget -qO- https://raw.githubusercontent.com/Botspot/pi-apps/master/install | bash
- After installation, you can access Pi-Apps from the main menu under ‘Accessories’.raspberrytips.com
For a visual guide on installing Pi-Apps, you can refer to this video:
Step 2: Install BVM via Pi-Apps
Botspot’s Virtual Machine (BVM) simplifies the process of setting up virtual machines on a Raspberry Pi. To install BVM:
- Launch Pi-Apps from the main menu.
- Navigate to the ‘Tools’ section.
- Locate and select ‘BVM’.
- Click ‘Install’ and follow the on-screen prompts to complete the installation.
Step 3: Download Windows 11 ARM ISO
To obtain the Windows 11 ARM ISO:
- Visit the official Microsoft website or use the Windows Insider program to download the Windows 11 ARM ISO. Ensure you have the appropriate permissions and licenses to use the software.
Step 4: Configure and Launch Windows 11 ARM VM Using BVM
With BVM installed and the Windows 11 ARM ISO downloaded:
- Open BVM from the main menu.
- Select ‘Create New VM’.
- Choose ‘Windows 11 ARM’ as the operating system.
- Provide the path to the downloaded Windows 11 ARM ISO when prompted.
- Allocate system resources (CPU cores, RAM) based on your Raspberry Pi’s capabilities.
- Follow the on-screen instructions to complete the setup.
- Once configured, start the virtual machine.
Performance Considerations
Running Windows 11 ARM on a Raspberry Pi provides a functional experience; however, performance may vary based on the model and allocated resources. It’s advisable to close unnecessary applications and consider using an external SSD for improved speed.
By following these steps, you can effectively set up a Windows virtual machine on your Raspberry Pi, expanding its potential applications and usability.
Tips for Optimizing Performance
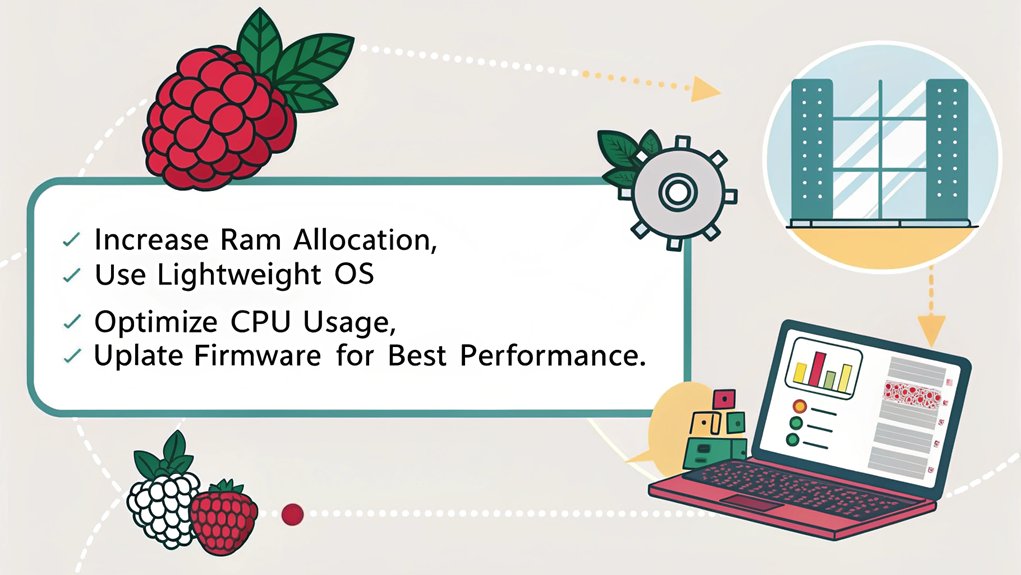
Although running a Windows virtual machine on a Raspberry Pi can be resource-intensive, optimizing performance is possible with a few strategic adjustments.
Running a Windows virtual machine on a Raspberry Pi may be resource-intensive, but performance optimization is achievable with strategic tweaks.
By implementing effective performance tweaks and focusing on resource management, you can enhance the overall experience. Here are some tips to help you get started:
- Limit background processes to free up resources.
- Allocate enough RAM and CPU cores to the virtual machine.
- Use a lightweight version of Windows, such as Windows 10 IoT.
- Optimize disk space with virtual disk compression.
- Regularly update your software for the latest performance improvements.
Frequently Asked Questions
Can I Run Windows Applications Directly on Raspberry Pi Without Virtualization?
Don’t put all your eggs in one basket; while Windows applications face compatibility issues on Raspberry Pi, using alternative operating systems like Linux can open doors to unique software tailored for your device’s capabilities.
How Much Power Does a Raspberry Pi Consume When Running a VM?
When running a VM, your Raspberry Pi’s power consumption can vary but typically stays low. With its energy efficiency, it uses minimal power, making it a great choice for innovative projects without breaking the bank on electricity.
Is It Possible to Use USB Peripherals With the Windows VM?
You can’t have your cake and eat it too, but you can definitely use USB peripherals with your Windows VM. Just guarantee USB compatibility for ideal peripheral performance, opening innovative possibilities tailored to your needs.
What Are the Limitations of Running Windows on Raspberry Pi Compared to PC?
When you run Windows on a Raspberry Pi, you’ll face performance constraints and limited software compatibility. These factors hinder productivity, especially for resource-intensive applications that thrive on more robust PC hardware. Innovation demands adaptability.
Can I Access the Windows VM Remotely From Another Device?
Imagine your Windows VM as a digital fortress; you can easily access it remotely from another device. With proper setup, remote access grants seamless VM connectivity, letting you tap into your resources anytime, anywhere.
Conclusion
Now that you’ve configured everything, you’re ready to release the power of Windows on your Raspberry Pi. It’s like transforming your trusty old Game Boy into a modern powerhouse! Remember to keep tweaking and optimizing your setup for the best performance. With the right configurations and a lightweight Windows version, you’ll enjoy a surprisingly smooth experience. Immerse yourself, explore, and don’t hesitate to experiment with your virtual machine. Happy computing!

I am a retired software engineer with experience in a multitude of areas including managing AWS and VMWare development environments. I bought a relative a mini-PC a year ago and have become passionate about the technology and its potential to change how we deploy software.

