
Installing an Apache web server on a Raspberry Pi opens up a world of possibilities for hosting websites and web applications on a compact device. To get started, it’s essential to prepare your Raspberry Pi and guarantee it’s running a compatible operating system. From updating system packages to managing Apache settings, each step requires attention to detail. Follow along to transform your Raspberry Pi into a functional web server capable of serving content efficiently.
Key Takeaways
- Ensure your Raspberry Pi is set up with Raspbian, connected to the internet, and has peripheral devices properly functioning.
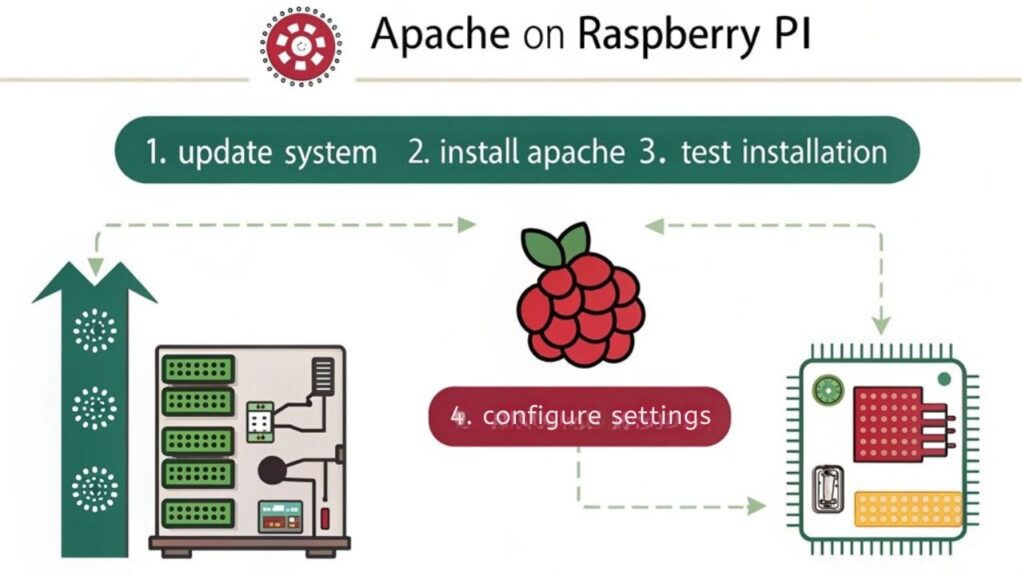
- Update system packages by running ‘sudo apt update’ followed by ‘sudo apt upgrade’ in the terminal.
- Install Apache by executing ‘sudo apt install apache2’ and start the service with ‘sudo systemctl start apache2’.
- Test the installation by accessing the Raspberry Pi’s IP address in a web browser to confirm the default Apache page appears.
- Regularly monitor and review server status and error logs to ensure optimal operation and security.
Preparing Your Raspberry Pi
Before you plunge into installing Apache, it’s essential to prepare your Raspberry Pi to guarantee a smooth setup.
Start by ensuring your hardware meets the recommended requirements: a Raspberry Pi 2 or newer, adequate power supply, and reliable storage options, like a microSD card.
Ensure your Raspberry Pi hardware is up to standard: model 2 or newer, a proper power supply, and a dependable microSD card.
Next, install a compatible operating system; Raspbian is a popular choice.
Don’t forget to configure the network settings for internet access, allowing seamless software downloads.
When connecting peripheral devices like keyboards and mice, confirm they’re functioning correctly.
Also, consider cooling solutions, as the CPU may overheat during heavy use.
Taking these steps lays a solid foundation, making your Apache web server installation straightforward and efficient.
Updating the System Packages
Updating the system packages is vital for ensuring that your Raspberry Pi runs smoothly and securely before you install Apache.
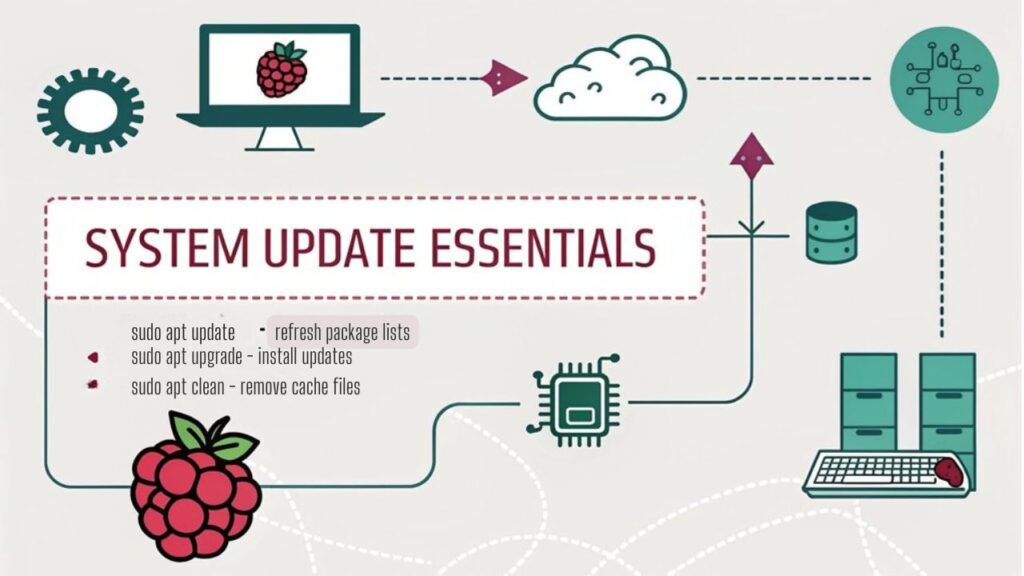
Start by opening a terminal window and executing the command ‘sudo apt update’. This command refreshes your package list, allowing you to see the latest versions available.
Next, run ‘sudo apt upgrade’ to apply the necessary system updates. This step will download and install updated packages, ensuring your system’s efficiency and security.
For a thorough upgrade, you can also use ‘sudo apt full-upgrade’, which intelligently handles changing dependencies.
Regularly performing these package management tasks is essential for maintaining a robust Raspberry Pi environment.
Once your system updates are complete, you’re ready to progress to the Apache installation process.
Installing the Apache Web Server on a Raspberry Pi
To install the Apache web server on your Raspberry Pi, begin by executing the command ‘sudo apt install apache2’ in your terminal. This command will pull the latest version of Apache and its essential dependencies.
Once installed, you can customize your server’s functionality by enabling various Apache modules that enhance performance and expand capabilities—just use ‘sudo a2enmod [module_name]’.
Customize your Apache server’s functionality by enabling modules to enhance performance and capabilities with ease.
It’s vital to take into account server security during this process; securing your installation from vulnerabilities will protect your data and maintain uptime.
Configure the Apache settings in the ‘/etc/apache2/’ directory to meet your specific needs.
Afterward, double-check permissions and access controls to guarantee your server runs smoothly and securely, setting the foundation for a robust web hosting experience.
Starting the Apache Service
After installing the Apache web server, you need to start the service to guarantee it runs and serves your web pages.
Here’s how to effectively initiate Apache on your Raspberry Pi:
- Open Terminal: Use SSH or directly access your terminal interface.
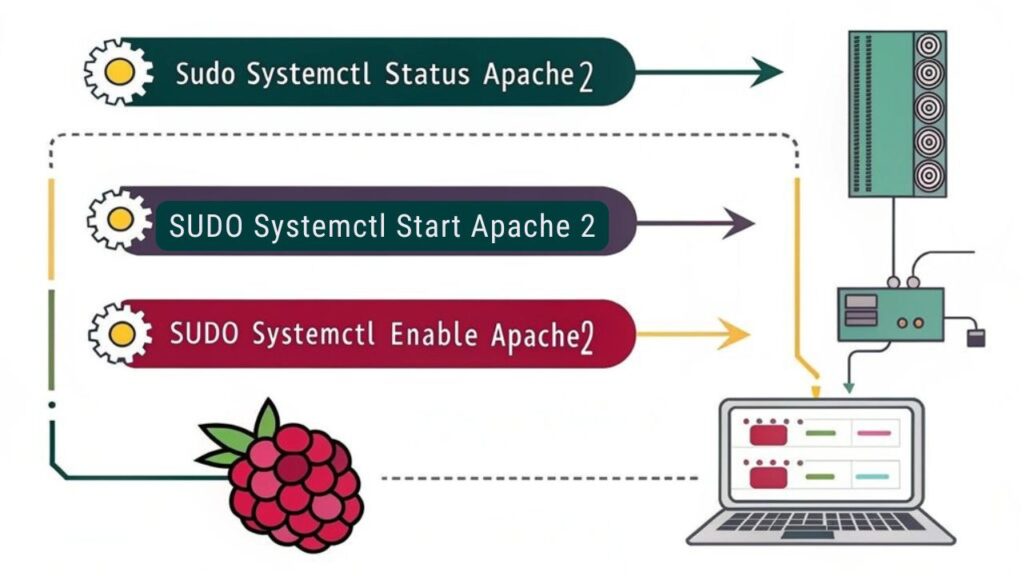
- Start Apache: Execute the command ‘sudo systemctl start apache2’ to launch the service.
- Verify Status: Check if Apache is active with ‘sudo systemctl status apache2’.
This command allows you to troubleshoot issues if the service doesn’t start as expected.
Configuring Apache Settings
Configuring Apache settings is essential for tailoring your web server’s performance and behavior according to your needs.
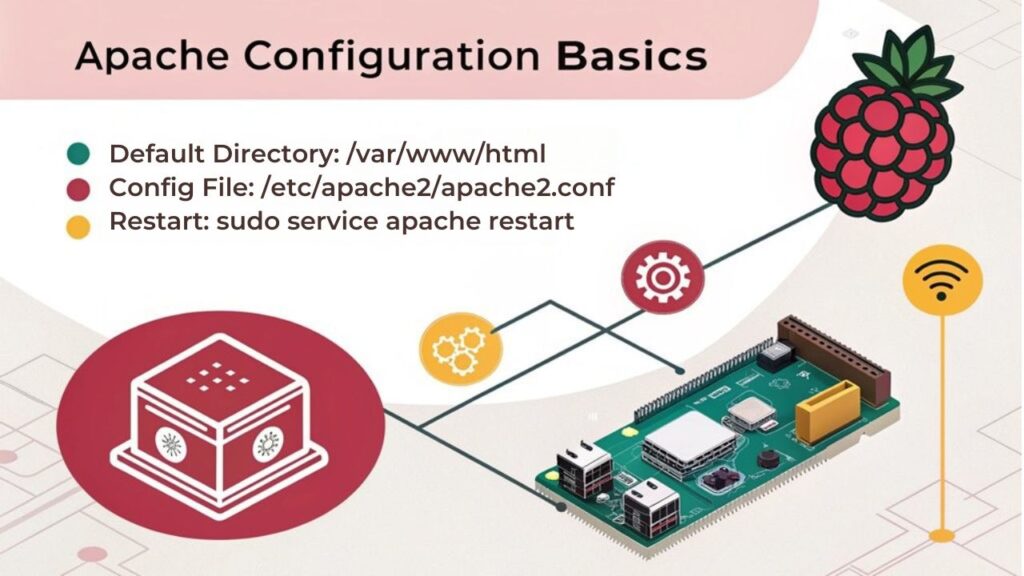
Start by locating the main Apache configuration file, typically found at ‘/etc/apache2/apache2.conf’. This file allows you to specify server-wide settings. For customizing Apache, adjust directives like ‘ServerName’, control access with ‘AllowOverride’, and fine-tune ‘Timeout’ values.
Locating the main Apache configuration file at ‘/etc/apache2/apache2.conf’ is key to customizing server settings effectively.
To optimize performance, consider enabling the ‘mod_deflate’ and ‘mod_expires’ modules to handle compression and caching efficiently. Don’t forget to modify the ‘KeepAlive’ setting to manage persistent connections effectively.
After making changes, always test your configuration file for syntax errors using ‘apachectl configtest’ before restarting Apache to apply the settings.
Testing the Installation
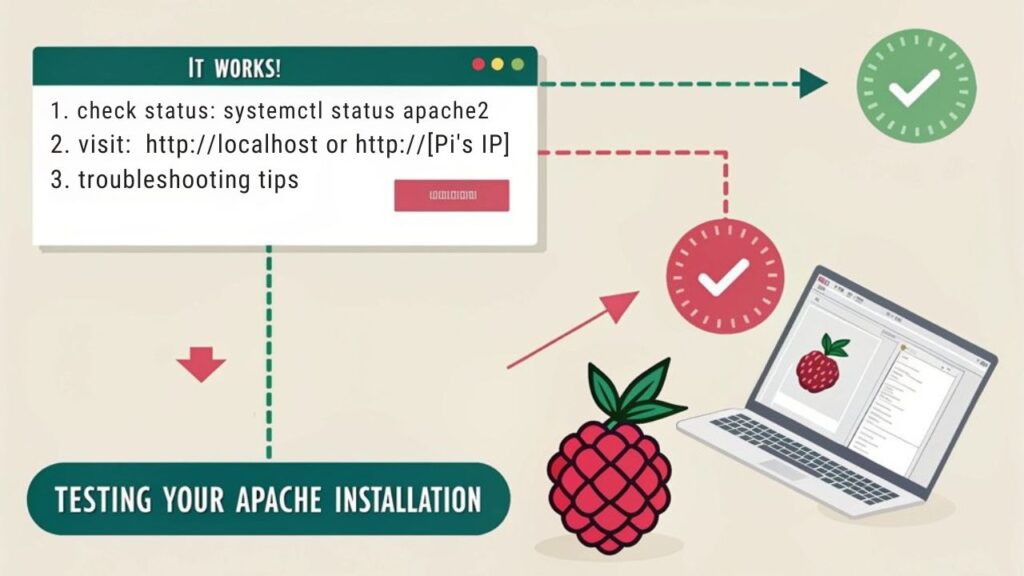
Now that you’ve configured your Apache settings, it’s crucial to test the installation.
Start by verifying the web server status to guarantee it’s running properly.
After that, access the sample webpage to confirm that everything is set up correctly and functioning as expected.
Verify Web Server Status
To guarantee your Apache web server is running correctly on your Raspberry Pi, follow a straightforward procedure to verify its status. Start with these steps:
- Check Apache Service: Run ‘sudo systemctl status apache2’ in the terminal. This command displays the service status, confirming ideal web server security and performance enhancement.
- Test Port Accessibility: Use ‘curl http://localhost’ or visit your Raspberry Pi’s IP address in a browser. A successful response confirms the server is actively listening for requests.
- Review Logs: Access error logs with ‘sudo tail -f /var/log/apache2/error.log’. Monitoring logs helps identify issues that could affect performance and security.
Completing these checks guarantees your web server’s optimal functionality and resilience.
Access Sample Webpage
After confirming that your Apache server is running smoothly, you can proceed to access a sample webpage to verify your installation. Open a web browser and type in the IP address of your Raspberry Pi. If your setup is correct, you should see a default Apache web page, affirming your efforts have paid off.
To enhance your skills in sample webpage design, consider experimenting with the HTML files located in the ‘/var/www/html’ directory. Keep in mind the importance of web server security; make sure permissions are set properly to safeguard your server.
| Task | Description | Importance |
|---|---|---|
| Verify Installation | Check server via browser | Essential for testing |
| Edit HTML Files | Customize your content | Personalization |
| Set Permissions | Control access | Maintain security |
Managing Apache With System Commands

While managing your Apache web server on a Raspberry Pi, you’ll often rely on system commands that streamline the process of starting, stopping, and restarting the service.
This efficiency is vital for maintaining your server’s performance and ensuring it operates without interruption. Here are some essential commands you can use:
- ‘sudo systemctl start apache2’ – Initiates the Apache service.
- ‘sudo systemctl stop apache2’ – Halts the Apache service.
- ‘sudo systemctl restart apache2’ – Restarts the Apache service, vital for applying configuration changes.
Additionally, monitor Apache modules by examining system logs with ‘journalctl -u apache2’.
This helps diagnose issues and optimize your configuration. Keep your server running smoothly with these commands at your fingertips.
Accessing Your Web Server Remotely

How can you access your Apache web server running on a Raspberry Pi from a remote location?
To establish remote access, start by configuring your router to port forward HTTP requests (port 80) to your Raspberry Pi’s local IP address.
It’s essential to check your external IP address using services like “whatismyip.com.” When accessing remotely, type this IP into your web browser.
However, keep in mind the security considerations; use strong passwords and consider implementing secure protocols like HTTPS.
Additionally, you can set up a Virtual Private Network (VPN) for enhanced security.
Regularly update your Raspberry Pi and Apache configuration to mitigate vulnerabilities, ensuring a secure remote access environment.
Balancing convenience and security is key for innovative applications.
Frequently Asked Questions
Can I Run Other Services Alongside Apache on My Raspberry Pi?
Yes, you can run other services alongside Apache on your Raspberry Pi. Just guarantee effective service management and resource allocation, while implementing performance monitoring to maintain peak operation and prevent resource depletion across services.
What Should I Do if Apache Fails to Start?
If Apache fails to start, explore troubleshooting techniques like checking error logs and ensuring service dependencies are met. Restart the service, eliminate port conflicts, and validate configuration files for a smooth recovery process.
How Do I Check Apache Error Logs?
You’ll check Apache’s error logs by accessing typical locations like /var/log/apache2/error.log. Troubleshooting tips include analyzing timestamps and error codes for effective issue resolution and server optimization.
Can I Use SSL With My Apache Server?
Yes, you can use SSL with your Apache server. To achieve this, you’ll need to install SSL certificates and configure HTTPS settings properly. Make certain you follow a structured approach for secure, innovative web communication.
How Do I Uninstall Apache From My Raspberry Pi?
To uninstall Apache from your Raspberry Pi, use terminal commands like ‘sudo apt-get remove apache2’ for direct removal. Consider exploring alternative web servers like Nginx or Lighttpd for innovative hosting solutions post-uninstallation.
Conclusion
Now you’ve successfully installed and configured your Apache web server on your Raspberry Pi. By following these steps, you’ve set the foundation for hosting your own website or application. Remember, managing the server with system commands guarantees smooth operation, while remote access expands your capabilities. Explore Apache’s settings to tailor it to your needs, and keep your system updated for peak performance. With this setup, you’re well on your way to becoming an effective web server administrator.

I am a retired software engineer with experience in a multitude of areas including managing AWS and VMWare development environments. I bought a relative a mini-PC a year ago and have become passionate about the technology and its potential to change how we deploy software.