You can create impressive and budget Raspberry Pi projects that won’t break the bank. Start a media server using Kodi for seamless streaming. Turn it into a DIY smart TV box by installing LineageOS for access to your favorite channels. Need a basic desktop? Your Raspberry Pi can handle web browsing and document creation. For gaming enthusiasts, set up a retro gaming console with RetroPie for hours of fun. Finally, enhance your home security with a motion capture system using a NoIR camera. Each budget Raspberry Pi project offers unique benefits, and there’s plenty more to explore!
Key Takeaways
- Media Server with Kodi: Set up a budget-friendly media center using Raspberry Pi for streaming movies and music with Kodi software.
- Retro Gaming Console: Create a retro gaming console using RetroPie, allowing you to play classic games on your TV at minimal cost.
- Motion Capture Security System: Build a cost-effective home security system with a Raspberry Pi and NoIR camera for motion detection and surveillance.
- DIY Smart TV Box: Transform your TV into a smart device by installing LineageOS on a Raspberry Pi for access to streaming services.
- Basic Desktop Computer: Utilize a Raspberry Pi as a low-cost desktop computer for web browsing and document creation with Raspberry Pi OS.
Media Server With Kodi as a Budget Raspberry Pi Project
Setting up a media server with Kodi on your Raspberry Pi can transform how you enjoy your favorite content. With just a few hardware components—like a Raspberry Pi board, a quality SD card, and an HDMI cable—you’re ready to go.
Start by flashing the latest Raspberry Pi OS onto your SD card and booting up your device. Run ‘raspi-config‘ to set up your preferences, enabling auto-login for seamless Kodi access.
Once you’ve installed Kodi using ‘sudo apt-get install kodi’, you can dive into Kodi customization. This flexibility allows you to tailor your media library management, organizing your favorite shows and movies effortlessly. You can even add PVR addons to expand your viewing options further, as PVR addons enhance Kodi’s live TV functionality. Additionally, regular security updates are essential for maintaining system integrity and ensuring a smooth media experience. To achieve optimal performance, consider hardware specifications for Plex streaming that can also enhance your Kodi setup.
To enhance your experience, make sure Kodi auto-starts on boot by creating a system service file. This way, you’ll always have immediate access to your media library without additional hassles.
With Kodi running on your Raspberry Pi, you’re not just watching content; you’re crafting an innovative media experience tailored to your needs. Embrace the convenience and creativity that Kodi offers to elevate your home entertainment setup.
DIY Smart TV Box
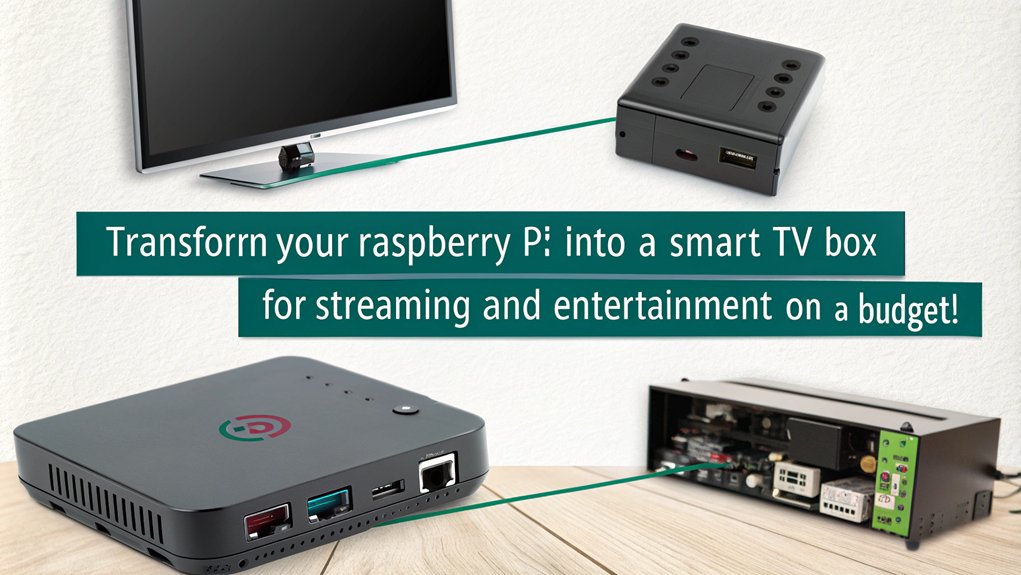
Transform your television experience with a DIY Smart TV Box using a Raspberry Pi. This innovative budget Raspberry Pi project allows you to stream your favorite content and use voice control, all while staying on budget. Here’s how to get started:
- Gather your hardware: You’ll need a Raspberry Pi 4, a 5V/12A power supply, a microSD card (at least 16GB), and an HDMI cable. Optional items include a USB keyboard and mouse, plus an Ethernet cable for wired connections.
- Install software: Download an Android TV Raspberry Pi image like LineageOS 20 and use Etcher to mount the IMG file onto your microSD card. Many Android TV boxes are misleadingly marketed as they run tablet-optimized Android instead of true Android TV.
- Setup your device: Insert the microSD card into your Raspberry Pi, power it on, and configure the Android TV settings, including Wi-Fi and location. This setup will let you access local files from your Raspberry Pi or network devices.
- Enhance functionality: Pair a Bluetooth remote or controller for easier navigation, and install Google Apps for full access to streaming apps.
With these steps, you’ll have a fully functional Smart TV Box that elevates your viewing experience while embracing the future of entertainment.
Basic Desktop Computer
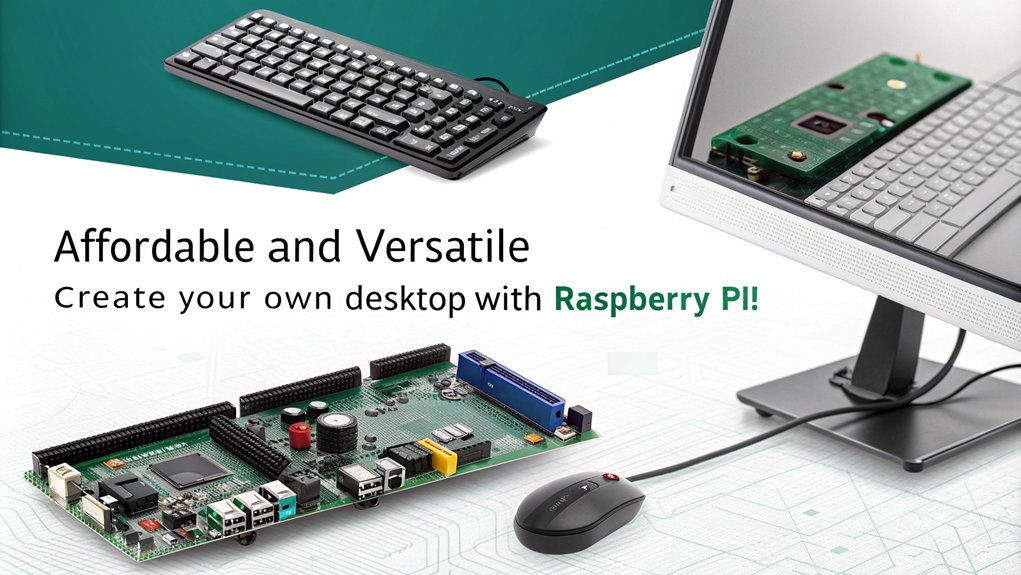
A basic desktop computer built with a Raspberry Pi can be a cost-effective solution for everyday computing needs. With a Raspberry Pi 4, you can choose between 2GB, 4GB, or 8GB RAM options, making it versatile enough for light tasks.
Start with a MicroSD card (at least 16GB) to install Raspberry Pi OS, and connect your keyboard, mouse, and a monitor using a Micro HDMI to HDMI cable.
Once set up, you’ll discover that it handles web browsing and office applications quite well. You can check emails, create documents, and conduct research without breaking the bank. Additionally, you can transform your setup into a media server for streaming content, enhancing its functionality. Mini PCs are also noted for their impressive performance in various tasks, making them a solid alternative for users seeking more power.
For an enhanced experience, consider an Ethernet connection for stable internet access, though Wi-Fi works too. The Raspberry Pi’s open-source technology allows for customization and experimentation, making it a great platform for learning.
While it won’t compete with high-end PCs for demanding tasks like video editing or gaming, it’s energy-efficient and perfect for students, casual users, or as a secondary machine.
You can even configure a dual monitor setup to multitask effectively.
Retro Gaming Console
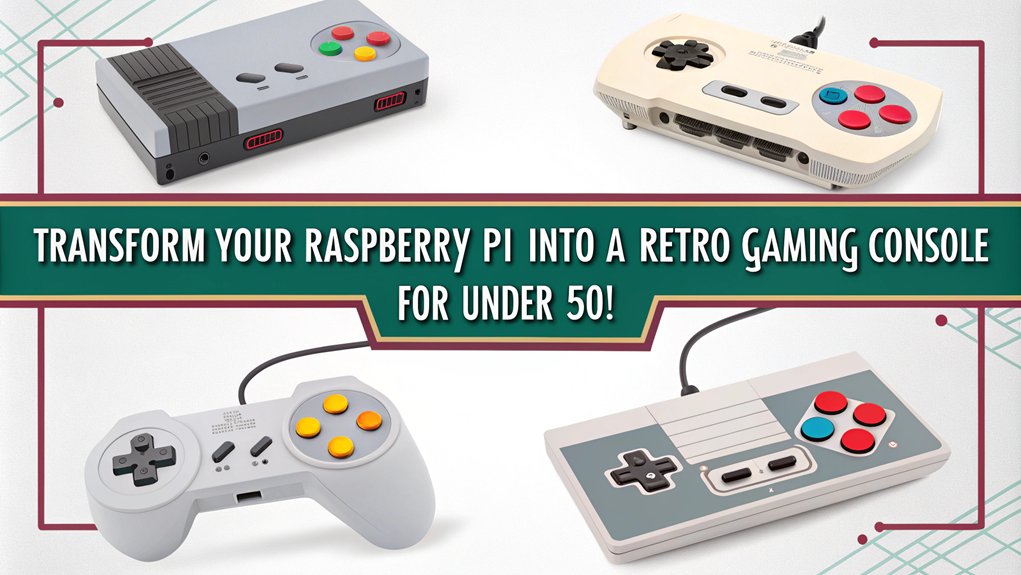
If you’re looking for a fun and affordable way to enjoy classic video games, turning a Raspberry Pi into a retro gaming console is a fantastic option.
This retro gaming setup allows you to dive into nostalgia while exploring the exciting world of Raspberry Pi emulation. Here’s how to get started:
- Gather Your Hardware: You’ll need a Raspberry Pi, a microSD card prepped with RetroPie, power supply, USB flash drive, monitor, and a USB gaming controller.
- Setup and Installation: Download the RetroPie image, write it to the microSD card, and power up your Raspberry Pi. Configure your settings, including Wi-Fi and controller. Any Raspberry Pi can run RetroPie, but higher RAM is recommended for better performance. The recommended model is Raspberry Pi 4 with 8GB RAM for optimal performance.
- Adding Games: Create a ‘retropie’ folder on your USB drive, download legally acquired ROMs, and transfer them to the Raspberry Pi.
- Customization and Use: Launch EmulationStation, configure controller buttons, and select your favorite games. Customize your experience using various tools and themes available in RetroPie.
With this retro gaming console, you’ll relive your favorite gaming moments and discover new classics—all from the comfort of your home.
Get ready to play!
Motion Capture Security System
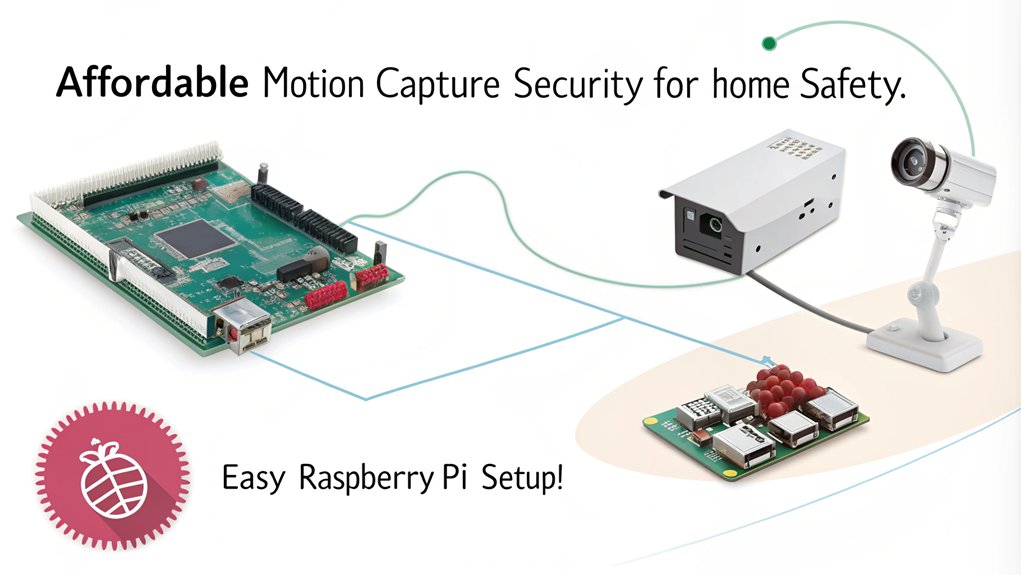
Setting up a motion capture security system with your Raspberry Pi can elevate your home security while keeping costs low. To get started, you’ll need a Raspberry Pi 3 or later, a NoIR camera, and IR LED rings for optimal low-light performance.
Using the ‘motionEye’ software, configure your camera settings, including sensitivity and detection zones, to ensure accurate motion detection. Multiple Cameras Setup allows for more comprehensive coverage, so consider adding additional cameras to your surveillance network.
For precise tracking, implement optical tracking with passive reflective markers. This requires at least four cameras to achieve 1cm accuracy, but adding more will enhance your coverage. The system achieves this level of accuracy through its use of passive reflective markers.
Don’t forget to focus on marker calibration and camera configuration to optimize your setup.
You’ll also want to establish a storage solution for your recorded footage, whether local or cloud-based. Setting up notifications via email or webhooks will keep you informed when motion is detected.
For additional security, ensure your web interface uses HTTPS and strong passwords.
This DIY approach not only provides a cost-effective alternative to commercial systems but also allows you to customize your surveillance setup to meet your specific needs.
Integrating it with your smart home devices further enhances your security experience.
Frequently Asked Questions
Can I Use Raspberry Pi for Home Automation Projects?
Absolutely, you can use Raspberry Pi for home automation projects. It’s perfect for creating smart home systems, enhancing automation systems with various integrations, and enabling innovative solutions like automated lighting, pet feeders, or personal assistant robots.
What Are the Power Requirements for Raspberry Pi Projects?
Imagine your Raspberry Pi humming to life—its power supply needs 5.1V. Depending on the model, aim for energy efficiency: Pi 5 needs 5A, while older models require less. Choose quality connectors to avoid voltage drops.
How Do I Troubleshoot Common Raspberry Pi Issues?
To troubleshoot common Raspberry Pi issues, check for overheating by ensuring proper ventilation, and resolve connectivity issues by verifying network settings and SSH configurations. Always use reliable power supplies to minimize potential disruptions.
Are There Any Limitations on Raspberry Pi Performance?
Yes, Raspberry Pi limitations affect its performance benchmarks. You’ll notice constraints in CPU speed, RAM, and thermal management, which can hinder multitasking and demanding applications, impacting your overall experience and project outcomes.
Can I Run Multiple Projects Simultaneously on One Raspberry Pi?
You can run multiple projects simultaneously on a Raspberry Pi, leveraging its multitasking capabilities. With careful resource management, you’ll find it can handle several low to medium resource tasks without breaking a sweat.
Conclusion
In a world where high-tech gadgets often come with hefty price tags, your Raspberry Pi can transform into a media server or retro gaming console without breaking the bank. Imagine streaming your favorite shows or reliving childhood gaming memories—all from a device that costs less than a meal out. Whether you want a DIY smart TV box or a motion capture security system, these budget-friendly projects prove that innovation doesn’t have to be expensive. Get started today!

I am a retired software engineer with experience in a multitude of areas including managing AWS and VMWare development environments. I bought a relative a mini-PC a year ago and have become passionate about the technology and its potential to change how we deploy software.