Have you ever wondered how creative projects can enhance students’ learning experiences with technology? Raspberry Pi projects for students not only allows them to grasp programming concepts but also apply them in practical ways. From building a retro gaming console to crafting a personal web server, there are various projects that spark innovation and critical thinking. Let’s explore some ideas that could inspire the next generation of tech enthusiasts.
This article contains affiliate links. As an Amazon Affiliate, I might make a small commission on every purchase. No extra cost to you and it helps to support this blog.
Key Takeaways
- Build a retro gaming console using Raspberry Pi and RetroPie for a fun gaming experience while learning about emulation and software installation.
- Develop a home automation system that incorporates sensors and relay modules for students to explore IoT and automation protocols.
- Create a simple weather station by attaching sensors to Raspberry Pi for real-time weather data collection and online data visualization.
- Establish a networked digital photo frame that integrates cloud connectivity, allowing remote photo updates and social media sharing through a smartphone app.
- Program a Raspberry Pi-powered robot using sensors and motors, teaching navigation algorithms and programming skills in a hands-on robotics project.
Setting Up Your Raspberry Pi
When you’re ready to plunge into the world of Raspberry Pi, setting it up is the first step to uncovering its endless possibilities.
Start by gathering the essentials: your Raspberry Pi, power supply, and a microSD card. For Raspberry Pi basics, choose a suitable operating system installation—Raspberry Pi OS is a popular choice, but you can explore others, too.
Gather your essentials: Raspberry Pi, power supply, and microSD card. Choose your operating system and get ready to explore!
Download the OS image and use a tool like balenaEtcher to transfer it to your microSD card. Insert the card into your Raspberry Pi, connect it to a monitor, keyboard, and power up!
Within moments, you’ll see the initial setup screen. Follow the prompts, and soon you’ll be ready to set off on exciting projects and innovations with your new device!
Looking for a Raspberry Pi to start with? Here are some options for a full kit with everything you need:

- Includes Raspberry Pi 4 4GB Model B with 1.5GHz 64-bit quad-core CPU (4GB RAM)
- Includes Pre-Loaded 32GB EVO+ Micro SD Card (Class 10), USB MicroSD Card Reader
- CanaKit Premium High-Gloss Raspberry Pi 4 Case with Integrated Fan Mount, CanaKit Low Noise Bearing System Fan

- Vilros Complete Starter Kit for Pi 4 Includes Raspberry Pi 4 Model B Board and all the accessories you need to get started.
- 9-PART KIT WILL HAVE YOU READY TO GET UP AND RUNNING: Kit Includes 1. Raspberry Pi 4 Model B Board 2. Case With Easy to connect Built-in fan 3. 64GB Micro SD card Preloaded with RP OS 4. Vilros Pi 4...
- PASSIVE & ACTIVE COOLING: The included case is well-vented and the kit also includes a set of heatsinks with thermal stickers for easy application and a pre-installed fan to keep the board cool in any...
Building a Home Automation System
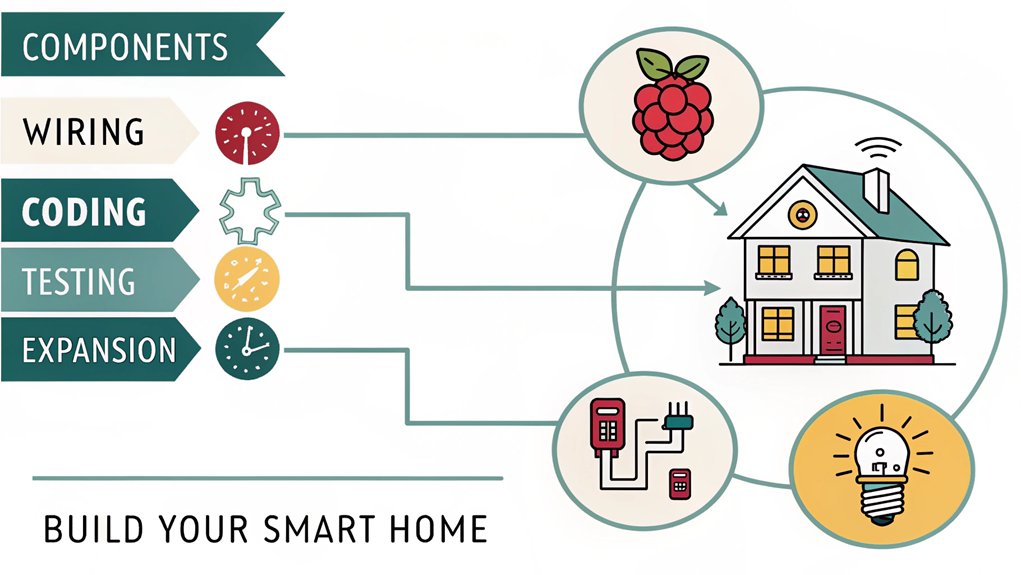
Building a home automation system with your Raspberry Pi can transform your living space into a smart environment.
You’ll need specific components and a clear step-by-step setup guide to get started, plus you can enhance your system’s security features for added peace of mind.
Let’s explore how to make your home smarter and more efficient!
Components Required for Automation
To create an efficient home automation system, you’ll need a variety of components that work together seamlessly. Start with a Raspberry Pi, which acts as the brain of your system.
You’ll want various sensors for monitoring conditions—think temperature, humidity, or motion—ensuring seamless sensor integration. Additionally, relay modules allow you to control high-voltage devices like lights and fans.
Incorporating automation protocols, like MQTT or HTTP, enables communication between devices and services. Don’t forget a power supply to keep everything running smoothly, as well as jumper wires for connectivity.
Finally, consider a user-friendly interface, perhaps using a web app or mobile application, to control your system easily. With these components, innovation in home automation is just around the corner!
Step-by-Step Setup Guide
Setting up a home automation system can seem intimidating, but it doesn’t have to be! Start with the Raspberry Pi basics: make certain your Raspberry Pi is powered and connected to Wi-Fi.
Next, access the GPIO pinout to identify which pins you’ll use for connecting sensors and relays. With a breadboard, you’ll wire your components, following the GPIO pinout schema.
Once everything’s connected, install necessary software like Home Assistant or OpenHAB to streamline control. Program your Pi to respond to sensors or remote commands, making the setup both dynamic and innovative.
Finally, test your system to guarantee it works seamlessly. With these steps, you’ll create an efficient home automation system that gives you the flexibility to control your home environment easily!
Enhancing Security Features
Once you’ve got your home automation system set up, enhancing its security features becomes the next logical step.
You can start by implementing strong security protocols to protect against unauthorized access. Secure your connections by using VPNs or SSH tunnels, ensuring that data travels safely. Data encryption is key; it scrambles your information, making it unreadable to potential intruders. Utilizing tools like OpenVPN can provide an added layer of security.
Additionally, regularly changing your passwords and utilizing two-factor authentication can bolster your defenses considerably. Don’t forget to keep your Raspberry Pi updated with the latest software patches to guard against vulnerabilities.
With these enhancements, you can enjoy your smart home while knowing that your security is first-rate.
Creating a Retro Gaming Console
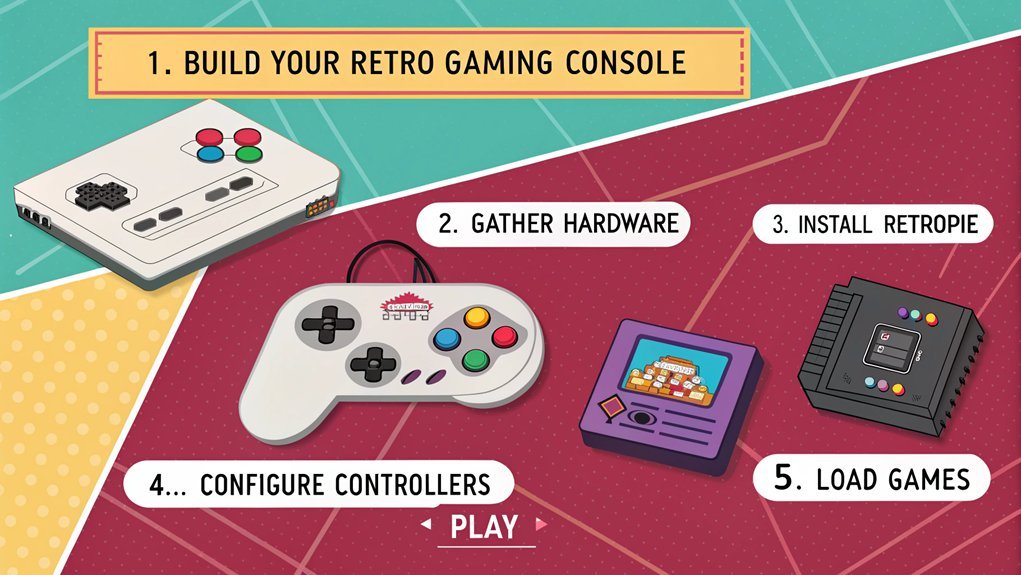
While many students dream of diving into video game development, creating a retro gaming console with a Raspberry Pi offers an exciting and accessible starting point. With console emulation, you can relive classic games while honing your tech skills. Here’s a quick breakdown of what you’ll need:
| Component | Purpose | Approximate Cost |
|---|---|---|
| Raspberry Pi | Main computing unit | $35 |
| MicroSD Card | Storage for games | $10 |
| Power Supply | Powers the console | $8 |
| HDMI Cable | Connects to your TV | $5 |
| RetroPie Software | Enables console emulation | Free |
Get ready to immerse yourself in nostalgia and showcase your creativity through retro gaming!
Developing a Simple Weather Station
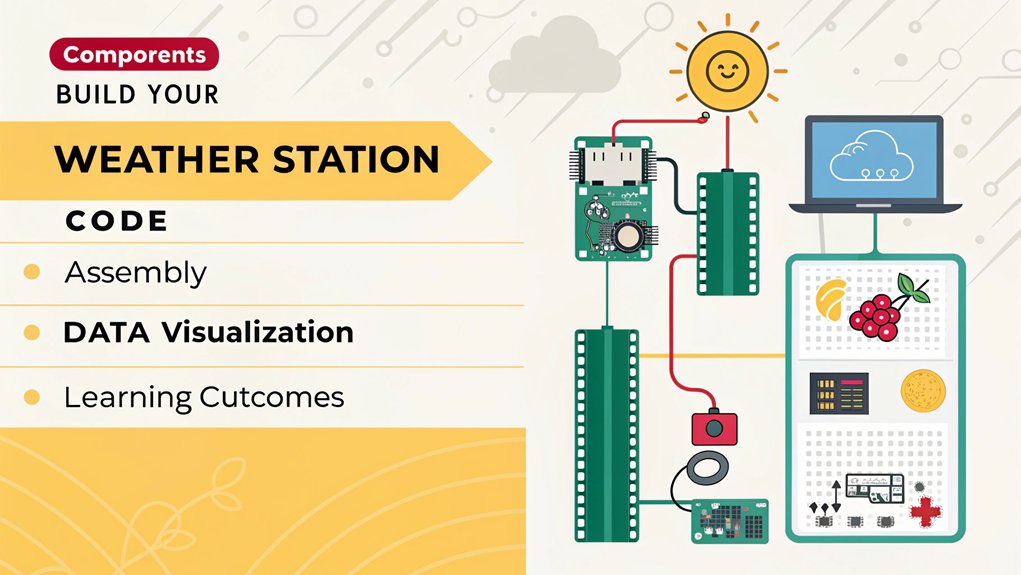
After exploring the world of retro gaming, you might find yourself ready for another exciting challenge: developing a simple weather station with your Raspberry Pi.
This project allows you to gather and analyze real-time weather data like temperature, humidity, and atmospheric pressure. Start by attaching sensors to your Raspberry Pi, ensuring they’re properly calibrated for accurate readings.
You’ll write code to collect and display the data, perhaps even logging it for further analysis. Don’t forget to explore options for visualizing your data online; a web interface can add a unique touch.
This innovative project not only enhances your programming skills but also deepens your understanding of environmental science.
Get started, and see how your weather station transforms your space!
Crafting a Media Center With Kodi
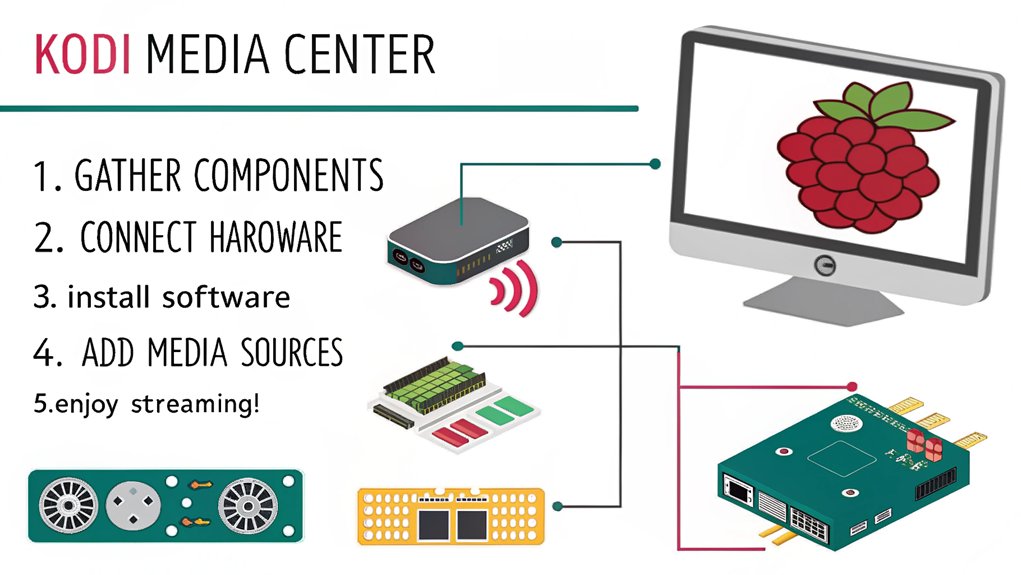
Are you ready to transform your Raspberry Pi into a powerful media center?
With Kodi, you can easily set up a home entertainment hub that caters to all your media streaming needs.
Here’s how you can get started:
- Install Kodi: Download and install Kodi on your Raspberry Pi to access a user-friendly interface.
- Explore Kodi add-ons: Customize your experience by integrating various Kodi add-ons, which expand your content access from movies to live TV.
- Optimize settings: Adjust the settings for video quality, audio output, and remote control functionality, enhancing your media playback experience.
Designing an Interactive LED Display
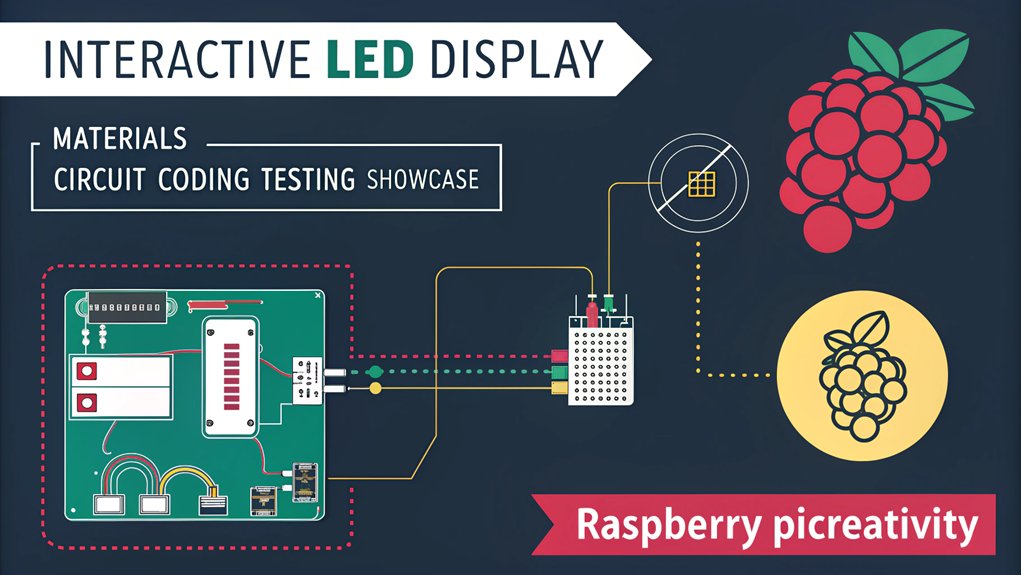
Once you’ve enjoyed your Raspberry Pi media center with Kodi, it’s time to explore another exciting project: designing an interactive LED display.
This project combines sleek LED design with innovative interactive programming, allowing you to create vibrant, eye-catching visuals that respond to user input. Start by assembling a matrix of LEDs, which can easily connect to your Raspberry Pi’s GPIO pins.
Then, investigate programming these lights to react to sensors or buttons, creating dynamic patterns or messages. Whether you’re looking to display notifications, animations, or even interactive games, this project fuels creativity and technical skills.
With countless design possibilities, you’ll have fun experimenting while learning valuable programming techniques that enhance your Raspberry Pi toolkit.
Making a Personal Web Server
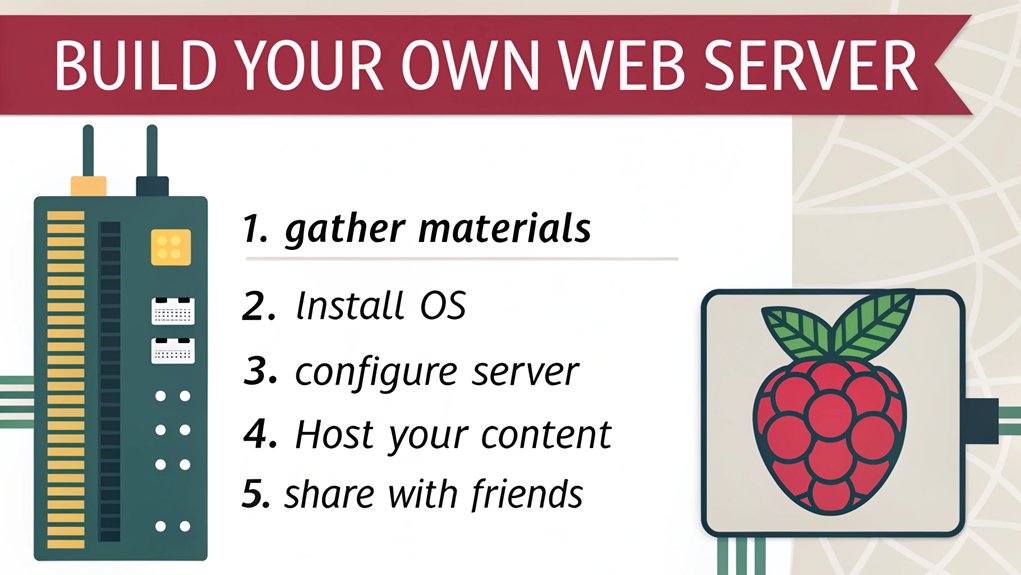
Setting up a personal web server using your Raspberry Pi can be an exciting project that enhances your tech skills.
You’ll start by assembling the necessary hardware and then move on to installing the web software that will bring your server to life.
Get ready to explore the ins and outs of hosting your own website right from home!
Setting Up Hardware
When you’re ready to transform your Raspberry Pi into a personal web server, gathering the right hardware is vital.
Start by considering the important Raspberry Pi accessories that enhance your setup and guarantee seamless operation:
- MicroSD Card: Store your operating system and website files efficiently.
- Power Supply: Choose a reliable power source to maintain consistent operation.
- Network Connection: Use a wired Ethernet connection for stability or a Wi-Fi dongle if necessary.
Next, you’ll want to check the GPIO pin configuration for any additional modules you might connect, like sensors or LED indicators.
This setup creates a solid foundation for your web server while allowing you to explore the limitless possibilities of your Raspberry Pi.
Installing Web Software
To kick off your journey in creating a personal web server, you’ll need to install the right software that turns your Raspberry Pi into a functional host for your website.
Start by updating your package list with the command ‘sudo apt update’. Then, install a lightweight web server like Apache using ‘sudo apt install apache2’. Once it’s up and running, you can access it by typing your Pi’s IP address into a browser.
Next, you’ll want to install PHP by running ‘sudo apt install php libapache2-mod-php’, allowing you to run dynamic content.
Finally, don’t forget to check your server’s configuration files to verify everything is set up correctly.
With these steps, you’ll have a robust personal web server ready for your projects!
Constructing a Surveillance Camera

Creating a surveillance camera with a Raspberry Pi not only enhances your tech skills but also serves as a practical project that can boost your understanding of programming and electronics.
By constructing this camera, you can explore various camera features and utilize surveillance software to effectively monitor your surroundings.
Consider these essential elements for your project:
- High-resolution imaging: Verify your camera captures clear and crisp images.
- Motion detection: Configure your surveillance software to trigger alerts upon movement.
- Remote access: Set up live feeds so you can monitor your camera from anywhere.
With these components, you’ll be well on your way to building a functional and innovative surveillance system, expanding both your technical know-how and your practical application of electronics.
Looking for a camera compatible with Raspberry Pi? Here are some you might like:

- Second Generation Raspberry Pi Camera Module with Fixed Focus Lens
- Sony Exmor IMX219 Sensor Capable of 4K30 1080P60 720P180 8MP Still
- 3280 (H) x 2464 (V) Active Pixel Count

- Arducam for Raspberry Pi camera v3 is compatible with Raspberry Pi 5/4B/3B, Pi Zero W/2 W.
- Based on IMX708 sensor with HDR, 4608 x 2592 is the highest resolution you can get for still images.
- The autofocus of pi cam v3 is achieved by a mixture of PDAF and CDAF, ensuring crisp and clear images.
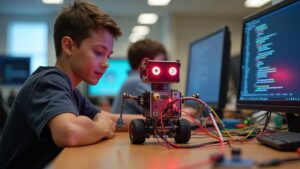
Programming a Raspberry Pi-Powered Robot
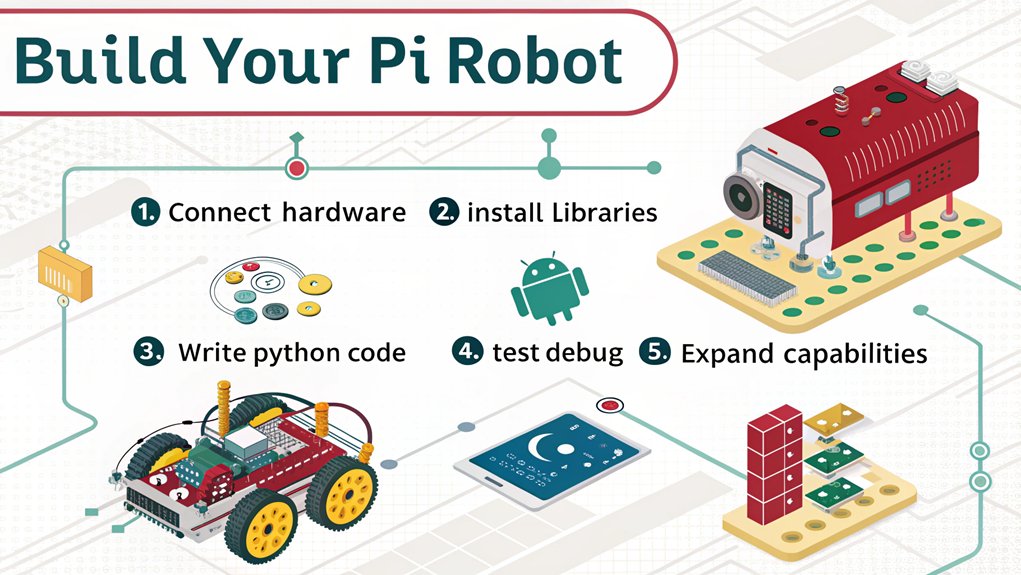
Programming a Raspberry Pi-powered robot can be an exciting way to plunge into robotics and coding. You’ll explore crucial concepts like sensor integration, obstacle avoidance, and motor control, enabling your robot to navigate its environment.
Here’s a quick overview of essential elements you’ll need to evaluate:
| Component | Function | Suggested Tools |
|---|---|---|
| Sensors | For detecting obstacles | Ultrasonic sensors |
| Motors | For movement control | DC or stepper motors |
| Power Management | To regulate energy | Voltage regulators |
| Programming Languages | For coding | Python, C++, Java |
| Navigation Algorithms | For pathfinding | PID controllers |
With remote control capabilities, task automation, and careful component selection, you’ll create a unique robot design that showcases your innovation!
Here are some Raspberry Pi Robotics kits you might like:

- Raspberry Pi Ai Smart Car: PiCar-X, ideal for beginners from elementary school and beyond, presents a fascinating introduction to robotics, programming, and electronics. Integrated with ChatGPT-4o, it...
- Engaging Interactions with ChatGPT-4o: PiCar-X with ChatGPT-4o enables voice interactions and visual recognition, making it smarter and more responsive. Users can have natural conversations, solve...
- Feature-rich and Adaptable: PiCar-X offers engaging modules like line following and obstacle avoidance, camera, speaker and microphone, TTS with various sensors and rechargeable batteries support,...

- ELEGOO Smart Robot Car: An educational STEM kit beginners (kids) to get hands-on experience about programming, electronics assembling and robotics knowledge. It is an integration solution for robotics...
- Complete Package: Contains 24 kinds of module parts including obstacle avoidance, line tracing module, infrared remote control and also you can control it via phone and tablets of Android and iOS...
- Easy to Assemble: All the module interface has been modified with XH2. 54 ports as to make it much easier and convenient to assemble the car and reduce the chances for errors.
Establishing a Networked Digital Photo Frame
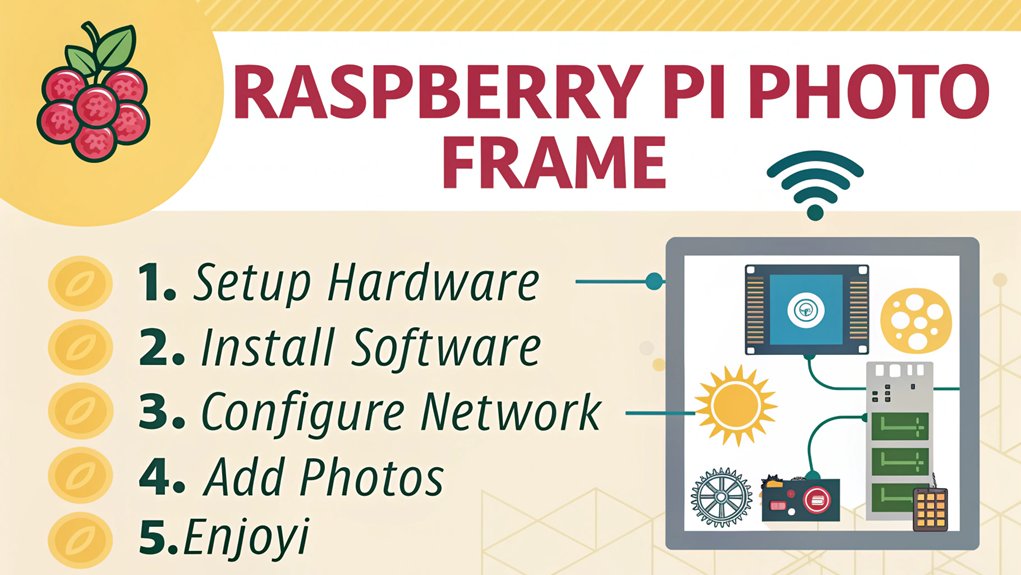
Imagine a delightful digital photo frame that not only showcases your favorite memories but also connects to the internet for seamless updates.
By using a Raspberry Pi, you can create a networked photo frame with exciting features that elevate image sharing and keep your memories alive.
Here are some fantastic photo frame features you can implement:
- Cloud Connectivity: Access and display photos directly from cloud storage, making it easy to keep your frame updated with the latest pictures.
- Remote Control: Change images from anywhere using a smartphone app, so you can always be in control of what’s shown.
- Social Media Integration: Automatically pull in photos from your social media accounts for a dynamic and ever-evolving gallery.
With this project, your memories will always be just a frame away!
Frequently Asked Questions
What Coding Languages Are Best for Raspberry Pi Projects?
For Raspberry Pi projects, you’ll find Python scripting an ideal choice due to its simplicity and versatility. Java programming also offers powerful features. Both languages can help you innovate and create exciting applications effectively.
Can Raspberry Pi Run Windows or Macos?
You may wonder about Raspberry Pi compatibility with Windows or macOS. While you can install Windows 10 IoT Core on a Raspberry Pi, running full versions of either OS isn’t feasible due to hardware limitations.
How Can I Troubleshoot Common Raspberry Pi Issues?
When troubleshooting common Raspberry Pi issues, you’ll encounter error messages. Use techniques like checking power supply connections, inspecting SD card integrity, and updating software. These steps will often resolve problems and enhance your experience.
Is Raspberry Pi Suitable for Young Students and Beginners?
You’ll find Raspberry Pi perfect for young students and beginners! Its hands-on approach encourages creativity, while offering beginner coding benefits. You’ll spark curiosity, fostering innovation and making tech fun and engaging for everyone involved
Where Can I Find Additional Resources and Tutorials for Raspberry Pi?
You can find additional resources and online tutorials for Raspberry Pi on websites like Instructables and Raspberry Pi’s official site. Exploring these platforms will spark project ideas and guide you through innovative projects easily.
Conclusion
To sum it up, diving into these creative Raspberry Pi projects can be a game-changer for your learning journey. You’ll not only pick up valuable tech skills but also ignite your creativity and problem-solving abilities. So, roll up your sleeves and get started; every project is an opportunity to think outside the box. Whether it’s building a retro gaming console or a digital photo frame, you’re bound to find something that’ll spark your interest and inspire your imagination!

I am a retired software engineer with experience in a multitude of areas including managing AWS and VMWare development environments. I bought a relative a mini-PC a year ago and have become passionate about the technology and its potential to change how we deploy software.