You can jump into the world of Raspberry Pi with these 10 exciting projects tailored for beginners. Start by creating a Smart Bike that tracks speed and location using GPS. Build a retro game console by loading RetroPie for nostalgic gaming experiences. Set up a motion sensor alarm to boost home security or create a Pi-Hole for ad-blocking across your network. Don’t forget about crafting a time-lapse camera for capturing stunning moments. With just a few components and some creativity, you’ll explore endless possibilities. Keep going, and you’ll discover even more fun raspberry pi projects to unleash your inner tech enthusiast!
Key Takeaways
- Create a Retro Game Console using RetroPie for nostalgic gaming experiences on your Raspberry Pi with easy controller setup and game ROM transfers.
- Build a Motion Sensor Alarm System with a PIR sensor to detect activity, triggering alerts and capturing images for enhanced home security.
- Set up a Weather Station using a BME280 sensor to collect and visualize environmental data online, enhancing your understanding of local weather patterns.
- Develop a Smart Bike Project integrating GPS and Bluetooth for real-time tracking, user identification, and automated light adjustments based on ambient conditions.
- Construct a Time Lapse Camera with a Raspberry Pi camera module to capture and compile stunning time-lapse videos of your favorite scenes.
Smart Bike: A Fun Raspberry Pi Project
If you’re looking to enhance your cycling experience, the Smart Bike Project is a fantastic way to combine technology with your passion for biking. This innovative project utilizes a Raspberry Pi, GPS tracking, and Bluetooth sensors to transform your bike into a smart bike.
With the GPS module, you can track your speed and location, while Bluetooth sensors provide real-time cycling metrics such as cadence and power estimation. The smart bike also features a GPS NEO 6M which tracks speed and location data for accurate ride analysis. One of the standout features is RFID integration, allowing for user identification and data separation. This means you can scan your RFID tag and access your personal ride analysis without interference from other users. The system logs your ride data, storing it in a .fit format for easy access later. Additionally, the smart bike automatically adjusts bike lights based on ambient light conditions, enhancing your safety while riding.
From setting up the Raspberry Pi to connecting various sensors, this project is perfect for those eager to dive into data logging and innovation. By embracing this technology, you’ll not only enjoy your rides more but also gain valuable insights into your cycling habits. Furthermore, this project is compatible with various Bluetooth sensors to enhance your cycling training experience.
LCD Display Setup
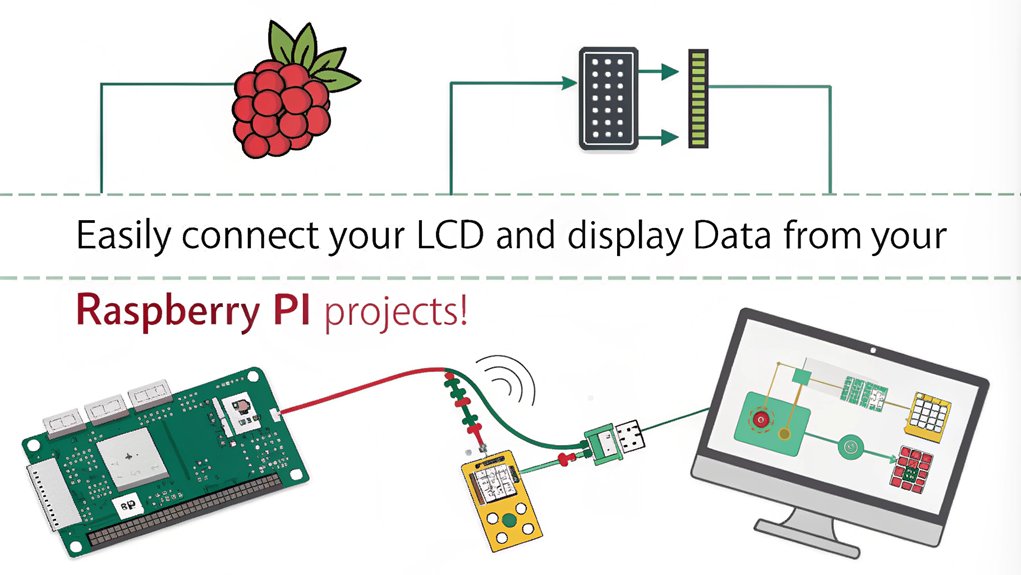
Setting up an LCD display with your Raspberry Pi can greatly enhance your project by providing a visual interface for data and metrics. To get started, connect your 3.5-inch LCD to the GPIO pins, ensuring it’s compatible with your Pi model. Raspberry Pi B+ setup is straightforward, allowing you to easily integrate the LCD into your project.
Enable the SPI communication protocol in the Raspberry Pi Configuration menu by using ‘sudo raspi-config’.
Next, update your libraries with ‘sudo apt-get update && sudo apt-get upgrade’ for optimal performance. Download the necessary LCD drivers from GitHub using ‘git clone https://github.com/goodtft/LCD-show’, then make the driver executable with ‘sudo chmod 755 ./LCD35-show’.
To configure the display, run ‘sudo ./LCD35-show’ and restart your Raspberry Pi. After rebooting, your LCD should display the desktop. The display features a 480×320 hardware resolution which ensures clear visuals.
If you encounter issues, remember these LCD troubleshooting tips:
- Check your connections.
- Verify power supply (5V, 110-150 mA).
- Adjust display resolution settings if necessary.
- Make sure the SPI interface is enabled.
- Ensure driver files are executable.
Now, enjoy your enhanced Raspberry Pi experience with a functional LCD display!
Home VPN Configuration
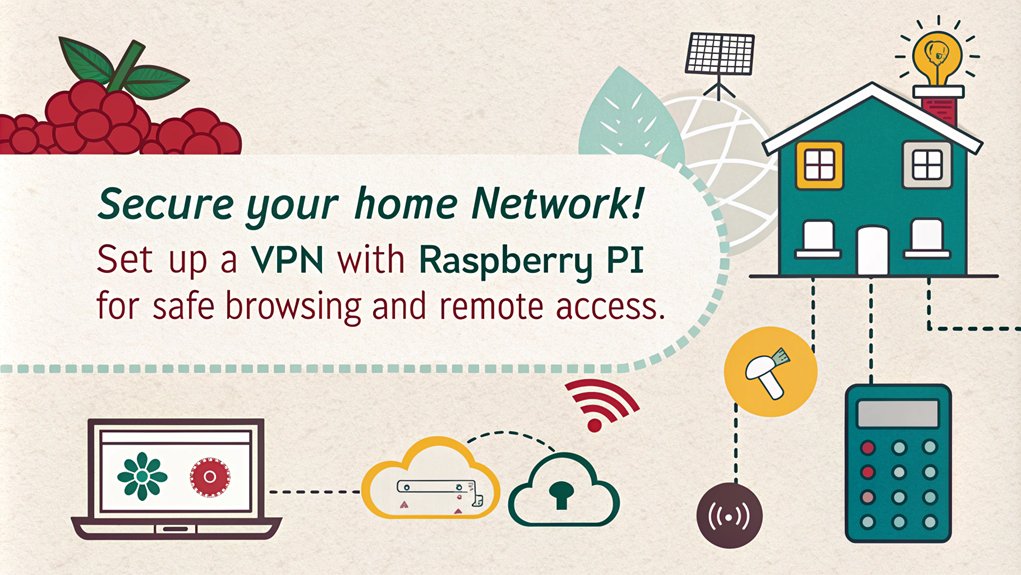
Setting up a home VPN with your Raspberry Pi can enhance your online security and give you remote access to your network. You’ll need specific hardware and software, but the process is straightforward. One key step is to forward port 1194 for OpenVPN using the UDP protocol to ensure external accessibility. Additionally, a VPN provides anonymity and security for your online activities, making it a valuable tool for protecting your privacy. Let’s walk through the step-by-step setup guide to get your VPN up and running.
Benefits of Home VPN
Have you ever wondered how a Home VPN can transform your online experience? By setting up a Home VPN, you unlock a world of benefits that enhance your online safety and privacy.
You gain significant privacy benefits, masking your IP address and location while ensuring your data remains anonymous. With strong encryption advantages, your sensitive information enjoys 256-bit protection even on public Wi-Fi. Additionally, a Home VPN enhances online privacy from ISPs and third parties, ensuring that your browsing habits remain confidential. Furthermore, a Home VPN utilizes military-grade encryption to protect your data from potential hackers on unsecured networks.
Here are some key benefits you can enjoy:
- Data Security: Protects against data interception during online activities.
- Internet Anonymity: Keeps your browsing activities hidden from web tracking.
- Remote Access: Securely connect to your home network from anywhere.
- Geo Restriction Bypass: Access content from any region, bypassing censorship.
- Cost Savings: Reduce costs linked to IT maintenance while avoiding ISP throttling.
With a Home VPN, you bolster your online safety and enjoy uninterrupted access to your favorite content, all while knowing your information is secure from prying eyes.
It’s an innovative solution for anyone looking to enhance their digital experience!
Required Hardware and Software
When embarking on your Home VPN journey, having the right hardware and software is crucial for a smooth setup. Start with the Raspberry Pi as your main device; this will serve as the VPN server. You’ll also need a reliable power supply, an SD card for the operating system, and optional accessories like a case, keyboard, and mouse.
For software, PiVPN simplifies your Raspberry Pi configuration, allowing you to select between OpenVPN or WireGuard for optimal protocol selection. Ensure software compatibility by using OpenSSL for encryption and easy-RSA for certificate management. To enhance VPN security, assign a static IP to your Raspberry Pi and configure port forwarding on your router to maintain network stability. Consider setting up dynamic DNS for easy access from outside your local network. Additionally, use the UDP protocol for both OpenVPN and WireGuard to boost performance optimization.
Moreover, setting up a Pi-hole for ad-blocking can further enhance your network security while using the VPN. The VPN creates an encrypted connection that safeguards your data from potential threats on public networks. Lastly, don’t forget to enable automatic system updates to keep your Raspberry Pi secure and running smoothly. With these components, you’re well on your way to creating a robust home VPN.
Step-by-Step Setup Guide
Typically, getting your Raspberry Pi VPN server up and running is a straightforward process that anyone can follow.
First, access your Raspberry Pi terminal and change the default ‘pi’ user password for better VPN security. Then, execute the PiVPN installation script using the command ‘curl -L https://install.pivpn.io | bash’.
You’ll be prompted to select your preferred VPN protocol—OpenVPN or WireGuard—so consider your usage scenarios and network performance needs.
Additionally, consider using alternative single board computers as options if you can’t find a Raspberry Pi in stock. The cost-effective nature of a Raspberry Pi makes it an excellent choice for a home VPN setup.
Here’s a quick checklist to guide you through the setup:
- Assign a static IP to your Raspberry Pi in your router’s admin area.
- Enable IPv4 and IPv6 forwarding on the Pi.
- Configure port forwarding on your router for external access.
- Use ‘pivpn add’ to create VPN profiles and generate QR codes for client management.
- Set a strong encryption method, like 2048-bit, for secure connections.
Once configured, activate automatic updates and verify that all IP traffic routes through your IP tunnel. Testing the VPN connection will ensure everything is running smoothly, addressing any potential installation challenges. Enjoy your new secure network!
Retro Game Console
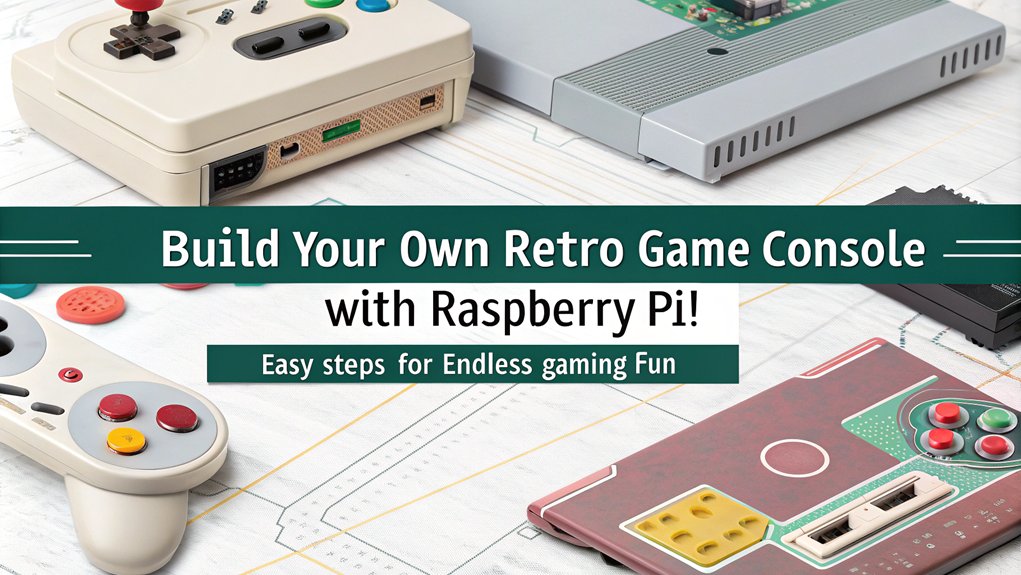
Creating a retro game console with a Raspberry Pi opens up a world of nostalgia and fun gaming experiences. This project allows you to unleash the power of retro gaming by setting up an emulator that runs classic games. Start by imaging your microSD card with the RetroPie operating system, serving as the backbone of your console. Once you’ve booted up, you’ll configure your controllers for seamless gameplay and dive into controller customization to suit your preferences.
HDMI connectivity ensures high-resolution visuals on your display, while you optimize performance by choosing a Raspberry Pi model with ample RAM. To fill your console with classic titles, transfer game ROMs through a USB flash drive or directly over Wi-Fi. Additionally, you can enhance your setup with unique features like achievements, allowing you to track your progress in games. Dive into exciting RetroPie features like save state functionality, allowing you to pause and resume games at any time.
For those looking to elevate the experience, explore online multiplayer gaming options that enable you to challenge friends across the globe. With Bluetooth controller setup, you can also enjoy the freedom of wireless gaming. Your Raspberry Pi retro game console isn’t just a project; it’s a gateway to countless hours of entertainment!
Motion Sensor Alarm
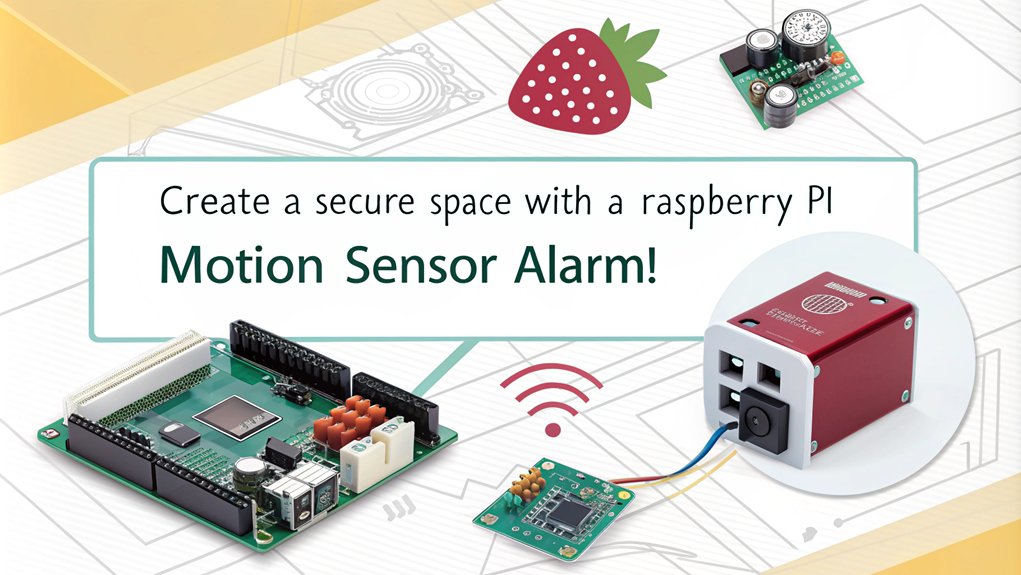
With a Raspberry Pi, you can build a motion sensor alarm that enhances your home security and provides peace of mind. This innovative project employs motion detection techniques using a PIR sensor, allowing real-time monitoring of your surroundings. You’ll connect the sensor to your Raspberry Pi board, ensuring proper sensor calibration methods for optimal performance. The PIR sensor detects infrared rays to identify motion by perceiving infrared rays emitted by living beings as heat.
Here’s what you’ll need to get started:
- Raspberry Pi board
- PIR motion sensor
- LED and buzzer for alerts
- Jumper wires and breadboard
- Python and gpiozero library
Once you’ve set up the hardware, you can implement alert notification systems that trigger when motion is detected. The LED lights up, and the buzzer sounds, alerting you to any activity. Additionally, you can enhance your project with a motion detection system that allows for the capture of images or video when motion is detected.
You can even expand your project by integrating automation possibilities, like sending notifications to your phone or logging sensor data for later analysis. Remember to test your setup by waving a hand in front of the sensor and troubleshoot any components as needed.
This motion sensor alarm not only secures your home but also opens doors to further projects and enhancements related to home security applications.
Happy building!
Weather Station Build
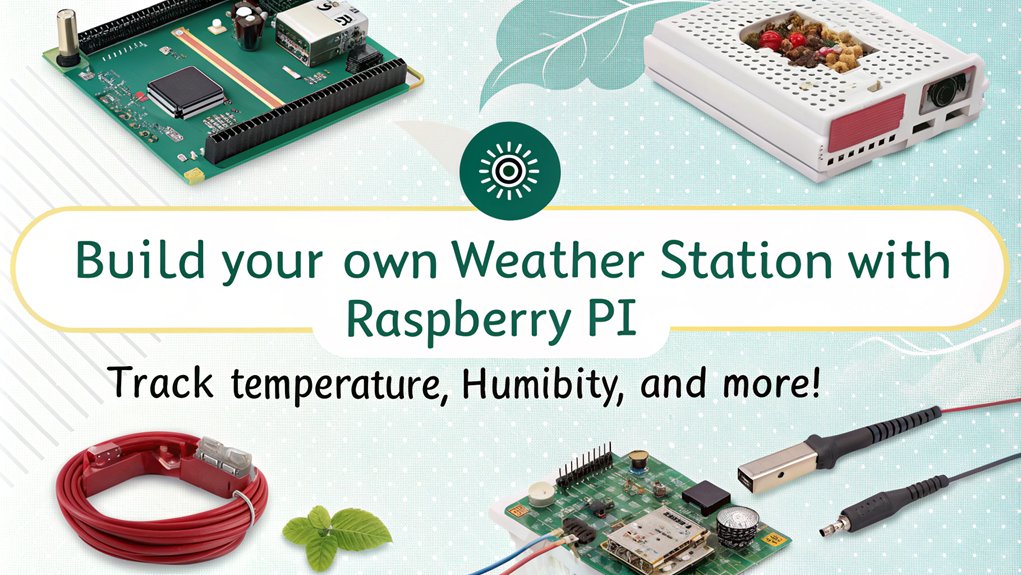
Building a weather station with your Raspberry Pi is a fantastic way to collect real-time environmental data. You’ll need essential components like a BME280 sensor for temperature, humidity, and pressure, along with some additional hardware for measuring wind and rainfall. Additionally, integrating a SparkFun RJ11 breakout board can enhance your weather station connections. Once you’ve gathered your parts, you can start the data collection process and see how your local weather changes over time. This project highlights the importance of JavaScript for displaying your collected data in an interactive manner.
Required Components Overview
To successfully assemble a weather station using a Raspberry Pi, you’ll need several key components.
These parts will enable you to integrate sensors effectively and collect accurate weather data. Here’s a quick overview of the essentials you’ll require:
- Raspberry Pi 4 Model B: The brain of your project.
- BME280 Sensor: For measuring temperature, humidity, and pressure.
- Weather Meter Kit: To capture wind speed, direction, and rainfall.
- RJ11 Breakout Board: For connecting weather station cables.
- WiFi Connection: To upload your weather data online.
With the right hardware, you can dive into sensor integration, allowing for real-time data monitoring. Additionally, be sure to properly align the Weather HAT and sensors during assembly for accurate readings. This project can also help you enhance your coding skills while working with Python to process and display the weather data.
Don’t forget the necessary power supply, microSD card for the OS, and a micro-HDMI cable to connect your Raspberry Pi to a display.
You’ll also need various tools and prototyping materials to ensure everything is securely assembled.
By gathering these components, you’re on your way to creating a functional and innovative weather station that can provide valuable insights into your local environment.
Get ready to explore the fascinating world of weather data!
Data Collection Process
Once you’ve gathered all the necessary components, the next step involves setting up the data collection process for your weather station.
Begin by ensuring your Raspberry Pi is properly configured with the latest OS and necessary libraries, like ‘Adafruit_DHT’ for sensor interaction. Once everything’s installed, it’s time to connect your sensors, such as the DHT22 for temperature and humidity.
Make sure to perform sensor calibration to ensure accuracy in your readings.
Next, write Python scripts to interact with these sensors and gather data. Use libraries like ‘RPi.GPIO’ to control GPIO pins effectively.
As you collect data, consider sending it to online platforms like ThingSpeak for data visualization. This allows you to monitor real-time weather conditions dynamically.
Don’t forget to set up autostart for your weather station application, ensuring it launches automatically on boot.
With everything in place, you’ll have a robust system ready to capture and visualize weather data, making your Raspberry Pi weather station an innovative project that adds value to your understanding of environmental conditions.
More About Building a Weather Station –>Pi-Hole Network Ad Blocker
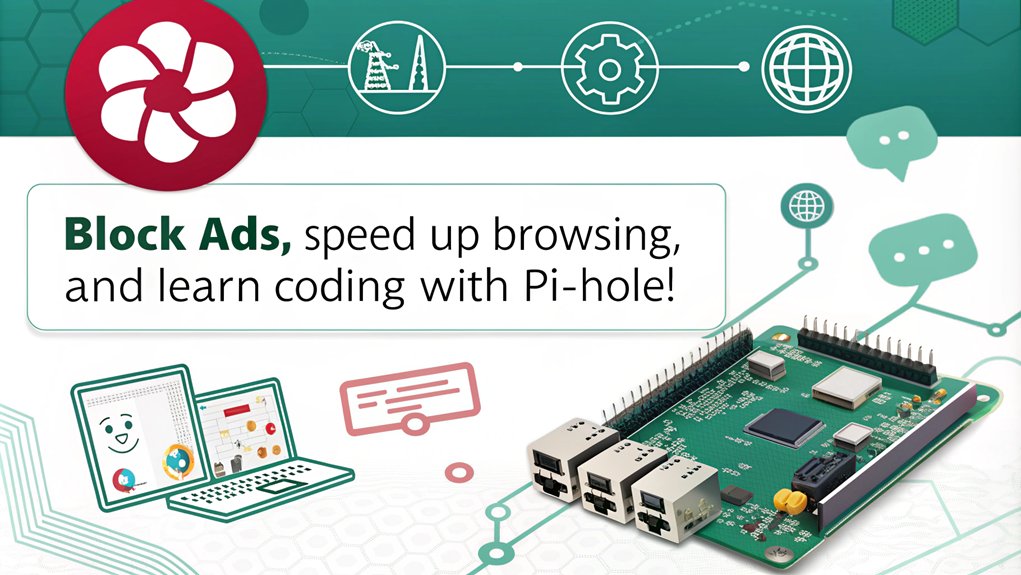
A Raspberry Pi can transform into a powerful network-wide ad blocker with Pi-hole, enhancing your online experience by eliminating unwanted advertisements. This innovative solution improves network performance and ad privacy across all devices in your home, including smart appliances that typically can’t run traditional ad-blockers.
To get started, follow these steps:
- Install Pi-hole using: ‘curl -sSL https://install.pi-hole.net | bash’
- Configure your Raspberry Pi with a static IP address.
- Use a compatible model, like the Raspberry Pi 4 Model B.
- Set your router’s primary DNS server to the Pi-hole’s IP address.
- Access the user interface via ‘http://pi.hole’ to monitor performance.
With Pi-hole, you can customize blocklists to tailor your ad-blocking experience and enhance DNS security. The analytics dashboard gives you insights into blocked queries, while setup troubleshooting ensures smooth installation. Don’t forget to explore upstream DNS options like OpenDNS or Cloudflare for even better performance! Enjoy a cleaner browsing experience while protecting your devices from annoying ads and trackers.
Button Controlled LED
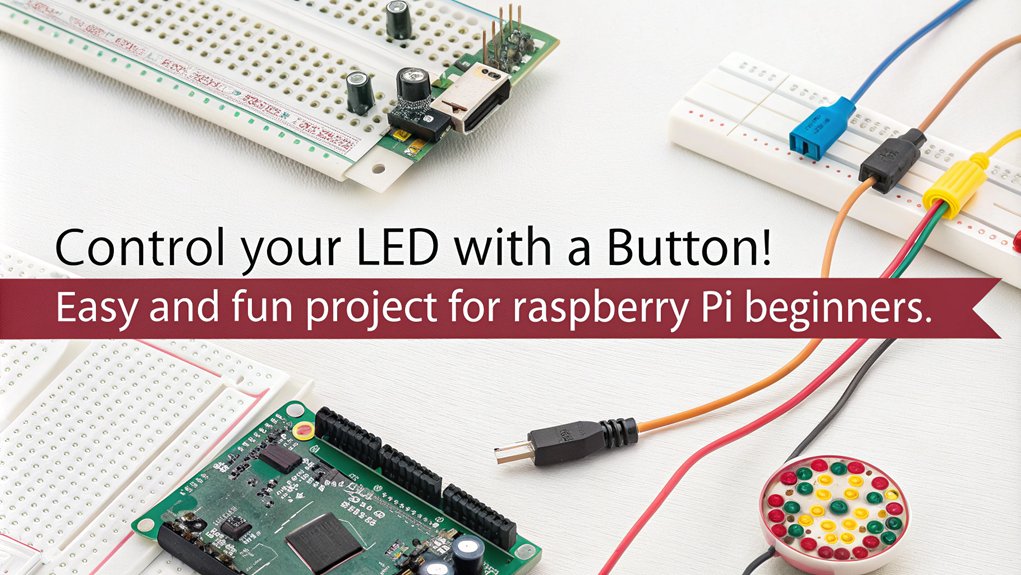
To create a button-controlled LED with your Raspberry Pi, you’ll need a few basic components like an LED, a button, and some resistors.
Once you’ve got your wiring set up correctly, programming the GPIO pins will let you control the LED with a simple button press.
Let’s explore how to connect everything and write the code to bring your project to life!
Basic Components Required
When diving into button-controlled LED projects, you’ll need a few basic components to get started. These components work together to achieve effective LED control while ensuring circuit stability and reliable operation. Here’s what you’ll need:
- Raspberry Pi: This is your brain, processing and controlling everything through GPIO configuration.
- Button: Acts as a switch for LED control; consider button debouncing to prevent erratic behavior.
- LED: The visual feedback component, which requires a proper resistor selection to avoid damage.
- Resistor: Typically between 220Ω to 1KΩ, this protects the LED from excessive current and aids in interference mitigation.
- Pull-up Resistor: Essential for keeping the circuit stable when the button isn’t pressed, avoiding false triggering.
Proper component integration and Python scripting will enable you to read button states and control the LED effectively.
Pay close attention to GPIO configuration to set up your button as an input and the LED as an output.
With these basics covered, you’re ready to create an engaging project that combines fun and learning!
Wiring and Connections
Wiring and connections are crucial for successfully controlling an LED with a button on your Raspberry Pi. First, connect the positive leg of the LED to a GPIO pin through a 220-ohm resistor to manage current and protect the LED from excessive voltage limits. The negative leg should connect to the ground rail on your breadboard, ensuring proper ground connections.
For the button, connect one end to a GPIO pin and the other to the Raspberry Pi’s 3.3V output. Utilize pull-down or pull-up resistors, or the internal ones in the GPIO configuration, to avoid spurious voltage triggers. Implement button debouncing to prevent multiple triggers from a single press.
When combining the LED and button circuits, keep them independent yet connected through GPIO pins. Organize your breadboard for clear connections and efficient circuit prototyping. Make sure both circuits share the same power to ensure effective power management.
Before powering on, double-check all connections and perform component testing to confirm everything is secure. By following these guidelines, you’ll set up a reliable button-controlled LED, ready for further programming adventures!
Programming the GPIO
Now that you’ve set up the wiring and connections for your button-controlled LED, it’s time to program the GPIO pins to bring your project to life. First, import the necessary libraries: RPi.GPIO as GPIO and time for delays. Set your GPIO mode to either BCM or BOARD, though BCM is more common.
Next, configure your GPIO pins by defining variables for the LED and button. Set the LED pin as an output using ‘GPIO.setup(led, GPIO.OUT)’ and the button pin as an input with a pull-up resistor using ‘GPIO.setup(button, GPIO.IN, pull_up_down=GPIO.PUD_UP)’.
Now, write your control logic within a ‘while True’ loop. Continuously check the button state with ‘GPIO.input(button)’. Implement button debouncing to avoid multiple triggers from a single press. You might use a flag variable to toggle the LED state on each press.
Here are some tips to enhance your experience:
- Start with basic GPIO programming concepts.
- Experiment with different LED colors.
- Incorporate multiple buttons for more complex control.
- Add sound alerts for button presses.
- Document your code for future reference.
Enjoy innovating with your Raspberry Pi!
Time Lapse Camera
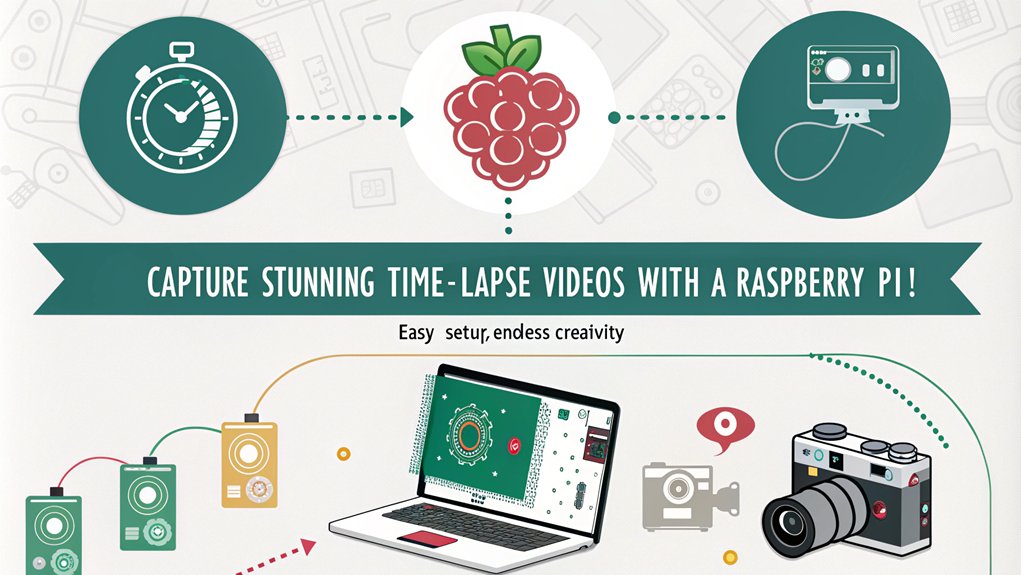
Creating a time lapse camera with your Raspberry Pi is an exciting way to capture the passage of time in a stunning visual format. You’ll need a Raspberry Pi, an official camera module, and some key software tools to get started. Here’s a quick overview of what you’ll require:
| Component | Purpose | Notes |
|---|---|---|
| Raspberry Pi (4b/5) | Acts as the main processing unit | Choose a model that suits you |
| Raspberry Pi Camera | Captures images for the time lapse | Consider Camera Module 3 NoIR |
| Storage (Micro SD/USB) | Saves images and rendered videos | Use a V30 card for speed |
After assembling your hardware, install Raspberry Pi OS and libraries like ‘libcamera’ or ‘picamera2’ for camera calibration. Set up cron jobs to automate image captures, and utilize scripts for easy configuration of intervals and settings. Don’t forget to incorporate image compression techniques to manage storage effectively!
With this setup, you can create mesmerizing time lapse videos that showcase the world’s beauty over hours, days, or even weeks. Happy capturing!
Twitter Bot Creation
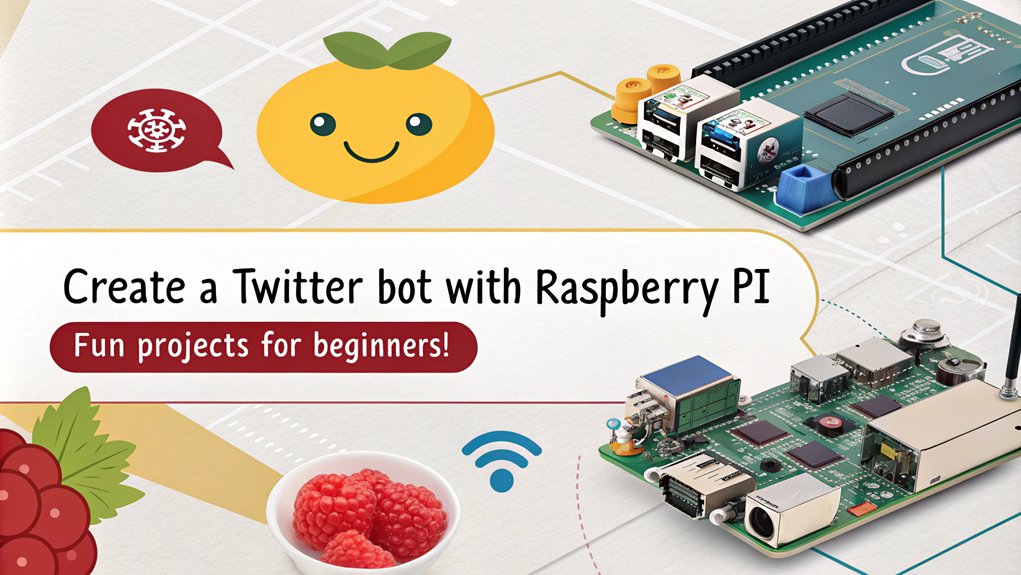
After capturing stunning time lapse videos with your Raspberry Pi, you might want to explore another exciting project: building a Twitter bot. This project leverages the Twitter API to automate tweets, retweets, or follows, and it’s a great way to enhance your coding skills.
Here’s a quick guide to get you started:
- Update and upgrade your Raspberry Pi with ‘sudo apt update’ and ‘sudo apt upgrade’.
- Install necessary packages like ‘python-setuptools’ and ‘pip’.
- Obtain Twitter API credentials by creating a Twitter Developer account and generating your API keys.
- Write your bot script using libraries like ‘tweepy’. Define bot functionality, ensure credential management, and implement error handling.
- Set up automation with cron jobs for continuous operation and script testing.
Once you’ve set everything up, monitor your bot’s behavior and make adjustments as necessary.
This engaging project not only teaches you automation techniques but also gives you a practical application for your Raspberry Pi. Dive in and watch your bot come to life!
Frequently Asked Questions
What Is a Raspberry Pi and Its Uses?
A Raspberry Pi, developed in 2012, is a compact single-board computer. You can explore various applications, from home automation to IoT projects, unleashing your creativity while learning about programming and technology. It’s innovative and accessible!
How Do I Power My Raspberry Pi?
To power your Raspberry Pi, you’ve got several options. Ensure you meet voltage requirements, like 5V for all models. Use USB-C for newer ones, or explore GPIO and Power over Ethernet for innovative solutions.
Can I Use a Raspberry Pi Without an Internet Connection?
Yes, you can use a Raspberry Pi without an internet connection. You’ll enjoy offline projects like local networking setups and multiplayer games, making it a versatile tool for creative and innovative applications even without online access.
What Software Can I Install on My Raspberry Pi?
What if your Raspberry Pi could transform into anything you desire? You can explore countless applications, from media centers to coding environments. Software installation is simple; just dive into Python, VLC, or RetroPie for innovative projects!
How Can I Troubleshoot My Raspberry Pi Projects?
To troubleshoot your Raspberry Pi projects, identify common issues like boot errors or connectivity problems. Use debugging tips such as checking logs, verifying connections, and ensuring your OS is updated to enhance your experience.
Conclusion
In conclusion, diving into these fun Raspberry Pi projects not only boosts your tech skills but also opens up a world of creativity. Did you know that over 28 million Raspberry Pi units have been sold since its launch? This amazing statistic highlights the popularity and versatility of this tiny computer. So, whether you’re building a retro game console or setting up a home VPN, you’re joining a vibrant community of makers and innovators. Get started today!

I am a retired software engineer with experience in a multitude of areas including managing AWS and VMWare development environments. I bought a relative a mini-PC a year ago and have become passionate about the technology and its potential to change how we deploy software.