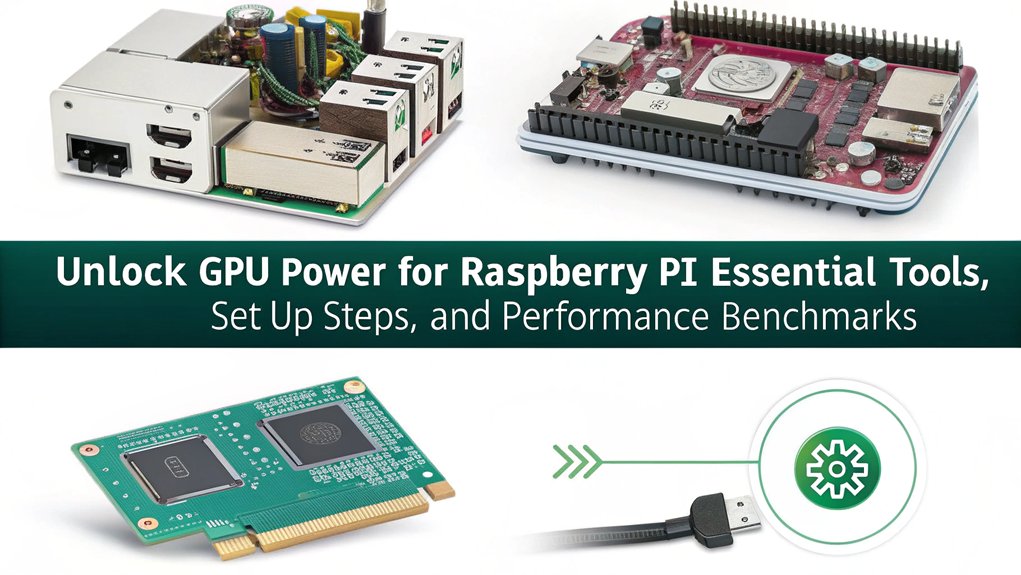
To use a GPU with a Raspberry Pi, guarantee you have a Compute Module 4 or Raspberry Pi 5, a suitable power supply, and an IO board with a PCIe slot. Recommended GPUs include AMD Radeon 5000, 6000, or 7000 series. You’ll need to recompile the Linux kernel for support for a GPU with a raspberry pi and allocate memory properly. By following setup steps, you can achieve impressive performance boosts. Keep exploring to uncover more tips and insights for your setup.
Key Takeaways
- Ensure you have a Raspberry Pi Compute Module 4 or Raspberry Pi 5 for GPU compatibility, as older models lack sufficient support.
- Use a compatible IO board with a PCI Express slot and recommended GPUs like AMD Radeon 5000, 6000, or 7000 series.
- Recompile the Linux kernel with ‘amdgpu’ driver support and configure GPU memory and PCIe speeds using ‘raspi-config’.
- Regularly check for driver updates and monitor performance to optimize GPU usage and system stability.
- Implement proper power supply and thermal management to meet GPU requirements and prevent overheating during operation.
Hardware Requirements for Connecting a GPU
To connect a GPU with a Raspberry Pi, you’ll need specific hardware components to guarantee compatibility and performance.
Start with the Raspberry Pi Compute Module 4 (CM4), as other models like the Raspberry Pi 4 Model B won’t work due to interface limitations. The journey to external GPU support began in October 2020 with the Raspberry Pi Compute Module 4. Additionally, ensure that your power supply meets the 5V at 5A requirement to support the increased power demands of the CM4 and the GPU, which is crucial for handling tasks that require significant processing power. It’s also important to consider the new hardware layout of the latest models, such as the Raspberry Pi 5, when selecting compatible accessories.
Pair the CM4 with an IO board that features a PCI Express slot, ensuring it can handle the GPU’s power demands.
When selecting a GPU, consider AMD Radeon graphics cards from the 5000, 6000, and 7000 series, like the 5450 or 6450.
Compatibility and Limitations of External GPUs

While many enthusiasts dream of boosting their Raspberry Pi’s capabilities with an external GPU, compatibility issues and inherent limitations make this pursuit quite challenging.
The Raspberry Pi 4 Model B’s PCIe lane isn’t fast enough for an external GPU, as it’s primarily used for USB ports. Other models lack the necessary bus for the high bandwidths modern GPUs require. Additionally, the lack of fast interfaces necessary for effective GPU functionality further complicates integration. The introduction of USB 3.0 speeds on the Pi 4 has the potential to improve external GPU connectivity, but bandwidth constraints still prevail.
Even the USB 3.0 ports can’t handle the data transfer rates needed, leading to significant bandwidth constraints. Power requirements also exceed what a Raspberry Pi can supply. This is particularly evident when compared to Mini PCs, which offer higher processing power and better hardware specifications for demanding tasks, such as those requiring virtualization.
Consequently, using an external GPU offers minimal performance improvement due to system bottlenecks, making it impractical for gaming or demanding tasks like those requiring parallel computing.
Setup and Configuration Steps

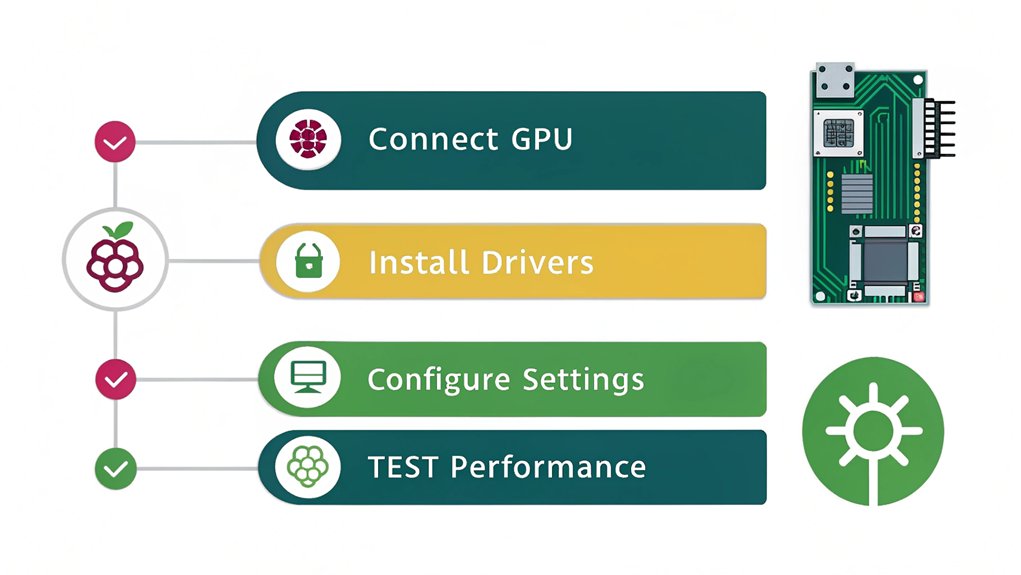
Setting up an external GPU with a Raspberry Pi can greatly enhance its performance, but it requires careful planning and configuration. Start by confirming you have a compatible Raspberry Pi model, like the Compute Module 4 or Raspberry Pi 5, and an IO board with a PCIe slot. For software installation, you’ll need to recompile the Linux kernel with specific kernel patches to support the ‘amdgpu’ driver. After installing the necessary driver and AMD firmware, use tools like ‘raspi-config’ to allocate GPU memory and configure PCIe Gen 3 speeds. Additionally, be mindful of the limited dedicated memory available on the Raspberry Pi’s GPU, which may affect performance during intensive tasks. Make sure your power supply meets the GPU’s requirements, as adequate power supply is necessary for up to 75W. Verify your setup with ‘lspci’ to confirm everything’s recognized. Ready your Raspberry Pi for enhanced graphics performance!
Performance and Benchmark Insights

As you explore the performance gains of using a GPU with a Raspberry Pi, you’ll quickly notice notable improvements across various benchmarks.
The leap in GPU acceleration is evident, showcasing remarkable enhancements over previous models. Here are some standout insights:
- 4.3× performance boost in GLMark2 compared to Raspberry Pi 4
- Triple the FPS in Openarena at 720p settings
- 4× increase in AI model inference performance
- Considerably reduced inference times for MobileNet and YOLOv8n, demonstrating an approximate 12 fps with the YOLOv8n model.
- Major improvements in single-threaded and multi-threaded workloads, especially with the enhanced NUMA emulation which significantly boosts complex application performance.
- The robust cooling solutions, including a Low Noise Bearing System PWM Fan, ensure stable operation during demanding tasks.
These benchmark comparisons highlight how the Raspberry Pi 5, with its VideoCore VII GPU, elevates your projects, making innovation not just possible, but exhilarating. Additionally, when using a GPU with a Raspberry Pi 5 you get increased CPU performance allows it to handle more demanding tasks seamlessly.
Get ready to release the true potential of your Raspberry Pi.
Practical Considerations and Future Developments

When integrating a GPU with a Raspberry Pi, several practical considerations come into play that can greatly impact your experience.
First, verify your power supply meets the GPU’s requirements for stable operation while maintaining power efficiency. A 750W SFX PSU is a solid choice, but avoid using an overkill supply that might waste energy. Additionally, keep in mind that the Raspberry Pi 4 has limited PCI Express capabilities, which can affect the overall performance of the GPU. Ensuring the GPU’s power consumption aligns with the PSU’s wattage is crucial to prevent system instability. Regular software updates are also essential to safeguard against malware infections.
Next, focus on thermal management. Adequate cooling solutions are crucial to prevent overheating, so consider mounting options that promote airflow. Additionally, ensure that your setup is compatible with Vulkan-compatible GPU to avoid detection issues. Effective heat management strategies, including cooling solutions compatible with mini PC form factors, are vital for performance and longevity.
Finally, be aware of the hardware limitations, as the Pi 5’s PCIe bus only supports one lane, which could affect performance. Staying informed on software and driver updates will also help maximize your setup’s potential in the future. Moreover, ensuring strong passwords and multi-factor authentication can protect your system from unauthorized access and credential theft.
Staying informed on driver updates will also help maximize your setup’s potential in the future.
Frequently Asked Questions
Can I Use a Raspberry Pi 4 With an External GPU?
Raspberry Pi 4 performance plummets with external GPU compatibility; it’s practically impossible. You won’t find suitable interfaces or drivers, and the complexities outweigh any potential gains. Stick with the onboard capabilities for or try a Raspberry Pi 5.
What Types of Tasks Benefit Most From External GPUS?
External GPUs enhance gaming performance and accelerate machine learning tasks on your Raspberry Pi. They boost graphics rendering and speed up model training, greatly improving efficiency for demanding applications while enabling smoother video playback and higher resolutions.
Are There Specific GPUS Recommended for Raspberry Pi 5?
For the Raspberry Pi 5, consider the AMD RX 460 due to its compatibility and performance expectations. It offers solid 4K capabilities while addressing compatibility concerns, ensuring you get the most out of your setup.
How Do I Troubleshoot Crashes When Using a GPU?
To troubleshoot crashes, check your crash logs for errors, adjust your overclock settings for stability, and guarantee proper power supply. Experiment with different configurations to identify the root cause of the crashes effectively.
Is There a Warranty for the Raspberry Pi 5 When Using a GPU?
When using a GPU with your Raspberry Pi 5, warranty coverage remains intact as long as you don’t cause damage. Always check GPU compatibility first, and remember, vendor-specific policies may vary regarding warranties.
Conclusion
To summarize, using a GPU with a Raspberry Pi can greatly enhance its performance, especially for tasks like machine learning or gaming. It’s worth mentioning that external GPUs can boost processing power by up to 10 times compared to the Pi’s onboard graphics. By understanding the hardware requirements, compatibility issues, and configuration steps, you can open up new possibilities for your projects. Embrace this technology and watch your Raspberry Pi transform into a more powerful computing tool!

I am a retired software engineer with experience in a multitude of areas including managing AWS and VMWare development environments. I bought a relative a mini-PC a year ago and have become passionate about the technology and its potential to change how we deploy software.

