
Install NOOBS on Raspberry Pi: An Overview
To install NOOBS on Raspberry Pi, start by preparing a microSD card with at least 8GB of storage, preferably a class 10 card for better performance. Format the card using the SD Card Formatter tool and verify it’s recognized by your PC. Download NOOBS from the official Raspberry Pi website and extract it to the microSD card. Connect your Raspberry Pi to a monitor via HDMI, ensuring compatibility and correct port usage. Power the Pi with a recommended 5V power supply, avoiding standard phone chargers. Boot up the Pi, and the NOOBS installer will appear; follow the prompts to select and install your desired operating system. After installation, configure network settings and other preferences as needed. For more detailed steps and additional configuration options, continue with the setup process.
Key Takeaways
- Format the microSD card to FAT32 using SD Card Formatter or MiniTool Partition Wizard.
- Download NOOBS from the official Raspberry Pi website, choosing between NOOBS and NOOBS Lite.
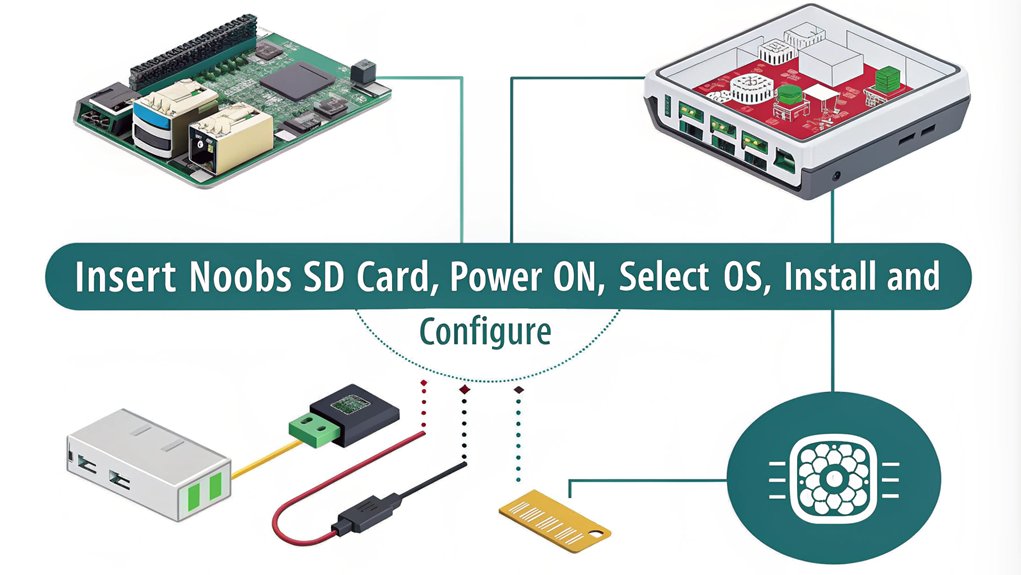
- Insert the microSD card into the Raspberry Pi and connect the HDMI cable to a compatible monitor.
- Power the Raspberry Pi with a recommended 5V power supply, ensuring it meets the model’s current requirements.
- Follow the on-screen NOOBS installer menu to select and install your preferred operating system.
Preparing the MicroSD Card
To start installing NOOBS on your Raspberry Pi, you need to prepare the microSD card carefully. First, verify you have an empty microSD card with a minimum of 8GB storage capacity. A class 10 microSD card is recommended for the best performance.
For the microSD selection, make sure it meets the storage requirements. If your PC lacks a microSD card reader, you may need a microSD to SD card adapter.
Next, you’ll need to format the microSD card. Download the SD Card Formatter tool from the SD Card Association website and attach the microSD card to your PC.
Launch the formatter tool, select the microSD card, and choose the Quick Format option. Click Format to initiate the process; enter your admin password if prompted on a Mac.
Confirm the card is formatted to the FAT32 file system, especially if it’s larger than 32GB. For cards over 32GB, use MiniTool Partition Wizard to format them correctly.
After formatting, remove and reattach the microSD card if it’s not automatically recognized. Ensure it’s correctly selected in your PC’s file system and leave it in until all files are copied.
Using NOOBS simplifies the installation process because it supports multiple operating systems, including Raspbian. Verify there’s enough space for the NOOBS files before proceeding. Ensure that you have downloaded NOOBS from the official website to avoid any compatibility issues. Finally, eject the microSD card safely from your PC once the process is complete.
Obtaining NOOBS

With your microSD card prepared and formatted, you’re ready to obtain the NOOBS installer. To start, head to the Raspberry Pi website and download the NOOBS archive file. You have two versions to choose from: NOOBS and NOOBS Lite.
- NOOBS: Includes Raspbian, LibreELEC, and other operating systems. It doesn’t require network access for initial installation.
- NOOBS Lite: Contains only the OS installer and requires network access for downloading and installing operating systems. It’s necessary for 4GB SD cards due to space constraints.
- Offline vs Network Installation: Both versions offer options for offline and network installations, catering to different user needs.
Choosing the right version depends on your specific situation. If you don’t have network access from your Raspberry Pi, NOOBS is the better choice. However, if you’re using a 4GB SD card or prefer a lighter initial download, NOOBS Lite is a good alternative.
NOOBS benefits include its multi-boot capability and the ability to reinstall OS directly on the Raspberry Pi. It also provides tools for editing ‘config.txt’ and accessing a web browser for troubleshooting. Additionally, NOOBS remains on the SD card after OS installation, allowing users to switch between operating systems.
The NOOBS community is active and can be a valuable resource if you encounter any issues during installation or usage. By holding the shift key during boot, you can access the recovery interface, making NOOBS features highly flexible and user-friendly. Ensure that your SD card is formatted to FAT32 using a tool like SD Formatter from the SD Association before proceeding with the installation.
The NOOBS community is active and can be a valuable resource if you encounter any issues during installation or usage. By holding the shift key during boot, you can access the recovery interface, making NOOBS features highly flexible and user-friendly.
Setting Up Hardware

To set up your Raspberry Pi hardware, start by connecting the HDMI cable to both the Raspberry Pi and your monitor.
Next, verify you have a compatible power supply and connect it to the appropriate port on your Raspberry Pi – the USB-C port for models 4 and later, or the micro-USB port for earlier models.
Make sure the power supply is sufficient to power both the Raspberry Pi and any attached peripherals. Ensure that your SD card is at least 16 GB for optimal performance, as NOOBS requires adequate storage space for installation.
Additionally, use an SD card formatted to FAT, which is necessary for offline capability.
Connecting HDMI Cable
When setting up your Raspberry Pi, identifying the correct HDMI port is vital for a smooth installation process. The location of the HDMI port varies depending on your Raspberry Pi model. For instance, the Raspberry Pi 4 uses micro HDMI ports, which require a micro HDMI to HDMI cable or adapter. The Raspberry Pi Zero and Zero W use mini HDMI ports, necessitating a mini HDMI to HDMI cable or adapter.
To connect the HDMI cable:
- Verify the cable is inserted correctly to avoid damage.
- Connect one end of the HDMI cable to the Raspberry Pi and the other end to your monitor or TV.
- Use adapters if connecting to DVI displays or if your model requires a specific type of HDMI adapter.
Here are some key points to keep in mind:
- HDMI Types: Use micro HDMI for Raspberry Pi 4 and mini HDMI for Raspberry Pi Zero/Zero W.
- Display Resolutions: Confirm your display settings match the capabilities of your connected display, such as 4Kp60 compliance.
- Cable Lengths: Available cables are typically 1 meter or 2 meters long.
For optimal performance, ensure you use a cable that is 4Kp60 compliant.
If you encounter issues, check the cable for damage, confirm adapter compatibility, and adjust display settings in NOOBS or the operating system. Ensure that you have a microSD card inserted into the Raspberry Pi with the contact side facing the board.
For multiple displays, the Raspberry Pi 4 supports dual screen setups with separate micro HDMI cables. Troubleshooting tips include using alternative displays and timing button presses correctly during the boot process.
Powering the Raspberry Pi
Powering your Raspberry Pi correctly is essential for stable and efficient operation. Each model of the Raspberry Pi has specific power supply requirements that you need to adhere to. All models require a 5V power supply, but the current requirements vary: the Pi 4 and Pi 400 require 3A, and older models need less.
Using a standard phone charger or USB cable isn’t recommended due to potential voltage and current discrepancies. For instance, for Raspberry Pi 1, 2, and 3, a 2.5A micro USB supply is recommended. For the Pi 4 and Pi 400, you should use a 3A USB-C supply, while ensuring that your power source is officially recommended.
Ensure your power supply can handle the total current draw of all connected peripherals such as USB devices, HDMI, and the Camera Module. High-power devices like modems or external disks may need additional current; consider using an externally-powered USB hub for these. It is also important to note that underpowering risks damage to the micro-SD card or Raspberry Pi board underpowering risks.
Raspberry Pi models up to the Pi 3 use micro USB connections, while newer models use USB-C. You can also power your Raspberry Pi through GPIO pins (5V and GND) or use Power over Ethernet (PoE) with the Raspberry Pi PoE HAT.
Always opt for a high-quality power supply to avoid voltage drops due to cables and connectors.
Booting the Raspberry Pi
As you connect the power to your Raspberry Pi, the hardware initialization process kicks in. The ARM core is initially off, while the GPU is active and executes the first stage bootloader found in the ROM. For Raspberry Pi 4 models, this process includes checking for a recovery file on the SD card; if found, it’s executed to flash the EEPROM.
The boot process involves reading from the SD card and executing bootloaders, a crucial step in initializing the system.
Here are some key steps involved in booting your Raspberry Pi:
- Access to SD Card: The GPU allows access to the SD card, reads the second stage bootloader (‘bootcode.bin’) into L2 cache, enables SDRAM, and then reads and executes GPU firmware (‘start*.elf’ files).
- Kernel and Configuration: ‘start.elf’ loads ‘kernel.img’, ‘config.txt’, and ‘cmdline.txt’ into memory, initializes basic hardware, and loads the device tree binary (dtb) into RAM.
- Operating System Boot: The ARM CPU starts executing the kernel, and the operating system begins to boot up, displaying the rainbow splash screen on an attached display.
During this process, different bootloader types are involved, each playing a significant role in firmware initialization and loading of necessary files.
The system may boot from various sources such as SD cards, USB devices, or networks based on your configuration settings. Troubleshooting can be done by checking console and screen output during boot.
Installing the Operating System

Installing the operating system on your Raspberry Pi involves several key steps, starting with the selection process once you have inserted the SD card into your device.
After inserting the SD card into your Raspberry Pi and powering it up, the NOOBS installer will appear, displaying a menu of available operating systems. Here, you’ll select the desired operating system, such as Raspbian, LibreELEC, or OSMC.
If you need additional operating systems that aren’t pre-installed, you may connect to a WiFi network by clicking the “WiFi Networks” button. This allows for network installation of other available operating systems.
Once you have selected your operating system, check the box next to it and click the “Install” button. A warning will appear indicating that the data on the SD card will be overwritten; confirm this by clicking “Yes”.
The installation process can take anywhere from 30 to 35 minutes per operating system.
Wait for the installation to complete; a message will appear confirming the successful installation. Click “OK” or press the ENTER key to boot into the newly installed operating system.
Your Raspberry Pi will now boot into the selected operating system, ready for use.
Post-Installation Setup

Connecting Peripherals and Powering On
- Unplug the power supply to guarantee the Raspberry Pi is powered down.
- Connect the storage device (SD or microSD card) to the card slot.
- Attach other peripherals like mouse, keyboard, and monitor.
- Plug in the power supply and verify that the status LED lights up and the boot screen appears on the display. Ensure you are using the correct port for power input, such as a 5V/3A power supply for Raspberry Pi 4 Model B.
Network Configuration
To set up your network:
- Confirm the ethernet cable is firmly connected to both the Raspberry Pi and network switch.
- Use the ‘ifconfig’ command to display current network settings.
- Edit the ‘dhcpcd.conf’ file to configure static IP settings if necessary. This ensures a consistent IP address for easier logins.
”’
Troubleshooting Tips
If you encounter issues during network setup:
- Restart the Raspberry Pi for changes to take effect.
- Use the ‘ping’ command to test network connectivity.
- Check security settings if pinging a Windows machine fails.
Guarantee that your IP address, mask, and gateway are correctly configured.
Testing a telnet session can also help verify successful connectivity. By following these steps, you’ll be able to complete the post-installation setup efficiently and start using your Raspberry Pi with ease.
Configuring Additional Settings

Language Settings
You can select the language to be displayed in NOOBS, which will persist between reboots and be passed to the installed OS. Use a two-letter language code like ‘lang=de’ or ‘lang=en’.
You can change these settings through the NOOBS interface, and the default language is set based on the NOOBS configuration. Ensure you have the latest NOOBS version for all available language options.
Keyboard Layout
NOOBS allows you to select the keyboard layout using a two-letter code (e.g., ‘keyboard=de’ or ‘keyboard=us’).
These settings also persist between reboots and are passed to the installed OS. You can adjust these settings via the NOOBS interface, with the default layout set by the NOOBS configuration.
Display Mode
Select your display mode from options like HDMI preferred mode, HDMI safe mode, composite PAL mode, or composite NTSC mode.
Press 1, 2, 3, or 4 on your keyboard to choose the respective mode. These settings persist and are based on both the NOOBS configuration and the connected display device.
Network and WiFi Configuration
For network setup, NOOBS connects via DHCP if a wired Ethernet cable is plugged in.
For WiFi, preconfigure by placing a ‘wpa_supplicant.conf’ file on the NOOBS root partition. You can also download additional OSes over a wired or WiFi connection. To automate OS installation over the network, modify the ‘recovery.cmdline’ file with silentinstall for automatic installation. Ensure you have a Class 4 or higher microSD card for optimal performance during these configurations.
Frequently Asked Questions
Can I Use a Microsd Card With Less Than 4GB for NOOBS Lite?
You can use a microSD card with less than 4GB for NOOBS Lite, but it’s less recommended due to limited storage. NOOBS Lite requires an internet connection and may not support full-featured operating systems like Raspbian.
How Do I Troubleshoot if NOOBS Won’t Boot From the SD Card?
To troubleshoot NOOBS boot issues, make certain your SD card is fully formatted as FAT32 and check for sd card compatibility. Verify the SD card is properly connected and not corrupted. Use tools like H2testW to test for errors. If issues persist, try reformatting or replacing the SD card.
Can I Install Multiple Operating Systems on the Same SD Card?
Imagine your Raspberry Pi as a versatile workshop, where different tools (operating systems) can be easily switched. With NOOBS, you can install multiple operating systems on the same SD card, leveraging multi-OS benefits like flexibility and convenience. However, be mindful of SD card limitations such as storage capacity and potential compatibility issues.
Why Does the Installation Process Take so Long With NOOBS?
The installation process with NOOBS takes long due to downloading and extracting large files, formatting the SD card, multiple OS installations, and system configuration. Slow internet and hardware can further impact NOOBS performance and installation speed.
How Do I Update NOOBS to the Latest Version After Installation?
To update NOOBS to the latest version, boot your Raspberry Pi, access the terminal, and run ‘sudo apt update’ followed by ‘sudo apt upgrade’ or ‘sudo apt-get dist-upgrade’. Confirm a strong Internet connection for the update process. Use NOOBS recovery mode if needed.
Conclusion
You’ve successfully installed NOOBS on your Raspberry Pi, much like a master builder laying the first brick of a new skyscraper. Your microSD card is now a foundation for endless possibilities, ready to support operating systems and projects that will elevate your tech skills. As you boot up and configure, remember that every setting is a step towards creating something remarkable. Now, go forth and build your tech empire

I am a retired software engineer with experience in a multitude of areas including managing AWS and VMWare development environments. I bought a relative a mini-PC a year ago and have become passionate about the technology and its potential to change how we deploy software.