
Running a Minecraft server on a Raspberry Pi can be a practical choice for gamers looking to create their own virtual worlds. With the right hardware and software, you can set up an efficient server that caters to your gaming needs. It’s not just about the initial setup, though; optimizing performance is key to ensuring smooth gameplay. Curious about how to maximize your server’s capabilities? Let’s explore the essential steps together.
Key Takeaways
- Use a Raspberry Pi 4 with at least 8GB RAM and a high-quality SSD for optimal Minecraft server performance.
- Install Raspbian, update your system, and install Java 17 or higher for server compatibility.
- Configure the Minecraft server on a Raspberry Pi by editing `eula.txt`, setting a static IP, and enabling port forwarding for external access.
- Optimize performance by adjusting RAM allocations, overclocking, and limiting player counts and view distances.
- Implement server automation scripts and utilize SSH for remote management and secure monitoring.
Hardware Requirements for Your Minecraft Server On A Raspberry Pi
When setting up a Minecraft server on a Raspberry Pi, it’s vital to choose the right hardware to guarantee peak performance. The Raspberry Pi 4 is your best bet, offering up to 8GB of RAM for smoother gameplay. Raspberry Pi 4’s performance is significantly better compared to older models, making it ideal for hosting a Minecraft server.
Make sure you have a reliable USB power supply to keep your device running efficiently. For networking methods, an Ethernet cable provides a stable connection, although Wi-Fi can work in a pinch. Using a Raspberry Pi Model B can still enable multiplayer gameplay, but the performance may not be as optimal as newer models. Regarding storage capacity, opt for an 8GB microSD card or larger to enhance server performance. While a display isn’t strictly necessary, having one can simplify initial setup.
Software Setup for Raspberry Pi
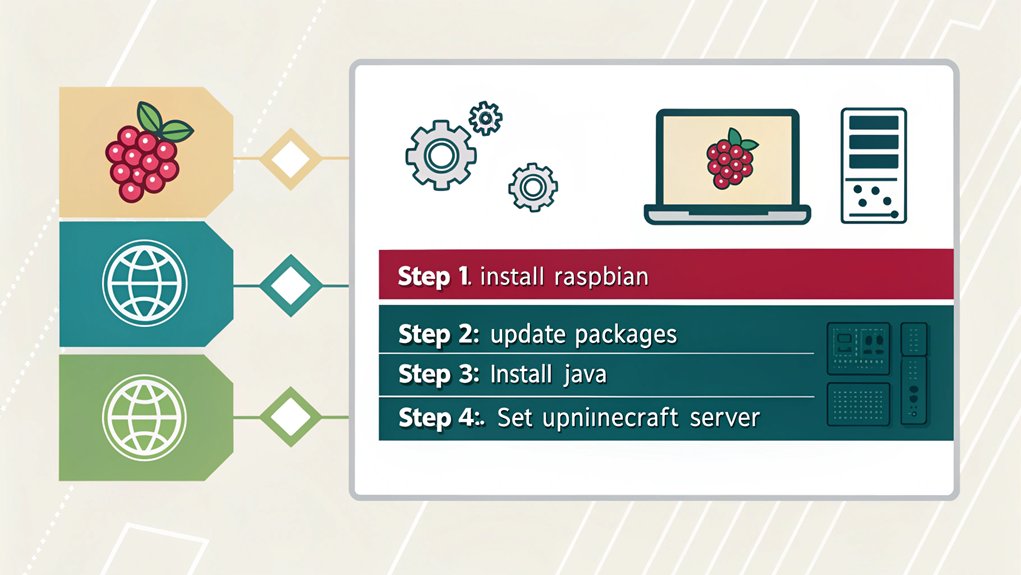
To successfully set up the software for a Minecraft server on a Raspberry Pi, begin by installing an appropriate operating system, such as Raspberry Pi OS (formerly known as Raspian).
Once that’s done, update the OS using `sudo apt update` and `sudo apt upgrade` for peak performance.
Next, set your boot option to Console in `raspi-config` and allocate memory appropriately.
Java installation is essential; install JDK using `sudo apt install oracle-java8-jdk` to guarantee compatibility with your chosen server software—options like Spigot or PaperMC are fantastic for enhanced performance. Additionally, ensure your Raspberry Pi is updated using `sudo apt update` for optimal functionality.
Installing the JDK with `sudo apt install oracle-java8-jdk` is crucial for ensuring compatibility with top server options like Spigot or PaperMC.
It’s also crucial to note that Raspberry Pi is an ideal platform for hosting a Minecraft server, allowing for both personal worlds and multiplayer gaming experiences.
Remember to allocate RAM efficiently with JVM flags, keeping some available for system stability.
Following these steps will pave the way for a robust and efficient Raspberry Pi Minecraft server.
Installing and Configuring the Minecraft Server
After you’ve set up the software on your Raspberry Pi, the next step is installing and configuring the Minecraft server.
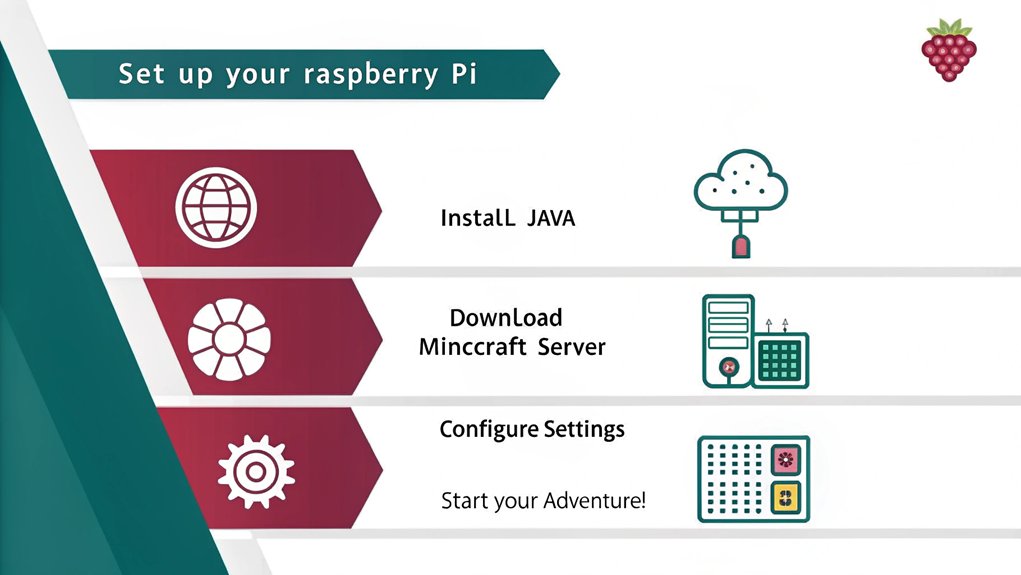
First, make sure you’ve got the right Java version, ideally Java 17 or higher, for best compatibility. Java performance is crucial for the server’s stability and gameplay experience.
Next, download the Minecraft server files, selecting a server type that suits your needs—like Spigot or PaperMC—for enhanced performance. Spigot version is recommended for better performance over the default install.
Don’t forget to allocate sufficient memory, typically ranging from 512M to 1008M, based on your Pi model.
Then, adjust your network settings, such as configuring a static IP and setting up port forwarding to allow external access.
Finally, edit the `eula.txt` file to accept the EULA and create startup scripts for easier management.
Now you’re ready to start your gaming adventure!
Optimizing Server Performance

While setting up your Minecraft server on a Raspberry Pi can be a fun project, optimizing its performance is crucial for a smooth gameplay experience.
Start by choosing a Raspberry Pi 4 for its superior processing power and RAM capabilities. Implement performance enhancements like overclocking your CPU and using a high-quality SSD for improved disk I/O. Raspberry Pi 4 is available in configurations up to 8GB, making it more capable of handling server demands efficiently. However, the general consensus is that Raspberry Pi is not ideal for heavy server usage, so optimizing its setup is essential.
Adjust your resource allocation by tweaking RAM settings and using lightweight operating systems to minimize overhead. Pregenerating chunks and optimizing Java flags help decrease server loading times.
Limit player counts and adjust view distances to balance performance and experience. Finally, adopt efficient server software, like PaperMC or PurpurMC, for better multi-threading support.
Keeping everything updated guarantees you’re leveraging the latest optimizations.
Managing Your Minecraft Server
Effectively managing your Minecraft server on a Raspberry Pi is essential for a seamless gaming experience, and doing so involves several key components.
To streamline operations, consider implementing server automation by using scripts like `mcstart.sh` to handle server startups and crashes efficiently. Don’t forget to configure crontab for automatic reboots. Additionally, ensure you have installed Java 16 for optimal performance and compatibility with the server. In light of the fact that Skyblock involves spawning on a small island with basic supplies, this may simplify player resource management and gameplay.
Make sure you’ve fine-tuned your server settings using the properties file for aspects like difficulty and port configuration.
Monitor your server with SSH for secure remote access, and regularly check logs for any issues.
In case of world corruption, establish solid crash recovery strategies.
Frequently Asked Questions
Can I Run a Minecraft Server on a Raspberry Pi Zero?
You can attempt a Minecraft server setup on a Raspberry Pi Zero, but its performance will be lacking. Expect significant lag and limited player capacity, making smoother gameplay challenging with the current hardware constraints.
What Is the Maximum Player Limit for Raspberry Pi-Based Servers?
Did you know newer Raspberry Pi models can support up to 31 players? Your server performance hinges on the model, where better RAM and CPU enhance player capacity, ensuring a smoother gaming experience for everyone involved
How Do I Backup My Minecraft Server Data?
To back up your Minecraft server data effectively, utilize cloud services, local directories, and scheduled plugins. Implementing robust data management practices enhances server maintenance and guarantees your gaming experience remains uninterrupted and your files secure.
Can I Use Mods on My Minecraft Server?
You can absolutely use mods on your Minecraft server—if you don’t mind maneuvering through persistent mod compatibility issues and complex mod installation processes. Embrace the challenge, and enhance your gaming experience with unique customizations!
What Do I Do if My Server Crashes?
If your server crashes, first check the server logs for errors. Implement crash recovery methods, like automated restarts and memory adjustments. Staying proactive can prevent future issues and enhance overall server performance.
Are You Ready to Build a Minecraft Server on a Raspberry Pi?
By now, you’ve transformed your Raspberry Pi into a vibrant Minecraft server, ready to host adventures like a nostalgic LAN party from the early 2000s. With the right hardware, software, and performance tweaks under your belt, you can create a seamless gaming experience for you and your friends. Keep exploring optimizations and managing your server wisely, and you’ll guarantee endless hours of crafting and exploring in your blocky world. Happy crafting!

I am a retired software engineer with experience in a multitude of areas including managing AWS and VMWare development environments. I bought a relative a mini-PC a year ago and have become passionate about the technology and its potential to change how we deploy software.