
Configuring a Raspberry Pi as a DHCP server can streamline your network management, yet many overlook this cost-effective solution. With proper software like isc-dhcp-server or dnsmasq, you can easily assign IP addresses within your local network. However, achieving a stable setup requires attention to static IP configuration and monitoring logs for issues. Understanding the steps involved is essential for a successful implementation. Let’s explore the setup process in detail.
Key Takeaways
- Install the `isc-dhcp-server` with `sudo apt-get install isc-dhcp-server` after updating the package list.
- Configure the DHCP options by editing the `/etc/dhcp/dhcpd.conf` file, specifying the IP range and default gateway.
- Set a static IP for your Raspberry Pi to ensure consistent access, outside the DHCP range.
- Monitor DHCP logs using `journalctl` to troubleshoot issues and ensure proper functionality of the DHCP server.
- Disable DHCP on your main router to avoid IP conflicts with the Raspberry Pi DHCP server.
Required Software for DHCP Server Setup
When setting up a DHCP server on your Raspberry Pi, selecting the right software is essential for ensuring smooth operation. The isc-dhcp-server is a robust choice, often utilized in enterprise environments due to its extensive configuration options. However, if you’re seeking simplicity and lower resource usage, dnsmasq may suit your needs better, as it combines both DHCP and DNS functionalities. To initiate the installation, use `sudo apt-get install isc-dhcp-server` after running `sudo apt-get update`. Be aware of the initial startup failures, which can be diagnosed using logs like `journalctl -r`.
Ultimately, your choice between ISC DHCP and dnsmasq should hinge on the size and complexity of your network, as well as your resource constraints. Additionally, utilizing a DHCP server can help prevent IP address clashing, allowing seamless communication between machines. Remember that you must first ensure the installation completes without errors to avoid any operational issues.
Network Configuration for Static IP
To configure your Raspberry Pi with a static IP address, you’ll first set the desired IP and define the network mask. Make certain to disable any existing DHCP services on the network to prevent IP conflicts. This setup guarantees that your device consistently retains the same IP address within your network. It is recommended to set a static IP on both the Raspberry Pi and the router IP to ensure consistent access. Additionally, using DHCP simplifies network management, particularly when you have multiple devices connected.
Setting Static IP Address
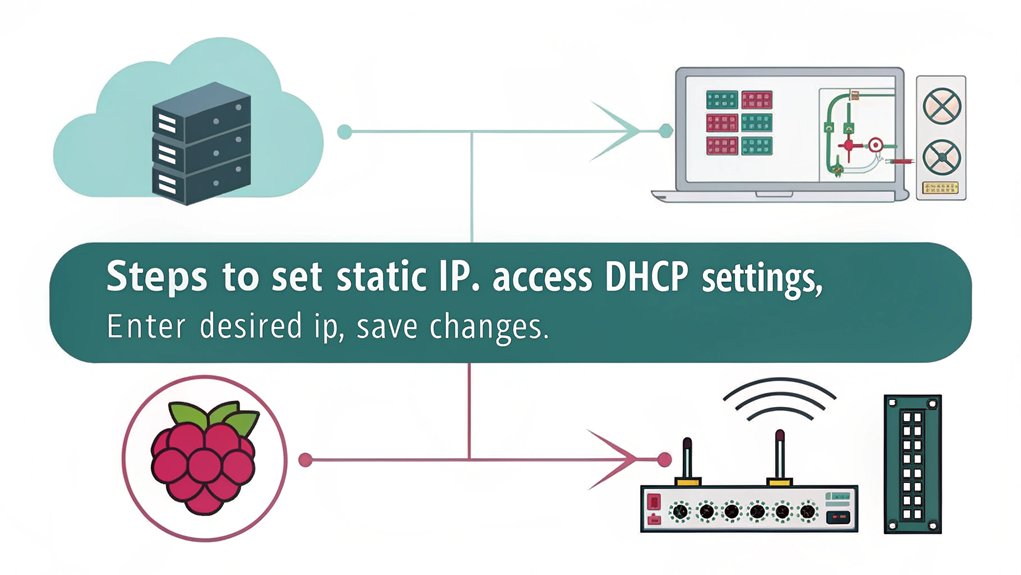
A static IP address is essential for ensuring consistent access to your Raspberry Pi, especially when it’s serving as a DHCP server or hosting services. This configuration enhances network stability and simplifies tasks like port forwarding. Here’s how to set it up:
| Parameter | Example |
|---|---|
| Interface | eth0 |
| Static IP | 192.168.1.100 |
| Router IP | 192.168.1.1 |
You can set a static IP via the terminal by editing the `dhcpcd.conf` file or through the GUI in the network settings. Disabling IPv6 can also prevent potential complications with network configurations. Always make sure your static IP is outside the DHCP range to prevent IP conflicts. A consistent access to the Raspberry Pi is crucial, particularly when it serves various networked devices and applications. After making changes, restart the `dhcpcd` service and reboot your Raspberry Pi to finalize the setup.
Configuring Network Mask
Setting a static IP address on your Raspberry Pi is just the first step in configuring your network settings. Next, you need to set the correct subnet mask for effective network segmentation. For most home networks, this is typically 255.255.255.0, which corresponds to a /24 network. Edit your network configuration file using a text editor like `nano`, making sure to include the `netmask` parameter alongside other settings like `address`, `gateway`, and `broadcast`. Consistency in subnet masks across all devices is essential for seamless communication within your network.
Proper subnetting can prevent IP conflicts, especially when dealing with multiple devices. Remember that a static IP simplifies remote access via SSH and ensures reliable connectivity. Remember to back up your configuration files before making changes and reboot your Raspberry Pi to apply the new settings. This will guarantee your devices interact as intended within the same subnet.
Disabling Existing DHCP Services
Before configuring your Raspberry Pi as a DHCP server, you’ll need to disable any existing DHCP services that might conflict with your setup. This usually involves disabling the DHCP services on your router through its web interface. If your router has limitations, consider DHCP alternatives. Here’s a simple breakdown:
| Action | Method | Result |
|---|---|---|
| Disable Router DHCP | Access Web Interface | Prevent conflicts |
| Stop Current Server | Use system commands | Free up resources |
| Set Static IP | Edit dhcpcd.conf | Guarantee constant address |
In addition to stopping current servers, disabling existing DHCP services also ensures that no unwanted DHCP conflicts occur during your new setup. This is especially important if you are using Raspberry Pi with Pi-hole to manage DHCP and DNS services effectively.
DHCP Server Installation and Configuration
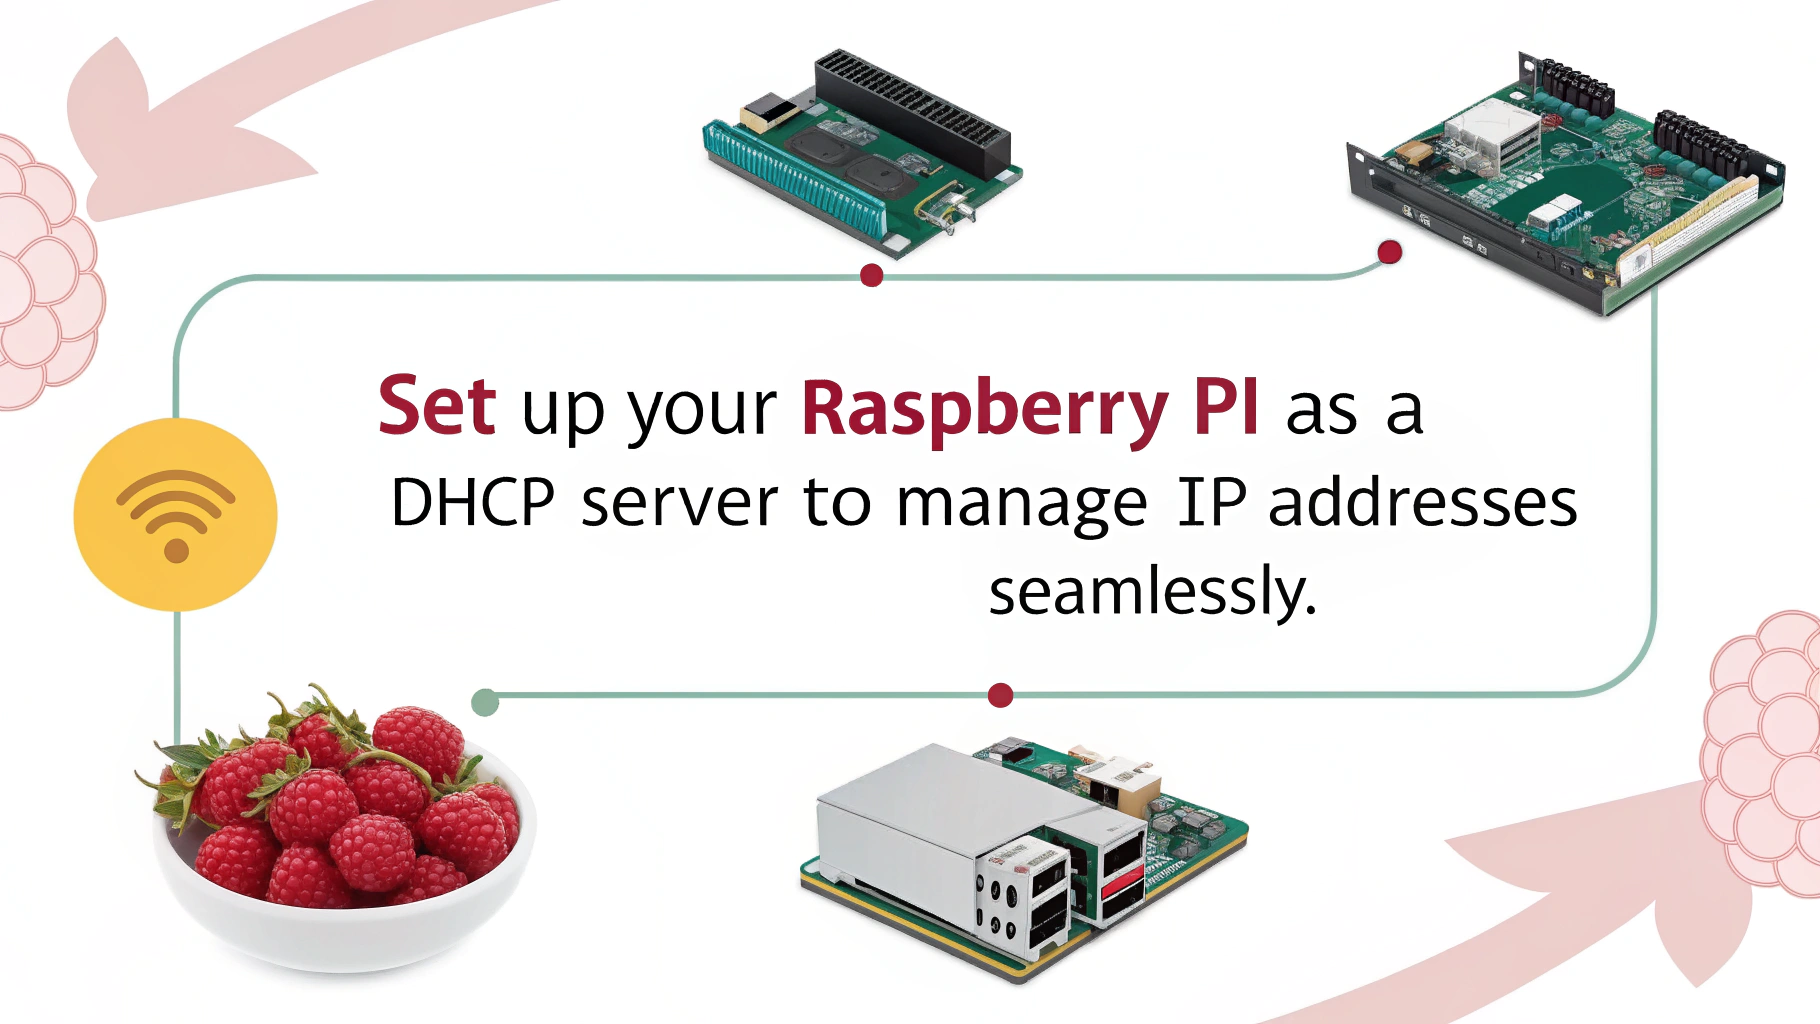
Configuring your Raspberry Pi as a DHCP server begins with verifying that your environment is prepared for the installation. Start by updating your packages using `apt-get update`, then install the ISC DHCP Server with `apt-get install isc-dhcp-server`. Edit the `/etc/dhcp/dhcpd.conf` file to set DHCP options, including defining the IP address range and default gateway. Specify your network interface, like `eth0`, and configure DHCP leases and DNS servers to optimize DHCP performance. Remember to disable the router’s DHCP function to avoid conflicts.
For robust DHCP security, monitor DHCP logs for troubleshooting and adjust firewall rules if necessary. Additionally, understanding the need for DHCP can help ensure your network operates smoothly. Furthermore, setting a static IP address for the Raspberry Pi is essential to ensure that the DHCP server functions properly. Testing configurations verifies that devices can successfully connect to the network.
Configuring Static IP Assignments
To guarantee your Raspberry Pi maintains a reliable connection, establishing static IP assignments is vital. Using Raspberry Pi OS, you can leverage Network Manager or modify `/etc/dhcpcd.conf` to set a static IP. The static IP advantages include consistent connectivity and improved network performance, essential for applications demanding reliability. However, you should also be aware of the static IP drawbacks, such as the potential for conflicting addresses if not properly managed. Furthermore, Raspberry Pi can function as a DHCP server by defining the DHCP range, which enhances network management options.
Setting your Raspberry Pi’s network interface names through configuration ensures predictability in your static IP assignments. Make sure you plan your subnet carefully and avoid overlap with other devices. For isolated networks without DHCP, a static IP is often necessary, while dynamic IPs remain advantageous for public networks. Backup your configurations to maintain network integrity and minimize disruptions.
Troubleshooting Common DHCP Issues
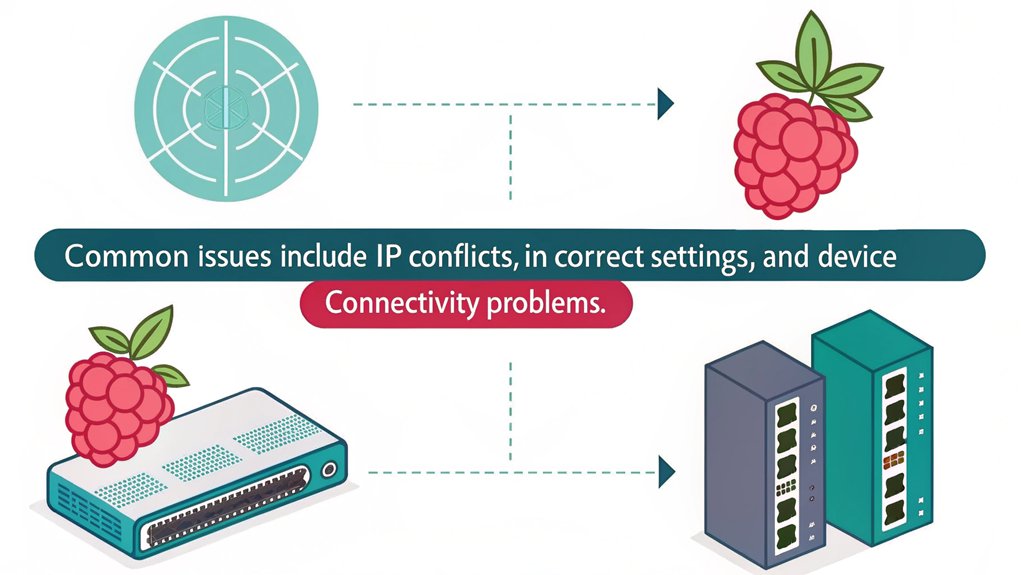
When troubleshooting DHCP issues, start by monitoring DHCP requests to identify potential IP conflicts. Knowing how to resolve these conflicts promptly will help guarantee seamless network connectivity. It’s vital to establish clear communication between your Raspberry Pi server and connected devices to maintain a stable network environment. Multiple DHCP servers on the same network can lead to confusion and should be avoided to ensure a smooth operation. Additionally, you should verify if `dhcpd` is running to address any potential server-side issues that could disrupt connectivity.
IP Conflict Resolution
Although IP conflicts can disrupt network functionality, understanding their causes and implementing effective troubleshooting methods can greatly mitigate issues in a DHCP environment. Begin by examining your DHCP scope adjustments; overlapping scopes between multiple DHCP servers often lead to duplicate assignments. If you’re using static IPs, make certain they fall outside the DHCP scope to prevent clashes with dynamic allocations. It is important to regularly check for IP address conflicts to maintain network integrity and performance. Additionally, consider enabling DHCP snooping to help prevent unauthorized DHCP server requests.
Checking the MAC addresses associated with conflicting IPs can help identify affected devices quickly. Manually release and renew IP leases using commands such as `ipconfig/release` and `ipconfig/renew` to resolve temporary conflicts. Finally, enhance your IP address management by consistently documenting all assignments to maintain clarity and prevent future issues, thereby fostering a more reliable network.
Monitoring DHCP Requests
Effective monitoring of DHCP requests is essential for troubleshooting common issues that may affect network performance. Utilizing DHCP logging techniques, you can efficiently capture and analyze request logs on your Raspberry Pi running `isc-dhcp-server`. To keep tabs on lease expirations and new device connections, employ lease monitoring tools like Python scripts, automating your monitoring process. Additionally, ensure your setup includes configuration files for DHCP and DNS to streamline operations and enhance performance. Verify that DHCP is disabled on your main router to prevent conflicts. Pay close attention to incorrect gateway settings or floods of IP requests, as these often indicate misconfigurations. Moreover, disabling DHCP on the main router is crucial for preventing network issues related to conflicting IP assignments.
Benefits of Using Raspberry Pi as a DHCP Server
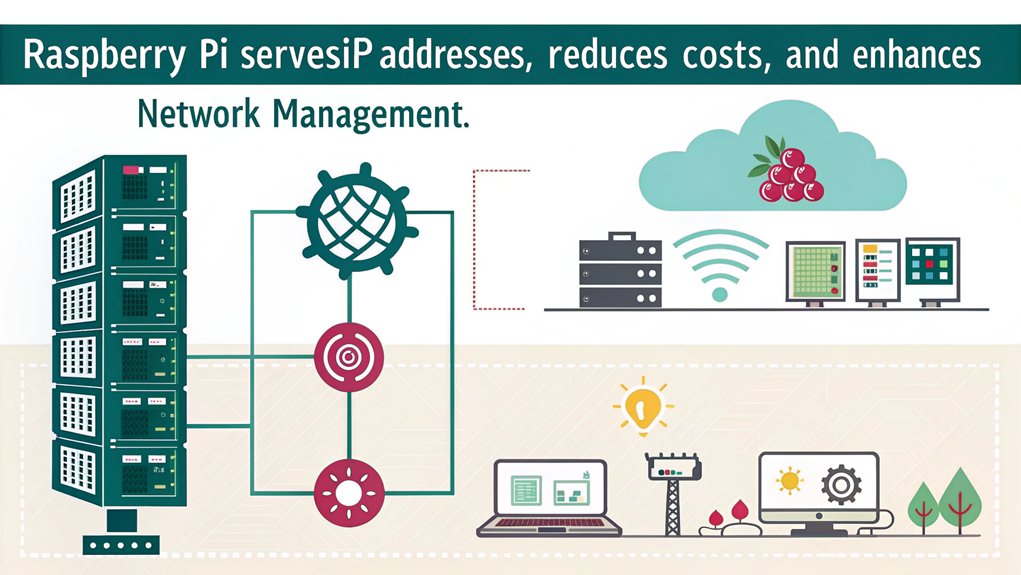
Using a Raspberry Pi as a DHCP server offers numerous benefits that enhance both flexibility and usability in network management.
First, it provides significant cost savings compared to dedicated hardware, making it an attractive option for budget-conscious users. Its compact design allows seamless deployment in diverse environments, ensuring network flexibility.
You can easily configure DHCP ranges, DNS servers, and assign static IPs based on MAC addresses, improving overall device management. Additionally, when combined with dnsmasq, it can manage both DHCP and DNS services efficiently.
This setup integrates smoothly with existing network infrastructure and offers low maintenance requirements, making it ideal for small networks. Embracing a Raspberry Pi for DHCP demonstrates innovation while optimizing resources properly.
Frequently Asked Questions
Can Raspberry Pi Serve as Both DHCP and DNS Server?
Yes, a Raspberry Pi can serve dual functionality as both a DHCP and DNS server, enhancing your network management. By utilizing tools like DNSMasq, you can efficiently manage IP addresses and resolve domain queries effectively.
How Can I Backup My Raspberry Pi DHCP Server Configuration?
To safeguard your Raspberry Pi DHCP server, think of backups as your safety net. Utilize backup methods like rsync or tar to copy configuration files and lease data regularly, ensuring your network’s reliability against unexpected failures.
What Hardware Requirements Are Needed for Raspberry Pi DHCP Server?
For your Raspberry Pi setup, make sure you’ve a reliable power supply, an Ethernet cable for connectivity, and appropriate network interface. Aim for at least 1GB RAM and a minimum 8GB microSD card for ideal performance.
Is It Possible to Use a Wireless Connection for A Raspberry Pi DHCP Server?
Absolutely, you can use a wireless connection for DHCP! However, keep in mind the wireless limitations can impact network reliability considerably. With precise configuration, you can create an innovative, flexible network environment that adapts to your needs.
How Can I Monitor Raspberry Pi DHCP Server Performance and Logs?
You can monitor DHCP server performance by analyzing performance metrics like uptime and response time. Regular log analysis helps identify issues, ensuring efficient IP allocation and ideal server responsiveness, consequently enhancing overall network reliability.
Should You Setup a Raspberry Pi as a DHCP Server?
To sum up, setting up a Raspberry Pi as a DHCP server is not only cost-effective, but it also offers flexibility for small networks. By ensuring your device is properly configured and monitoring logs regularly, you can avoid headaches down the road. Isn’t it rewarding to take control of your network with a simple, efficient solution? As you implement these steps, you’ll appreciate the reliable IP management that a Raspberry Pi can provide for your network needs.

I am a retired software engineer with experience in a multitude of areas including managing AWS and VMWare development environments. I bought a relative a mini-PC a year ago and have become passionate about the technology and its potential to change how we deploy software.