Why Should You Run Your Rasberry Pi Headless?
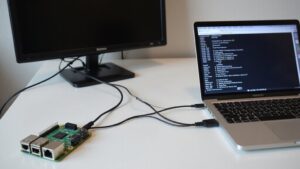
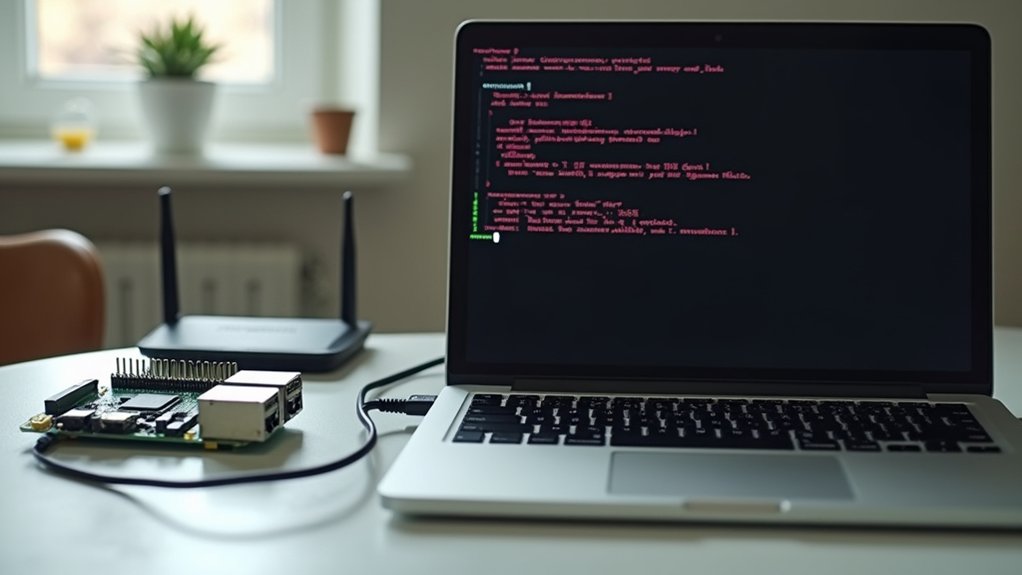
Running a Raspberry Pi headless eliminates the need for any display peripherals, saving space and power while maximizing versatility. You’ll access your Pi entirely through SSH or VNC connections from another computer, making it ideal for IoT projects, home automation systems, or network servers. The setup process requires only minimal configuration before your first boot, including enabling SSH and configuring Wi-Fi credentials. Once properly configured, your Pi can operate autonomously in nearly any location with network access.
Key Takeaways
- Flash Raspberry Pi OS Lite to a MicroSD card using Raspberry Pi Imager with SSH enabled in advanced settings.
- Create an empty “ssh” file in the boot partition to enable SSH access on first boot.
- Add a “wpa_supplicant.conf” file with your Wi-Fi credentials to connect automatically to your network.
- Access your headless Pi via SSH using “ssh pi@raspberrypi.local” or “ssh pi@[IP_ADDRESS]” with default password “raspberry”.
- Change the default password immediately and consider installing VNC for GUI access if needed.
What Is Headless Mode and Why Use It?
When you set up a Raspberry Pi headless, you’re configuring it to operate without a monitor, keyboard, or mouse connected. This approach relies on remote access methods like SSH to control your Pi from another computer on the same network.
The headless advantages are substantial. You’ll enjoy greater resource efficiency since no GUI components consume valuable RAM or processing power. Your Pi will run more reliably with fewer potential software conflicts, making it ideal for server applications like VPN, web hosting, or NAS systems. The OS Lite version is typically installed for headless operation to minimize system overhead.
Remote accessibility is perhaps the most compelling benefit—you can manage your Pi from anywhere with network connectivity. When implementing a headless setup, consider implementing TLS protocols for secure network communications to protect against unauthorized access. You can also use VNC server to enable GUI access when needed while maintaining the benefits of headless operation. This flexibility, combined with reduced space requirements and lower power consumption, makes headless operation perfect for automation tasks, development environments, and monitoring systems where physical interaction isn’t necessary. For web hosting projects, you might consider installing Caddy server which offers automatic HTTPS and simplified configuration compared to other web servers.
Essential Equipment for Your Headless Setup
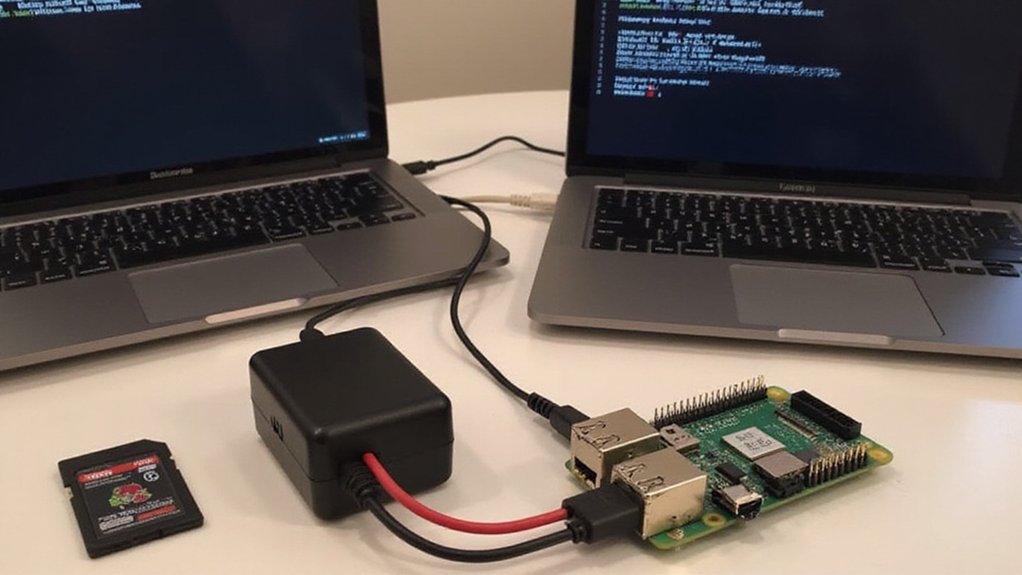
Although setting up a Raspberry Pi headless system eliminates the need for peripherals like monitors and keyboards, you’ll still need several critical components to get started. The headless advantages of remote access and reduced footprint depend entirely on having the right tools ready.
- MicroSD card (8GB+ capacity) – Use high-endurance, branded cards for reliability
- Computer with SD card reader – Essential for writing the OS image
- Proper power supply (5V) – Match amperage to your specific Pi model
- Network essentials – Either Ethernet cable or WiFi credentials
Your setup computer only needs to write the image and configure initial settings. Using the Raspberry Pi Imager makes burning the OS image to the SD card straightforward and reliable. Raspbian is widely considered the recommended OS for headless setups due to its stability and compatibility.
Going headless saves space and expense, but proper preparation with essential tools remains critical for success.
After that, all interaction happens remotely via SSH or VNC, making the Pi perfect for space-constrained projects or remote deployments.
Be sure to format your microSD card with FAT32 partition for proper booting and compatibility with the Raspberry Pi.
When setting up SSH access, the red power LED indicator will confirm your Raspberry Pi is receiving power correctly before you attempt to connect.
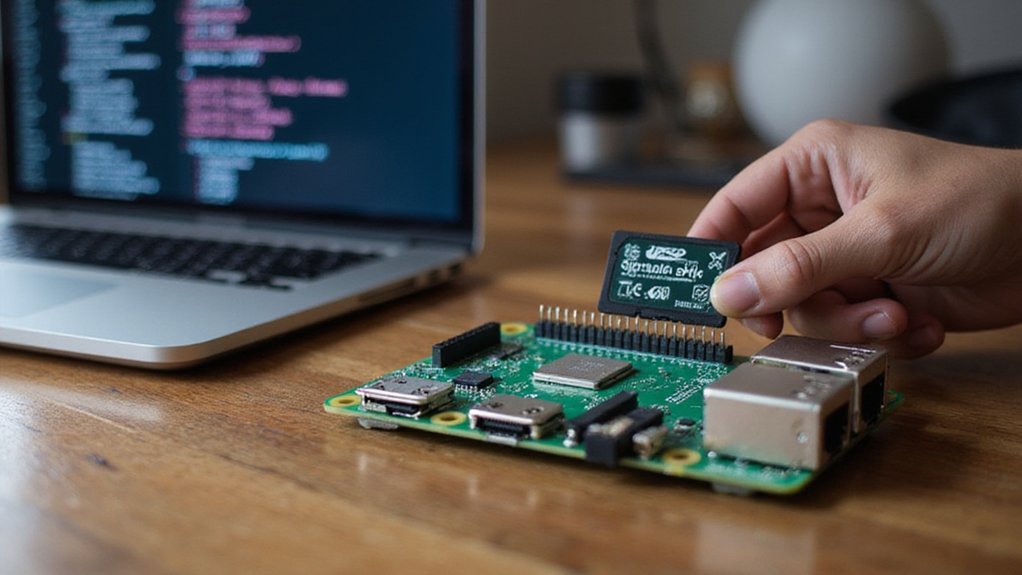
Preparing Your MicroSD Card with Raspberry Pi OS
To prepare your Raspberry Pi for headless operation, you’ll need to select and download an appropriate OS image like Raspberry Pi OS Lite, which requires less storage and resources.
Install the Raspberry Pi Imager software on your computer, as it streamlines the process of writing OS images to your microSD card.
After launching the Imager, select your preferred OS, choose your microSD card from the storage options, and click “Write” to flash the image onto your card. You can access advanced settings menu by pressing CTRL+SHIFT+X to configure SSH and WiFi settings before flashing. For most Raspberry Pi models, a 16GB microSD card is sufficient for running Raspberry Pi OS Lite. The system will create necessary cookies to store visitor credentials when you eventually set up remote access to your headless Raspberry Pi. For reliable performance, choose quality SD brands with appropriate speed classes like C10 or U3 to ensure your headless setup runs smoothly.
Selecting Your Image
Selecting the right image for your headless Raspberry Pi setup is a critical first step in the installation process.
Raspberry Pi Imager offers several OS options tailored to different needs. For headless operation, Raspberry Pi OS Lite is ideal since it doesn’t include the desktop environment, resulting in better performance for server applications. The latest Raspberry Pi OS Lite comes with kernel version 6.6 that ensures excellent hardware compatibility.
When making your image selection, consider these factors:
- Choose between 32-bit and 64-bit versions based on your Pi model and requirements
- Select the “Lite” version for headless setups to conserve resources
- Consider custom images like OctoPi for specialized applications
- Verify your microSD card has sufficient capacity (minimum 8GB recommended)
If you’re experimenting with multiple operating systems, NOOBS provides flexibility, though it’s less streamlined than directly writing an image with the Imager tool.
Remember that custom images like OctoPi don’t require installation over Raspberry Pi OS as they are standalone OS images that can be written directly to your SD card.
The PIXEL desktop environment significantly increases resource usage, so avoiding it with the Lite version allows for more efficient operations in headless configurations.
You can access the advanced menu by pressing CTRL + SHIFT + X in Raspberry Pi Imager to configure network settings and enable SSH before writing the image.
Flashing With Imager
Flashing your microSD card with Raspberry Pi OS forms the foundation of any headless setup.
Download and install Raspberry Pi Imager from the official website, then connect your microSD card via a reader to your computer’s USB port.
Launch the Imager, select your preferred OS version, and confirm the correct storage device.
Before writing, access the advanced settings (gear icon) to enable essential headless features like SSH and preconfigure your Wi-Fi credentials—this eliminates the need for a monitor during initial setup.
Click WRITE to begin the flashing process. The imager features automatic formatting, so no manual preparation is required. You can press CTRL + SHIFT + X to quickly access the advanced options menu at any time. Remember that you can also utilize the custom option to flash third-party operating systems if you prefer an alternative to the standard Raspberry Pi OS offerings.
Once complete, safely eject the card, insert it into your Pi, and power on. The tool is cross-platform compatible with Windows, macOS, and Linux systems, making it accessible regardless of your computer’s operating system. Be sure to check that the SD-Card Adapter switch is properly positioned for writing during the flashing process. Your device is now ready for headless operation with network accessibility pre-configured.
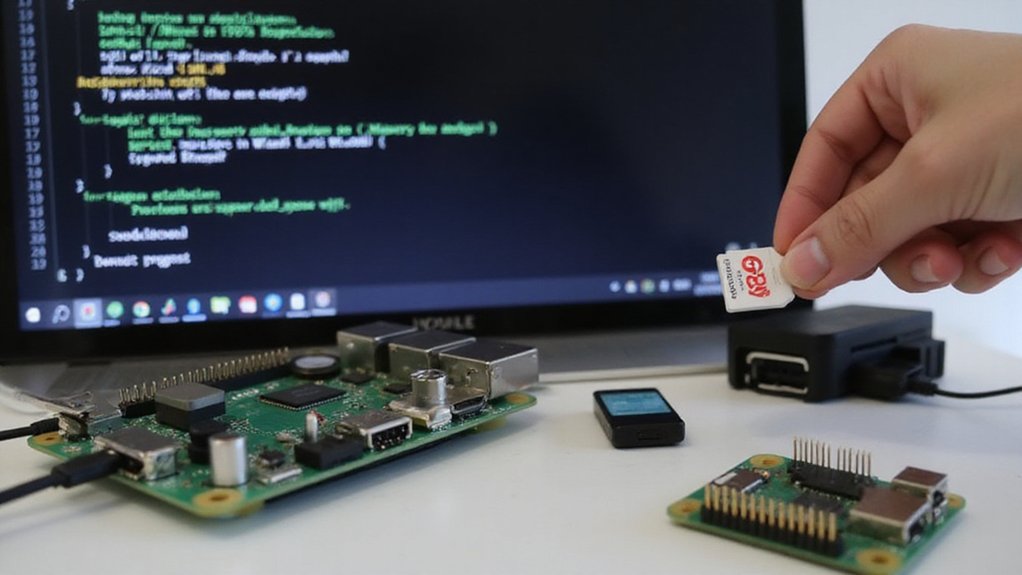
Enabling SSH Before First Boot
Before you can connect to your Raspberry Pi headlessly, SSH must be enabled during the initial boot process. This requires placing a simple empty file named “ssh” onto the boot partition of your SD card.
The Raspberry Pi will detect this file during startup, enable SSH remote access, and then delete the file automatically.
The Raspberry Pi scans for the “ssh” file at boot, enables remote access, then removes the file for security.
To properly enable SSH:
- Create an empty file named exactly “ssh” (no extension required)
- Place it in the boot partition (/boot, /Volumes/boot, or via Windows File Explorer)
- Safely eject your SD card before removing it
- Boot your Pi and connect using default credentials (change these immediately)
Since the November 2016 update, SSH has been disabled by default for security reasons, making this file creation step necessary.
If connection issues occur, verify the file was placed correctly and use network scanning to locate your Pi’s IP address. Even with proper SSH setup, you may still need to ping the device to confirm basic network connectivity is working.
Configuring Wi-Fi for Wireless Headless Operation

To configure Wi-Fi on a headless Raspberry Pi, you’ll need to create a `wpa_supplicant.conf` file in the boot partition with your network credentials and country code. The file will be automatically transferred to the correct location during the first boot process.
If you prefer a different approach, you can use the Network Manager utility through command line once you’ve established an initial connection via Ethernet. For optimal ergonomics while working on your setup, consider adding a keyboard tray to your standing desk which promotes better posture and reduces strain. You can also configure your wireless settings using raspi-config tool which provides a text-based interface for network setup.
When troubleshooting connection issues, verify your credentials, check your router’s connected devices list, and make certain you’ve specified the correct country code in your configuration. For enhanced security during setup, consider using OpenSSL encryption to protect your sensitive network information.
Create WPA Supplicant File
Setting up Wi-Fi connectivity on your Raspberry Pi is essential for headless operation, which allows you to access and control your device remotely without connecting a monitor or keyboard.
The key to managing networks on your headless Pi is creating a properly configured `wpa_supplicant.conf` file in the `/boot` directory of your SD card.
Your file should include:
- `ctrl_interface` and `update_config` parameters for proper communication
- Country code using the two-letter ISO format (e.g., `country=US`)
- Network details including `ssid` and `psk` for your Wi-Fi credentials
- Multiple network entries if you’ll connect to different networks
This configuration enables your Pi to connect automatically on first boot, releasing all the benefits headless operation offers for your innovative projects. After creating this file, it will automatically move to `/etc/wpa_supplicant/` when your Raspberry Pi boots up for the first time. For hidden networks, you must include the scan_ssid=1 parameter in your network configuration block.
Network Manager Alternative
While the traditional `wpa_supplicant.conf` method works well for many users, NetworkManager offers a more robust and flexible alternative for configuring wireless connections on your headless Raspberry Pi.
With Raspberry Pi OS Bookworm now supporting NetworkManager by default, you’ll benefit from easier profile management and connection handling.
NetworkManager’s key advantages include simplified setup using `nmtui` or `nmcli`, profile portability between devices, and seamless handling of different network interfaces.
Create connection profiles once and deploy them to multiple Pis by copying files to `/etc/NetworkManager/system-connections/`.
If you prefer a lighter solution, `dhcpcd` features minimal resource usage while providing basic network management.
However, NetworkManager’s extensive tools make it ideal for headless setups where you need reliable, flexible wireless connectivity without manual intervention. Consider using an ergonomic footrest while configuring your headless Raspberry Pi to maintain proper posture and reduce physical strain during extended setup sessions. Remember to set the proper file permissions 600 for .nmconnection files to ensure NetworkManager can start your connections properly.
It’s important to note that NetworkManager ignores network interfaces configured in /etc/network/interfaces, so avoid using both configuration methods simultaneously.
Make sure to verify SSH status after setup to confirm remote access is properly configured for your headless operation.
Wi-Fi Troubleshooting Steps
Successful headless Raspberry Pi operation often hinges on proper Wi-Fi configuration, yet several common issues can prevent wireless connectivity. When troubleshooting connection problems, focus on these critical areas:
- Verify your `wpa_supplicant.conf` file contains the correct SSID, password, and country code—missing country codes frequently disable Wi-Fi functionality.
- Allow sufficient time for initial connection (up to five minutes), particularly on first boot when DHCP issues might delay IP address assignment.
- Check for signal interference by scanning available networks with `sudo iwlist wlan0 scan` and potentially adjusting router channels.
- Confirm SSH setup by ensuring the empty `ssh` file exists on the boot partition before first boot.
When using the Raspberry Pi Imager for installation, you can configure WiFi credentials through the advanced menu by pressing Ctrl+Shift+X.
For advanced users, consider adding multiple wireless networks to your configuration to ensure your Pi can connect automatically when moving between different locations.
If connections persist, examine `/var/log/syslog` for specific error messages related to your Wi-Fi configuration.
Finding Your Raspberry Pi’s IP Address
Locating your Raspberry Pi’s IP address is essential for establishing remote connections in a headless setup. You can discover it through multiple methods, depending on your available resources.
For direct Pi access, use terminal commands like `hostname -I` or `ifconfig` to view assigned addresses.
Alternatively, log into your router’s admin interface and check the connected device list for an entry named “raspberrypi” with its corresponding IP.
Your router’s management portal offers a quick way to identify your Pi—simply locate “raspberrypi” in the connected devices list.
Network scanning tools offer another solution—install an IP scanner on any device connected to your network to locate your Pi. You can also ping the device from another computer with `ping raspberrypi` to reveal its address.
For consistent remote access, consider assigning a static IP to your Pi, eliminating the need for repeated network scans during future sessions.
Setting up your workspace with ergonomic furniture can enhance your concentration and focus when working with headless Raspberry Pi configurations.
The `ip addr` command provides detailed network info about all interfaces on your Pi, including MAC addresses and subnet information.
Connecting to Your Pi via SSH for the First Time
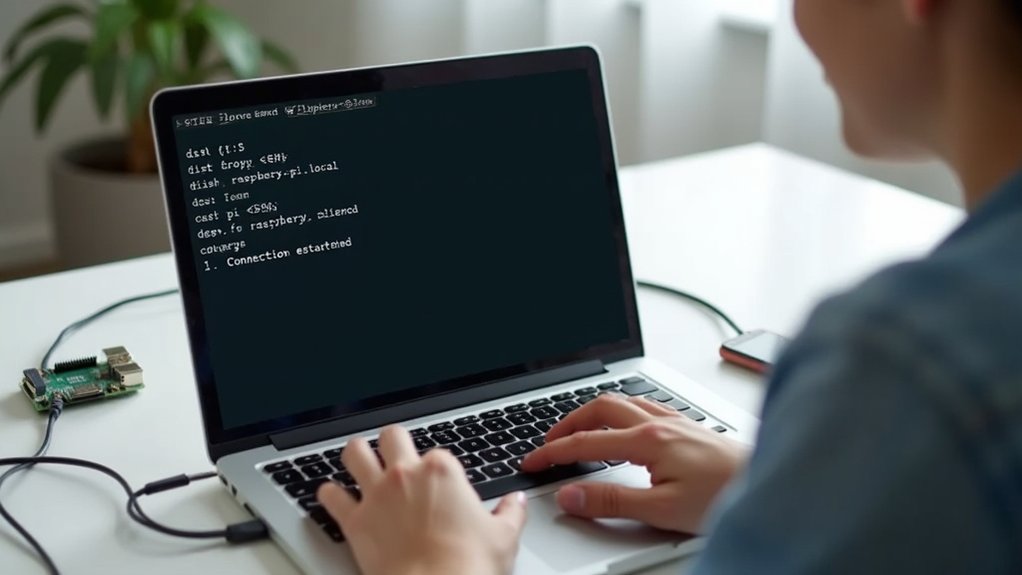
To connect to your Raspberry Pi via SSH for the first time, open a terminal on your computer and type `ssh pi@raspberrypi.local` or `ssh pi@[IP_ADDRESS]`, then enter the default password “raspberry” when prompted.
If you encounter a connection error, verify that SSH is enabled on your Pi, confirm both devices are on the same network, and check that no firewall settings are blocking port 22. You can also use the X11 forwarding feature to access graphical applications remotely. For optimal performance and security, make sure to regularly run system updates using sudo apt update and sudo apt upgrade commands.
After successfully logging in, you should immediately change your default password using the `passwd` command and consider setting up SSH keys for passwordless, more secure access.
First-Time Login Steps
Once you’ve enabled SSH and determined your Raspberry Pi‘s IP address, you’re ready to establish your first connection to the headless device.
Use your SSH client (PuTTY for Windows or terminal for Mac/Linux) with the command `ssh pi@your_pi_ip_address`. For your first login, use the default credentials (username: pi, password: raspberry).
After successful connection, immediately implement these essential security steps:
- Change the default password with `passwd` to strengthen password security
- Update your system with `sudo apt update && sudo apt upgrade`
- Configure additional settings through `sudo raspi-config`
- Consider implementing SSH key authentication for enhanced security
These initial configurations will establish a secure foundation for your headless Raspberry Pi setup, allowing for safe remote management of your innovative projects. Remember that your Pi is running a full Linux OS with multitasking capabilities, making it ideal for complex remote projects. If you need additional security features, consider configuring Wake on LAN functionality for more controlled remote access to your device.
Troubleshooting Connection Problems
Even with careful preparation, you might encounter connection problems when attempting your first SSH login to a headless Raspberry Pi.
Begin connection diagnostics by verifying your Pi’s IP address with `hostname -I` and confirming both devices share the same subnet. Check if SSH is properly enabled—an empty “ssh” file should exist in the boot directory, or run `sudo systemctl enable ssh` to activate the service.
Examine firewall settings to confirm port 22 is open for SSH traffic. If using UFW, verify SSH connections are permitted. Troubleshooting techniques should also include authentication verification—double-check your username/password or SSH key configuration.
Don’t overlook hardware factors: verify your Pi has sufficient power, isn’t overheating, and uses a properly functioning SD card.
Network issues like DHCP problems or router configuration can also prevent successful connections.
Setting Up VNC for Remote Desktop Access

VNC (Virtual Network Computing) provides a powerful graphical remote desktop solution for your headless Raspberry Pi setup. Most Pi distributions include RealVNC by default, but you can install it via `apt-get` if needed.
Enable VNC with a simple command, granting you remote desktop access immediately after a quick system reboot.
Enable VNC through `raspi-config` by selecting Interfacing Options, then VNC, followed by a system restart.
For remote access, you’ll need:
- VNC Viewer installed on your client device
- RealVNC Cloud for internet access beyond local networks
- Correct IP address and port configuration
- Proper firewall settings to allow VNC connections
This setup delivers a complete desktop experience without physical peripherals.
Test your VNC connection locally before attempting remote access to troubleshoot any configuration issues.
With proper VNC setup, you’ll gain efficient control over your Pi from anywhere, perfect for innovative headless projects.
Securing Your Headless Raspberry Pi
Security remains a top priority when running headless Raspberry Pi systems, especially after you’ve established remote access methods like VNC.
Start your system hardening process by changing default credentials and disabling root SSH login immediately. Configure SSH to use public key authentication while disabling password-based access.
Reduce your attack surface by disabling unnecessary services and changing the default SSH port. Implement a firewall and restrict network access to essential services only.
For physical security, verify your Pi is in a secure location and consider using encrypted storage.
Maintain secure backups of your configuration and data regularly. Keep your system updated by checking for security patches frequently. Monitor system logs for unusual activities that might indicate compromise.
Document all security measures implemented for future reference and troubleshooting.
Troubleshooting Common Headless Setup Issues

When your headless Raspberry Pi refuses to connect or behave as expected, troubleshooting becomes an essential skill for resolving issues without a display.
Headless advantages quickly diminish when configuration problems arise, but most issues fall into predictable categories.
- Network Compatibility: Verify your Pi model supports your network band (Pi Zero W only works with 2.4GHz networks) and check your router configuration matches your settings.
- Configuration Files: Double-check that `wpa_supplicant.conf` contains the correct SSID, password, and country code, placed properly in the SD card’s root.
- Boot Process: Allow sufficient time for first boot and confirm stable power supply to prevent interruptions.
- SSH Security: Confirm SSH is enabled and properly configured for remote access before removing display connections.
When systematic troubleshooting fails, network scanning tools can help locate your device.
Frequently Asked Questions
Can I Switch Between Headless and Regular Operation?
Yes, you can seamlessly switch between headless and regular operation. Enable remote access for headless use, and start the graphical interface when needed without changing hardware or reinstalling your OS.
How Do I Update My Headless Pi Without Breaking Remote Access?
Your Pi hangs in the balance. Run ‘sudo apt update’ followed by ‘sudo apt upgrade’ while maintaining SSH connection. Always verify system updates won’t restart SSH service before confirming installation.
Is Headless Mode Less Power-Efficient Than Standard Operation?
Headless mode consumes less power, not more. You’ll see reduced power consumption through the elimination of HDMI output, display processing, and improved resource management when running applications without a GUI interface.
Can Multiple Users Simultaneously Access a Headless Pi?
Like a bustling digital café, your headless Pi welcomes multiple simultaneous users. You’ll need proper user management and SSH configuration for remote access. Monitor system resources to maintain performance across concurrent sessions.
How Do I Safely Shut Down My Headless Pi?
You can safely shut down your headless Pi using SSH remote commands like ‘sudo shutdown -h now’ or by installing a GPIO button solution that triggers shutdown when pressed.
Conclusion
Like a lighthouse guiding ships through fog, having your Raspberry Pi headless makes it ready to operate autonomously while you navigate from afar. You’ve eliminated display dependencies, created secure SSH tunnels, and configured wireless access—all without a monitor in sight. When issues arise, you’ll troubleshoot through SSH connections rather than physical intervention. Your Pi’s headless journey has just begun; its potential is now set free.

I am a retired software engineer with experience in a multitude of areas including managing AWS and VMWare development environments. I bought a relative a mini-PC a year ago and have become passionate about the technology and its potential to change how we deploy software.