Why a Raspberry Pi Home Automation Project?
If you’re looking to transform your space with technology, Raspberry Pi home automation projects are perfect for you. Start by automating your lighting system for convenience and energy efficiency. You can create a smart climate control system or set up a security network with motion alerts. An automated garden irrigation system is great for plant care. Don’t forget to establish a media hub and connect smart plugs for added control. There’s so much more to explore and it’s a great project to start exploring what your Raspberry Pi can do!
Key Takeaways
- Automate home lighting systems using Raspberry Pi and smart bulbs for enhanced convenience and energy efficiency.
- Create a smart climate control system with sensors and HVAC control for optimal temperature management.
- Set up a security network with Raspberry Pi cameras and motion sensors for effective monitoring and alerts.
- Build an automated garden irrigation system to monitor moisture and automate watering schedules based on weather conditions.
- Establish a Raspberry Pi media hub to stream and organize content, enhancing entertainment options at home.
Automating Your Home Lighting System
When you automate your home lighting system, you not only enhance convenience but also energy efficiency. By connecting your Raspberry Pi with relay modules or smart bulbs, you can achieve seamless lighting color control. Incorporating remote control options also allows you to turn your lights on or off from anywhere, adding an extra layer of convenience.
With Python scripts or Node-RED, you can easily create specific routines and schedules tailored to your lifestyle. Imagine dimming lights for movie nights or brightening them gradually in the morning—it’s all achievable. Smart bulb integration further allows you to adjust colors based on the ambiance or time of day. Plus, with voice assistant support, you can control everything hands-free. This innovative approach to lighting frees your time while optimizing energy use, making your home both smarter and more inviting. For a more comprehensive smart home experience, consider integrating other devices using platforms like Home Assistant.
Additionally, ensuring stable network connections through tools like Ethernet is crucial for seamless remote control and automation of your lighting system.
Raspberry Pi is a versatile and affordable tool for DIY home automation.
Creating a Smart Climate Control System
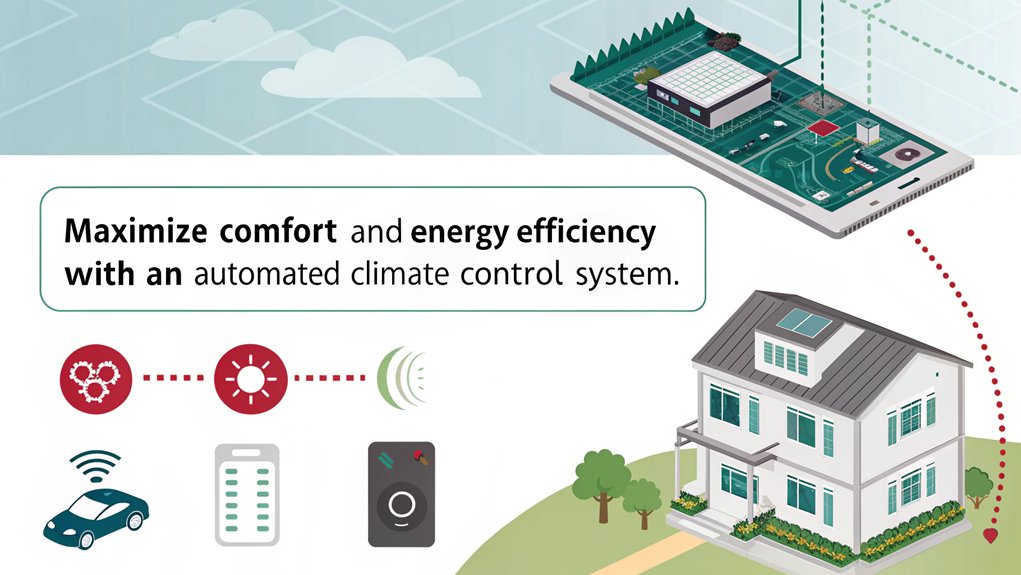
Creating a smart climate control system not only elevates your home’s comfort but also contributes to energy savings. By integrating climate sensors with your Raspberry Pi, you can monitor and manage your home’s environment effectively. Here’s how to get started:
- Select Hardware: Use a BME280 atmospheric sensor for temperature and humidity. The total estimated cost for the setup is around total estimated cost $100, significantly lower than commercial smart purifiers. Additionally, be mindful that frequent thermostat cycling can affect your comfort levels even with a smart system. Ensuring stable power supply, similar to using a reliable power supply for a Raspberry Pi music server, is crucial. This setup also benefits from robust data encryption to protect sensitive information.
- Set Up Smart Sockets: Control your HVAC units or fans through WiFi/ZigBe smart sockets.
- Automate with IFTTT: Create automatic responses to your climate sensor data, enhancing temperature control by leveraging automation tools similar to those used in multiroom sync playback.
- Display Data: Use an OLED screen to visualize real-time temperature and air quality metrics, which can be complemented by historical data analysis for identifying trends in energy consumption.
With these elements in place, you’ll enjoy a responsive system tailored to your comfort and energy efficiency needs.
Setting Up a Security and Surveillance Network

When you’re setting up your security and surveillance network, choosing the right components is key to ensuring effective monitoring. Raspberry Pi has limitations; performance decreases with multiple high-definition cameras, so it’s important to consider this when selecting your camera options. Additionally, utilizing home automation capabilities of Raspberry Pi can enhance your system by allowing remote control and monitoring features. You’ll want to configure motion detection alerts to stay informed about any unusual activity. Let’s explore how to select the best equipment and set up those critical alerts for your Raspberry Pi system.
Choosing Surveillance Components
Setting up a security and surveillance network involves careful selection of components that work seamlessly together to enhance your home’s safety. You’ll want to choose the right hardware to guarantee an effective system. Consider the following components:
- Raspberry Pi as the Central Unit: It serves as a versatile and cost-effective microcomputer.
- Surveillance Cameras: Utilize affordable Raspberry Pi camera modules for video monitoring.
- Motion Detectors: Integrate these to activate your cameras and send alerts when intruders are detected. Enhanced security through surveillance cameras and motion detectors can significantly deter criminal activity. Incorporating smart devices into your security network enables more advanced automation and remote monitoring capabilities.
- Wired Connections: Use Ethernet for stationary devices to enhance reliability and speed.
Configuring Motion Detection Alerts
Configuring motion detection alerts is essential for maximizing your home security system’s effectiveness. Start by setting up your Raspberry Pi with a PIR motion sensor to detect intrusions, ensuring you use the correct pin numbering scheme to avoid confusion. Use the following motion sensor configurations to enhance your setup:
| Component | Connection | Purpose |
|---|---|---|
| PIR Motion Sensor | GPIO 8 | Detects motion |
| Camera Module | CSI Port | Captures video/photo |
| Pushbutton | GPIO 2 | Stops the camera script |
| LED Indicators | GPIO Pins | Visual alerts when motion is detected |
| LTE Modem | Ethernet | Sends remote notifications |
Implement alert notification methods, like SMS or email, within your Python script to stay informed of any activity. This way, you’ll not only improve security but also become tech-savvy. Additionally, it’s important to implement a notification system to ensure timely alerts are sent directly to your mobile device upon motion detection. Ensuring that your camera settings are configured correctly, including adjusting resolution and frame rates, can significantly enhance your surveillance quality. For more precise control and real-time processing, consider using C++ for real-time scheduling, which can optimize the performance of your surveillance system. Make sure to monitor the power limitations of your GPIO pins to prevent damage during the setup process.
Building an Automated Garden Irrigation System
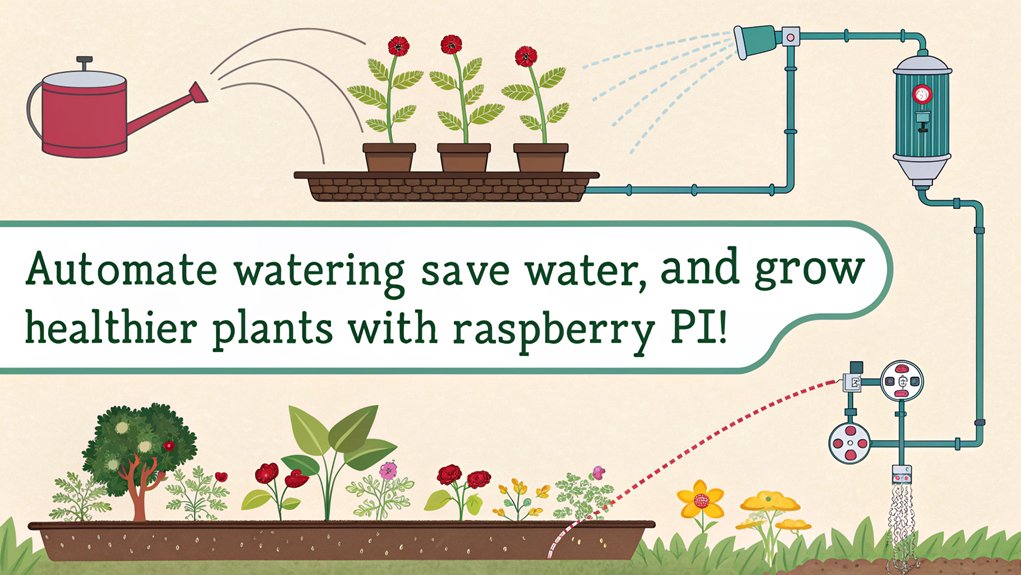
Ready to take your gardening game to the next level? Building an automated garden irrigation system using a Raspberry Pi involves selecting essential components, setting everything up efficiently, and scheduling your watering for ideal plant health. One key advantage of this Raspberry Pi home automation project is the ability to utilize a weather API to ensure efficient watering based on rainfall data. Incorporating a benefits of automated sprinkler system allows for saving time and water while enhancing your garden’s beauty. This system can also integrate with smart home automation solutions to streamline your overall home management.
To ensure reliable remote access to your irrigation system, you can configure the Raspberry Pi with a static IP address, which is crucial for maintaining consistent connectivity. Let’s explore the hardware you’ll need, how to install it, and tips for seamless automation. Additionally, using sensors like PIR motion sensors can help in monitoring and automating other aspects of garden maintenance.
Required Components Overview
Creating an automated garden irrigation system requires a thoughtful selection of components to guarantee seamless operation and effective watering.
Here’s a quick overview of essential Raspberry Pi components for your Raspberry Pi home automation project:
- Raspberry Pi – Acts as the central control unit for automation, ideally using a kit like the CanaKit Raspberry Pi 5 Starter Kit PRO for its high performance.
- Water Pump – Choose between 12v or 120v, depending on your setup.
- Solenoid Valves – Control water flow to various irrigation zones.
- Soil Moisture Sensors – Measure soil moisture to trigger watering automatically.
Additionally, consider incorporating a relay module for pump control to enhance your system’s efficiency and functionality. This system can be automated using the capabilities of MudPi. Ensure you use a reliable power source, such as a solar-powered setup with a charge controller, to maintain continuous operation.
These components will assure your system operates efficiently, adapting to your garden’s needs while fostering an innovative approach to home gardening.
Selecting the right components is crucial for a successful automated irrigation experience.
System Setup Guide
Once you’ve gathered your components, it’s time to set up your automated garden irrigation system.
Start by determining your irrigation method—choose between a water reservoir pump or a solenoid valve hose system. Plan your garden layout for efficient water distribution and consider using drip lines or soaker hoses. Keep in mind that using smart irrigation systems can help optimize water usage. Ensure you have a reliable power supply, similar to what is recommended for a Raspberry Pi music server, to maintain consistent operation.
Next, install the Raspberry Pi as your main controller and connect it to solenoid valves and pumps through relays. Make certain to use outdoor junction boxes to protect electrical components. For enhanced functionality, set up sensors for moisture and temperature, and write Python scripts to control the automated watering schedule, similar to how you might configure network shares in Kodi for easy access.
Finally, guarantee a reliable power source to keep your Raspberry Pi irrigation system running smoothly, enabling innovation in your garden care with remote access options for monitoring and adjustments.
Automation Scheduling Tips
As you develop your automated garden irrigation system, timing is everything when it comes to efficient watering.
Implementing smart watering techniques can save you time and water. Here are some tips for automation scheduling:
- Utilize Weather APIs: Adjust watering schedules based on rainfall predictions or past rain data. This can be integrated with a Raspberry Pi OS to ensure seamless updates. Ensuring your system has a stable power supply, such as an official power supply, is crucial for consistent performance.
- Incorporate Soil Sensors: Calibrate your sensors to guarantee watering occurs only when the soil requires it. MudPi collects data on soil moisture, temperature, humidity, and rainfall, helping you make informed decisions. Additionally, you can integrate a 12V solenoid valve controlled by a Raspberry Pi to automate water flow effectively.
- Customize Watering Intervals: Set specific times or multiple short intervals to optimize water use. Using Python scripts for automation can help in setting these intervals precisely, and regular system updates with ‘sudo apt update’ and ‘sudo apt full-upgrade’ ensure your scripts run smoothly.
- Remote Access Control: Enable web control to adjust schedules or start watering from anywhere. This can be achieved by enabling SSH via ‘raspi-config’ for secure remote access.
Through these strategies, you’ll create a responsive system that efficiently manages garden health while conserving resources. This setup also benefits from using a reliable power supply and ensuring your system is kept updated with ‘sudo apt update’ and ‘sudo apt upgrade’ commands. Regularly checking for bootloader updates using ‘rpi-eeprom-update’ helps maintain system health and security.
Establishing a Raspberry Pi Media Hub

Establishing a Raspberry Pi Media Hub lets you transform your home entertainment experience by harnessing the power of this versatile mini-computer. Start by downloading a media center operating system like LibreELEC or OSMC, then flash it onto your SD card. Once your Raspberry Pi boots up, install Kodi for extensive customization and streaming integration or set up a Plex Media Server for a centralized content library, which supports remote access and media sharing. Additionally, you might consider setting up a Raspberry Pi media server with MiniDLNA to stream photos, videos, and music across your network.
Notably, this mini-computer works well as a low-cost computer for various other Raspberry Pi home automation projects too, enhancing its overall utility. To ensure optimal performance, regular firmware updates are crucial, similar to maintaining a NAS device. Organize your movies, music, and shows within the software and integrate streaming services like Netflix and Spotify using available plugins. Connect your Raspberry Pi to a display via HDMI, and enjoy optimized resolution settings for the best visual experience. This setup elevates your media enjoyment, bringing innovation right into your living room.
Connecting and Integrating Smart Plugs and Relays
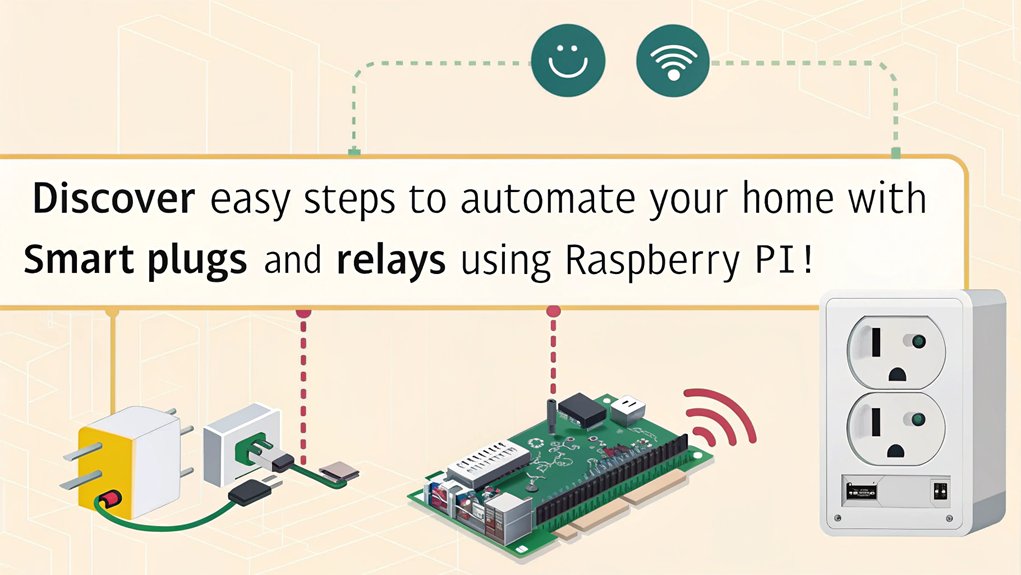
Connecting and integrating smart plugs and relays with your Raspberry Pi opens up a world of convenience and automation for your home, enhancing energy management and potentially reducing utility bills by up to 20%.
To get started, consider these options for enhancing smart plug compatibility and exploring various relay control methods:
- Use USB Relay Modules for hassle-free plug-and-play control.
- Implement GPIO-Controlled Relays for customizable solutions which may require custom circuitry.
- Explore Energenie Smart Sockets, which offer RF control and feedback on device status, similar to how Home Assistant integrates with various smart devices.
- Utilize 8-Channel Relay Boards with your Raspberry Pi Pico W to manage multiple devices seamlessly.
Frequently Asked Questions
What Models Are Best for Raspberry Pi Home Automation Projects?
For home automation projects, Raspberry Pi 4 or 5 shine due to their superior processing power. You’ll enjoy the home automation benefits of running complex scripts and integrating multiple devices seamlessly, unlike lower models in Raspberry Pi comparisons.
How Do I Choose Compatible Sensors for My Raspberry Pi?
When choosing compatible sensors for your Raspberry Pi, consider sensor types like digital, analog, and I2C. Verify voltage levels match the Pi’s specifications for ideal sensor compatibility and reliable performance in your projects.
Can I Control My Automation System Remotely?
Yes, you can control your automation system remotely. By setting up remote access and implementing automation security measures, you guarantee effective management and safety, allowing you to monitor and control your devices from anywhere.
What Programming Languages Are Useful for Raspberry Pi Automation?
Imagine automating your home lights with Python libraries like RPi.GPIO and integrating a web interface using JavaScript frameworks like Node.js. These languages streamline your Raspberry Pi automation, making your projects innovative and efficient.
How Can I Troubleshoot Common Raspberry Pi Home Automation Issues?
To troubleshoot Raspberry Pi home automation issues, check your power supply for stability and guarantee your network connectivity is strong. Look for loose connections, overheating, and verify the configuration settings for smooth operation.
Conclusion
Now that you’ve dipped your toes into the world of Raspberry Pi home automation projects, you’re ready to watch your living space transform into a smart haven. Imagine flipping a switch and illuminating your home with ease or controlling the temperature like a maestro conducts a symphony. Each project you tackle is a stepping stone towards greater efficiency and convenience. So roll up your sleeves and let your creativity flow—your future home will thank you!

I am a retired software engineer with experience in a multitude of areas including managing AWS and VMWare development environments. I bought a relative a mini-PC a year ago and have become passionate about the technology and its potential to change how we deploy software.