
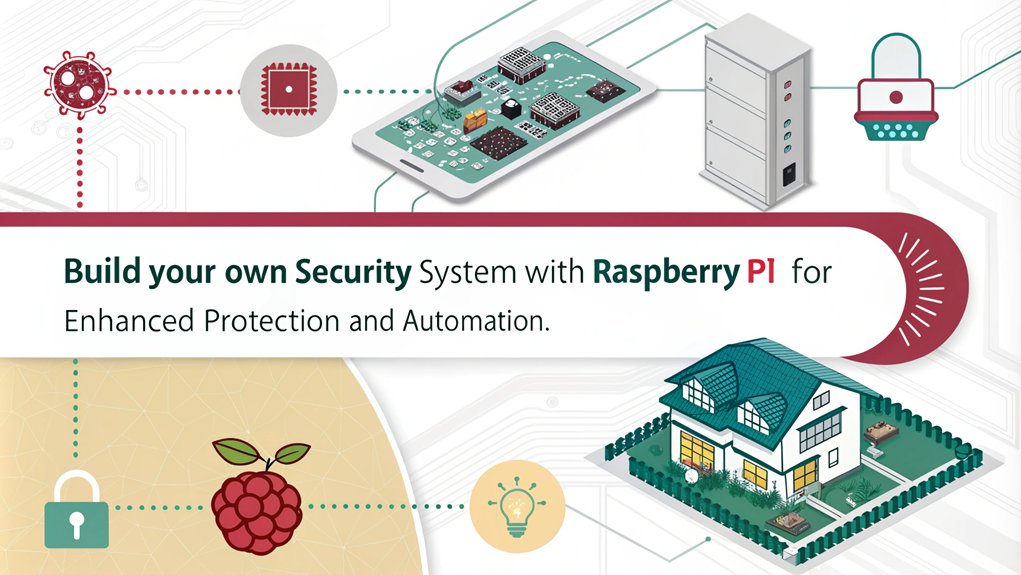
How Can you build a Raspberry Pi Home Security System?
You can easily build your own Raspberry Pi home security system with just a few components. Start with a Raspberry Pi 4 Model B or Zero W, an 8GB microSD card, and essential sensors like PIR motion and door contact sensors. After setting up the Raspberry Pi OS, install necessary libraries for camera integration and GPIO control. Connect sensors for real-time monitoring and automate alerts using Python scripts. Don’t forget to secure remote access and implement proper encryption. This project not only protects your home but also offers an engaging tech experience. Stay tuned for detailed steps to make it a reality!
Key Takeaways
- Choose appropriate Raspberry Pi models and ensure you have a minimum 8GB class 10 microSD card for storage and OS setup.
- Integrate various sensors like PIR, door sensors, and temperature/humidity sensors to effectively monitor motion and entry points.
- Write Python scripts to configure your alarm system, set up modes, and manage notifications for real-time alerts.
- Implement remote access through VPN and SSH for secure monitoring and control from anywhere using mobile apps.
- Ensure security by encrypting sensitive data, maintaining access logs, and testing the system regularly for reliability and performance.
Essential Hardware Components
When building a Raspberry Pi home security system, you’ll often find that selecting the right hardware components is crucial for optimal performance. Start with the Raspberry Pi board, like the Raspberry Pi 4 Model B or Raspberry Pi Zero W, keeping in mind the power requirements—5V 2A is ideal for the Zero. You’ll also need a microSD card for storage and a sturdy case for housing your Pi securely. For sensor selection, consider using PIR motion sensors, door sensors, and even temperature and humidity sensors to monitor various aspects of your environment. Additionally, integrating physical sensors allows for effective alarm management and responsiveness to security breaches. Camera options include a dedicated camera module or a USB webcam for effective video surveillance. Don’t overlook the user interface; a touchscreen display can enhance interaction, while LED indicators or a speaker can serve as alert systems for notifications. For connectivity options, leverage GPIO pins for sensor integration and explore MQTT or HTTP requests for data transmission. Finally, think about integration methods like HomeAssistant to create a seamless smart home experience. Implementing these projects can enhance your home security while providing valuable technical insights.
Setting Up Raspberry Pi OS
To get your Raspberry Pi up and running, you’ll first need to prepare your MicroSD card. Start by formatting it and then writing the Raspbian OS image to the card using tools like Win32 Disk Imager or the official Raspberry Pi Imager. It’s crucial to follow the installation steps correctly to ensure a successful setup. Once that’s done, you can move on to the initial configuration, ensuring your setup is ready for your home security system. This setup will ultimately allow you to utilize Raspberry Pi’s processing power for a cost-effective security solution.
Preparing the MicroSD Card
Preparing your microSD card is a crucial step in setting up your Raspberry Pi OS. Start by ensuring you have a compatible microSD card, ideally a minimum 8GB class 10 card. You’ll need to format the card properly for smooth OS installation. Writing Raspberry Pi OS to SD Card is essential to ensure the Raspberry Pi functions correctly. Additionally, using the NOOBS software simplifies the installation process by providing a user-friendly interface.
- Download the Raspberry Pi Imager from the official website—it’s available for Windows, Mac OS, and Linux.
- Install the Imager following the on-screen prompts. Alternatively, you can use Win32 Disk Imager or the official SD Card Formatter.
- Insert your microSD card into a card reader, then check its drive name on your computer.
Here’s a quick visual guide:
| Step | Action | Tool Needed |
|---|---|---|
| Insert microSD card | Connect it to your computer | Card reader |
| Format the microSD card | Use SD Card Formatter for microSD formatting | SD Card Formatter |
| Write OS onto the card | Select Raspberry Pi OS in the Imager and write it | Raspberry Pi Imager |
After formatting and writing the OS, eject the microSD card, and it’s ready for your Raspberry Pi!
Initial Raspberry Pi Configuration
Once you’ve successfully written the Raspberry Pi OS to your microSD card, it’s time to configure your Raspberry Pi for the first time.
Start by inserting the microSD card into the Raspberry Pi, then connect it to a monitor, keyboard, and mouse. If you’re opting for a wired connection, plug in an Ethernet cable. Power up your device to initiate the boot process.
If you didn’t set configurations through the Raspberry Pi Imager, a setup wizard will guide you. Here, you’ll establish a username, password, and network settings. For enhanced user experience, consider customizing the user interface design to suit your preferences.
On the first boot, a configuration screen might appear automatically. If not, simply enter ‘sudo raspi-config’ in the terminal.
Configure essential settings like time zone and locale. You can skip the GUI to save resources if it’s not necessary for your project. Additionally, ensure you have a minimum microSD card size of 8GB for optimal performance and storage capacity. Remember that the Raspberry Pi operates on Linux, which may require some learning if you’re new to command line interfaces.
Don’t forget to enable SSH for remote access, allowing you to manage your Raspberry Pi efficiently without being physically present.
With these steps, your Raspberry Pi is ready to become a pivotal part of your home security system.
Installing Necessary Libraries
Installing the necessary libraries is crucial for setting up your Raspberry Pi home security system effectively. With the right libraries, you can enhance camera integration, enable motion detection, and establish robust security protocols. Start by installing essential library dependencies using the command line. This ensures you have the tools for video streaming and GPIO control. Additionally, utilizing a home security system with face recognition can significantly improve your system’s effectiveness by identifying authorized personnel. Given the global trend of increasing IoT devices, it’s essential to ensure your security system can handle various connectivity options.
Here’s a quick reference table for the key libraries you’ll need:
| Library | Purpose | Installation Command |
|---|---|---|
| ‘motion’ | Motion detection and camera integration | ‘sudo apt install motion’ |
| ‘opencv-python’ | Video processing and face recognition | ‘pip3 install opencv-python’ |
| ‘RPi.GPIO’ | GPIO control for hardware integration | ‘sudo apt install python3-rpi.gpio’ |
| ‘MFRC522’ | RFID applications | ‘pip3 install mfrc522’ |
Once you’ve installed these libraries, configure network settings for effective monitoring. Ensure your system is secure by applying the right security protocols, including firewall configurations. With these libraries in place, you’re well on your way to creating a powerful home security system!
Integrating Motion and Door Sensors
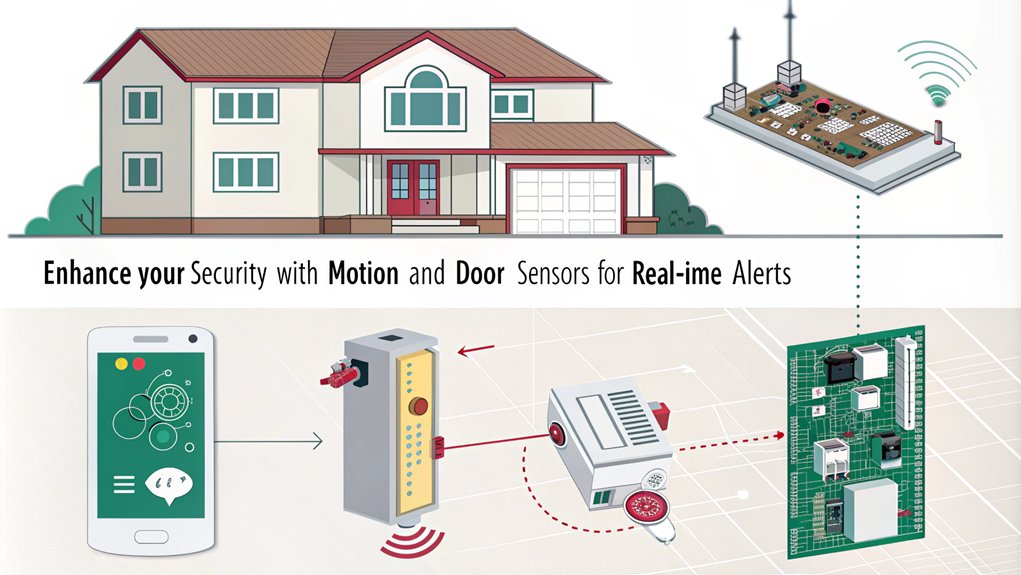
To create a robust security system, you’ll want to integrate both motion and door sensors with your Raspberry Pi. Understanding the different sensor types and their wiring configurations is crucial for effective setup and operation. The PIR (Passive InfraRed) Sensor is widely used for detecting movement and can be easily incorporated into your security system. Additionally, implementing GPIO pins for sensor control allows for seamless integration and monitoring. Let’s explore how to connect these sensors and configure them to enhance your home security.
Sensor Types Overview
When setting up a Raspberry Pi home security system, understanding the different sensor types is crucial for effective monitoring. You’ll primarily work with motion sensors and door sensors, each playing a vital role in enhancing your home’s security. Raspberry Pi-based security camera systems allow users to receive alerts and monitor their property from anywhere globally. Additionally, the integration of GPIO pins enables real-time communication between the sensors and the Raspberry Pi, facilitating prompt alerts and actions.
Here’s a quick overview of these sensor types:
| Sensor Type | Key Features |
|---|---|
| Motion Sensors | Passive Infrared (PIR) sensors detect infrared radiation from warm objects. Example: HC-SR501. |
| Door Sensors | Magnetic or contact sensors that detect when doors/windows open or close. |
| Installation Tips | Position sensors strategically to minimize false triggers from environmental factors. |
| Sensor Accuracy | Ensure sensors are within effective range to maintain high accuracy in motion detection. |
| Sensor Integration| Connect sensors to Raspberry Pi GPIO pins for real-time alerts and actions.
Wiring and Configuration
Integrating motion and door sensors into your Raspberry Pi home security system requires careful wiring and configuration to ensure optimal performance.
Start by connecting your PIR sensor to the Raspberry Pi’s GPIO pins, typically using GPIO17. Make sure the sensor operates at 3.3V; if it’s 5V, use a TTL logic converter. Follow the circuit diagram provided in your project resources for accurate sensor wiring.
Next, configure the GPIO pins using Python’s GPIO library. Use the ‘GPIO.setup’ method to define the pin number and set it as an input with a pull-down resistor (‘GPIO.PUD_DOWN’). Additionally, consider using a cost-effective component approach to help keep your project within budget.
For door sensors, whether wired or wireless, connect them directly to GPIO pins, ensuring proper voltage compatibility. Terminal blocks or strip-boards can simplify your wiring process.
Once your wiring is complete, write Python code to detect motion from the PIR sensor and trigger alerts. Implement a function for handling motion events and integrate it with other components like cameras and sirens for a comprehensive response. Additionally, ensure that your system includes wired sensors for higher reliability in monitoring your home.
With precise GPIO configuration and reliable sensor wiring, your home security system will be ready to keep your space safe.
Configuring Alarm and Notification Systems
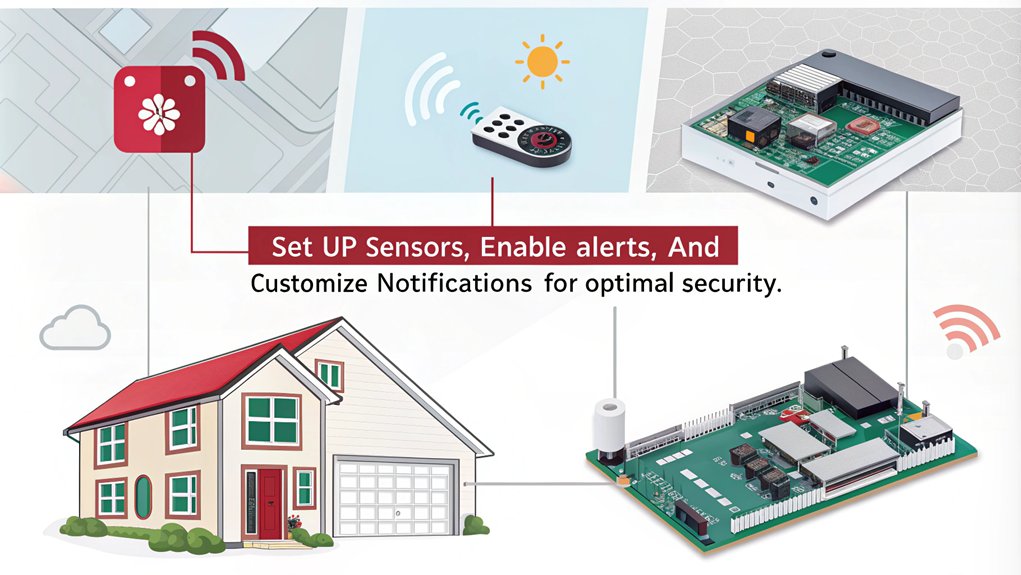
Configuring your alarm and notification system with a Raspberry Pi can significantly enhance your home security. Start by integrating hardware like PIR motion sensors, LEDs, and cameras using the GPIO pins. Make sure you optimize your sensors for effective detection and ensure voltage compatibility, utilizing TTL logic converters where necessary. Additionally, ensure all component connections are secure for proper functionality.
Next, dive into the software aspect. Write Python scripts that manage your alarm system, handle sensor inputs, and configure various alarm modes, such as home and away. It’s essential to set up user authentication with personal PIN codes for added security. Additionally, consider implementing a simple solution for enhanced home security to streamline your setup.
You can create zone timers to customize your response to different triggers, allowing for alarm escalation in case of emergencies.
When it comes to notification preferences, integrate services like Pushover for real-time alerts and use libraries like ‘smtplib’ to send email notifications whenever your alarm is triggered. You can even configure the system to send images alongside alerts, enhancing your ability to monitor potential intrusions.
With these configurations, your Raspberry Pi home security system can become a robust and responsive solution for safeguarding your property.
Establishing Remote Access
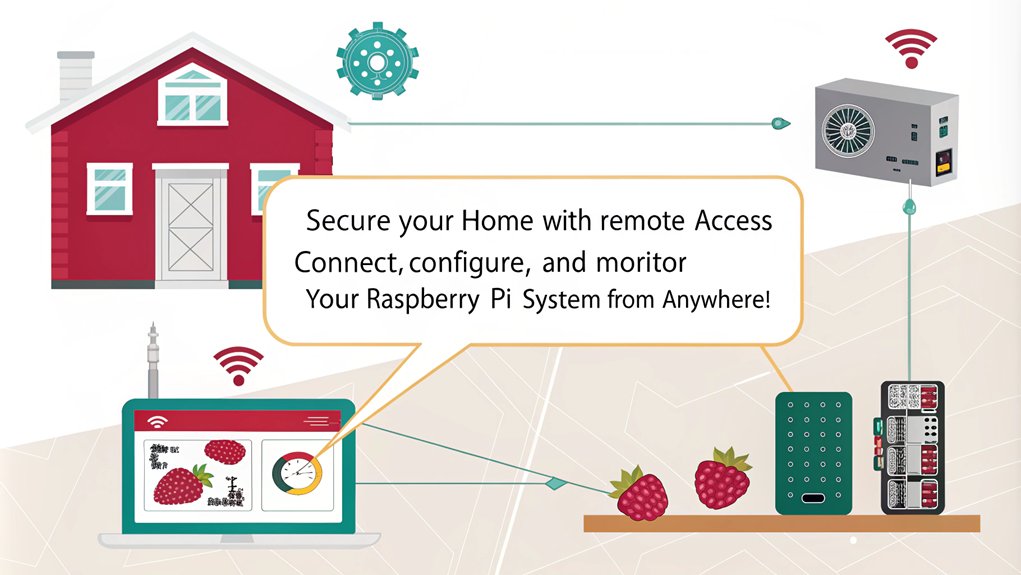
To ensure you can monitor your Raspberry Pi security system from anywhere, setting up remote access is essential.
You’ll want to focus on configuring a VPN for secure connections, integrating smart devices for seamless control, and enabling mobile monitoring access for instant alerts. Additionally, consider using SSH (Secure Shell) for secure terminal access to your Raspberry Pi, which enhances your control and monitoring capabilities. Moreover, knowing your Raspberry Pi’s IP address is crucial for establishing remote connections effectively.
With these steps in place, you’ll have peace of mind knowing you can keep an eye on your home no matter where you are.
VPN Setup Process
Setting up a VPN on your Raspberry Pi not only enhances your home network’s security but also allows you to access it remotely with ease.
Start by assigning a fixed IP address to your Raspberry Pi through your router’s admin area. Ensure it’s running the latest version of Raspbian OS, change the default ‘pi’ password, and update the system for optimal security measures.
Next, install OpenVPN using the PiVPN install script. Generate the necessary encryption keys with the easy-RSA script, and configure your VPN server to use UDP protocol on port 1194.
For each client device, generate unique certificates and keys, then transfer the configuration files securely. To ensure all IP traffic routes through your VPN, set the command ‘redirect-gateway def1 bypass-dhcp’.
Don’t forget to forward port 1194 on your router for external access. After configuring your firewall settings, test each client connection to verify traffic routing.
Finally, implement performance monitoring to keep an eye on your VPN’s security and efficiency. With these steps, you’ll create a robust and remote-accessible Raspberry Pi home security system.
Smart Device Integration
Integrating your Raspberry Pi home security system with smart home platforms like Home Assistant or openHAB opens up a world of remote access and control. This integration enhances your smart home automation experience, allowing seamless device interoperability among various smart devices like lights, thermostats, and cameras.
| Feature | Description |
|---|---|
| Automated Responses | Set up actions like turning on lights when motion is detected. |
| Customizable Settings | Adjust rules and settings to fit your security needs. |
| Remote Control | Access your security system via the app or web interface. |
With the right setup, you can receive alerts and notifications instantly, even when you’re miles away. Ensure your Raspberry Pi has a stable internet connection for continuous monitoring and data transmission. You can even implement facial recognition for enhanced security or adjust sensor sensitivity to minimize false alarms.
Mobile Monitoring Access
Accessing your Raspberry Pi home security system from your mobile device adds a layer of convenience that enhances your peace of mind.
With MotionEyeOS, you can easily download compatible mobile apps from the App Store or Google Play Store, allowing you to manage your security system on the go. These mobile app features include live video streaming, motion detection alerts, and camera settings adjustments right from your smartphone.
For remote access security, you might consider using Nabto Edge software for peer-to-peer connectivity. This setup allows direct video streaming, minimizing latency and enhancing security by avoiding cloud processing.
You’ll enjoy real-time monitoring without the risk of data interception, as your data stays secure between your devices.
In addition to video access, set up email notifications or integrate Telegram for instant alerts when motion is detected.
Customize these notifications based on specific zones to ensure you’re informed about potential intruders.
With these innovative solutions, you’ll stay connected and empowered, knowing your home security is always under your control.
Automating Home Security Features
In today’s world, automating your home security features has never been easier with Raspberry Pi. You can create an intelligent surveillance system that utilizes advanced detection techniques to keep your home safe. By integrating Pi cameras with motion detection capabilities, you can analyze real-time video and be alerted to suspicious activity instantly.
To enhance your system, connect PIR motion sensors and magnetic door sensors to the Raspberry Pi’s GPIO pins. With user customization options, you can adjust sensitivity settings and alarm durations to suit your needs. Implement Python scripts to monitor these sensors, triggering alerts via email or SMS when an intrusion is detected.
You can also build smart locks using a servo motor and RFID readers, allowing you to control access effortlessly. By logging access attempts and sending notifications, you’ll stay informed about who enters your home.
Moreover, consider integrating your security system with smart home platforms like OpenHAB for centralized control over all your devices. This modular approach ensures you can monitor everything from one dashboard, enhancing both convenience and security.
Embrace the future of home security with Raspberry Pi, and take control of your safety today!
Implementing Security and Encryption
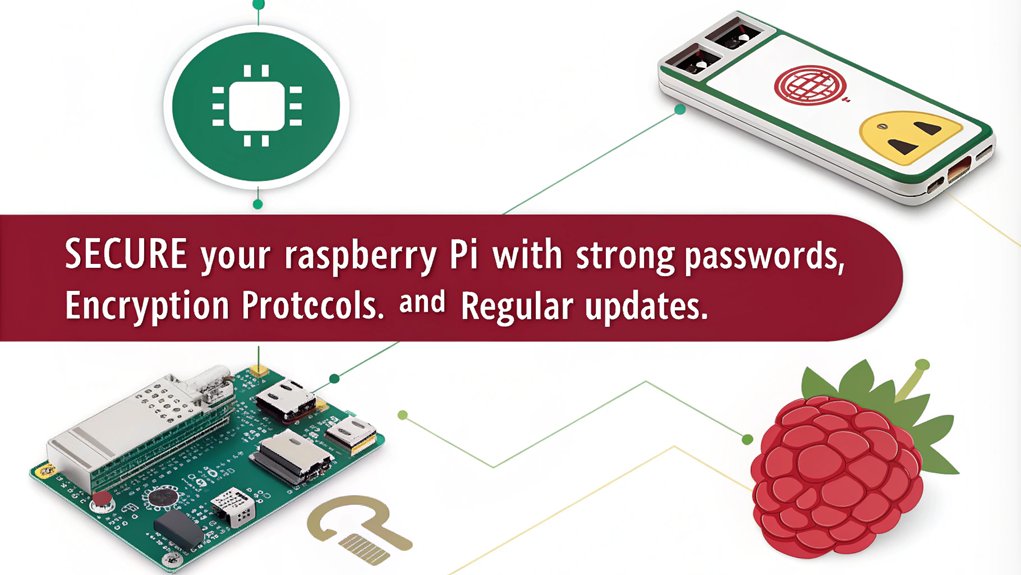
When it comes to securing your Raspberry Pi home security system, implementing robust encryption is crucial. Start by configuring your web servers to use HTTPS with SSL/TLS for secure data transmission. This ensures all web communications are encrypted, preventing eavesdropping and tampering. Use trusted SSL/TLS certificates or consider self-signed options if you’re more hands-on.
For secure communication between devices, opt for Transport Layer Security (TLS). Generate public and private keys for each device, signed by a certificate authority, and leverage existing libraries for implementation. This avoids the pitfalls of custom encryption code and guarantees data integrity and confidentiality during transmission.
Don’t forget to secure your stored data. Encrypt sensitive files on your SD card, and consider full disk encryption for added protection. Utilize secure boot and store encryption keys safely, perhaps with a Trusted Platform Module (TPM) for enhanced security.
Finally, always focus on secure key management. Password-protect private keys and ensure all your communication protocols, like MQTT or HTTPS, are authenticated and encrypted. Additionally, employing robust password policies can further safeguard your system against unauthorized access.
Monitoring and Logging Access Attempts
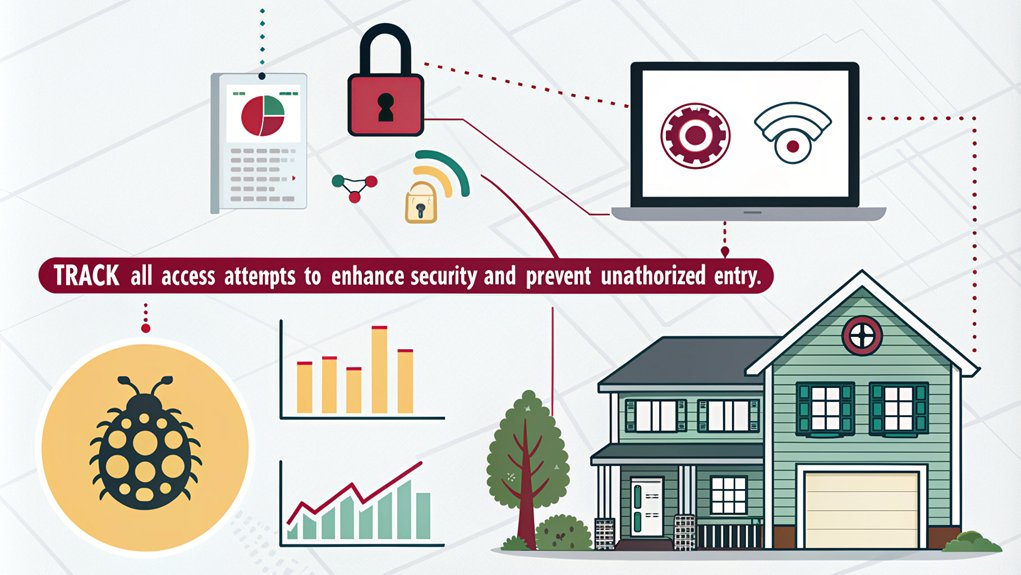
Monitoring and logging access attempts is essential for maintaining the security of your Raspberry Pi home security system. By keeping track of who accesses your system, you can enhance your security protocols and ensure data encryption is effectively protecting your information.
Here’s how to set up monitoring and logging efficiently:
- Configure Access Logs: Implement a logging system that records access attempts, timestamps, and any detected motion images or videos.
- Set Notification Settings: Use libraries like ‘smtplib’ to send real-time alerts via email when motion is detected, including images for immediate context.
- Secure Your Camera Feed: Access your camera feed through a web browser, ensuring you set a strong username and password to prevent unauthorized access.
- Utilize Cloud Storage: Store your captured footage and logs securely in the cloud for easy access while protecting them from unauthorized individuals.
Testing and Troubleshooting Your System
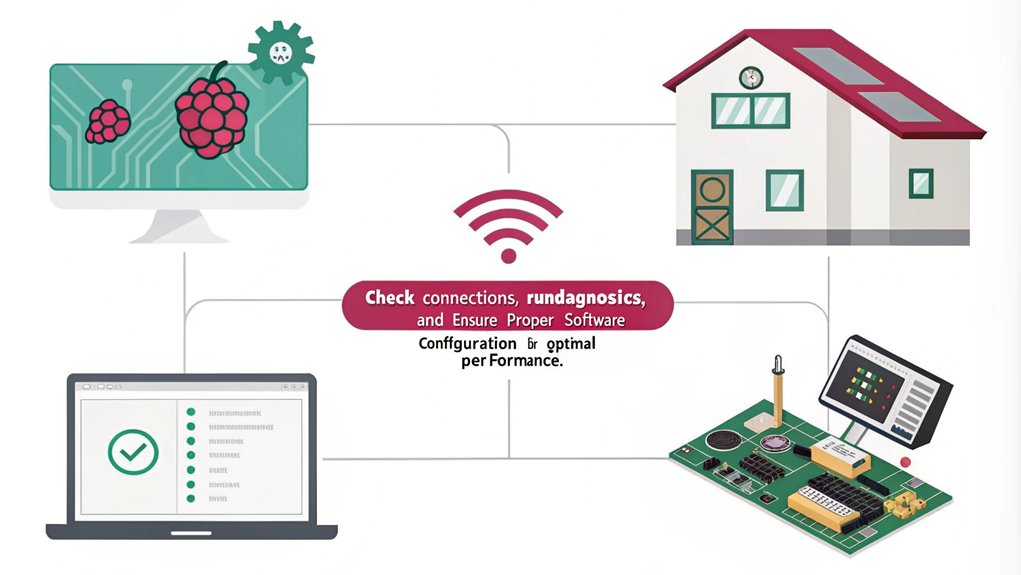
Testing and troubleshooting your Raspberry Pi home security system is crucial to ensure it operates smoothly and effectively. Start by focusing on sensor calibration and identifying any hardware or software issues. Here’s a quick reference table to help you:
| Troubleshooting Area | Common Issues | Solutions |
|---|---|---|
| PIR Sensor Issues | Loose connections | Check GPIO pins for secure wiring |
| False detections | Adjust PIR sensor sensitivity | |
| Code Errors | Syntax issues | Review Python script for errors |
| Missing libraries | Ensure all necessary libraries are installed | |
| Telegram Integration | API or bot misconfiguration | Verify settings and test message sending |
| System Performance | Crashes and freezes | Monitor resources and check power supply |
Utilize these troubleshooting techniques to isolate and resolve issues. Don’t forget to use debugging tools like print statements to track down code errors. By diligently testing each component of your system, you’ll ensure a reliable and efficient home security solution that meets your innovative needs.
Frequently Asked Questions
Can I Use Any Webcam With the Raspberry Pi?
You can’t use just any webcam with the Raspberry Pi due to compatibility issues. Check video resolution and ensure it’s supported by Video4Linux to avoid performance problems and maximize your setup’s potential.
How Do I Power the Raspberry Pi Securely?
You’d think powering a Raspberry Pi is simple, right? Yet, choosing the right power supplies and options—like USB or PoE—ensures stability. Always opt for quality to avoid unexpected shutdowns and potential damage.
What Is the Best Way to Store Captured Video?
To store captured video, consider various video storage options like NAS for local efficiency or cloud storage solutions for remote access. Each method enhances your security setup, ensuring reliable footage management and accessibility.
Can I Integrate a Raspberry Pi System With Voice Assistants Like Alexa?
Did you know that 70% of smart home users leverage voice commands? You can seamlessly integrate your system with Alexa for smart home integration, enhancing convenience and control over your environment, all through simple voice commands.
How Do I Ensure My Network Is Secure From Intruders?
To ensure your network’s secure from intruders, implement strong network encryption like WPA2, regularly update your router’s firmware, and configure your firewall properly to block unauthorized access. Stay proactive for optimal protection.
Conclusion
You’ve built a robust home security system with your Raspberry Pi, yet there’s a twist: the real security might lie in knowing how to use it—or not! As you navigate your new setup, remember that the most advanced technology is only as reliable as the person behind it. So, while you’ve equipped your home against intruders, don’t forget to secure your own understanding and vigilance. After all, the greatest threat could be forgetting to check your notifications!

I am a retired software engineer with experience in a multitude of areas including managing AWS and VMWare development environments. I bought a relative a mini-PC a year ago and have become passionate about the technology and its potential to change how we deploy software.