Transform Your Home Network Security with a Raspberry Pi IDS
Ever wondered what devices are lurking on your network without your knowledge? A Raspberry Pi IDS (Intrusion Detection System) powered by Pi.Alert offers the perfect solution for the security-conscious homeowner. This powerful combination transforms an affordable single-board computer into a vigilant network sentinel, constantly monitoring for unauthorized access and suspicious activities. Like having a digital security guard that never sleeps, your Raspberry Pi IDS becomes your first line of defense against potential threats. Setting up this system requires minimal technical expertise but delivers professional-grade network visibility and protection. In this guide, we’ll walk through the complete process—from hardware selection to customizing alerts—ensuring your network remains secure and under your control at all times.
Key Takeaways
- Set up your Raspberry Pi 5 with Raspberry Pi OS Lite and assign a static IP for stable network performance.
- Use the automated install script to install Pi.Alert and its dependencies for immediate functionality.
- Configure the ‘app.conf’ file to set your network interface and subnet for effective traffic monitoring.
- Customize alerts within Pi.Alert to streamline notifications and focus on critical device statuses.
- Explore the user interface to manage connected devices and visualize your network topology effectively.
Setting Up Your Raspberry Pi IDS Environment
To effectively set up your Raspberry Pi IDS environment, you’ll first need to ascertain you have the right hardware components ready.
Opt for a Raspberry Pi 5 with 8GB RAM for peak performance, paired with a microSD card of at least 8GB. You’ll also require an Ethernet cable for stable network connectivity and a micro-USB power supply to drive your device. Additionally, keep in mind that Suricata’s requirement for significant CPU and memory will enhance your network analysis capabilities. Installing Pi.Alert for security monitoring will further strengthen your network defenses. Ensure you utilize the dual-band 802.11ac Wi-Fi for robust wireless connectivity if wired connections are not feasible.
Next, choose an efficient Operating System, such as the latest Raspberry Pi OS Lite. Following installation, focus on Network Configuration by assigning a static IP to guarantee reliability. This ensures consistent performance even with high-speed peripherals.
Don’t overlook crucial Security Measures like setting up firewalls and managing port forwarding to protect your system.
With these foundations, you’re ready to proceed with further configurations and installations on your Raspberry Pi IDS system.
Installing Pi.Alert on Raspberry Pi

Installing Pi.Alert on your Raspberry Pi provides a robust solution for monitoring network devices and enhancing security, which is particularly important given the risks of unpatched software. Start by confirming your Raspberry Pi is properly set up with the appropriate Debian OS and kernel version. You’ll use the one-step automated install script: ‘curl -sSL https://github.com/pucherot/Pi.Alert/raw/main/install/pialert_install.sh | bash’. This step simplifies installing dependencies. Follow the on-screen prompts to complete the installation; pay attention to any installation troubleshooting that arises. If you prefer manual installation, download and uncompress the tar file, then clean up unused files afterward. The recent updates included enhancing the installation process, ensuring a smoother experience. Additionally, the repository includes a detailed installation guide helping users navigate through the setup. It is also beneficial to use tools like GDB for debugging any issues that may arise during the installation process. Finally, verify the configuration of your web server to confirm Pi.Alert’s front portal is functioning correctly. Your network protection journey with your Raspberry Pi IDS is underway.
Configuring Network Scanning Methods

After setting up Pi.Alert on your Raspberry Pi, the next step involves configuring network scanning methods to guarantee effective monitoring of your network traffic with your Raspberry Pi IDS. Proper network adapter configuration is essential; you may need to adjust settings to listen on the correct subnet and interface. Here’s how to get started:
- Modify the ‘app.conf’ file to set appropriate subnets and interfaces.
- If necessary, create a dummy interface to capture packets for routers lacking a mirror port.
- Utilize tools like Scapy for traffic generation to test your IDS setup. Implementing an IDS functions like a smoke detector to identify potential risks early on is crucial for maintaining network security. Regular updates ensure system security and functionality improvements that further enhance detection capabilities.
Ensuring your adapter can handle packet flow efficiently will enhance detection capabilities and maintain reliable data processing for your IDS deployment.
Managing Alerts and Notifications

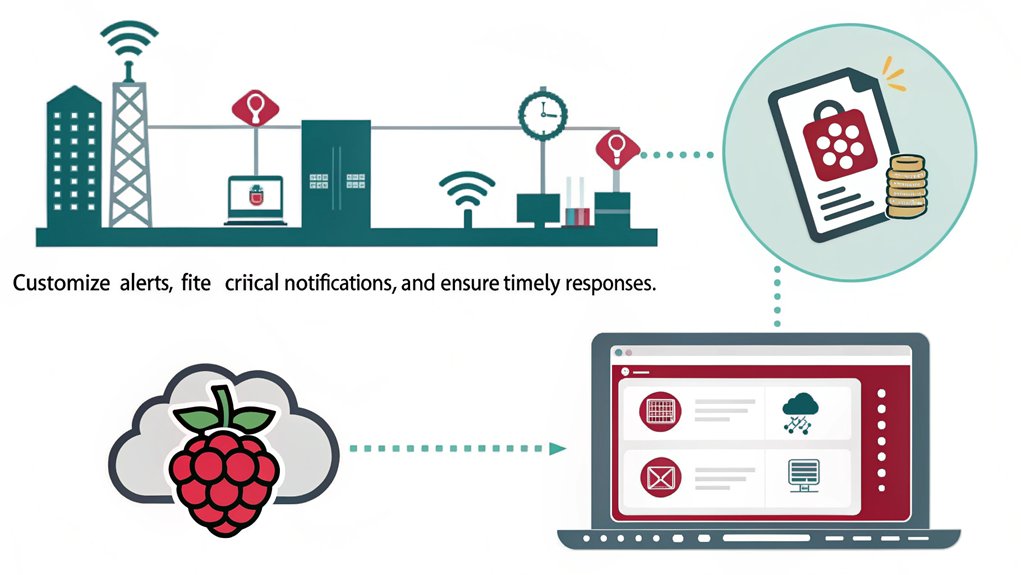
Effective management of alerts and notifications plays an essential role in the functionality of your Raspberry Pi IDS setup. You need robust alert customization and notification management strategies to maintain an efficient network environment. One important aspect to consider is device status to ensure that you are promptly notified about online and offline device activities. Utilizing Pi Alert’s features can significantly enhance your ability to monitor and respond to network events.
Here’s a brief overview of the key configuration options:
| Setting | Description |
|---|---|
| Alert All Events | Notifications for all connection-related activities. |
| Device-Specific Alerts | Tailor alerts for critical devices, optimizing alert relevance. |
| Notification Filtering | Reduce alert noise by setting criteria for essential alerts. |
Exploring the User Interface and Features

The user interface of your Raspberry Pi IDS is essential for effectively managing network monitoring tasks. This interface showcases a streamlined user interface design, vital for an extensive feature overview. Additionally, it is designed to improve network security through continuous device monitoring. To further enhance this capability, the system includes a comprehensive repository structure that ensures efficient navigation and file management.
Here are three notable features you’ll appreciate:
- Device Inventory: Effortlessly manage connected devices with detailed characteristics and status.
- Network Topology: Visualize your network structure, including all connected and undetectable devices, ensuring no surprises.
- Custom Automation: Integrate webhooks and CSV exports to tailor functionalities, enhancing your monitoring prowess.
Frequently Asked Questions
Can Pi.Alert Run on Other Devices Besides Raspberry Pi?
Yes, Pi.alert can run on alternative devices that meet certain system requirements. As long as you use Debian-based distributions and the apt package manager, it adapts to various environments effectively and maintains its core functionality.
How Do I Update Pi.Alert After Installation?
Imagine automating your network security: to streamline the update process for Pi.Alert, run ‘docker compose pull’ and ‘docker compose up -d’ post-installation steps, ensuring you leverage the latest features and improvements efficiently.
Is Pi.Alert Compatible With All Routers?
Pi.alert’s router compatibility varies by model. For ideal network security, ascertain your router supports the needed features. It’s beneficial to research specific router configurations to maximize Pi.alert’s capabilities and effectiveness in monitoring your network.
What Should I Do if Email Notifications Fail?
If email notifications fail, conduct email troubleshooting by verifying SMTP settings and checking permissions. Consider alternative notification methods, like push notifications or SMS alerts, to guarantee timely delivery and robust communication within your system.
Can I Customize Alerts for Specific Devices?
Yes, you can customize alerts for specific devices by configuring custom alert settings. This enables tailored device specific notifications, ensuring you receive relevant updates based on particular activities or status changes within your network.
Conclusion
To sum up, while you may think you’ve bolstered your network security with Pi.Alert, remember that every device you connect enhances potential vulnerability. Ironically, you might find that the very tool intended to safeguard your Raspberry Pi could also spotlight weaknesses you weren’t aware of. As you continue to explore the user interface and features, stay vigilant; security isn’t a one-time setup but a perpetual state of awareness, constantly adapting to an ever-changing landscape of threats.

I am a retired software engineer with experience in a multitude of areas including managing AWS and VMWare development environments. I bought a relative a mini-PC a year ago and have become passionate about the technology and its potential to change how we deploy software.

