
Creating a Raspberry Pi media center is a fantastic project for beginners. Start with a Raspberry Pi 4 or 5, using a Class 10 MicroSD card and a stable power supply. Install Kodi or one of its optimized flavors like OSMC for an intuitive setup. After that, connect your Pi via HDMI and guarantee you have a good internet connection. Customize your media library with add-ons to expand your streaming options. For an enhanced experience, consider remote control setups and ad-blocking with Pi-hole. Discover even more tips to make more raspberry pi media center projects as you explore further.
Key Takeaways
- Kodi on Raspberry Pi: Install Kodi using OSMC or LibreELEC for a versatile media center experience with extensive customization options.
- Plex Media Server: Set up Plex on Raspberry Pi to stream your media library across devices with user-friendly management and access.
- RetroPie: Combine media and gaming by installing RetroPie, allowing you to play classic games alongside your media center functionalities.
- Pi-hole Integration: Enhance your media center by using Pi-hole for ad-blocking, ensuring uninterrupted streaming and browsing experiences.
- Home Assistant: Use Raspberry Pi as a media center with Home Assistant for smart home integration, controlling devices while accessing media content.
Choosing Your Raspberry Pi Model
When selecting a Raspberry Pi model for your media center project, you’ll want to take into account a few key factors to guarantee peak performance.
Start with the Raspberry Pi comparisons between the 4 and 5 models. The Pi 4 features a quad-core CPU clocked at 1.5 GHz, while the Pi 5 steps up to 2.4 GHz. This increase in speed translates to enhanced processing power, making the Pi 5 up to three times more powerful than the Pi 3. Additionally, the Raspberry Pi 5 is equipped with an enhanced VideoCore VII GPU for advanced graphics performance. When using the Raspberry Pi B+, you should also ensure you have a 5V power supply to support all connected devices effectively.
Next, consider memory and storage options. The Pi 4 offers a range of RAM from 1GB to 8GB, while the Pi 5 is available in 4GB and 8GB configurations. More RAM is essential for multitasking and running resource-intensive media applications smoothly.
Connectivity is another important factor. Both models come with USB 3.0 ports and Gigabit Ethernet, ensuring fast networking and peripheral support.
Finally, think about your budget; while the Pi 5 provides superior performance, the Pi 4 remains a cost-effective choice for budget-conscious projects.
Essential Hardware Components for your Raspberry Pi Media Center Projects
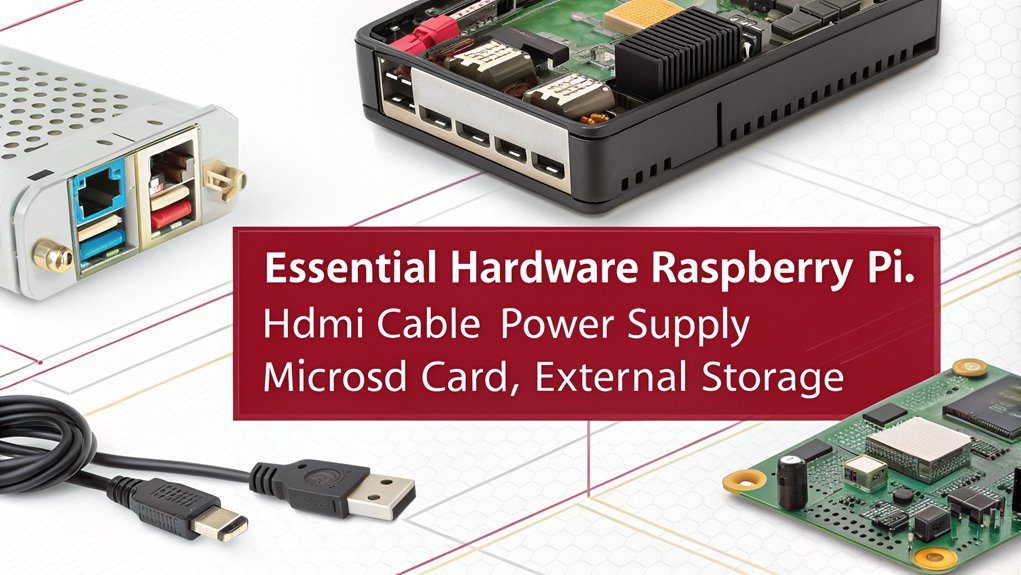
After choosing the right Raspberry Pi model for your media center, it’s time to gather the necessary hardware components that will guarantee an ideal setup.
Start with a Raspberry Pi 4 Model B, ideally with 4GB or 8GB of RAM. Pair it with a Class 10 MicroSD card of 32GB or larger for your operating system, though it’s best to take into account external media storage options for larger libraries.
For power, a 5V/3A power supply is recommended, and don’t forget an Ethernet cable to guarantee a stable network connection. A case is optional but highly recommended for ventilation. Additionally, consider the importance of power management techniques to ensure your Raspberry Pi operates efficiently with extra drives. Mini PCs can also provide cost-effective alternatives for home entertainment systems, enhancing your media consumption experience.
When it comes to media storage, an external hard drive or SSD, like the Kingston A400, is important for fast data transfer. HiFi DAC options can also enhance your audio experience when connected to your setup.
Combining HDD and SSD using LVMcache can optimize your storage management.
For audio and video, include an HDMI cable for video output, and think about a DAC for high-quality audio.
You’ll also need USB peripherals like a keyboard and mouse for setup, and possibly an IR reader for remote control.
These Raspberry Pi accessories will set the foundation for your innovative media center.
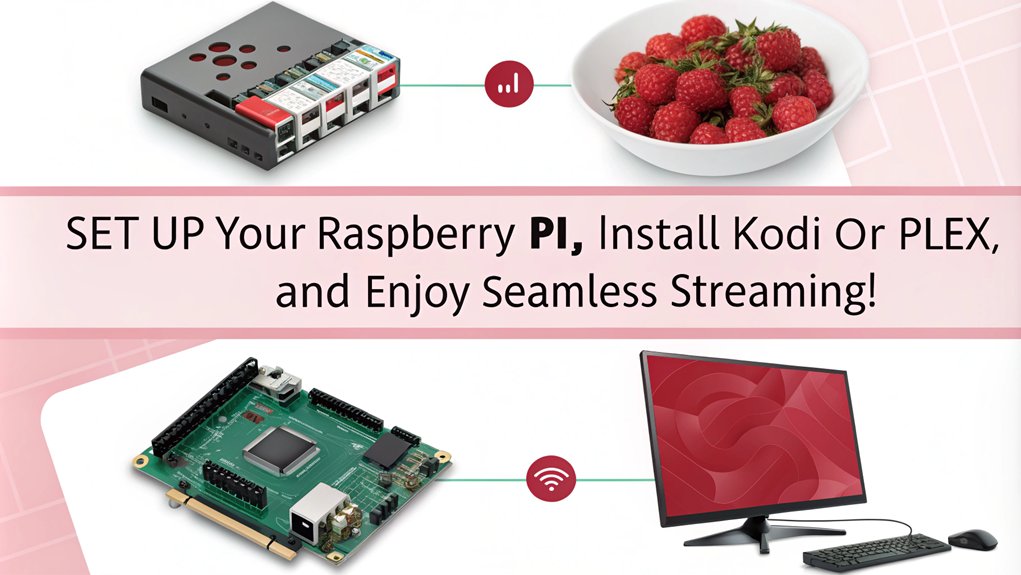
Installing Kodi on Raspberry Pi

Installing Kodi on your Raspberry Pi opens up a world of media possibilities, allowing you to transform your device into a powerful media center. You can choose from several methods for Kodi installation.
If you prefer a pre-configured image, download OSMC, LibreELEC, or XBian, burn it to a micro SD card, and boot your Raspberry Pi. These options provide optimized performance and a direct Kodi interface. Additionally, Kodi’s open-source nature allows for continuous improvements and a wide range of community-supported add-ons.
Alternatively, you can install Kodi on Raspberry Pi OS. Start by updating your system with ‘sudo apt update’ and ‘sudo apt full-upgrade’, then install Kodi using ‘sudo apt-get install kodi’. Note that the current version of Kodi is v21.1 Omega, ensuring you have the latest features and improvements.
Don’t forget to set up PVR addons for enhanced functionality with commands like ‘sudo apt-get install kodi-pvr-hts’.
If you’re feeling adventurous, consider source compilation. Clone the Kodi source code and compile it using the provided scripts. This method allows for customization but requires more technical know-how.
To guarantee your media center is user-friendly, set up auto startup by creating a system service file for Kodi. This way, Kodi launches automatically after booting, providing a seamless experience for accessing your media library.
Configuring Your Media Center
Configuring your media center is essential for optimizing performance and guaranteeing a seamless user experience. Start by selecting a suitable Raspberry Pi model, like the Raspberry Pi 4, and use a high-quality microSD card for smooth operation. Connect your Pi to a display using an HDMI cable and guarantee a reliable power supply to avoid unexpected shutdowns.
During the initial setup, choose an OS optimized for media centers, such as OSMC or LibreELEC. Flash the OS onto the microSD card using the Raspberry Pi Imager or Balena Etcher. When booting up, follow the on-screen prompts to configure network settings—opt for a stable Ethernet connection or set up Wi-Fi. Additionally, the Raspberry Pi can be connected to a variety of peripherals to enhance its functionality and usability. To ensure consistent connectivity, it is advisable to set a static IP for your Raspberry Pi. Using a solid network connection is crucial for preventing interruptions during streaming, as noted in the Plex server setup guidelines.
For effective media organization, attach an external hard drive to store your media files. Configure it to automount on reboot and set up Samba for network sharing.
Within Kodi, navigate the interface to customize your media library, guaranteeing it’s well-organized for easy access. Additionally, install necessary add-ons to enhance functionality.
This setup not only enhances your media experience but also guarantees everything runs smoothly from the start.
Enhancing Your Media Experience
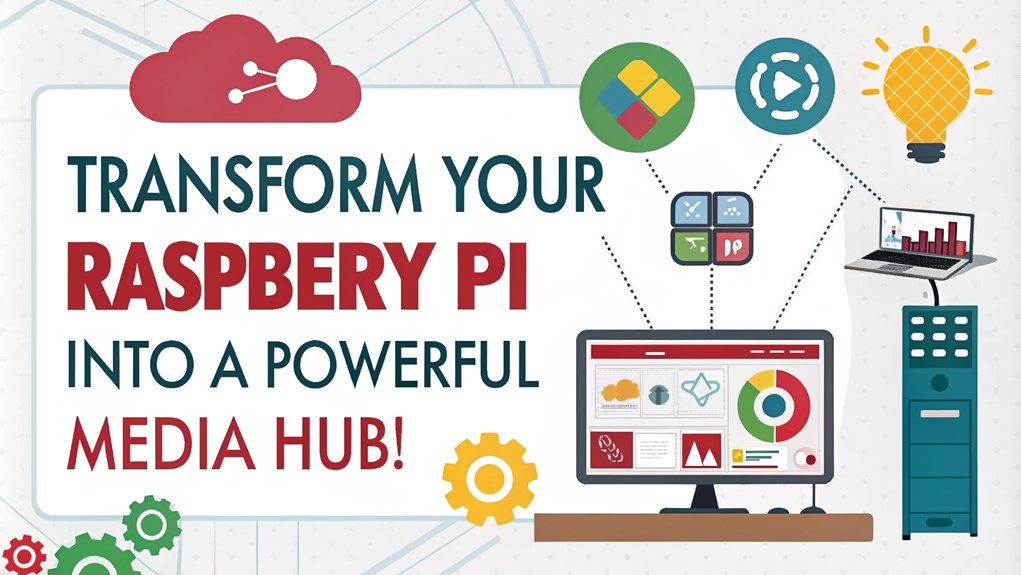
Enhancing your media experience goes beyond just setting up your Raspberry Pi media center. By selecting the right operating system and customizing it, you can open up a world of streaming options and add-on benefits that elevate your viewing experience. A well-configured NAS system can significantly improve your ability to access and manage your media library.
| Feature | Details |
|---|---|
| OS Options | OSMC allows more flexibility; LibreELEC is tailored for Kodi. |
| Add-ons | Download plugins like Plex, Funimation, and YouTube for expanded content. |
| Network Shares | Integrate network shares to access remote media libraries. |
For peak performance, consider using a Raspberry Pi 4 or 5. 4K video support is a standout feature of the Raspberry Pi 5, making it an excellent choice for high-definition streaming. Don’t forget to install an HDMI display and guarantee a stable internet connection via Ethernet or Wi-Fi. The customization of Kodi allows you to fine-tune settings and enhance your library with box art and metadata for a visually appealing interface. Additionally, setting up a Pi-hole for ad-blocking can greatly improve your streaming experience by reducing interruptions from ads.
Using remote controls or smartphone apps for navigation adds convenience, while USB peripherals can simplify the initial setup. With these enhancements, your Raspberry Pi media center transforms into a powerful entertainment hub, making every movie night or binge-watching session a richer experience.
Frequently Asked Questions
Can I Use Raspberry Pi for Retro Gaming and Media Simultaneously?
Yes, you can use your Raspberry Pi for retro gaming and media simultaneously. A dual function setup with RetroPie and Kodi allows seamless shifts between gaming and streaming, maximizing your device’s capabilities for entertainment.
How Do I Back up My Kodi Settings and Libraries?
To safeguard your Kodi experience, configure Kodi backups by exporting settings and managing your library. Automate data recovery using tools like Restic or Handy Backup, ensuring your media journey remains uninterrupted and seamless.
What Are the Best Kodi Add-Ons for Beginners?
For beginners, the best Kodi add-ons include Dailymotion, Vimeo, and YouTube. You’ll enjoy easy Kodi add-on installation directly from the official repository, ensuring a secure and user-friendly experience without needing third-party sources.
Can I Control Kodi With My Smartphone?
Did you know over 60% of Kodi users control it via mobile apps? You can easily control Kodi with your smartphone app by enabling the Kodi remote feature, allowing seamless access to your media library.
How Do I Update Kodi on My Raspberry Pi?
To update Kodi on your Raspberry Pi, download the latest version from the OSMC website, copy it to the Updates folder, and reboot. Regular Kodi updates enhance your Raspberry Pi’s performance and stability.
Conclusion
Now that you’ve commenced your Raspberry Pi media center journey, you’re equipped to turn your living room into a cinematic wonderland. With the right model and essential hardware, you’ve revealed a treasure chest of entertainment possibilities. By installing Kodi and fine-tuning your setup, you’re not just watching movies—you’re crafting experiences. So, immerse yourself and let your creativity flow, transforming your Raspberry Pi into the heart of your home entertainment system. The show’s just beginning!

I am a retired software engineer with experience in a multitude of areas including managing AWS and VMWare development environments. I bought a relative a mini-PC a year ago and have become passionate about the technology and its potential to change how we deploy software.