Setting up a Raspberry Pi web server is straightforward and rewarding. Great project for beginners!
First, verify you have a Raspberry Pi 4 with at least 16GB of microSD storage. Install the Raspberry Pi OS, then update it using ‘sudo apt update’. Next, install the LAMP stack by executing ‘sudo apt install apache2 mariadb-server php -y’. Once installed, configure Apache, adjusting file permissions in ‘/var/www/html/’. For security, set up UFW, disable root SSH access, and enable key-based authentication. Regularly update your system and monitor network activity. Stick around; there’s much more to optimize and secure your server effectively.
Key Takeaways
- Start by installing Raspberry Pi OS on a Class 10 microSD card to ensure optimal performance for your web server.
- Install the LAMP stack by sequentially setting up Apache, MariaDB, and PHP using terminal commands for web functionality.
- Configure Apache with proper directory permissions and verify installations by accessing the server’s IP address in a browser.
- Implement security measures such as UFW for firewall settings and SSH for secure remote access to protect your server.
- Schedule regular maintenance, including system updates and backups, to enhance security and ensure server longevity.
Hardware Requirements
When setting up a Raspberry Pi web server, you’ll need to guarantee you have the right hardware components. The Raspberry Pi 4 boasts impressive processor options, featuring a Broadcom BCM2711 quad-core Cortex-A72 running at 1.8GHz, ensuring efficient performance for web tasks. Additionally, it’s recommended to use a Raspberry Pi 4B for better performance with the LAMP stack.
You’ll want to take into account memory types; options range from 1GB to 8GB LPDDR4-3200 SDRAM. For low-traffic sites, 2GB is sufficient, but for more demanding applications, go for 4GB or more. The Raspberry Pi 4 offers multiple memory options, which allows flexibility based on your specific needs.
Storage solutions are essential, as a micro-SD card slot allows for easy loading of the operating system and data. Small websites can operate on as little as 8GB, while larger sites may need 16GB or more. Additionally, you can connect USB-attached SSDs for enhanced capacity and speed.
Lastly, examine the connectivity features. The Raspberry Pi 4 includes dual-band wireless connectivity (2.4 GHz and 5.0 GHz), Bluetooth 5.0, Gigabit Ethernet, and multiple USB ports.
With these components, you’re set to build a robust Raspberry Pi web server that meets your innovative requirements.
Setting Up the Raspberry Pi
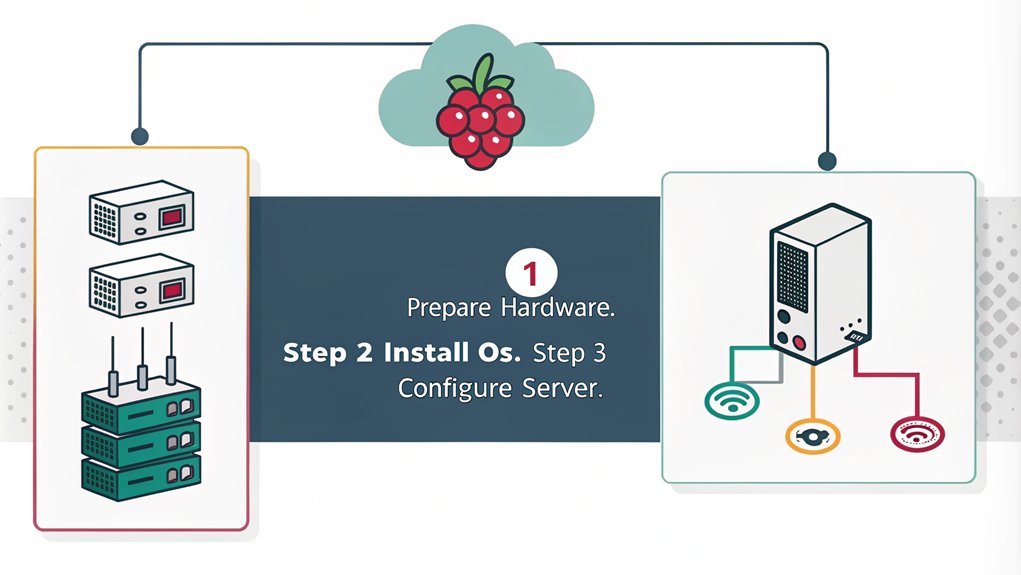
Once you’ve gathered all the necessary hardware components for your Raspberry Pi, it’s time to set up the device. Start by ensuring the Pi is powered down. Follow these steps to get your Raspberry Pi basics sorted:
- Insert the microSD card: Choose your microSD card wisely, ideally at least 16GB with a Class 10 rating, and securely insert it into the card slot.
- Connect peripherals: Attach your mouse, keyboard, and monitor to the Pi’s respective ports.
- Check cable connections: Make sure all connections are secure before proceeding. Your power supply should be a micro USB, preferably 5.1V/2.5A, and ensure you’re using the correct power input port.
- Power it on: Plug in the power supply. The status LED should light up, and you should see the boot screen on your display within minutes. Installing a supported system that offers user-friendly installation guides can enhance your experience and ease of setup.
Once the boot sequence completes, follow any on-screen instructions provided by NOOBS, if you’re using it for your OS installation.
Your Pi typically takes about 15-20 seconds to boot. You’re now ready to plunge into system configurations!
Installing the LAMP Stack
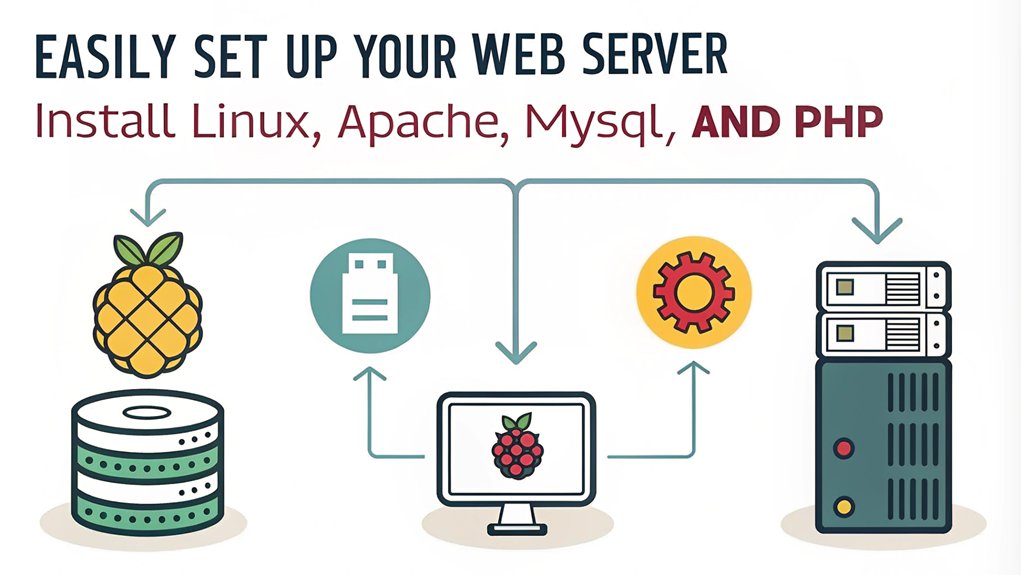
Setting up a LAMP stack transforms your Raspberry Pi into a powerful web server. The LAMP stack comprises Linux, Apache, MySQL/MariaDB, and PHP, offering an efficient environment for hosting websites. With the inclusion of sensor integration, this setup can further enhance your projects by allowing real-time data processing directly into your database.
Here’s a brief overview of the installation process:
| Component | Installation Command |
|---|---|
| Linux | Start with Raspberry Pi OS; update with ‘sudo apt update’ and ‘sudo apt upgrade -y’. |
| Apache | Install Apache using ‘sudo apt install apache2 -y’. Confirm by accessing your IP in a browser. |
| MariaDB | Install with ‘sudo apt install mariadb-server -y’, then secure it. Optionally, ‘sudo apt install phpmyadmin -y’ for Database Management. |
| PHP | Install PHP using ‘sudo apt install php -y’. Add modules as needed, followed by ‘sudo systemctl restart apache2’. |
| Final Check | Verify installations by checking the default Apache page and PHP settings. Enhancing your server capabilities through URL rewriting can take your web applications to the next level. |
This setup not only guarantees your Raspberry Pi is a reliable server but also allows for database management through MariaDB and potential integration with PHP applications. Embrace the innovation of hosting your own projects seamlessly!
Configuring the Raspberry Pi Web Server
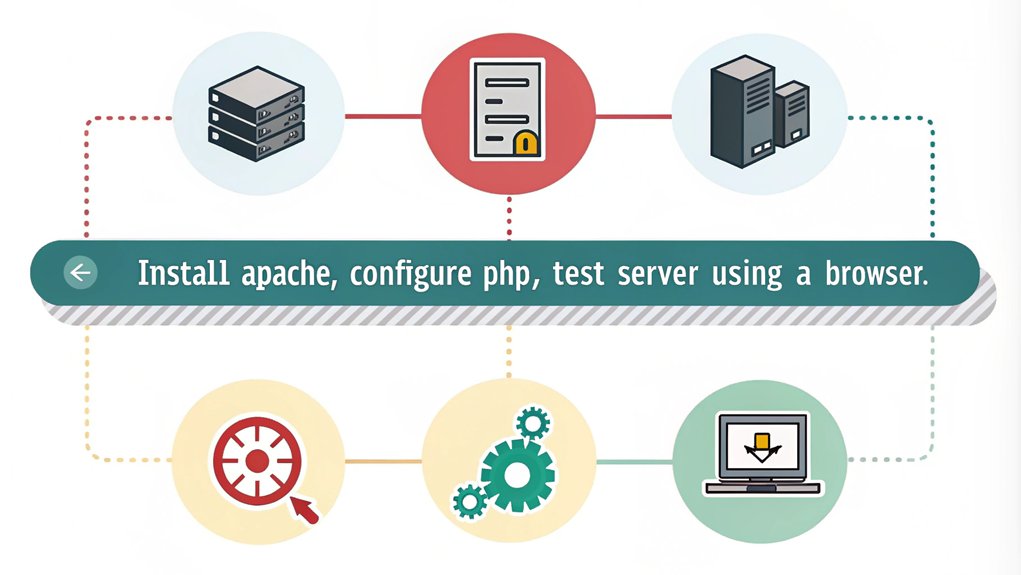
Configuring your web server is essential for guaranteeing it runs smoothly and securely. To set up your Apache web server effectively, follow these steps for ideal web server configuration and directory permissions:
- Install and Start Apache: Use the command ‘sudo apt install apache2 -y’ to install Apache, then start it with ‘sudo service apache2 start’. Enable it to start on boot using ‘sudo systemctl enable apache2’.
- Adjust Directory Permissions: Navigate to ‘/var/www/html/’ and grant your user ownership with ‘sudo chown -R pi_user /var/www/html’. Verify your user has write permissions. Additionally, ensure your Raspberry Pi is configured properly for web server software compatibility. Serving static content can significantly reduce CPU load compared to dynamic content.
- Check Service Status: Monitor Apache’s status using ‘sudo systemctl status apache2’. If needed, restart Apache with ‘sudo service apache2 restart’.
- Test Your Server: Access your Raspberry Pi’s IP via a browser. Create a test HTML or PHP file in the ‘html’ directory to verify everything’s working.
Securing and Maintaining the Server
Securing and maintaining your Raspberry Pi web server is crucial to protect it from vulnerabilities and potential attacks. Start by limiting port forwarding to necessary ports like 80 for HTTP and 443 for HTTPS. Use UFW to configure your firewall, controlling incoming and outgoing traffic effectively. Implement secure protocols such as SSH, SFTP, and HTTPS for remote access and data transfer. It is advisable to forward necessary ports cautiously to minimize exposure.
Network segmentation is crucial for isolating your Raspberry Pi from other devices, minimizing the impact of any intrusions. Change default credentials to strong, unique ones, and adhere to the least privilege principle, operating with minimal user rights. Regularly educate users about common cyber threats to empower them to recognize and respond to potential security issues.
Disable root SSH access and employ key-based authentication for enhanced security. Address brute force attacks with tools like Fail2Ban and Denyhosts, while employing intrusion detection systems like Snort or Suricata to monitor network activities. Regularly update systems and software to apply security patches. Maintain your server by scheduling regular backups and using network monitoring tools like Wireshark to identify suspicious activity.
Additionally, verify your WiFi is secured with WPA3 and consider full disk encryption to further safeguard your data.
Frequently Asked Questions
Can I Use Raspberry Pi as a File Server?
Yes, you can use a Raspberry Pi as a file server for file sharing and network storage. By installing Samba, you’ll enable easy access to shared directories from various devices on your network.
What Types of Websites Can I Host on Raspberry Pi?
You can host various website types on Raspberry Pi for personal projects, including simple HTML/CSS sites, blogs, portfolios, and even lightweight dynamic sites using PHP or a CMS. It’s a versatile platform for experimentation.
How Can I Access My Raspberry Pi Web Server Remotely?
You can access your web server remotely by configuring port forwarding, utilizing SSH tunneling, or using services like PiTunnel. Guarantee robust web security with firewalls and strong passwords for a secure connection.
What Are Common Troubleshooting Steps for Web Server Issues?
To troubleshoot Raspberry Pi web server issues, check server performance through log analysis, adjust configurations for timeouts, and guarantee connection issues aren’t present. Optimize scripts and network settings to maintain robust and efficient operations.
Is It Possible to Use a Dynamic DNS With Raspberry Pi?
You can effortlessly use dynamic DNS with your Raspberry Pi. It’s a game-changer, ensuring your device remains accessible despite changing IP addresses. Set it up, and experience seamless connectivity like never before!
Conclusion
You’ve transformed a simple Raspberry Pi into a powerful web server, releasing your creativity like a painter wielding a brush. By following these steps, you’ve laid a solid foundation for future projects, whether it’s hosting a personal blog or a portfolio site. Remember, maintaining security is key—keep your server updated and be vigilant. As you venture further into the digital domain, your Raspberry Pi will be the steadfast ship in your sea of possibilities.

I am a retired software engineer with experience in a multitude of areas including managing AWS and VMWare development environments. I bought a relative a mini-PC a year ago and have become passionate about the technology and its potential to change how we deploy software.