
Unlocking the Power of Automation on Your Raspberry Pi
Are you ready to transform your Raspberry Pi into an automation powerhouse that works tirelessly on your behalf? By harnessing the capabilities of Raspberry Pi with shell scripts, you’ll discover a whole new dimension of efficiency and functionality for your single-board computer. Instead of manually executing the same commands repeatedly, shell scripts allow you to combine multiple operations into automated sequences that run exactly when you need them. From backing up critical files to monitoring system performance and sending alerts when resources run low, automation through shell scripting unlocks the true potential of your Pi. With just a few simple commands and scheduling techniques, you’ll build a foundation for creating sophisticated, self-managing systems that save you time and extend your Pi’s capabilities far beyond its modest size. Let’s explore how Raspberry Pi with shell scripts can revolutionize the way you use your little computer for both practical projects and creative solutions.
Key Takeaways
- Shell scripts combine multiple commands into executable files to automate repetitive tasks on Raspberry Pi using the .sh extension.
- Cron jobs schedule automated tasks at specific times by editing crontab with commands like ‘crontab -e’ for regular execution.
- System monitoring scripts track CPU, memory, and disk usage metrics automatically using tools like ‘top’, ‘free’, and ‘df’.
- Set proper permissions with chmod +x and include shebang lines (#!/bin/bash) to ensure scripts run correctly.
- Create automated alerts and reports by logging system events and sending notifications when specific thresholds are reached.
Understanding Shell Scripts on Raspberry Pi
Shell scripts serve as powerful automation tools on your Raspberry Pi, allowing you to combine multiple commands into a single executable file.
Transform your Raspberry Pi into an automation powerhouse by harnessing Raspberry Pi with shell scripts to streamline complex command sequences.
You’ll need to create these scripts using a text editor like nano or vim, saving them with a .sh extension. When writing shell scripts, you’ll start with the shebang line (#!/bin/bash) to specify the interpreter.
To enhance your scripting skills, you can explore common shell script examples like file backups, system monitoring, and scheduled tasks.
You’ll find debugging techniques essential for troubleshooting your scripts, including using the -x flag for line-by-line execution tracking and implementing echo statements for variable inspection.
Remember to set proper permissions using chmod +x to make your scripts executable.
Testing your scripts in a controlled environment helps guarantee they’ll run reliably in production.
Setting Up Your Development Environment

Before diving into automation tasks, you’ll need to set up a proper development environment on your Raspberry Pi. Start by updating your system using ‘sudo apt update’ and ‘sudo apt upgrade’ to make sure you have the latest packages.
Install essential development tools with ‘sudo apt install build-essential‘.
Choose your preferred text editor for script writing – Nano comes pre-installed, but you might want to take into account VSCode or Vim for more advanced features.
Set up version control by installing Git with ‘sudo apt install git’.
Create a dedicated directory for your scripts using ‘mkdir ~/scripts’ and add it to your PATH variable.
Configure your environment variables by editing ~/.bashrc to include any custom settings.
Test your environment setup by creating a simple shell script and verifying proper execution permissions.
Basic Shell Script Commands and Syntax
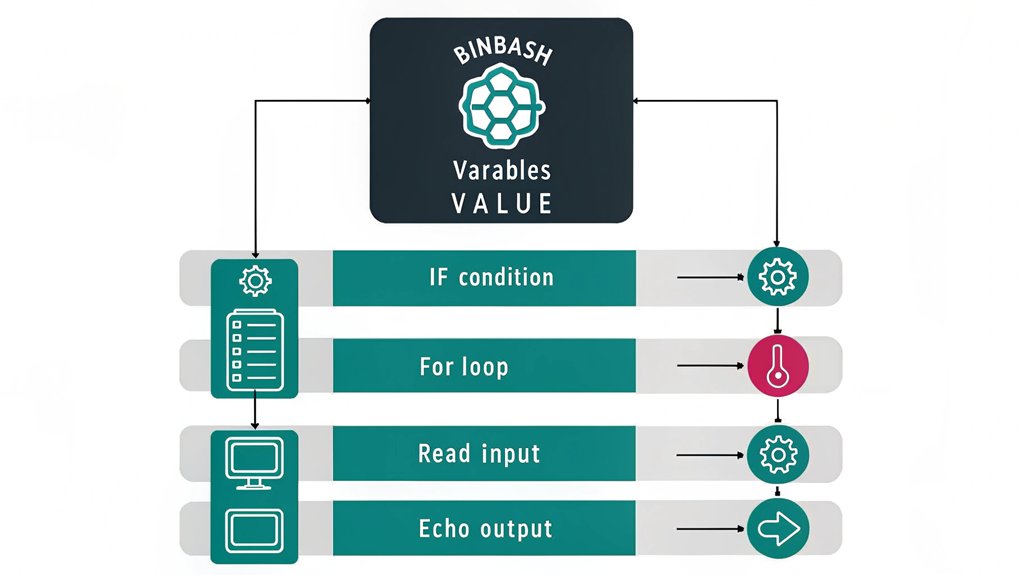
With your development environment ready, it’s time to master the fundamental commands and syntax for creating shell scripts. You’ll need to understand basic commands like echo, read, if/then statements, and loops to build effective automation.
Start by creating a new script file with a .sh extension and adding the shebang line (#!/bin/bash) at the top.
To make your scripts more powerful, combine these basic commands with variables, conditional statements, and functions. Use proper script syntax including semicolons, quotation marks, and proper spacing.
Remember to set file permissions using chmod +x to make your scripts executable. You can test commands in the terminal before adding them to your script, helping you debug and refine your automation workflow efficiently.
Creating Your First Automation Script

You’ll need to establish your script environment by creating a new .sh file and setting proper execution permissions using chmod +x.
The basic script structure requires a shebang line (#!/bin/bash) at the top, followed by your variables, functions, and main execution code blocks arranged in a logical order.
To test your automation script, run it first with echo statements for debugging, then execute it with ./scriptname.sh to verify it performs your intended tasks correctly.
Setting Up Script Environment
Creating a reliable automation script begins with establishing the proper environment on your Raspberry Pi. You’ll need to configure script environment variables and set up shell access permissions to guarantee smooth execution. Start by creating a dedicated directory for your automation scripts and setting the appropriate file permissions.
| Environment Setup | Purpose | Command |
|---|---|---|
| Create Directory | Script Storage | mkdir ~/scripts |
| Set Permissions | Security | chmod 755 ~/scripts |
| Configure PATH | Accessibility | export PATH=$PATH:~/scripts |
| Set Variables | Customization | nano ~/.bashrc |
Before writing your first script, verify your shell environment by checking the default shell settings and confirming you have execution rights. Don’t forget to test your environment variables by running a simple echo command to ensure they’re properly set. You’ll save time troubleshooting later by establishing this foundation first.
Basic Script Structure Explained
Every successful automation script follows a consistent basic structure that guarantees reliable execution and maintainability. Start by adding the shebang line (#!/bin/bash) at the top of your script to specify the interpreter.
Then, establish your script organization by defining variables and functions near the beginning for easy reference. Include proper error handling through conditional statements and exit codes to manage unexpected scenarios.
You’ll want to structure your main logic in discrete sections, using clear comments to document each major step. Add logging functionality to track execution and troubleshoot issues.
Finally, implement cleanup routines to manage temporary files and reset system states. Remember to set appropriate permissions (chmod +x) on your script file to make it executable.
This foundation guarantees your automation scripts are robust and maintainable.
Testing Your Automation Script
Once you’ve established your script’s basic structure, systematic testing becomes the next logical step in automation development.
Begin by implementing basic script debugging techniques, running your script with the -x flag to trace execution and identify potential issues. Test your automation in a controlled environment before deploying it to your production Raspberry Pi system.
Incorporate automation testing strategies by breaking down your script into smaller components and testing each function independently.
You’ll want to validate input handling, verify expected outputs, and ascertain proper error management. Create test cases that cover both typical usage scenarios and edge cases.
Monitor system resource usage during execution, particularly for shell scripts that run continuously or process large amounts of data. Document any issues you encounter and maintain a changelog of fixes and improvements.
Scheduling Tasks With Cron Jobs

To automate tasks on your Raspberry Pi with shell scripts at specific times and intervals, you’ll need to become familiar with cron jobs. These scheduled commands let you execute scripts automatically based on specific timing parameters you define.
Start by accessing your crontab configuration with the command ‘crontab -e’. The cron job scheduling syntax follows a five-field format: minute, hour, day of month, month, and day of week. For example, ‘0 2 * * *’ runs a task daily at 2 AM.
Set your task frequency by combining these time fields with your script’s path. Common intervals include hourly (@hourly), daily (@daily), or custom patterns like ‘*/15 * * * *’ for every 15 minutes.
Remember to use absolute paths in your cron jobs and test your timing patterns before implementation.
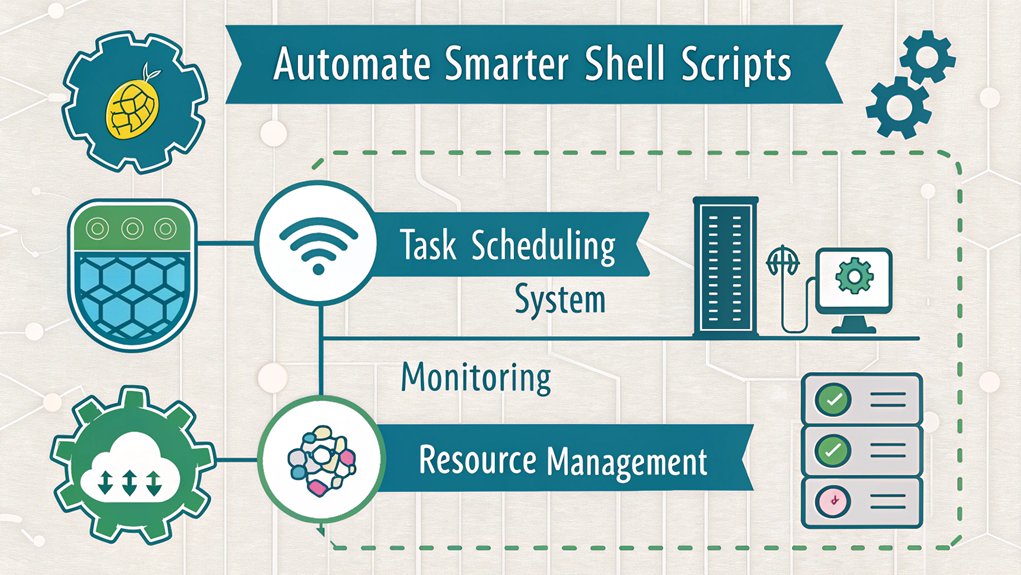
Managing System Resources Through Scripts

You’ll find essential system resource management tools in the Raspberry Pi shell scripting capabilities to monitor CPU usage, memory consumption, and disk space thresholds.
By creating automated scripts, you can track system performance metrics and receive immediate alerts when resources exceed predefined limits.
Your process management scripts can handle task prioritization, automatically terminate resource-heavy applications, and maintain peak system performance through scheduled maintenance routines.
Monitor CPU and Memory
Monitoring your Raspberry Pi’s system resources through automated scripts provides essential insights into CPU usage, memory consumption, and overall performance.
You can create a simple script that leverages tools like ‘top’ and ‘free’ to track system metrics at regular intervals.
To monitor CPU usage, implement commands like ‘mpstat’ or ‘vmstat’ in your script to collect processor statistics. For memory monitoring, use the ‘free -m’ command to track available RAM and swap space.
Set up your script to log these readings to a file with timestamps using ‘date’ commands.
Configure your script to run automatically using cron jobs, allowing you to gather data at specific intervals.
This data helps you identify performance bottlenecks, optimize resource allocation, and maintain system stability through preventive maintenance.
Disk Space Alert Scripts
Creating disk space alert scripts serves as a critical safeguard for your Raspberry Pi’s storage management.
You’ll need to monitor disk usage regularly to prevent system failures and data loss. Set up a script that uses the ‘df’ command to check available space and trigger alert notifications when storage reaches critical thresholds.
You can configure your script to send email notifications, display desktop alerts, or log warnings when disk usage exceeds predetermined levels.
Implement conditional statements to define different alert stages – warning at 80% capacity and critical at 90%. Include filesystem details in your alerts to quickly identify which partitions need attention.
Schedule these scripts using cron jobs to run automatic checks at specified intervals, ensuring you’re always aware of your system’s storage status.
Process Management Automation
While managing a Raspberry Pi’s system resources can be challenging, process management automation scripts offer an efficient solution for controlling CPU usage, memory allocation, and running services. You’ll want to implement resource allocation strategies through scripts that monitor and adjust process priorities in real-time.
| Command | Purpose | Impact |
|---|---|---|
| nice | Process prioritization | Controls CPU scheduling |
| renice | Priority adjustment | Modifies running processes |
| cpulimit | CPU usage control | Prevents overload |
| cgroups | Resource management | Sets usage boundaries |
| ionice | I/O scheduling | Manages disk priorities |
Create scripts that automatically identify resource-intensive processes and adjust their priorities based on predefined thresholds. You can establish dynamic resource allocation by monitoring system metrics and triggering appropriate responses when certain conditions are met. This guarantees your Raspberry Pi maintains peak performance while preventing any single process from monopolizing system resources.
Monitoring and Logging With Raspberry Pi With Shell Scripts

Shell scripts provide a powerful way to track system performance and log events on your Raspberry Pi. By implementing automated monitoring and log file management, you’ll gain insights into your system’s behavior while maintaining organized records of critical events.
Automated shell scripts unlock comprehensive system monitoring on Raspberry Pi, helping track performance metrics and maintain detailed event histories efficiently.
You can create scripts that collect and analyze performance metrics through these key monitoring approaches:
- Monitor CPU, memory, and disk usage with built-in commands like top, free, and df
- Track network connectivity and bandwidth using tools like netstat and iftop
- Implement custom error logging with timestamps and severity levels
- Generate daily reports by parsing system logs and sending email notifications
Combine these monitoring elements into a single script that runs periodically via cron to maintain consistent system oversight.
This automation guarantees you’ll catch potential issues before they become critical problems.
Securing Your Automated Scripts
Because automated scripts often run with elevated privileges, implementing robust security measures is crucial to protect your Raspberry Pi system.
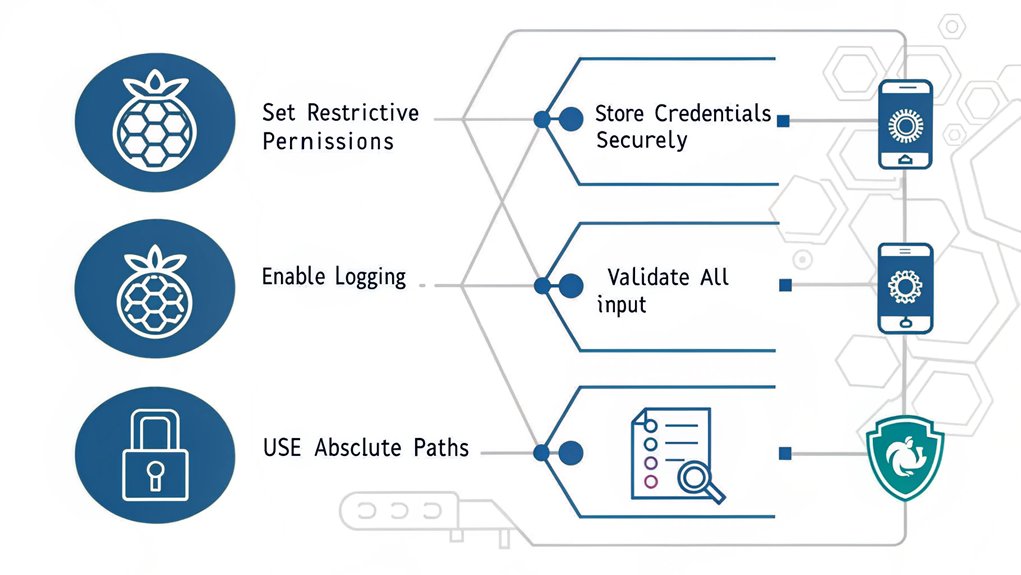
Start by setting proper script permissions using chmod 700 to guarantee only the owner can read, write, and execute. Store sensitive data like passwords and API keys in secure variables within a separate configuration file, restricting its permissions to chmod 600.
You’ll want to validate all input data before processing, implement error handling, and use absolute paths to prevent path manipulation attacks.
Configure your scripts to run with the minimum required privileges using sudo constraints. Additionally, encrypt any sensitive data your scripts handle, maintain audit logs of script executions, and regularly review your automation code for potential security vulnerabilities.
Consider implementing checksum verification to detect unauthorized script modifications.
Advanced Automation Techniques and Best Practices
Once you’ve mastered basic automation, advancing to sophisticated techniques can dramatically improve your Raspberry Pi’s capabilities.
Implementing advanced error handling guarantees your scripts can gracefully manage unexpected situations, while script performance optimization helps maximize your Pi’s resources.
Consider these advanced automation techniques to enhance your projects:
- Implement parallel processing to handle multiple tasks simultaneously while monitoring system resources
- Create modular scripts with reusable functions to streamline maintenance and reduce code duplication
- Set up extensive logging systems that capture detailed execution data for troubleshooting
- Utilize environment variables and configuration files to make your scripts more flexible and portable
Always test your automated solutions thoroughly in a controlled environment before deploying them to production.
This practice helps identify potential issues and guarantees reliable operation.
Frequently Asked Questions
How Can I Run Raspberry Pi with Shell Scripts Automatically After a Power Outage?
You’ll need proper power management to guarantee script recovery after outages. Add your scripts to /etc/rc.local or create a cron job with @reboot to execute automatically upon restart.
Can Shell Scripts Control GPIO Pins for Home Automation Projects?
With over 40 GPIO pins at your disposal, you’ll find shell scripts can directly control these pins using commands like ‘gpio write’ and ‘gpio mode’ for sophisticated home automation projects.
What’s the Maximum Number of Concurrent Shell Scripts Raspberry Pi Supports?
You’ll find no hard limit on concurrent shell scripts, but practical execution limits depend on your Pi’s RAM, CPU resources, and combined shell script performance impact.
How Do I Transfer My Automation Scripts Between Different Raspberry Pis?
You can sync scripts between Pis using SCP, RSYNC, or Git for remote transfer. Set up automated script synchronization methods through SSH or cloud storage for seamless deployment across devices.
Can I Integrate Shell Scripts With Mobile Apps for Remote Control?
You can build mobile app integration through REST APIs, SSH commands, or custom apps using frameworks like Flutter. Connect your shell scripts to enable remote control functionality from your smartphone.
Conclusion
Isn’t it remarkable how shell scripts can transform your Raspberry Pi into a fully automated powerhouse? You’ve now learned to create, schedule, and secure automated tasks using shell scripts. By implementing proper monitoring, resource management, and security practices, you’ll guarantee your scripts run efficiently and safely. Moving forward, you can expand your automation capabilities by building on these fundamental scripting principles and techniques.

I am a retired software engineer with experience in a multitude of areas including managing AWS and VMWare development environments. I bought a relative a mini-PC a year ago and have become passionate about the technology and its potential to change how we deploy software.