
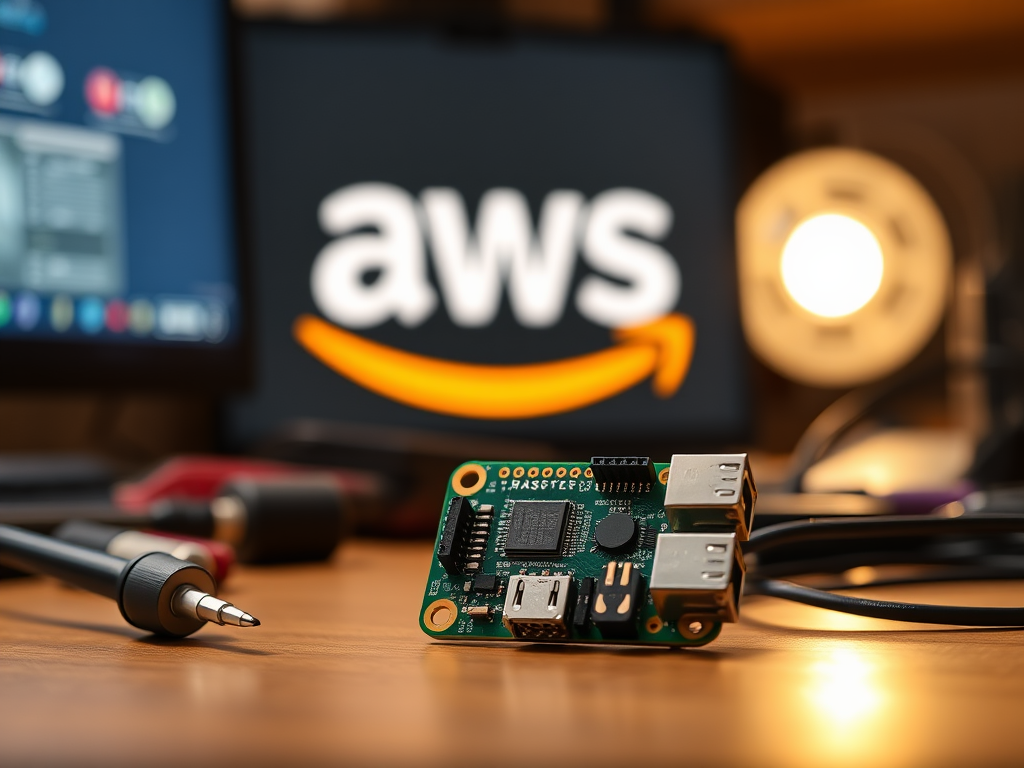
Introduction to Raspberry Pi Zero IoT on AWS
The Raspberry Pi Zero is a compact, cost-effective computer that’s perfect for IoT projects. By connecting it to AWS IoT Core, you can securely transmit sensor data, automate workflows, and integrate with cloud services like Lambda or DynamoDB. This guide walks you through setting up a headless Raspberry Pi Zero IoT device on AWS, configuring AWS IoT Core, and establishing secure MQTT communication.
IoT device setup with the Pi Zero opens doors to scalable cloud solutions. Whether you’re building a smart home system, environmental sensor network, or industrial monitoring tool, AWS IoT Core provides robust infrastructure for data ingestion, device management, and real-time analytics. The MQTT protocol ensures lightweight, efficient communication between your Pi and AWS, making it ideal for low-power devices.
This article contains affiliate links. As an Amazon Associate, I might make a small commission on every purchase. No extra cost to you and it helps to support this blog.
Key Takeaways
- ✅ Raspberry Pi Zero IoT on AWS requires minimal hardware: a Pi Zero W, MicroSD card, and AWS account for scalable cloud integration.
- 🔒 Certificate-based authentication ensures secure MQTT communication between the Pi and AWS IoT Core.
- 📡 Use Python SDK for AWS IoT to publish sensor data, automate workflows, and reduce latency with MQTT.
- 💡 Headless setup simplifies deployment—no monitor or keyboard needed for Wi-Fi and SSH configuration.
- 🌐 Cost-effective and scalable: AWS IoT Core’s free tier supports small projects, while DynamoDB/Lambda enable advanced analytics
Prerequisites for Raspberry Pi Zero IoT Device on AWS
Before diving in, ensure you have the following to start building a Raspberry Pi Zero IoT Device on AWS:
Hardware Requirements
- Raspberry Pi Zero 2 W (with Wi-Fi) or a USB Wi-Fi/Ethernet adapter.
- Micro-USB power supply and a 8GB+ MicroSD card.
- A computer to flash the OS and configure files.
For IoT prototyping, the Pi Zero 2 W is recommended due to its built-in Wi-Fi, but non-W models can use USB adapters. Ensure your power supply delivers at least 5V/2A to avoid stability issues during data transmission. A quality MicroSD card (Class 10 or higher) ensures smooth OS performance.
Be sure when you configure the device, you consider security as this device is probably going to be unattended.
Still thinking about getting a Raspberry Pi Zero 2W? Here are some options:

- Raspberry Pi Zero 2 W Board with on-board WiFi and Bluetooth
- CanaKit Premium Black High-Gloss Raspberry Pi Zero Case
- Includes Samsung 64 GB MicroSD Card (Class 10) - Pre-loaded with OS

- Vilros MAX Kit for Raspberry Pi Zero 2 W With Muti Functional Case Set
- Raspberry Pi Zero 2 W Key features: 1GHz quad-core, 64-bit ARM Cortex-A53 CPU VideoCore IV GPU 512MB LPDDR2 DRAM 802.11b/g/n wireless LAN Bluetooth 4.2 / Bluetooth Low Energy (BLE) MicroSD card slot...
- Includes: Raspberry Pi Zero w 2 Board, Case, Power Supply, 64GB Preloaded Micro SD card, Micro USB to 3 Port USB and Ethernet hub, HDMI to MINI HDMI Cable & Adapter so that you can connect to a...

- Dear Customers, Please attention: Only UeeKKoo Store provide and ship correct 5 Items, include Pi Zero 2 W with Color-Coded Pre-Soldered Header + Pi Zero 2W Case +Mini HDMI to HDMI Adapter + Micro...
- RPi Zero 2 W with Pre-Soldered Header,Five Times as Fast. With a quad-core 64-bit ARM Cortex-A53 processor clocked at 1GHz and 512MB of SDRAM, Zero 2 is up to five times as fast as the original Pi...
- As for heat dissipation concern, Zero 2 W uses thick internal copper layers to conduct heat away from the processor, sustaining higher performance without higher temperature.
Software & Accounts
The Raspberry Pi OS Lite (64-bit) is ideal for headless setups, as it omits resource-heavy desktop environments. AWS IoT Core requires no upfront costs for basic usage, but monitor your account for high-volume data charges.
Setting Up Your Raspberry Pi Zero IoT Device on AWS
Installing Raspberry Pi OS Headlessly
- Use Raspberry Pi Imager to flash Raspberry Pi OS Lite (64-bit) onto the MicroSD card.
- After flashing, enable SSH by creating an empty
sshfile in the SD card’s boot partition.
This headless setup eliminates the need for a monitor or keyboard. The Lite OS minimizes resource usage, which is ideal for IoT deployments. For advanced users, alternative OS options like BalenaOS or Ubuntu Core offer Docker support, but Raspberry Pi OS remains the simplest for beginners.
After flashing, safely eject the SD card. Insert it into the Pi Zero, and power the device on. Wait 2-3 minutes for the first boot to complete.
Configuring Wi-Fi and SSH
Create a wpa_supplicant.conf file in the boot partition to auto-connect to Wi-Fi:
```conf
country=US
ctrl_interface=DIR=/var/run/wpa_supplicant GROUP=netdev
update_config=1
network={
ssid="YOUR_WIFI_NAME"
psk="YOUR_WIFI_PASSWORD"
}
This configuration ensures automatic Wi-Fi connectivity on boot. For enterprise networks, replace psk with identity and password fields. After booting, find the Pi’s IP using your router’s admin panel or terminal commands like nmap -sn 192.168.1.0/24. Use ssh pi@<IP_ADDRESS> (default password: raspberry) to log in.
AWS IoT Core Configuration
Creating an IoT Thing
- Navigate to AWS IoT Core > Manage > Things > Create.
- Name your device (e.g.,
PiZero-IoT) and skip certificate setup for now.
An AWS IoT Thing represents your Pi Zero in the cloud. It stores metadata like location, firmware version, and connectivity status. While optional, adding attributes (e.g., "type": "sensor") helps organize fleets of devices in large projects.
Avoid using spaces or special characters in Thing names to simplify policy management. After creation, navigate to Interact to view your Thing’s MQTT topics and REST API endpoints.
LSI Keywords: AWS IoT Thing, certificate management, device registry, MQTT topics.
Generating Certificates and Policies
- Under Secure > Policies, create a policy with permissions for connecting, publishing, and subscribing (replace placeholders):
{
  "Version": "2012-10-17",
  "Statement": [
    {
      "Effect": "Allow",
      "Action": "iot:Connect",
      "Resource": "arn:aws:iot:REGION:ACCOUNT_ID:client/${iot:Connection.Thing.ThingName}"
    },
    {
      "Effect": "Allow",
      "Action": "iot:Publish",
      "Resource": "arn:aws:iot:REGION:ACCOUNT_ID:topic/*"
    },
    {
      "Effect": "Allow",
      "Action": "iot:Subscribe",
      "Resource": "arn:aws:iot:REGION:ACCOUNT_ID:topicfilter/*"
    },
    {
      "Effect": "Allow",
      "Action": "iot:Receive",
      "Resource": "arn:aws:iot:REGION:ACCOUNT_ID:topic/*"
    }
  ]
}
- Under Secure > Certificates, generate a new certificate. Download the device certificate, private key, and Amazon Root CA (download here).
Certificates authenticate your Pi Zero to AWS IoT Core. The policy defines what actions the device can perform—restrict permissions to least privilege for security. For example, limit publish access to specific topics like pi/data instead of wildcards (*).
Store certificates securely on your Pi. Never expose private keys in public repositories. Rotate certificates periodically via AWS IoT Core’s certificate manager.
Connecting Raspberry Pi Zero IoT Device to AWS IoT Core
Transferring Certificates to the Pi
Use scp to copy certificates to the Pi:
scp -r device-certificate.pem.crt private-key.pem.key AmazonRootCA1.pem pi@<IP_ADDRESS>:~/.aws/certs/
Organize certificates in a dedicated directory like ~/.aws/certs to avoid path conflicts. Set strict file permissions to prevent unauthorized access:
chmod 600 ~/.aws/certs/*.pem
For devices without SSH access, use a USB drive to transfer files. Verify transfers with ls -la ~/.aws/certs—you should see all three PEM files.
Installing AWS IoT SDK
Update the Pi and install the AWS SDK:
sudo apt update && sudo apt upgrade -y
sudo apt install python3-pip -y
pip3 install awsiotsdk
The AWS IoT Device SDK for Python simplifies MQTT interactions. For low-memory devices like the Pi Zero, avoid installing unnecessary packages. Use pip3 install --no-cache-dir to save space.
If the SDK installation fails, ensure your Pi has enough storage (df -h) and swap space. Increase swap temporarily with sudo dphys-swapfile swapoff && sudo dphys-swapfile setup && sudo dphys-swapfile swapon.
LSI Keywords: Python SDK for AWS IoT, secure key transfer, MQTT client setup, memory optimization.
Testing the AWS IoT Connection
Python Script for MQTT Communication
Create aws_iot_test.py with the following code (replace placeholders):
from awscrt import io, mqtt
from awsiot import mqtt_connection_builder
import time

ENDPOINT = "YOUR_AWS_IOT_ENDPOINT.iot.REGION.amazonaws.com"
CLIENT_ID = "PiZero"
PATH_TO_CERT = "/home/pi/.aws/certs/device-certificate.pem.crt"
PATH_TO_KEY = "/home/pi/.aws/certs/private-key.pem.key"
PATH_TO_ROOT = "/home/pi/.aws/certs/AmazonRootCA1.pem"

# Build MQTT connection
event_loop_group = io.EventLoopGroup(1)
host_resolver = io.DefaultHostResolver(event_loop_group)
client_bootstrap = io.ClientBootstrap(event_loop_group, host_resolver)
mqtt_connection = mqtt_connection_builder.mtls_from_path(
    endpoint=ENDPOINT,
    cert_filepath=PATH_TO_CERT,
    pri_key_filepath=PATH_TO_KEY,
    client_bootstrap=client_bootstrap,
    ca_filepath=PATH_TO_ROOT,
    client_id=CLIENT_ID,
    clean_session=False,
    keep_alive_secs=30
)

# Connect and publish
print("Connecting...")
connect_future = mqtt_connection.connect()
connect_future.result()
print("Connected!")
mqtt_connection.publish(topic="pi/data", payload="Hello from Pi Zero", qos=mqtt.QoS.AT_LEAST_ONCE)
time.sleep(2)
print("Message sent.")
disconnect_future = mqtt_connection.disconnect()
disconnect_future.result()
This script initializes an MQTT client, connects to AWS IoT Core, and publishes a test message. The QoS.AT_LEAST_ONCE ensures message delivery but increases latency slightly. For critical data, use QoS.AT_MOST_ONCE for speed or QoS.EXACTLY_ONCE for reliability.
Debug connection issues by enabling logging:
import logging
logging.basicConfig(level=logging.DEBUG)
Verifying the Data in AWS
- Run the script:bashCopypython3 aws_iot_test.py
- In AWS IoT Core Console > MQTT test client, subscribe to
pi/datato see the message.
If the message appears, your Pi Zero is successfully communicating with AWS! For troubleshooting, check the following:
- Certificate paths: Ensure the script references the correct directory.
- Endpoint URL: Find yours under AWS IoT Core > Settings.
- Region mismatch: The endpoint must match your AWS account’s region (e.g.,
us-east-1).
Troubleshooting Common Issues
Time Synchronization Errors
If the Pi’s clock is unsynced, certificates may fail validation. Fix this with:
sudo apt install ntpdate
AWS IoT Core requires devices to have accurate timestamps for TLS handshakes. If ntpdate fails, manually sync time:
sudo date -s "2023-10-05 12:00:00"
For persistent issues, configure automatic time synchronization:
sudo timedatectl set-ntp true
Connectivity and Policy Issues
- Verify Wi-Fi with
ping google.com. - Double-check IoT policy permissions and certificate attachments.
If the Pi can’t connect to AWS, test MQTT connectivity with:
openssl s_client -connect YOUR_ENDPOINT:8883 -CAfile AmazonRootCA1.pem -cert device-certificate.pem.crt -key private-key.pem.key
A successful response includes CONNECTED and server certificate details. For policy errors, review the policy’s Resource ARNs and replace placeholders like REGION and ACCOUNT_ID.
Frequently Asked Questions
Can I use a Raspberry Pi Zero without Wi-Fi for AWS IoT?
Yes, but you’ll need a USB-to-Ethernet adapter or Wi-Fi dongle. The Pi Zero W’s built-in Wi-Fi simplifies setup for IoT projects.
How do I secure my Raspberry Pi Zero IoT device on AWS?
Use X.509 certificates (downloaded from AWS IoT Core) and restrict policies to only required actions (e.g., iot:Publish on specific topics).
Why isn’t my Pi Zero connecting to AWS IoT Core?
Common fixes:
– Sync time with sudo apt install ntpdate.
– Verify certificate file paths in your Python script.
– Check AWS IoT policy permissions and region mismatches.
Can I use Node.js instead of Python for AWS IoT?
Yes! AWS provides SDKs for Node.js, Java, and C++. For Pi Zero’s limited resources, Python is lightweight and beginner-friendly.
Does AWS IoT Core cost money for small projects?
AWS IoT Core offers a free tier (250K messages/month). Monitor usage to avoid charges for large-scale deployments.
How do I add sensors to my Raspberry Pi Zero IoT device?
Connect sensors (e.g., DHT22 for temperature) via GPIO pins, then modify the Python script to read data and publish to AWS topics.
Conclusion
You’ve now transformed your Raspberry Pi Zero into an AWS IoT device! From here, expand your project by adding sensors (e.g., temperature, motion) or integrating with AWS services like S3 or Lambda.

I am a retired software engineer with experience in a multitude of areas including managing AWS and VMWare development environments. I bought a relative a mini-PC a year ago and have become passionate about the technology and its potential to change how we deploy software.