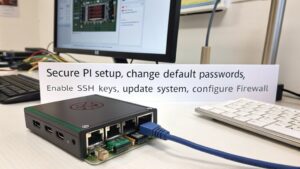
Why Do You Need a Secure Raspberry Pi?
Like a fortress standing vulnerable without its walls, your Raspberry Pi needs proper security measures to withstand digital threats. You’re likely using your Pi for important projects or home automation systems, making it a potential target for attackers. With minimal effort, you can transform your device from an easy mark into a secure Raspberry Pi; a hardened system that keeps intruders at bay. The difference between a secure and compromised Pi often comes down to these essential configuration steps.
Key Takeaways
- Change default username/password and set strong authentication policies to prevent unauthorized access.
- Configure SSH properly with key-based authentication and disable password login.
- Install and set up a firewall like UFW to control network traffic.
- Implement automatic system updates to patch security vulnerabilities quickly.
- Apply proper file permissions and encrypt sensitive data to protect against physical theft.
Change Default Credentials to Enhance Authentication Security
When you first set up your Raspberry Pi, it comes preconfigured with the username “pi” and password “raspberry” – credentials that are publicly documented and widely known in the cybersecurity community.
This creates dangerous security misconceptions, as these default credentials serve as skeleton keys for attackers targeting over 200,000 internet-connected Pi devices.
You must prioritize credential complexity and password uniqueness immediately during initial configuration.
Implement user account limitations by removing unnecessary accounts and enforcing strong authentication practices.
Leverage credential management tools to generate and store complex passwords, ensuring compliance practices are met.
Consider setting up password expiration policies to enforce regular changes and prevent credential stagnation.
Don’t stop there—establish regular intrusion monitoring protocols to detect unauthorized access attempts.
Remember that credential changes represent your first defense against the automated bots that comprise 70% of malicious web traffic targeting default-configured devices.
The default username ‘pi’ makes your device an attractive target for attackers conducting systematic vulnerability scans across networks.
Research shows that the ‘pi’ and ‘raspberry’ combination ranks as the eighth most common failed login attempt in brute-force attacks.
Implement SSH key-based access to completely eliminate password attack vectors and significantly enhance your device’s security posture.
Configure a Secure Raspberry Pi with a Robust Firewall and Network Security Solution
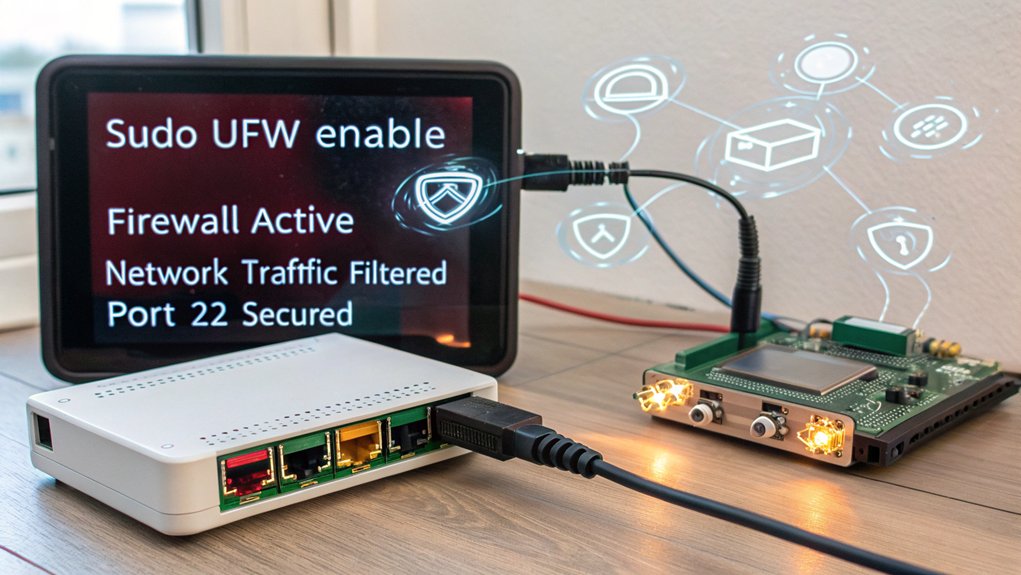
A properly configured firewall forms the cornerstone of your secure Raspberry Pi’s network security architecture, creating essential protection against unauthorized access and potential attacks.
Implement tools like UFW or OpenWrt for thorough firewall management across your network perimeter.
- Install and configure UFW with `sudo apt install ufw`, establish default policies (deny incoming/allow outgoing), and enable specific ports for required services only.
- Implement network segmentation using VLANs or separate networks to isolate critical systems from potential breach vectors.
- Deploy network monitoring tools like Nagios or ntop to establish continuous visibility of traffic patterns, helping you identify anomalous activity before it becomes problematic.
Remember that software encryption alone cannot fully secure your Raspberry Pi due to physical access vulnerabilities that may compromise your device’s security.
Enhance your security posture further by implementing QoS configurations to prioritize critical traffic and conducting regular firewall rule reviews to maintain ideal protection. The secure Raspberry Pi offers low power consumption while providing robust firewall capabilities compared to conventional hardware solutions. Regularly audit your setup with penetration tests to identify and address potential vulnerabilities before they can be exploited. When troubleshooting installation errors with UFW, check community discussions for alternative solutions to package retrieval failures.
Implement Secure Remote Access With SSH Keys
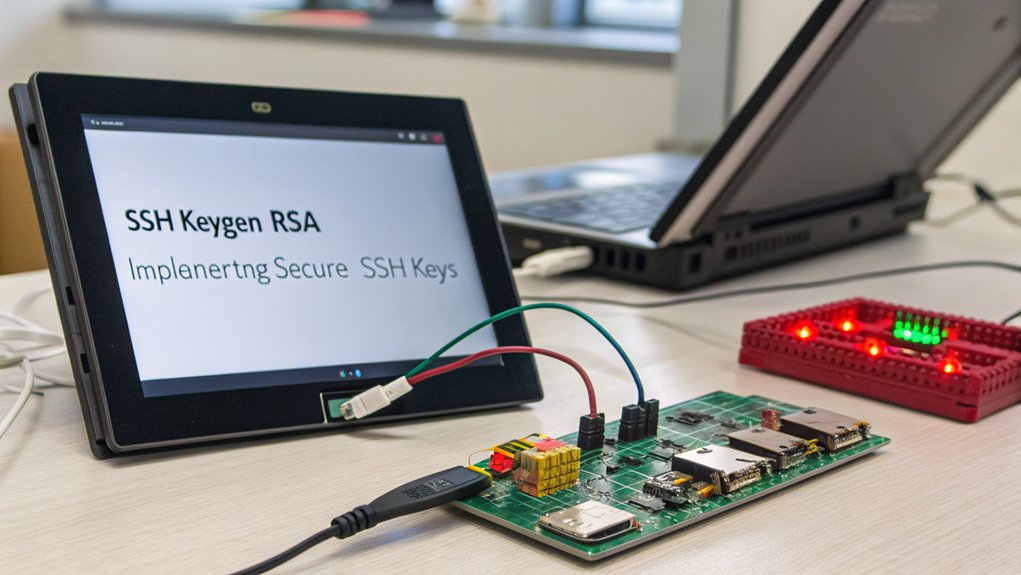
To implement secure remote access to your secure Raspberry Pi, you’ll need to configure SSH keys that replace the default password authentication with cryptographic verification.
SSH keys offer vastly superior security by requiring possession of a private key file, eliminating vulnerability to brute force attacks and password interception attempts.
After generating and transferring your key pair, you should immediately disable password authentication in your SSH configuration and implement IP-based access restrictions to create a robust defense against unauthorized access attempts. Use the ssh-keygen command on your host machine to create the necessary public and private key pair. The standard SSH key provides enhanced security with its 2048 characters length, making it extremely difficult for attackers to compromise. Regular key rotation enhances your access control and provides an additional layer of security over time.
Configure SSH Keys
Implementing secure remote access to your secure Raspberry Pi requires configuring SSH key authentication, which greatly enhances security compared to password-based logins.
Generate a key pair on your host machine using `ssh-keygen`, then transfer the public key to your Pi’s `~/.ssh/authorized_keys` file using `ssh-copy-id`.
For ideal key management, follow these steps:
- Configure your SSH client to automatically use your private key by adding relevant entries to `~/.ssh/config`, eliminating the need to specify key paths manually.
- Implement proper key rotation by periodically generating new key pairs and updating authorized keys to minimize potential security breaches.
- Verify proper permissions (700 for `.ssh` directory, 600 for `authorized_keys` file) to guarantee your SSH server accepts the keys.
After completing setup, consider disabling password authentication in `/etc/ssh/sshd_config` by setting `PasswordAuthentication no` to further strengthen your security posture.
If you work with Windows systems, you may need to convert your PuTTY keys to OpenSSH format using PuTTY tools for compatibility with standard SSH clients.
Disable Password Authentication
Once SSH keys are properly configured, the next security enhancement involves eliminating password authentication entirely.
Edit `/etc/ssh/sshd_config` to set both `PasswordAuthentication no` and `ChallengeResponseAuthentication no`, effectively closing this attack vector. After modifying SSH configuration, restart the service with `sudo systemctl restart sshd`.
Before implementing these security best practices, verify key-based authentication works from all required devices to prevent lockout scenarios.
For thorough protection, consider additional user account management techniques like placing an asterisk in the password field of `/etc/shadow` to disable system-level password access.
Test your configuration using `ssh -v` to confirm password authentication is rejected while keys work properly.
Monitor `/var/log/auth.log` to verify the authentication methods in use and make sure no unexpected access attempts succeed.
Be aware that having the UsePAM=yes setting enabled in your configuration could potentially bypass your password authentication settings.
Using non-standard ports between 1024 and 65535 can reduce the frequency of automated scanning attempts targeting your SSH service.
Limit SSH Access
Secure authentication represents the cornerstone of SSH access limitation on your secyre Raspberry Pi. By implementing proper SSH configurations, you’ll establish robust protection against unauthorized access.
Configure `/etc/ssh/sshd_config` to restrict which users can connect by adding `AllowUsers username1 username2` to specify permitted accounts.
- Implement user restrictions by adding the `AllowUsers` directive to your sshd_config file, limiting SSH access to only specified users while blocking all others automatically.
- Establish access controls through IP restrictions using `ListenAddress` directives or firewall rules to only permit connections from trusted networks.
- Enable connection monitoring by configuring SSH logging options and regularly reviewing auth logs for suspicious activity patterns.
- Generate SSH keypairs using the ssh-keygen command to create public-private keys that provide more secure authentication than passwords.
Setting up public key authentication eliminates password vulnerability and significantly improves security by requiring valid key format when adding entries to the authorized_keys file.
This approach addresses the exposed port vulnerabilities that traditional software security measures often overlook in secure Raspberry Pi deployments.
Enabling secure boot mode on your Raspberry Pi adds another layer of protection by ensuring only trusted software runs on your device.
After implementing these changes, restart the SSH service with `sudo systemctl restart sshd` to enforce your new security parameters.
Create a Regular System Update Schedule
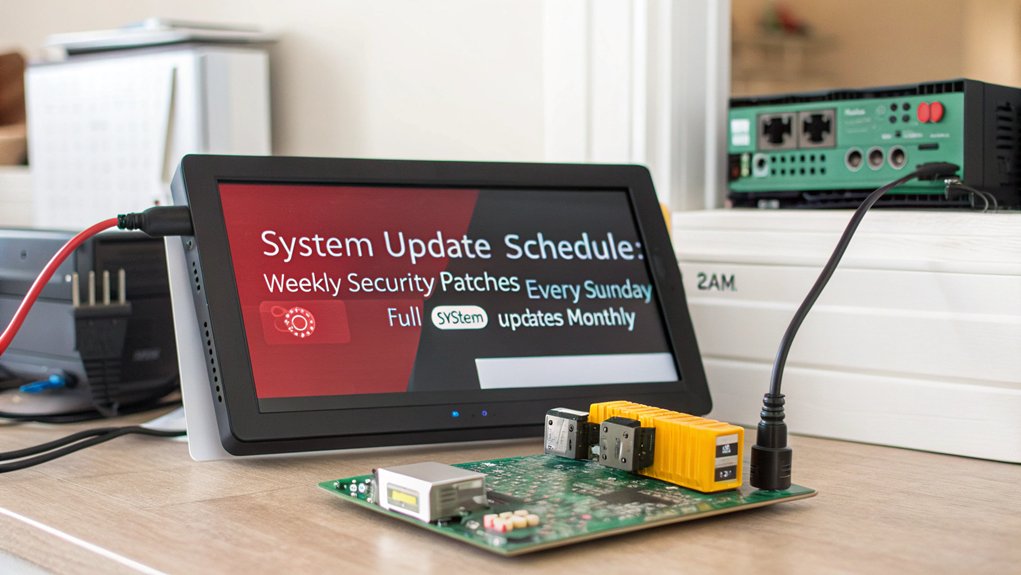
Regular system updates are essential for maintaining your Raspberry Pi’s security posture and operational stability.
You’ve got two efficient options for implementing automatic updates: the unattended-upgrades package or custom cron-scheduled scripts.
To configure unattended-upgrades, install the package with `sudo apt install unattended-upgrades`, then run `sudo dpkg-reconfigure –priority=low unattended-upgrades`.
Edit the configuration file to include Raspberry Pi Foundation repositories for extensive update coverage.
For greater control, create a shell script with update commands and schedule it via crontab.
This update scheduling approach allows precise timing and customization of maintenance operations.
While automatic updates can be convenient, be aware that they may occasionally lead to dependency issues in Linux-based systems like Raspberry Pi OS.
Regardless of your method, make sure you’re logging update activities and scheduling them during low-usage periods.
Combine your update strategy with backups to protect against potential issues while keeping your Pi’s security fortified against emerging threats.
For secure Raspberry Pi devices deployed in remote locations, setting up automated updates becomes particularly important as physical access for maintenance is limited.
Remember to run the commands `sudo apt update` and `sudo apt upgrade` regularly for optimal performance of your Raspberry Pi system.
Installing Node Version Manager can simplify managing different Node.js versions and facilitate easier updates when needed.
Restrict Physical Access to Your Secure Raspberry Pi Device
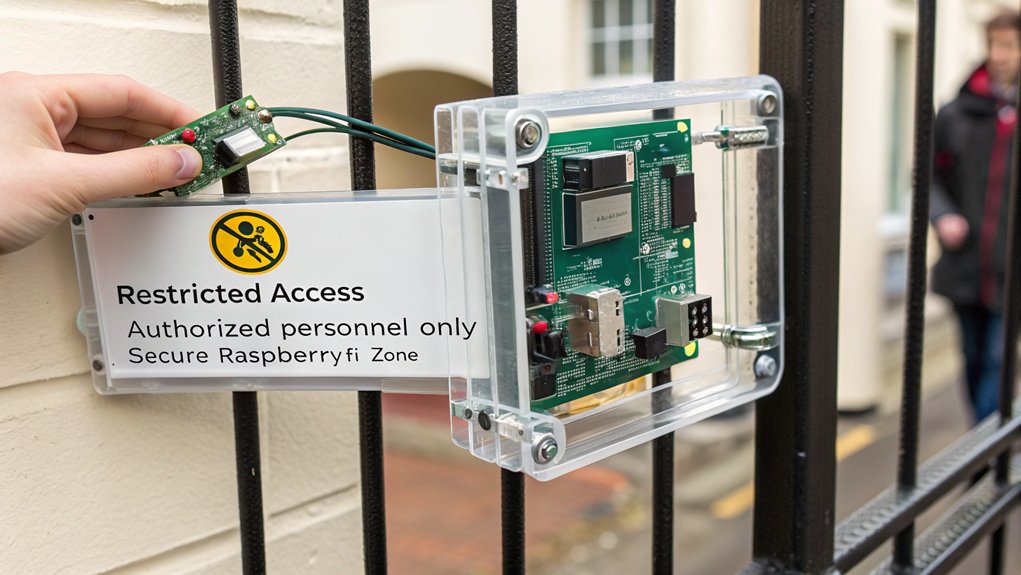
Beyond digital security measures, the physical protection of your secure Raspberry Pi represents a fundamental security layer that’s often overlooked.
While we obsess over software defenses, the physical security of your Pi remains the vulnerable foundation of your entire system.
Deploy tamper-proof enclosures with integrated cooling systems to prevent unauthorized hardware access and guarantee peak performance. Implement robust port security protocols by using port locks and sealing unused connections to reduce attack vectors. Consider incorporating an SD card slot cover that requires complete disassembly to access for enhanced protection.
- Location Protection – House your Pi in restricted areas with surveillance integration, visitor control policies, and alarm systems to detect unauthorized access attempts.
- Power Infrastructure – Establish a secure power supply using UPS systems and surge protectors to prevent crashes during outages and protect against electrical tampering. Utilizing a high-quality Raspberry Pi 4 model will provide enhanced GPIO access for connecting additional security sensors.
- Management Systems – Deploy asset tracking systems with inventory software that enables real-time monitoring of device location and facilitates emergency response plans.
- Data Security – Implement LUKS encryption on your secure Raspberry Pi to protect against physical theft while maintaining acceptable performance levels on the system.
For optimal cooling performance during secure operation, consider solutions like the MarsKit with its transparent case that offers both visibility for monitoring and integrated cooling components.
Manage File Permissions and Sensitive Data Storage
While your Raspberry Pi’s physical security forms a critical defense layer, proper file permission management constitutes the backbone of your device’s data protection strategy.
Apply restrictive permissions to sensitive data using the chmod command—opt for 600 (owner read/write only) for private files rather than overly permissive settings like 777. Remember that running chmod without sudo may be sufficient for files you own without needing superuser privileges.
Verify file ownership with `ls -l` and correct as needed with `chown`. Consider adding users to specific groups like gpio group rather than the root group for controlled access to hardware features. Store sensitive data exclusively in directories with strict permissions, and leverage encryption tools like LUKS or GPG for additional protection.
Never place confidential information in world-readable locations like `/tmp` or `/var/www`.
Implement regular permission audits, especially after system changes. For web-facing applications, installing an SSL certificate can provide an additional layer of security by encrypting data transmission between your Pi and users. Assign users to appropriate groups for better access control, and document any exceptions to your permission policies to maintain a consistent security posture. Consider setting up network segmentation to isolate your secure Raspberry Pi from other critical systems on your network.
Set Up Monitoring and Intrusion Detection Systems

Implementing active system monitoring and intrusion detection represents your next security layer after managing file permissions.
Deploy monitoring tools like Grafana or NetBeez to track network metrics in real-time, while establishing intrusion detection through OSSEC or Wazuh to identify suspicious activities.
Configure the Linux audit framework (auditd) to record system calls and critical file access events for thorough log analysis. Set up a notification system using libraries like smtplib to send real-time email alerts when suspicious activity is detected. Ensure your Raspberry Pi has a stable connection for these monitoring tools to function properly. Verify SSH access is configured correctly using SSH status commands to enable secure remote monitoring of your system. Additionally, consider implementing Nagios for its robust alerting capabilities that will notify you immediately of potential security breaches or system failures.
- Install host-based intrusion detection and configure ELK stack for centralized log analysis, focusing on authentication attempts and unauthorized changes.
- Set up automated security audits using Lynis or OpenVAS to perform regular vulnerability scans of your Raspberry Pi system.
- Implement configuration backup procedures for your monitoring infrastructure to guarantee rapid recovery after incidents.
Frequently Asked Questions
How Can I Securely Use My Pi as an IoT Hub?
Implement robust IoT protocols with strong device authentication. Establish secure connections using SSH keys and encryption. Enforce data privacy through network segmentation. You’ll need TLS/SSL for all IoT communications to prevent unauthorized access.
Can I Encrypt My Raspberry Pi’s Entire File System?
You’d think a tiny Pi couldn’t handle security, but you’re wrong. Full disk encryption is achievable by encrypting partitions with LUKS, though boot partitions typically remain unencrypted. Performance impact varies by model.
How Do I Recover Access if I Forget My Credentials?
You can recover forgotten credentials through several password recovery methods: mount the SD card on another system, utilize single-user mode, employ configuration utilities if auto-login is enabled, or use alternative reset options through SSH access.
What Security Measures Work With Pi’s Limited Resources?
80% of IoT security breaches stem from weak configurations. Optimize your Pi’s security by prioritizing lightweight firewall configurations like UFW and implementing strict user permissions through minimalist sudo policy configurations.
Are There Pi-Specific Vulnerabilities Different From Standard Linux?
Yes, your Raspberry Pi faces unique vulnerabilities beyond standard Linux, including ARM-specific hardware exploits (CVE-2018-18068), LED speech signal leakage, and PoisonTap attacks. Apply security patches promptly to mitigate these Pi-specific risks.
Conclusion
Just as a fortress requires multiple layers of defense—walls, moats, and vigilant guards—your Raspberry Pi needs thorough protection. You’ve now built your digital stronghold through credential management, firewall configuration, SSH hardening, update protocols, physical safeguards, permission structures, and monitoring systems. This multi-layered approach guarantees that, like any well-defended castle, your Pi won’t fall to attackers testing its vulnerabilities.

I am a retired software engineer with experience in a multitude of areas including managing AWS and VMWare development environments. I bought a relative a mini-PC a year ago and have become passionate about the technology and its potential to change how we deploy software.