
When you set up Nodejs on Raspberry Pi, it opens the door to countless creative projects. With the Pi’s enhanced performance and multitasking capabilities, it handles multiple applications smoothly. The setup process is simple, allowing you to jump straight into development with minimal hassle. You’ll be able to create IoT devices, home automation systems, and even web-controlled gadgets, all powered by JavaScript. Plus, the supportive community and abundant resources make troubleshooting a breeze. If you’re curious about maximizing your Pi’s potential or learning about specific tools and techniques, there’s so much more to uncover.
Key Takeaways
- Node.js enables the development of lightweight, scalable applications ideal for Raspberry Pi’s processing capabilities and efficient power consumption.
- The easy setup through Raspberry Pi OS makes it accessible for users to quickly deploy various applications.
- Node.js supports numerous IoT projects, allowing Raspberry Pi to connect with sensors and devices seamlessly.
- Community resources and guides enhance learning and troubleshooting, fostering an active development environment.
- Multitasking and performance optimization techniques ensure smooth operation for multiple services on Raspberry Pi.
Performance Advantages of Raspberry Pi
When you plunge into the performance advantages of the Raspberry Pi, the impressive capabilities of its latest models stand out.
The Raspberry Pi 5 boasts a 2.4GHz Cortex-A76 chip with four cores, delivering a striking threefold increase in processor performance across both single and multi-core workloads compared to its predecessor, the Pi 4. This multi-core setup not only enhances your ability to multitask but also guarantees smoother operation when running multiple applications or services simultaneously. Additionally, the Pi is ideal for hosting Node.js applications which can leverage its processing power for various automation projects.
While the Pi 5 may consume around 7 watts under stress, higher than the Pi 4, its efficient power management remains manageable for various projects. Despite the trade-off in power efficiency, the performance benefits far outweigh the costs for many innovators like you. The device also features active cooling with an aluminum heatsink and a temperature-controlled blower fan, maintaining temperatures around 50.5°C. It also benefits from significant improvements in graphical performance, achieving over 230 FPS in YQuake2.
With its vast compatibility and versatility, the Raspberry Pi supports numerous programming languages and peripheral options. It includes dual-band 802.11ac Wi-Fi and Bluetooth 5.0/Bluetooth Low Energy (BLE) for robust wireless connectivity.
You can effortlessly transform it into a portable computer that handles a range of tasks, from coding to photo editing. The Pi provides an engaging platform for developing both fun and serious projects, making it an excellent choice for those enthusiastic to explore new technology.
Simplified Setup and Deployment
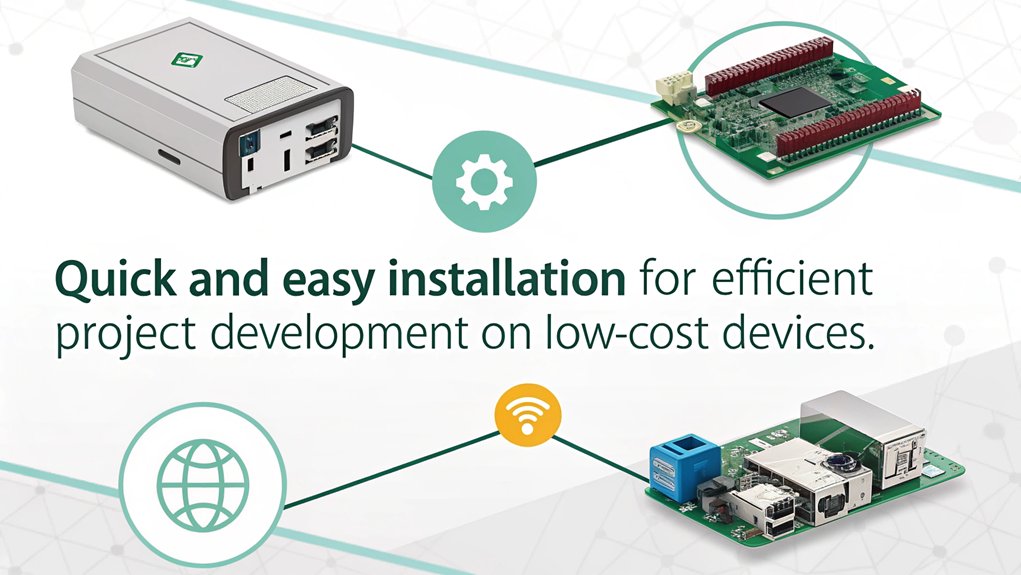
To make your experience with Node.js on Raspberry Pi seamless, you’ll find that the installation process is impressively straightforward. Node.js is readily available in the default repository of Raspberry Pi OS, enabling you to install it quickly using simple ‘apt’ commands. This default repository version may be outdated, so accessing the latest versions through NodeSource can be beneficial too.
Additionally, the use of pre-existing project templates can significantly simplify your initial setup, allowing you to focus on development rather than configuration.
If you’d prefer, GUI tools like the “Add/remove software” option also make installation a breeze. For those keen on the latest versions, scripts from NodeSource are handy for setting up specific Node.js versions.
When it comes to version management, tools like ‘nodenv’ help you manage different Node.js versions easily, ensuring compatibility and maximum performance. With these tools, you won’t be limited to the versions available in Raspbian’s repositories.
For project deployment, you can automate various tasks using ‘npm install’ and ‘npm start’, which streamlines the process.
Alternatively, bundling your application with the Node.js runtime through tools like ‘pkg’ creates a standalone executable, making distribution simple, especially for non-technical users.
Versatile Project Opportunities
Versatile project opportunities abound with Node.js on Raspberry Pi, making it an exciting platform for innovators and hobbyists alike. You can immerse yourself in a myriad of projects that emphasize sensor integration and web connectivity, allowing you to bring your ideas to life seamlessly. Consider the importance of energy efficiency when selecting your hardware to ensure long-term cost-effectiveness.
Consider these innovative projects:
- IoT and Sensor Projects: Build systems that monitor environmental conditions using sensors, storing this data in InfluxDB Cloud and visualizing it with Node-RED. Furthermore, you can integrate cloud platforms for extended data access and monitoring capabilities, enhancing the effectiveness of your sensor projects. Utilizing real-time data processing ensures timely and accurate insights gathered from your sensors. Additionally, ensuring proper Bluetooth connectivity, such as using SBC codecs, can improve the stability of your wireless sensor networks.
- Web-Controlled Devices: Create a web interface to control robots remotely. Use JavaScript libraries to manage movements, stream video, or automate tasks. Ensure compatibility between your mini PC and monitor for an immersive viewing experience.
- Home Automation Systems: Automate everyday tasks with Node.js, controlling everything from LED lights to kitchen appliances, and even integrating with cloud services for enhanced functionality. This can also involve setting up wireless audio streaming using Bluetooth devices on your Raspberry Pi for a more immersive experience.
With Node.js driving your Raspberry Pi projects, you’ll not only sharpen your technical skills but also engage in hands-on learning.
The combination of hardware and software in these diverse projects guarantees that you’ll keep experimenting and evolving, ultimately laying the groundwork for future innovations.
Get ready to release your creativity.
Key Software and Frameworks
Starting on your Raspberry Pi projects with Node.js means equipping yourself with the right software and frameworks for success. You’ll benefit greatly from the Node.js features that enhance your development experience, particularly its non-blocking I/O, which is perfect for handling multiple tasks simultaneously. Additionally, ensure you have the necessary hardware requirements prepared before diving into your projects. This setup is often recommended because Node.js builds are optimized for Debian-based systems like Raspberry Pi OS.
To further secure your Raspberry Pi environment, implementing robust security measures such as firewall setup can protect against unauthorized access and potential threats.
Here’s a quick overview of the key software components you’ll need:
| Software | Purpose | Installation Command |
|---|---|---|
| Node.js | Core runtime for executing JavaScript | ‘sudo apt install nodejs’ |
| NPM | Package manager for installing libraries | ‘sudo apt install npm’ |
| build-essential | Tools for native hardware compilation | ‘sudo apt install build-essential’ |
| GPIO Libraries | Control hardware like GPIO pins | ‘npm install onoff’ or ‘npm install rpi-gpio’ |
These essentials will reveal the Raspberry Pi advantages, allowing you to create innovative applications. With NPM, you can manage dependencies easily and harness high-level libraries to control hardware for IoT projects and beyond. Just remember, running your server using ‘sudo’ is vital for accessing GPIO pins effectively. Happy coding!
Performance Considerations to Note
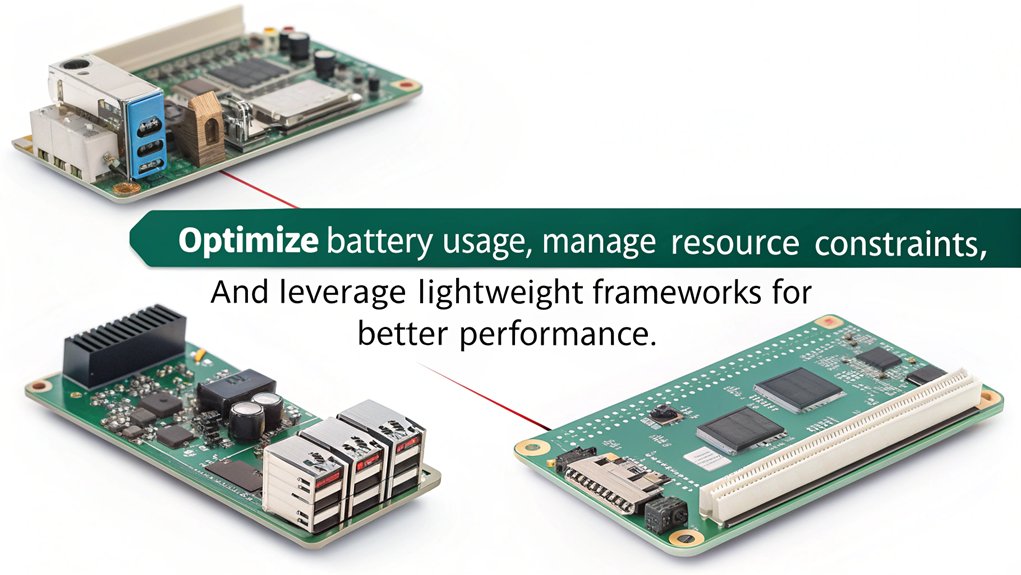
When you’re setting up Node.js on a Raspberry Pi, understanding its performance limitations is essential. The ARM architecture can affect how your applications run, and using binary executables instead of compiling can save you time. With prices starting at just $35 computer, you’ll also want to explore optimization techniques to squeeze the most out of Node.js for smoother performance on these resource-constrained devices. Additionally, considering the energy efficiency of mini PCs, as seen in their application as media servers, can be beneficial for long-term operation energy efficiency. For instance, devices like the Mac Mini 2024 emphasize sustainability and energy efficiency, which are important considerations for any long-term computing setup. Node Version Manager can aid in managing multiple Node.js versions for better performance.
Performance Limitations of ARM
While ARM processors excel in energy efficiency and power consumption, they come with certain performance limitations that you should consider.
These processors, while fantastic for low-power devices, often fall short in high-performance scenarios.
- Lower performance at the same clock speed compared to x86 processors.
- Not ideal for high-end gaming or intensive computational tasks.
- Compatibility challenges with existing software ecosystems.
Due to their microarchitectural design focused on register-based processing, ARM processors may struggle with tasks requiring direct memory access. This limitation can lead to lower overall performance, especially for applications like gaming or complex computational workloads. Moreover, the ARM software ecosystem is still evolving, which means native support for x86 applications can be tricky without emulation or significant performance overhead. You might encounter that essential tools can have compatibility challenges, affecting popular applications or security software. Additionally, the reliance on holistic optimization across hardware and software layers can greatly impact the efficiency and performance of ARM applications in demanding contexts. As noted, the limited availability of applications for ARM architecture can pose further challenges in accessing the necessary tools for a seamless user experience.
Impact of Binary Executables
The choice of binary executables has a significant impact on the performance of Node.js on Raspberry Pi. You might find that opting for prebuilt binaries offers distinct prebuilt benefits, such as faster startup times compared to manually compiled versions. Since prebuilt binaries are optimized for ARM architectures like ARMv6l, they provide better performance without the hassle of manual assembly. However, it’s worth noting that startup times can drastically vary, often taking as long as 12 seconds in certain cases. Additionally, using Node.js installation through NodeSource can streamline the setup process, ensuring optimal compatibility with your device.
Here’s a quick comparison to illustrate the performance differences:
| Aspect | Prebuilt Binaries | Manually Compiled Binaries |
|---|---|---|
| Startup Time | Much faster (seconds) | Sometimes exceeds 12 seconds |
| Compilation Time | None | Up to 30 minutes |
| Optimization Level | High | Often lower |
If you take the route of manual compilation, you’ll face compilation challenges that can introduce inefficiencies. Issues like incorrect build configurations can further exacerbate slow startup times. Profiling tools and careful performance tests, like comparing startup times across environments, can reveal bottlenecks that hinder your Node.js experience. Embracing the benefits of prebuilt binaries simplifies the setup process while maximizing performance on your Raspberry Pi.
Optimization for Node.js
To optimize and set up Nodejs on Raspberry Pi, it’s crucial to focus on both performance and resource management. Start by implementing efficient caching strategies to reduce latency and improve response times. You can use Node’s built-in profiler to identify performance bottlenecks and streamline your code accordingly. Additionally, take advantage of the compact size of the Raspberry Pi Zero, as it allows you to deploy applications in space-constrained environments. In conjunction with this, consider integrating memory and CPU usage scripts to monitor your application’s resource consumption effectively.
Asynchronous programming is another critical aspect. By leveraging it, you can manage resources more efficiently and minimize blocking operations. Ensure that your system has adequate RAM, such as a minimum of 16 GB, to prevent performance issues. Utilizing strong programming proficiency in languages like Python, which is often used with Raspberry Pi projects, can also enhance your ability to optimize Node.js applications.
Here are a few key strategies to take into account:
- Optimize memory usage: Process data in chunks using streams to conserve memory.
- Limit database queries: Optimize and limit database interactions to enhance efficiency.
- Use APM tools: Regularly monitor and profile your application for insights into its performance.
To further enhance performance, contemplate clustering techniques to distribute loads evenly, and verify your operating system is optimized for the Raspberry Pi environment with techniques such as configuring peripherals using raspi-config. Regularly update your hypervisor and guest operating systems to patch vulnerabilities.
Remember that understanding your hardware’s limitations and adjusting your expectations accordingly can go a long way. By focusing on these techniques, you’ll create a more responsive Node.js application on your Raspberry Pi, paving the way for innovative projects.
Set up Nodejs on Raspberry Pi: Community Support and Resources

A wealth of community support and resources is available for anyone setting up Node.js on a Raspberry Pi. You’ll find detailed installation guides and step-by-step tutorials tailored for various Raspberry Pi models, ensuring you have the right support for your specific setup. These resources include instructions for installing different Node.js versions and verifying your installation, along with additional guidance for managing packages with npm. It’s important to confirm the presence of ‘tar’ and other necessary utilities before starting the installation process. Engaging with the community is easier than ever, thanks to active forums and discussions on platforms like GitHub. Here, you can troubleshoot installation issues, share experiences, and receive feedback from fellow enthusiasts. For premium members, private forums offer even more tailored support. The OpenJS Foundation provides valuable resources for Node-RED installations, enhancing your Node.js experience on the Raspberry Pi. Moreover, you can access the latest versions of Node.js and utilize scripts that streamline the installation process. Automatic updates keep your setup current and efficient.
Frequently Asked Questions
Can I Run a Production Server Using Node.Js on Raspberry Pi?
Yes, you can run a production server using Node.js on a Raspberry Pi. With proper server configuration and consideration of production feasibility, you’ll benefit from a cost-effective, efficient platform for innovative applications and services.
What Are the Main Limitations of Node.Js on Raspberry Pi?
Node.js on Raspberry Pi faces memory limitations and CPU constraints, resulting in slower performance and longer response times. Additionally, compatibility issues with ARMv6 architecture hinder efficient use of modern Node.js versions in older models.
Is Raspberry Pi Suitable for Heavy Data Processing With Node.Js?
Imagine a tiny marathon runner; while the Raspberry Pi can’t sprint through heavy data processing, it excels with performance optimization. For lightweight tasks, it’s your trusty companion; for heavy lifting, it might struggle.
How Does Node.Js Performance Compare Between Raspberry Pi Models?
Node.js performance varies across Raspberry Pi models. In Raspberry Pi comparisons, benchmarks show significant improvements in newer models, offering faster execution and better handling of concurrent tasks, making them ideal for innovative projects demanding efficiency.
Can I Use Node.Js With External Hardware on Raspberry Pi?
Yes, you can absolutely use Node.js with external hardware on Raspberry Pi. By leveraging Node.js libraries, you gain GPIO access, enabling sensor integration and ensuring hardware compatibility for innovative projects like IoT systems and home automation
Conclusion
Setting up Node.js on your Raspberry Pi opens up a world of opportunities. You’ll enjoy performance boosts for your projects, simplified setup for easy deployments, and access to versatile frameworks for innovative creations. Plus, you can tap into a thriving community for support and resources. So, whether you’re building a simple app or a complex system, Node.js on your Raspberry Pi is a powerful choice that brings both flexibility and efficiency to your development journey.

I am a retired software engineer with experience in a multitude of areas including managing AWS and VMWare development environments. I bought a relative a mini-PC a year ago and have become passionate about the technology and its potential to change how we deploy software.