Just as Intel mini PCs have become surprisingly affordable, Android has matured into a viable alternative to traditional desktop operating systems. You’ll discover that setting up Android on a mini PC combines the simplicity of a mobile interface with the power of x86 hardware. This guide walks through everything from choosing the right Android-x86 build to optimizing graphics acceleration and resolving driver compatibility issues. The transformation might seem complex, but your reward awaits in the next sections.
Key Takeaways
- Android OS offers efficient resource utilization on mini PCs requiring less RAM, storage, and power consumption for media streaming.
- Create bootable installation media using tools like Win32 Disk Imager, Rufus, or Balena Etcher with Android-x86 or compatible custom ROM.
- Ensure hardware compatibility with minimum 4GB RAM, 16GB storage, and verify CPU compatibility (x86 or ARM) before installation.
- Connect peripherals via HDMI for display output, adjust resolution settings, and use USB ports for keyboard and mouse connectivity.
- Install Google Play Store by flashing GApps or use alternative app sources like F-Droid and optimize performance by limiting background processes.
Why Setting up Android on a Mini PC is a Viable Choice
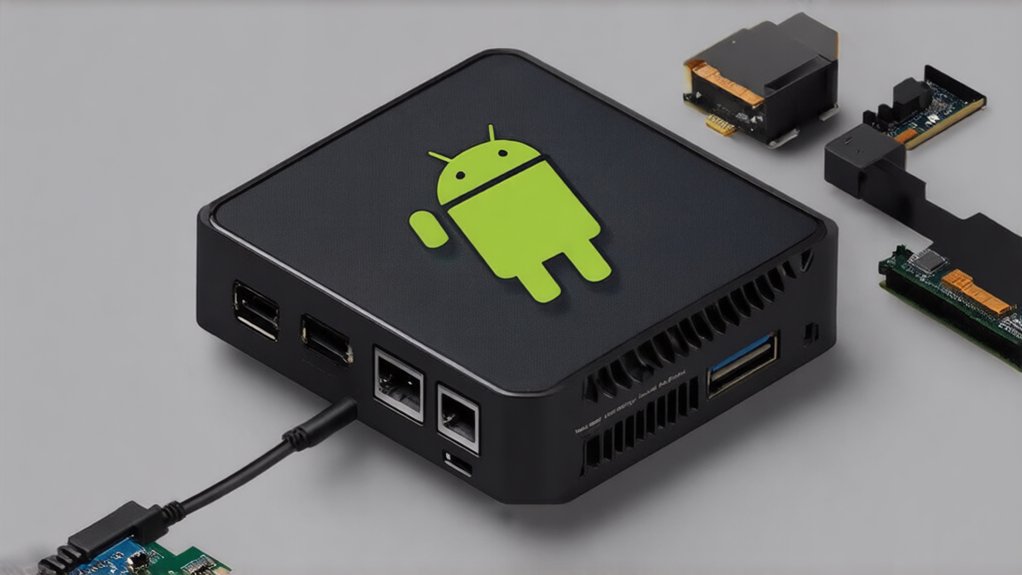
While many users default to Windows for their computing needs, Android OS presents a compelling alternative for mini PC setups. The key Android benefits stem from its efficient resource utilization—requiring less RAM and storage while consuming minimal power, extending your device’s lifespan and enabling fanless, quieter designs.
Mini PC compatibility is impressive across both ARM and x86 architectures, with many models offering official Android support or dual-boot capabilities. Many Android boxes are designed specifically for media streaming capabilities and come with pre-installed streaming apps. Android systems are energy-efficient processors, making them ideal for continuous operation in home lab environments. You’ll experience smoother performance for everyday tasks like web browsing and media streaming, particularly on lower-spec hardware where Windows might struggle.
The lightweight nature of Android translates to less hardware wear, cooler operation, and longer warranties.
For developers and tech enthusiasts seeking innovation, Android’s open-source foundation provides extensive customization options without the licensing fees associated with Windows. Android also provides access to a vast app library that offers solutions for entertainment, productivity, and specialized tools.
Selecting the Optimal Android-x86 Version for Your Hardware
How effectively your mini PC runs Android depends largely on selecting the right Android-x86 variant for your specific hardware configuration. Version compatibility directly correlates with your system’s hardware requirements, determining whether you’ll experience peak performance or compatibility issues. Several operating systems like Android x86 offer open-source solutions that are regularly updated since 2019. If considering utility software like the UniFi Network Application, verify hardware compatibility before installation. Mini PCs with Intel N95 processors deliver excellent multi-core performance for Android applications while maintaining energy efficiency. Modern gaming mini PCs with advanced cooling systems provide thermal stability that’s crucial for running Android emulation over extended periods.
| Feature | 32-bit Version | 64-bit Version | CM/LineageOS Variant |
|---|---|---|---|
| CPU Compatibility | Older x86 CPUs | Modern x86_64 CPUs | Both architectures |
| RAM Requirement | 1-2GB minimum | 2GB+ recommended | 2GB+ recommended |
| GPU Support | Basic OpenGL ES | Enhanced OpenGL ES 2.0+ | Custom GPU optimizations |
| App Compatibility | Most apps work | Better for high-performance apps | Modified app ecosystem |
For peak performance, assess your mini PC’s specifications before installation. Newer hardware generally benefits from 64-bit versions, while older systems may achieve better stability with 32-bit builds. The open-source nature allows for customization if you encounter specific hardware compatibility challenges.
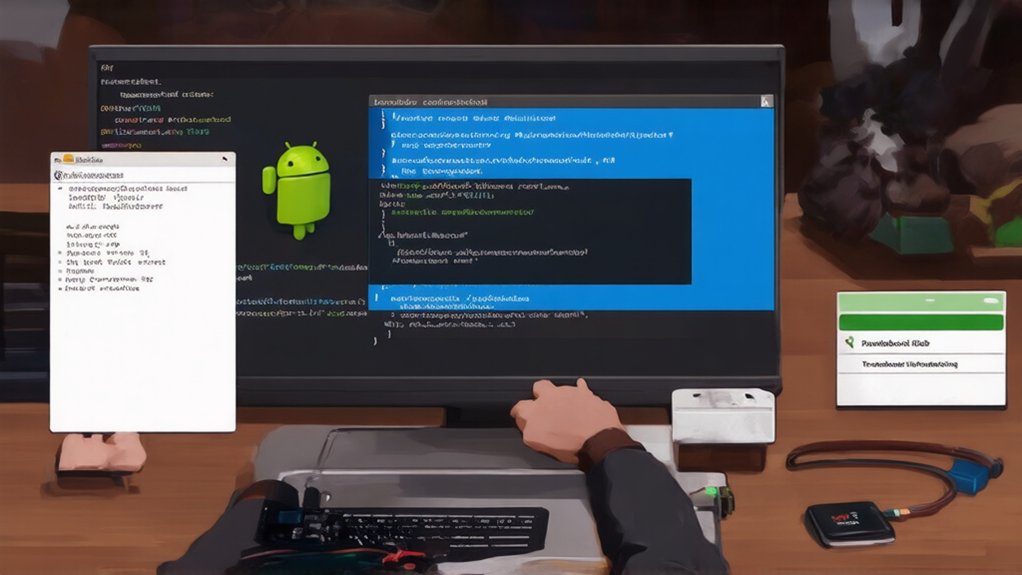
Essential Tools for Creating a Bootable Android Installation
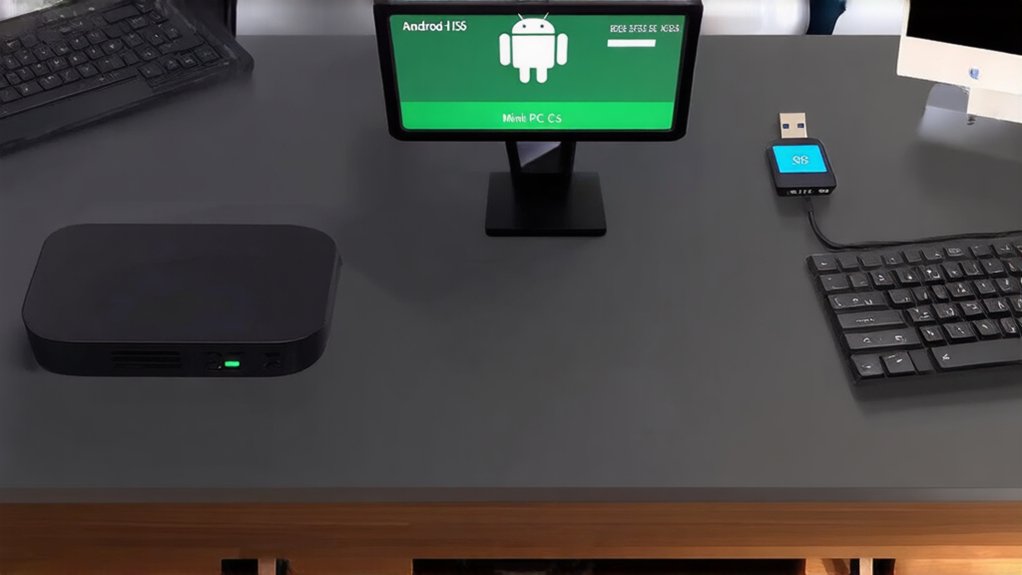
Creating a bootable Android installation for your mini PC requires specific software tools designed to properly format and transfer system images to your installation media.
You’ll need reliable utilities that can handle the Android-x86 or F OS image files correctly to guarantee proper boot sequence execution.
- Win32 Disk Imager/Rufus – Windows-based bootable USB creation tools that offer precise image writing capabilities with minimal corruption risk.
- Balena Etcher – Cross-platform installation tool featuring verification processes to confirm your Android image transfers correctly.
- UNetbootin – Versatile option that supports various Android distributions and creates persistent storage partitions automatically.
When selecting installation tools, verify compatibility with your target Android version. Android-x86 installations support multiple filesystems including ext4, ntfs, and fat32, with NTFS being particularly useful for Windows co-existence.
Modern utilities like EtchDroid are specifically optimized for Android images, providing better hardware detection and boot sector formatting than generic alternatives.
The entire process of creating an installation drive with Balena Etcher typically takes about 5 minutes, making it a quick preparation step before installing F OS on your computer.
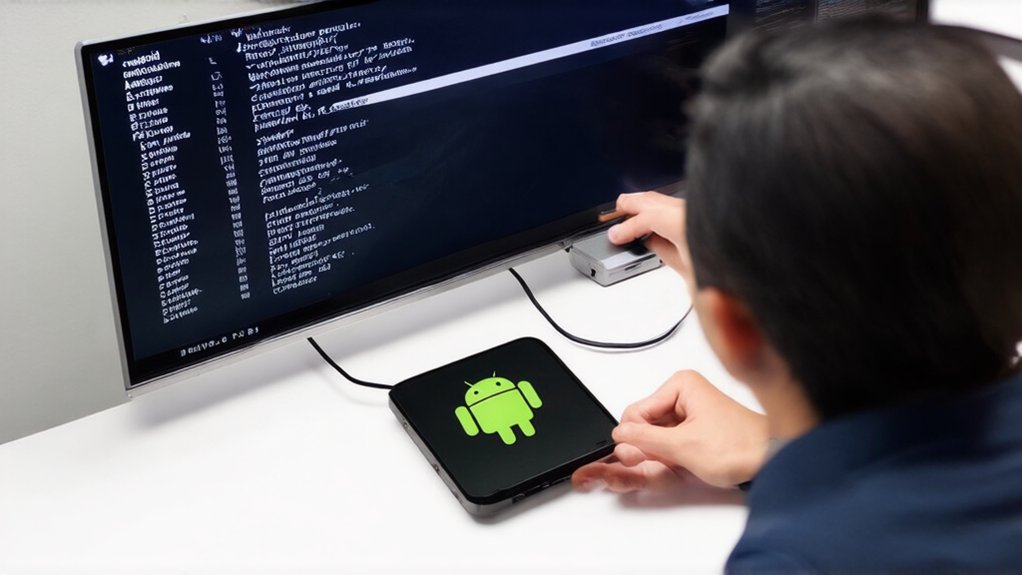
Step-by-Step Android Installation Process on Mini PC Hardware
You’ll need to prepare your mini PC hardware by ensuring it meets the minimum system requirements for Android x86, including compatible CPU architecture and sufficient RAM.
Connect your USB flash drive to your computer and use Rufus to create a bootable installation media with your downloaded Android image file.
After inserting the prepared USB drive into your mini PC, restart and press the appropriate key (often F12 or ESC) to access the boot menu where you’ll select the USB device as your boot source.
Following on-screen prompts, you’ll need to select language preferences and properly partition the drive if necessary for optimal installation results.
Remember that ARM-based CPUs are not supported on Windows, Mac, or Linux machines when setting up Android development environments.
Preparing Mini PC Hardware
Three essential steps must be completed before installing Android on your mini PC to guarantee ideal compatibility and performance.
Hardware compatibility is your foundation—verify your processor architecture (x86 or ARM) aligns with your target Android version. Performance considerations should guide component selection to avoid bottlenecks during operation. The system comes with Mali-T764 GPU which provides excellent graphics performance for 4K output at 60Hz. Your mini PC will need 64-bit x86 architecture to properly support Android OS development. While mini PCs are typically known for their energy efficiency, this also means less heat generation during extended Android usage. Many budget-friendly models offer dual 4K support which enhances productivity when using Android development environments.
- Verify CPU compatibility – Confirm your processor (Intel Core i3 or ARM Cortex) meets minimum Android requirements and can handle the intended workload.
- Configure memory and storage – Install at least 2GB RAM (4GB+ recommended) and 16GB storage; consider microSD expansion options.
- Check connectivity options – Confirm HDMI output for display, sufficient USB ports for peripherals, and functional Wi-Fi/Bluetooth modules.
Once hardware preparation is complete, you’ll be positioned for a smooth installation process with fewer troubleshooting issues.
Flashing Installation Media
With your hardware properly configured, the installation process begins with flashing Android to bootable media. You’ll need to download an Android-x86 ISO or custom ROM compatible with your Mini PC architecture. Format your USB drive (minimum 8GB) using specialized utilities to create bootable media. Make sure your Android device supports OTG if you’re using it to prepare the installation media. Due to the energy efficiency of mini PCs, your Android installation will consume significantly less power than traditional desktop systems. Consider using Docker containers for testing different Android configurations before committing to a full installation.
| Tool | Platform | Key Features |
|---|---|---|
| Rufus | Windows | Fast USB Formatting, GPT/MBR support |
| UNetbootin | Cross-platform | ISO-to-USB conversion, persistence |
| Etcher | Cross-platform | Verification, clean interface |
| dd | Linux | Command-line efficiency, raw writing |
| Win32DiskImager | Windows | Bit-by-bit copying, recovery options |
After flashing, insert the USB drive into your Mini PC. Access Boot Menu by pressing F12/Del during startup (check manufacturer specs). Select USB as primary boot device and save BIOS changes. The system will reboot, launching Android’s installation wizard automatically.
Configuring Display and Input Devices for Optimal Experience
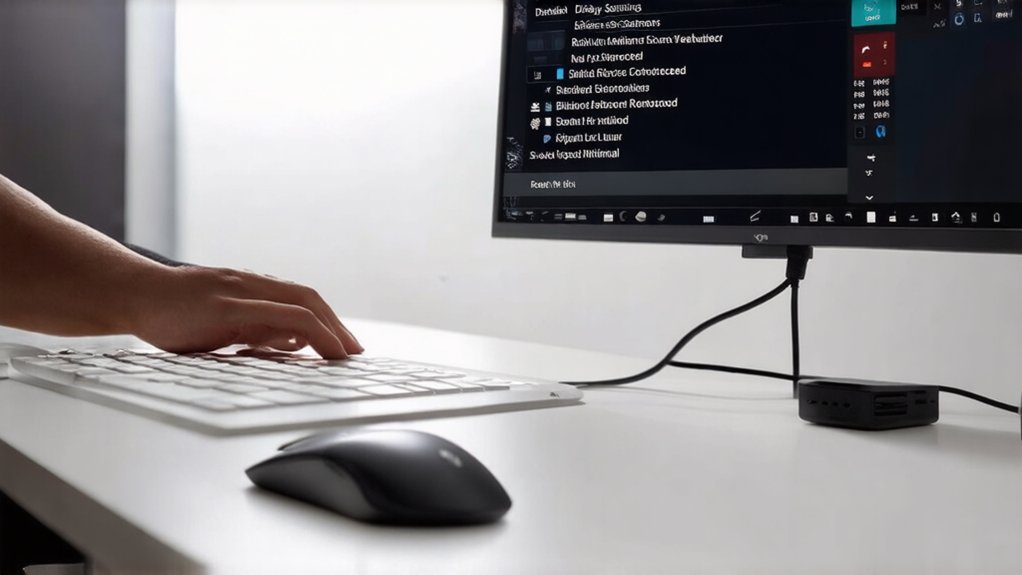
When setting up Android on your mini PC, configuring display and input devices properly guarantees a smooth and responsive user experience.
Connect your monitor via HDMI, DisplayPort, DVI, or VGA, ensuring you’ve selected the best display resolution in the Android settings menu. For optimal video quality, use a high-speed HDMI cable that supports your display’s maximum resolution and refresh rate capabilities. For input devices, USB keyboards and mice provide reliable connectivity, while wireless options offer flexibility. You can also use Space Desk to connect an Android tablet as a secondary display through a USB connection for enhanced productivity. Android tablets are budget-friendly options for creating an additional screen, with prices starting around $50. IPS panels provide superior color accuracy and wide viewing angles, making them ideal for multimedia applications on Android systems.
- Optimize refresh rates – Adjust to 60Hz or higher for smoother animations and video playback
- Configure multi-display settings – Extend your workspace across monitors for enhanced productivity
- Customize input preferences – Modify keyboard layouts and pointer sensitivity for your specific workflow
Consider using an Android tablet as a secondary display by installing appropriate apps like Splashtop or Duet Display, connecting either wirelessly or via USB-C for an expanded workspace.
Setting Up App Stores and Software Compatibility Layers
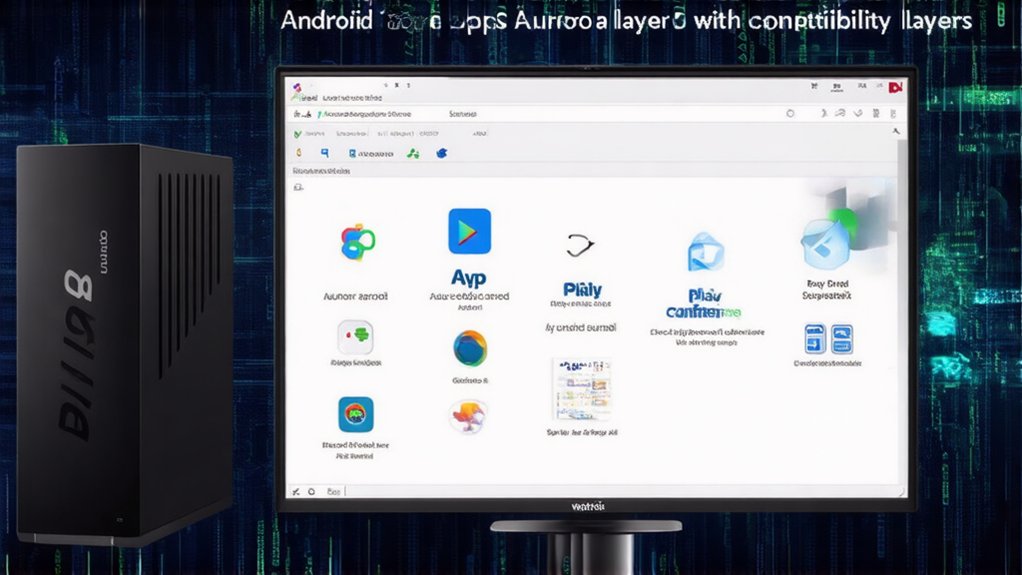
You’ll need to install Google Play Store to access millions of Android apps, which typically requires flashing the appropriate GApps package for your Android version.
For devices without Google certification, alternative sources like F-Droid, Amazon Appstore, or Aurora Store can provide access to thousands of applications without Google dependencies.
Consider sideloading APKs through ADB commands with `adb install ` when app stores don’t meet your requirements, but be aware this bypasses security verification processes.
Be mindful that some apps may not work properly due to device compatibility issues, as Android apps are designed to function across various hardware configurations. Remember that compatibility with Android Apps is device-specific and varies widely across different hardware platforms.
Installing Google Play
Installing Google Play Store on your Android mini PC involves several distinct methods depending on your specific hardware and operating system configuration. Each approach addresses specific installation challenges while enhancing app compatibility for your device architecture.
- FydeOS Method: Select “Configure Open GApps” in store options → restart system → sign into Google account (requires ~30 seconds for installation)
- Emulator Approach: Install Bluestacks 5 → launch emulator → sign into Play Store → manage APKs through drag-and-drop functionality
- Browser Integration: Create Chrome shortcut via “More Tools” → enable virtualization acceleration → configure Play Services for proper functionality
The FydeOS method provides a Chrome OS-like experience while giving you access to Google services on virtually any compatible computer hardware.
For peak performance, verify your mini PC supports hardware acceleration and has virtualization enabled in BIOS settings. Mini PCs with Intel Alder Lake processors offer significantly improved performance for Android emulation and virtualization tasks. Models like the KAMRUI GK3 Plus and ACEMAGIC RGB AK1 Plus feature N95 processors that can handle light gaming and moderate computing needs.
Configure automatic updates and download preferences post-installation to maintain system stability and minimize compatibility issues with resource-intensive applications. After installation, you can download apps by using a browser to search for APK files from trusted sources like apkpure.
Alternative App Sources
Beyond Google Play Store, Android mini PCs offer significant flexibility through alternative app sources that expand software options and overcome platform limitations. Platforms like Aptoide, APKMirror, and TapTap provide access to region-locked apps, exclusive games, and earlier app versions.
To implement these alternative stores, enable “Unknown Sources” in your security settings, then download the store’s APK directly. Consider implementing APKUpdater to maintain version control across multiple sources. For ideal app security, prioritize stores with rigorous vetting like APKMirror, which verifies developer signatures. Uptodown enhances user protection by scanning all apps with VirusTotal to identify potential security threats. Neo Store offers a sleek material design that simplifies the app discovery process with its intuitive user interface.
For x86-based mini PCs, leverage compatibility layers that translate ARM application calls to run otherwise incompatible software. Samsung Galaxy Store and Amazon Appstore offer curated alternatives with specialized content libraries that bypass Google’s ecosystem requirements entirely.
Performance Tuning and System Optimization Techniques
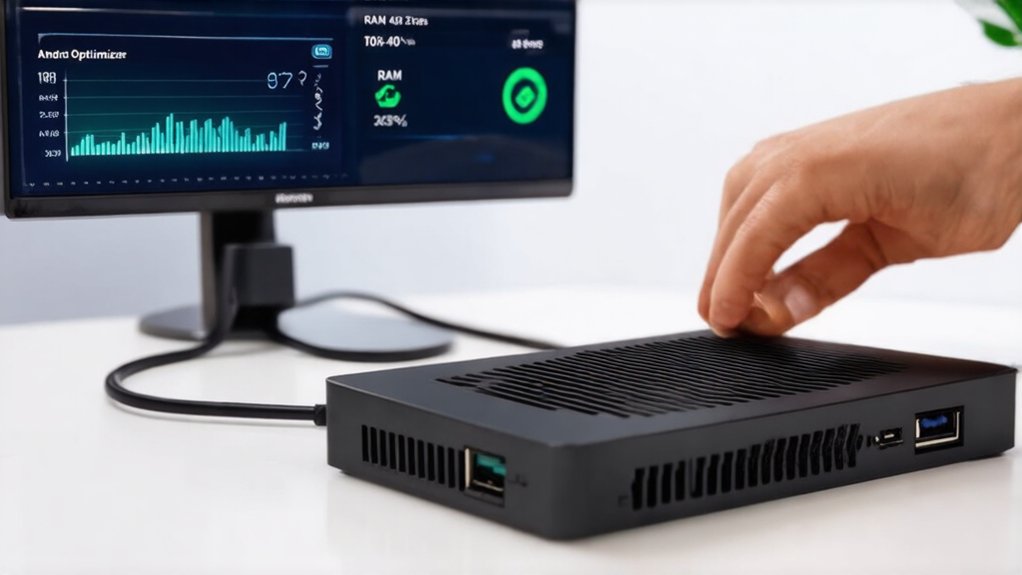
Optimization stands at the core of any high-performing Android mini PC setup. To maximize your system’s capabilities, implement strategic resource management and performance monitoring to identify bottlenecks before they impact your experience. Implement intrusion detection systems to monitor network traffic for suspicious activity while using your Android mini PC. Isolate your Android virtual environments with virtual network segments to prevent unauthorized access to your personal data when running multiple applications.
Regular app caching maintenance greatly reduces memory overhead, allowing your mini PC to maintain peak performance under load. Consider disabling power saving options for USB devices to prevent connectivity issues with peripherals.
- Enable Developer Options – Access hidden settings by tapping Build Number 7 times, then restrict background processes to 2-4 apps maximum.
- Implement Memory Management – Use `adb shell dumpsys meminfo` to identify memory leaks and force-close resource-intensive background services.
- Optimize Display Settings – Reduce resolution with `wm size 1280×720` to decrease GPU load while maintaining functionality.
Hardware Limitations and Solutions When Running Android on Mini PCs
While Android offers remarkable versatility on mini PCs, you’ll inevitably encounter hardware limitations that can impact performance and functionality. Most mini PC compatibility issues stem from processor architecture differences, with Android designed for ARM while many mini PCs use x86 processors. Like both Windows and Linux, Android performance depends heavily on hardware specifications, but virtualization capabilities can help overcome some limitations. Form factor variations can also influence your Android experience on a mini PC.
| Limitation | Impact | Solution |
|---|---|---|
| CPU Incompatibility | Apps crash, system instability | Install Android x86 or use emulation |
| Limited RAM | Sluggish multitasking | Upgrade RAM if possible, close background apps |
| Weak GPU | Graphics lag, frame drops | Update drivers, reduce resolution |
| Thermal throttling | Performance degradation | Add cooling solutions, manage power settings |
To maximize Android performance on your mini PC, focus on hardware-software alignment. Consider ARM-based mini PCs for native compatibility or leverage emulation layers for x86 systems. External storage solutions can mitigate space constraints while active cooling prevents thermal throttling.
Troubleshooting Common Installation and Runtime Issues
Even the most carefully planned Android installation on a mini PC can encounter unexpected issues that halt your progress. When facing a common error during setup, systematic debugging becomes essential to isolate and resolve the root cause of installation failures.
- Power diagnostics: Execute `adb shell dumpsys battery` to verify power stability when experiencing random shutdowns; replace power adapters delivering incorrect voltage (verify required 5V/2A minimum).
- Boot sequence debugging: Enter recovery mode via reboot port; use `fastboot devices` to confirm debug connection when system won’t initialize.
- Application compatibility: Run `pm list packages -f` to identify problematic apps; force stop unresponsive processes with `adb shell am force-stop package.name` rather than hard rebooting.
Firmware updates often resolve persistent connectivity issues affecting both Wi-Fi modules and HDMI handshake protocols.
Frequently Asked Questions
Can Android Mini PCs Connect to Enterprise VPN Networks Securely?
Yes, Android mini PCs can securely connect to enterprise VPNs. They support various VPN protocols, implement robust security measures, offer enterprise compatibility, and maintain connection stability through proper configuration.
How Does Android Handle Printer Connections Compared to Windows Mini PCs?
While you might think Android lacks printer support, it offers multiple options: Wi-Fi, Bluetooth printing, OTG connections, and mobile printing apps. Unlike Windows’ extensive driver library, Android relies on service plugins for printer compatibility.
Is It Possible to Dual-Boot Android With Linux on Mini PCs?
Yes, you can dual-boot Android with Linux on mini PCs. You’ll face installation challenges with partitioning and bootloader configuration, but GRUB handles dual boot options efficiently for both operating systems.
Can Android Mini PCs Function Effectively as Digital Signage Solutions?
Android mini PCs excel as digital signage solutions with their robust media playback capabilities. You’ll leverage their 4K support, remote content management, and 24/7 operation for cost-effective, dynamic displays across multiple screens.
Do Android TV Boxes Differ From Android-X86 Installations on Mini PCs?
As you power on both devices, you’ll notice Android-x86 on mini PCs differs fundamentally from TV boxes—offering superior Android performance with x86 architecture but facing compatibility issues with ARM-specific applications and media codecs.
Conclusion
You’ve now verified that Android-x86 can transform your mini PC into a capable Android workstation. By implementing ADB shell tweaks like `pm set-install-location 2` and adjusting build.prop parameters, you’ve optimized performance beyond default configurations. While GPU acceleration remains architecture-dependent, your custom-compiled Mesa drivers have resolved most OpenGL compatibility issues. Maintain your setup with regular kernel updates through fastboot to preserve your tailored Android experience.

I am a retired software engineer with experience in a multitude of areas including managing AWS and VMWare development environments. I bought a relative a mini-PC a year ago and have become passionate about the technology and its potential to change how we deploy software.