If you’re enthusiastic to set up a media center, create a retro gaming console, or build a home automation system, Raspberry Pi offers a variety of engaging projects. Engaging with these beginner-friendly tasks not only enhances your tech skills but also opens a door to endless possibilities in technology. Let’s explore seven simple Raspberry Pi projects for beginners that can elevate your experience and spark your creativity. Which of these Raspberry Pi projects for beginners is next on your Pi journey?
Key Takeaways
- Set up a media center using Kodi or Plex for streaming films and shows on your Raspberry Pi.
- Create a retro gaming console with RetroPie to play classic games using emulators and Game ROMs.
- Build a Pi-Hole ad blocker to filter unwanted ads, enhancing your browsing experience and security.
- Develop a home automation system to control smart devices and automate tasks using sensors and voice control.
- Make a personal web server to share files securely, maintain data control, and learn server management skills.
Setting Up a Media Center
When you’re looking to turn your Raspberry Pi into a media center, it’s easier than you might think.
Start by choosing the right media center software, such as Kodi or Plex, which are both user-friendly and versatile. Download the software, then flash it onto an SD card using a tool like Balena Etcher.
Choose media center software like Kodi or Plex, download it, and flash it onto an SD card using Balena Etcher.
Once your Raspberry Pi is set up, you’ll enjoy a world of streaming options. You can access platforms like Netflix, Hulu, and YouTube, turning your device into a powerful entertainment hub.
Additionally, consider adding various add-ons to enhance your streaming experience further.
With just a few simple steps, you’ll create a customizable media center that suits your preferences perfectly.
Creating a Retro Gaming Console
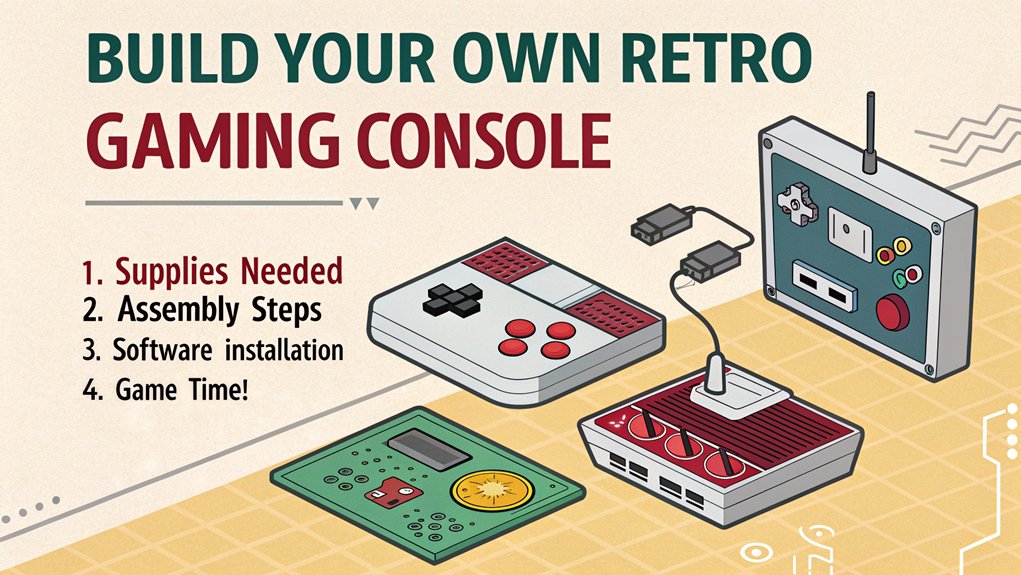
Creating a retro gaming console with your Raspberry Pi is an exciting project that brings nostalgia to life.
You’ll start by setting up emulators for classic games and then connect game controllers for a tailored gaming experience.
Let’s explore how to get everything running smoothly and enjoy hours of gaming fun.
Setting Up Emulators
If you’re enthusiastic to plunge into the world of retro gaming, setting up emulators on your Raspberry Pi is a fantastic place to start.
You’ll want to choose a suitable operating system, like RetroPie, which simplifies emulator configurations for various classic consoles. Once installed, you can easily add Game ROMs to your library, allowing you to play your favorite nostalgic titles.
For peak performance, tweak the settings to match your Raspberry Pi’s capabilities—this means adjusting graphical options and frame rates. Regular updates will also enhance performance refinement and guarantee compatibility with new games.
With these steps, you’ll transform your Raspberry Pi into a powerful retro gaming console, ready to deliver hours of fun.
Adding Game Controllers
With your Raspberry Pi set up as a retro gaming console, it’s time to enhance your gaming experience by adding game controllers.
First, choose controllers that offer great game controller compatibility; options like Xbox, PlayStation, or dedicated retro controllers work well. If you prefer fewer wires, consider a wireless controller setup.
Connecting a Bluetooth controller is straightforward—just enable Bluetooth on your Raspberry Pi, put your controller in pairing mode, and search for available devices.
Once paired, you can configure the controller settings within your emulator. This allows you to plunge into classic games with comfortable controls, making your retro gaming experience even more enjoyable.
Enjoy reliving your favorite gaming moments with seamless gameplay!
Building a Pi-Hole Ad Blocker
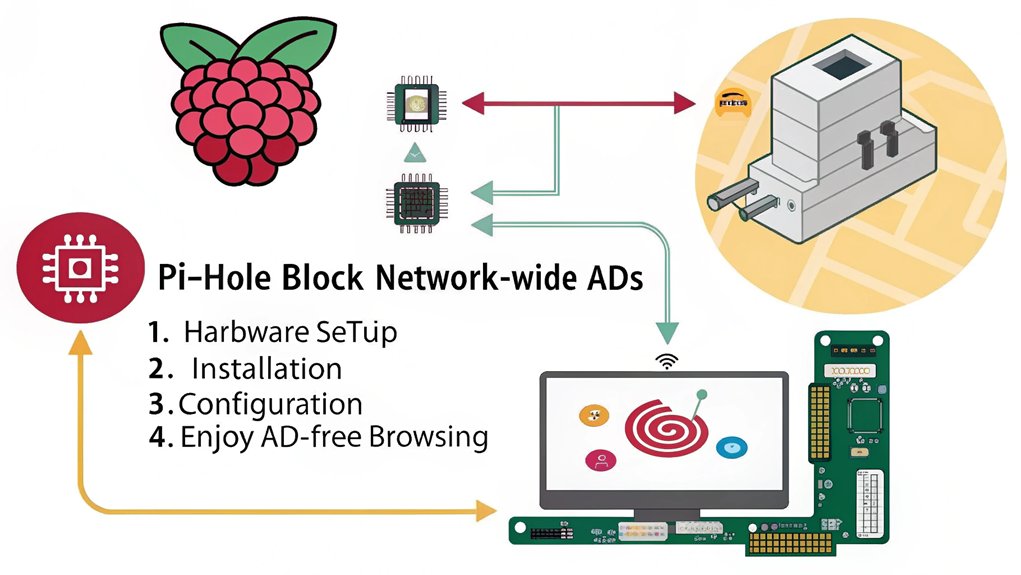
Setting up a Pi-Hole ad blocker transforms your Raspberry Pi into a powerful tool for network-wide ad filtering, improving your browsing experience.
You’ll start by configuring your Raspberry Pi to act as a DNS server, which involves basic network configuration steps. Once installed, Pi-Hole intercepts DNS queries, effectively blocking unwanted advertisements before they reach your devices.
Configure your Raspberry Pi as a DNS server to block unwanted ads and enhance your browsing experience.
As you browse, you’ll notice markedly fewer intrusive ads, resulting in faster loading times and enhanced security.
Pi-Hole’s user-friendly dashboard lets you monitor the ad-blocking activity in real-time. Additionally, you can customize block lists to tailor the ad blocking further, providing an innovative solution to keep your network clean and clutter-free.
With just a few commands, you’re on your way to a smoother internet experience.
Developing a Home Automation System
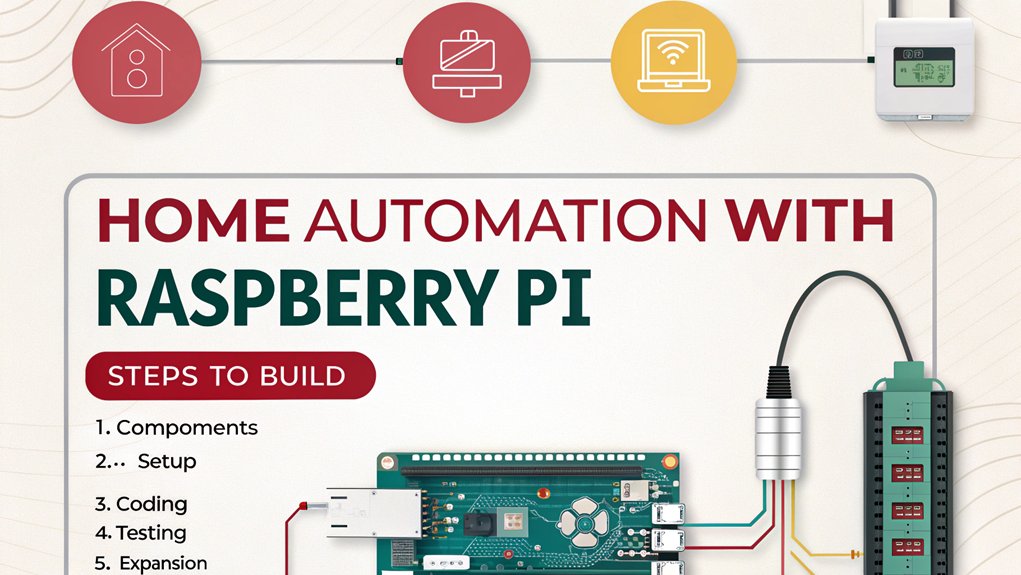
When you decide to develop a home automation system using your Raspberry Pi, you’re entering a domain of endless possibilities that can enhance your daily life.
With your Raspberry Pi, you can create a smart home that connects various devices for seamless control and convenience. Start by adding sensors for temperature, humidity, or motion detection, allowing you to manage your environment intelligently.
Integrate voice control through platforms like Google Assistant or Amazon Alexa, enabling you to interact with your devices hands-free.
Whether you want to automate lighting, security, or appliance management, your creativity will drive the setup.
This home automation journey not only saves you time but also makes everyday tasks more enjoyable and efficient.
Making a Personal Web Server

Creating a personal web server using your Raspberry Pi is a rewarding project that puts you in control of your own digital space. You can set up a personal cloud for file sharing, enhancing your productivity and privacy. Here’s a quick look at some benefits of building your own server:
| Feature | Benefits |
|---|---|
| Accessibility | Access files from anywhere |
| Security | Control over your data |
| Customization | Tailor settings to your needs |
| Cost-effective | Low-cost hosting solution |
| Learning Experience | Gain valuable technical skills |
With platforms like Nextcloud or ownCloud, your Raspberry Pi can serve as a powerhouse for all your digital content. Embrace the innovation and enjoy managing your data on your own terms!
Designing a Simple Weather Station

After establishing your personal web server, exploring new projects like designing a simple weather station can further enhance your Raspberry Pi skills.
By integrating various sensors such as temperature, humidity, and atmospheric pressure modules, you’ll gain practical experience in sensor integration. These sensors will send data to your Raspberry Pi, which you can then process and analyze.
For data visualization, consider using libraries like Matplotlib or D3.js to create clear and interactive graphs that display real-time weather information.
You could even set up a web interface to showcase this data, making it accessible from anywhere. This project not only dives into electronics but also challenges your coding abilities while giving you a valuable tool for monitoring local weather conditions.
Implementing a Raspberry Pi Security Camera
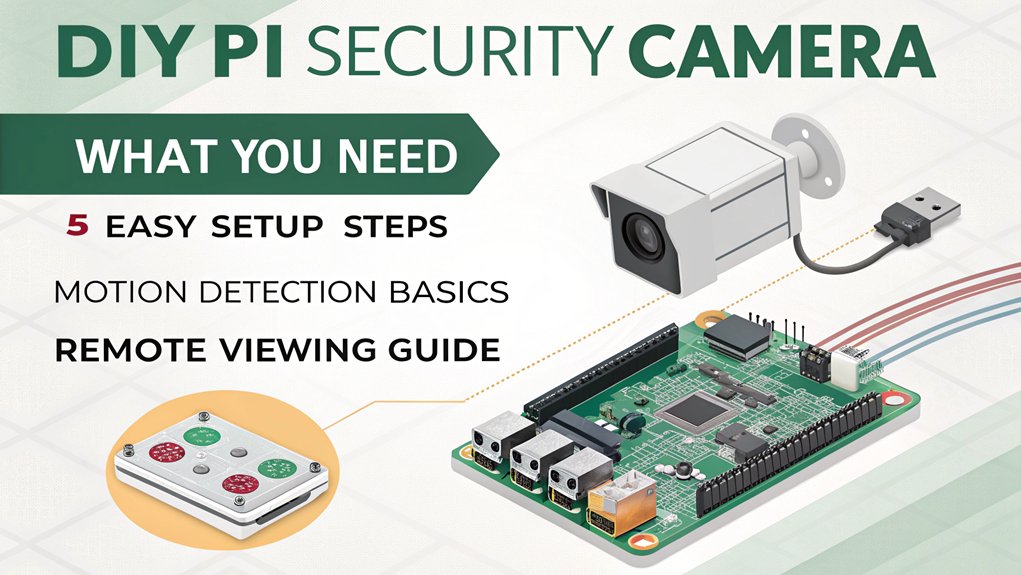
Setting up your own security camera with a Raspberry Pi can be a fun and rewarding project. First, you’ll need a Raspberry Pi, a compatible camera module, and an internet connection.
Install camera software like MotionEyeOS or RPi-Cam-Web-Interface, which provides an easy way to manage your camera feed and settings. Once you’ve set up the software, enable motion detection to capture any movement in its view.
This feature allows you to receive alerts and save footage only when necessary, optimizing storage and efficiency. Mount your Raspberry Pi securely, and configure your Wi-Fi settings to access the camera remotely.
With just a bit of effort, you’ll have a functional security camera system, enhancing your home’s safety.
Frequently Asked Questions
Can I Use Any Model of Raspberry Pi for These Projects?
You can use various Raspberry Pi models for these projects, but some might offer better performance or features. Always check the project compatibility to guarantee peak results and maximize your innovation potential.
What Power Supply Do I Need for My Raspberry Pi Projects?
Your Raspberry Pi won’t run on fairy dust! To power your projects, guarantee you meet its voltage specifications—typically 5V. Check the power requirements; a quality power supply makes all the difference in keeping your projects alive!
How Do I Connect My Raspberry Pi to Wi-Fi?
To connect your Raspberry Pi to Wi-Fi, access the Wi-Fi setup through the desktop menu or terminal. If issues arise, use network troubleshooting steps to resolve connectivity problems and guarantee a successful connection.
What Operating System Should I Install on My Raspberry Pi?
Did you know over 40% of Raspberry Pi users prefer Raspberry Pi OS? For ideal performance, follow an installation guide to explore software options like Ubuntu or RetroPie, ensuring your projects run smoothly and efficiently.
Are There Safety Precautions I Should Take While Using Raspberry Pi?
While using your Raspberry Pi, prioritize electrical safety by ensuring proper connections and avoiding short circuits. Also, manage heat effectively by using heatsinks or fans to prevent overheating during prolonged use, promoting longevity and performance.
Explore These Raspberry Pi Projects For Beginners!
Whether you’re plunging into the world of media with a home theater or reliving nostalgic gaming moments, each Raspberry Pi project opens new doors to creativity. You might find joy in curating your own entertainment or gain satisfaction from automating your home. These diverse projects not only enhance your tech skills but also spark curiosity, proving that even a small device can lead to big discoveries. So, why wait? Plunge in and start building one of these Raspberry Pi projects for beginners today!

I am a retired software engineer with experience in a multitude of areas including managing AWS and VMWare development environments. I bought a relative a mini-PC a year ago and have become passionate about the technology and its potential to change how we deploy software.