You’ll find that setting up your Raspberry Pi as a NAS (Network Attached Storage) device offers an affordable yet powerful solution for home data management. With the right hardware selection and software configuration, you can create a system that reliably stores, backs up, and shares your important files across your network. The process involves several key technical steps from hardware setup to network configuration—each critical to building a Raspberry Pi as a NAS that balances performance, reliability, and security.
Key Takeaways
- Raspberry Pi 4/5 with minimum 32GB microSD card and SSD provides optimal NAS performance with faster processing capabilities.
- Install Raspberry Pi OS using the official Imager tool, enabling SSH for headless setup and administration.
- Connect external storage drives through powered USB hubs and format them with ext4 filesystem for reliability.
- Install OpenMediaVault for an easy-to-use web interface to manage storage, users, and file sharing services.
- Configure appropriate sharing protocols (Samba, NFS, SFTP) based on your network needs and implement security best practices.
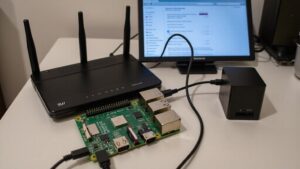
Required Hardware and Components To Setup Your Raspberry Pi as a NAS
When selecting hardware for setting up your Raspberry Pi as a NAS, the Pi 4 or 5 model stands out as the ideal choice due to their superior processing capabilities.
These newer Raspberry Pi models feature faster Cortex-A72 CPUs and up to 4GB of RAM, providing robust performance for file serving tasks.
Leverage the power of Cortex-A72 processors and generous RAM to ensure smooth, responsive file serving capabilities.
For external storage options, prioritize SSDs for their speed advantages over HDDs or flash drives.
You’ll need a reliable power supply—specifically a powered USB hub to properly energize external drives without straining your Pi.
Your network interface choice greatly impacts performance; while Wi-Fi works, Ethernet delivers superior speeds for NAS operations.
Using gigabit cabling will maximize your data transfer rates and overall NAS performance when connecting via Ethernet.
Consider setting a static IP address on your Raspberry Pi to ensure consistent network access to your NAS server.
Don’t overlook cooling solutions—though Raspberry Pi units consume minimal power, a well-ventilated case often eliminates the need for additional fans when running your NAS continuously. Consider exploring 3D printed cases available on Thingiverse that improve airflow while protecting your components.
A fanless design can significantly reduce dust accumulation and improve long-term reliability of a system using a Raspberry Pi as a NAS.
Installing and Configuring Raspberry Pi OS
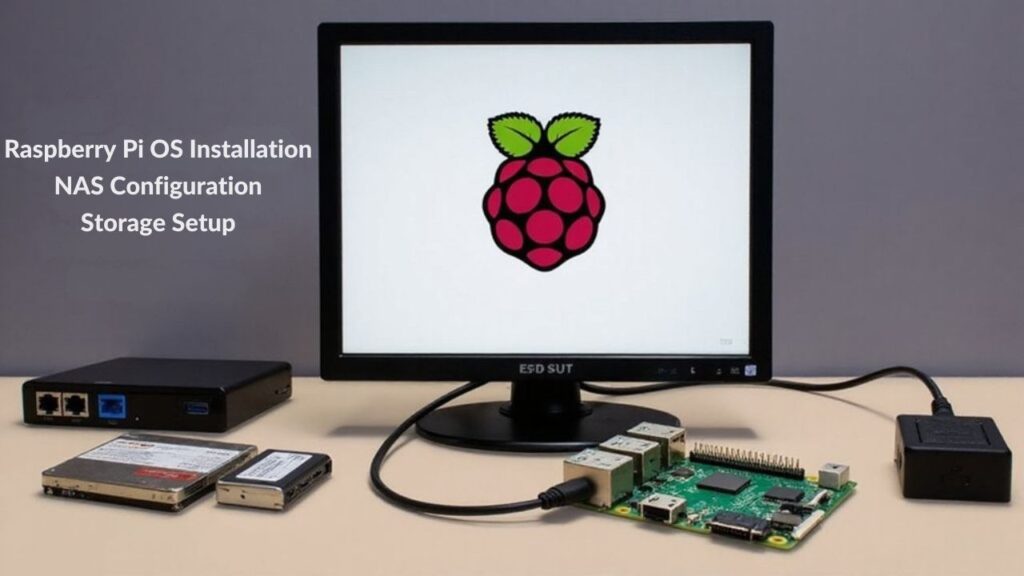
The foundation to setup your Raspberry Pi as a NAS begins with properly installing Raspberry Pi OS onto your microSD card. Download Raspberry Pi Imager on your computer and connect your microSD card before proceeding. For optimal performance, use at least a 32GB microSD card for the full Raspberry Pi OS installation. Raspberry Pi Imager is available for multiple platforms, including Windows, macOS, and Ubuntu. Format your microSD card using FAT32 format to ensure proper booting of your Raspberry Pi system. This open-source utility eliminates the need for manual downloads and streamlines the installation process.
| Step | Action |
|---|---|
| 1 | Launch Raspberry Pi Imager and select “CHOOSE OS” |
| 2 | Pick Raspberry Pi OS (32-bit or 64-bit) |
| 3 | Click “CHOOSE STORAGE” and select your microSD card |
| 4 | Use “EDIT SETTINGS” for OS customization |
Through the customization menu, enable SSH, set a hostname, configure Wi-Fi credentials, and create your username/password. This pre-configuration saves time during setup. After writing the image, insert the card into your Pi, power it on, and connect via SSH to begin NAS software installation.
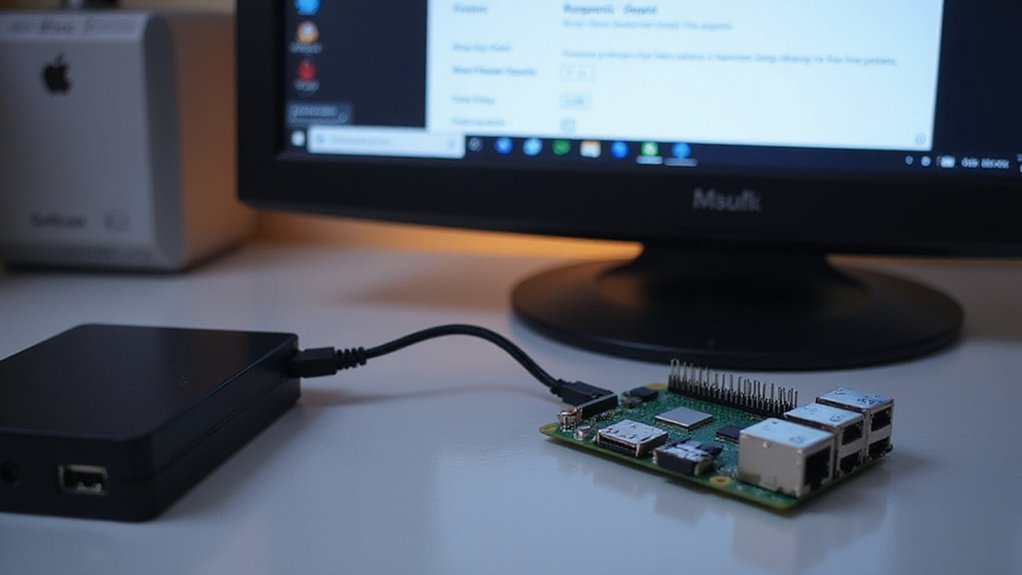
Setting Up External Storage Drives

External storage drives form the backbone of system based on a Raspberry Pi as a NAS, providing the necessary capacity for file storage and sharing.
Before connecting your drives, verify they’re backed up and use SMART tools to check drive health—this prevents potential data loss during setup.
For peak performance, consider implementing RAID 1 with two identical HDDs using mdadm, creating redundancy that protects against drive failures.
You’ll need a powered USB hub if your external drives lack independent power supplies.
Format your drives with ext4 filesystem for reliability, and implement data encryption with ecryptfs for sensitive information.
When mounting your drives, always specify a mount point like `/mnt` to avoid the “can’t find in /etc/fstab” error message.
Pre-partition drives using fdisk or gparted to enhance your storage architecture.
For improved performance, configure an SSD partition with bcache to speed up frequently accessed data while maintaining your larger HDD storage capacity.
OpenMediaVault will automatically recognize and display your USB external drive once it’s properly connected to your Raspberry Pi.
Implementing a NAS provides high-speed streaming capabilities for your home theater system, eliminating buffering issues during playback of 4K content.
The compact and energy-efficient design of the Raspberry Pi makes it an excellent alternative to traditional media servers while maintaining powerful functionality.
Installing and Configuring OpenMediaVault
With external drives properly configured, it’s time to install OpenMediaVault, a powerful NAS management solution that transforms your Raspberry Pi into a fully-featured file server. First, verify you’re running Raspberry Pi OS Lite—OpenMediaVault requires a desktop-free environment. This installation is compatible with Raspberry Pi 2B and higher models, though performance on the 2B is considered marginal.
Download the installation script using `wget` from the official GitHub repository, then execute it with `sudo bash`. The process takes time, so be patient. After installation, running the OMV Extras installation script will add essential functionality like Docker support for your NAS.
Once installed, reboot your Pi and access the web interface by typing your Pi’s IP address (find it with `hostname -I`) in a browser.
After restarting, navigate to your Pi’s IP address in any web browser to access OpenMediaVault’s control panel.
Log in with default credentials (admin/admin), then immediately change the password.
OpenMediaVault features include thorough file system management, network sharing protocols, and an extensive plugin library. Docker support enables container deployment for running multiple applications efficiently while maintaining isolation between services. Setting up a stable Ethernet connection will ensure optimal data transfer rates and reliable streaming performance for your media library. For troubleshooting techniques, consult error logs and leverage the active community support forums when facing configuration challenges.
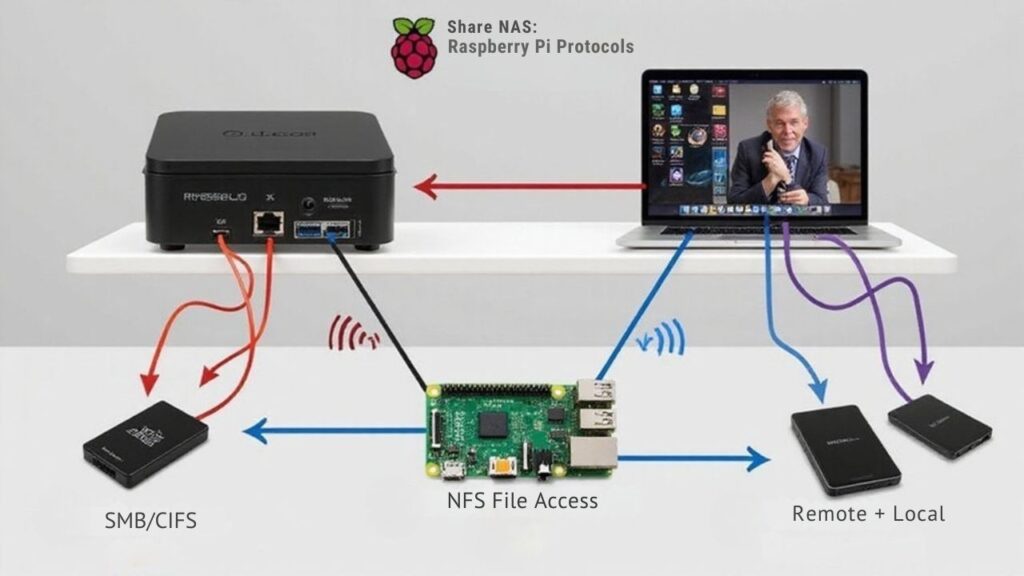
Network Access and File Sharing Protocols
Once you’ve installed and configured OpenMediaVault, establishing proper network access becomes essential for transforming your Raspberry Pi into a functional NAS.
Your network security strategy should include strong passwords and properly configured firewalls to prevent unauthorized access.
For sharing files across your network, you’ll need to implement one of these protocols:
- Samba (SMB/CIFS): Install with `sudo apt install samba samba-common-bin` for cross-platform compatibility between Windows and Linux systems
- NFS: Ideal for Linux-centric environments, offering superior performance compared to SMB
- SFTP: Provides secure file transfers over SSH when direct network access isn’t available
- SSH: Enables remote access for NAS management and configuration from any device
For reliable data transfer, connect your Raspberry Pi via Ethernet rather than Wi-Fi when possible. The Raspberry Pi 4 offers gigabit connection support which significantly improves file transfer speeds compared to older models. When configuring Samba shares, use the `sudo chmod -R 777 /path/to/share` command to set recursive permissions for your shared folders.
Frequently Asked Questions
How Much Power Does a Raspberry Pi NAS Consume?
While power consumption varies, your Raspberry Pi NAS typically uses 6-17W depending on activity. When idle with drives spun down, you’ll achieve excellent energy efficiency, requiring only a basic power supply.
Can I Access My Raspberry Pi NAS Remotely Over the Internet?
Yes, you can access your NAS remotely over the internet. Set up port forwarding, use a VPN, or implement dynamic DNS for secure remote file sharing from anywhere with an internet connection.
What’s the Maximum Storage Capacity a Raspberry Pi NAS Can Handle?
Is there a ceiling to Pi’s storage potential? Technically, no. Your Pi can handle multiple terabytes through various disk configurations. With externally powered drives and proper storage options, you’re limited only by filesystem support and budget.
How Reliable Is a Raspberry Pi NAS for Continuous Operation?
You’ll find Pi NAS reliability depends on several performance factors including power stability, cooling, and drive quality. With proper setup, many users achieve years of uptime. Consider environmental considerations and implement regular maintenance protocols.
Can I Run Additional Services Alongside the NAS Functionality?
You’ve hit the sweet spot – you can run multiple services alongside your NAS. Deploy Plex as a multimedia server, implement automated backup solutions, and utilize Docker containers for resource-efficient service management on your Pi.
Will You Consider Using a Raspberry Pi As a NAS?
You’ve now successfully transformed your Raspberry Pi into a cost-effective NAS solution that offers surprising performance for home or small office use. With proper configuration, you’ll achieve transfer speeds up to 112MB/s using USB 3.0 SSDs—about 74% of commercial entry-level NAS performance at one-third the cost. Remember to implement regular backups and monitor system temperatures, as the Pi can run hot under sustained I/O operations.

I am a retired software engineer with experience in a multitude of areas including managing AWS and VMWare development environments. I bought a relative a mini-PC a year ago and have become passionate about the technology and its potential to change how we deploy software.