
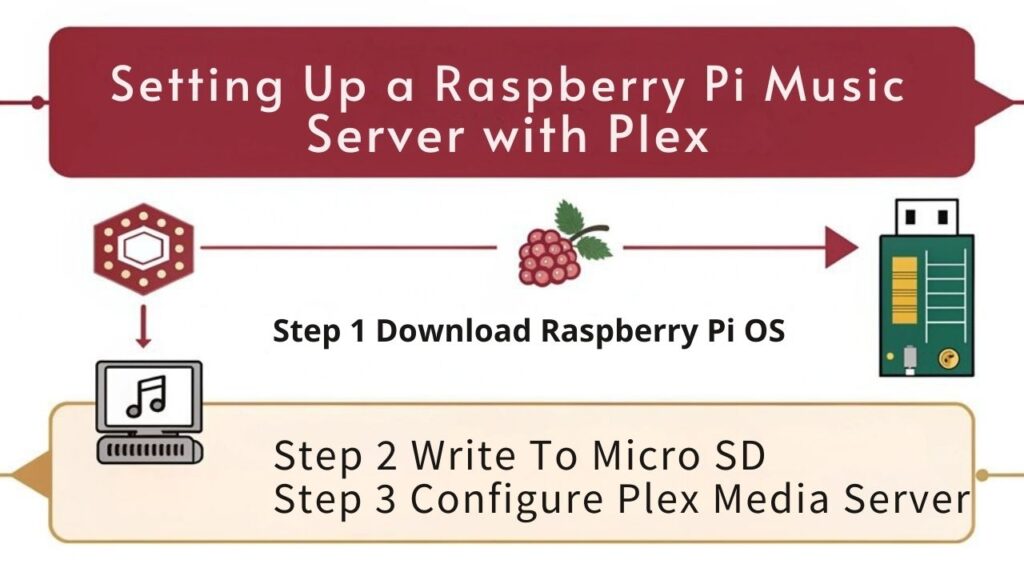
Setting up a Raspberry Pi music server with Plex is pretty straight forward. Plug in your Raspberry Pi, insert an 8GB class 10 MicroSD card, and connect it to your network. Download Raspberry Pi OS, format the SD card, and write the OS image. Configure initial settings and boot the Pi. Download and install Plex Media Server, sign in to your Plex account, and customize your server. Organize your music files into a main folder with subfolders by artists and albums. Configure Plex to recognize your music directories and stream to various devices. By following these steps, you’ll have a functional music server.
Key Takeaways
- Ensure the Raspberry Pi has a compatible power supply and a class 10 MicroSD card for optimal performance.
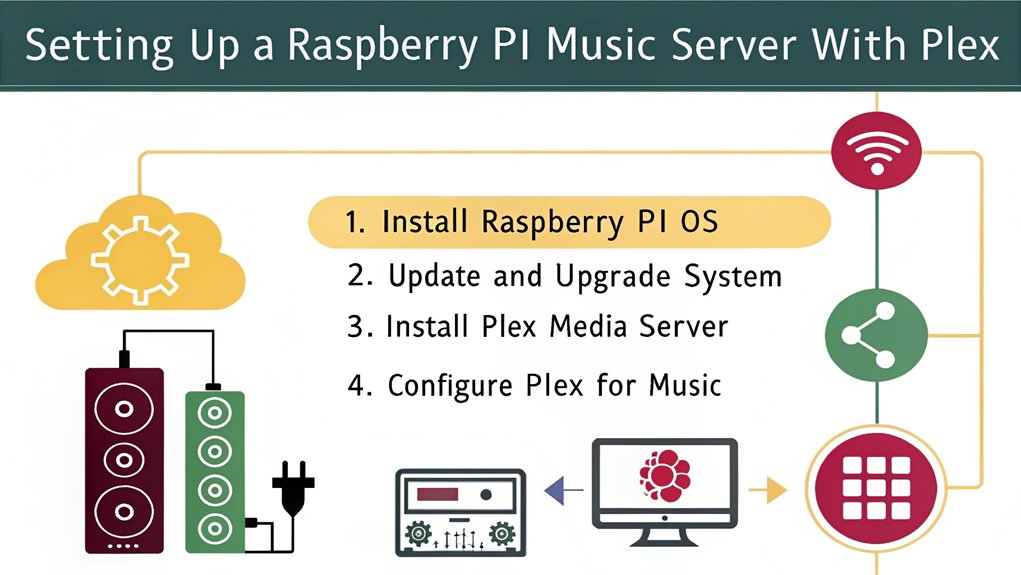
- Install Raspberry Pi OS and Plex Media Server, configuring initial settings and updating the OS.
- Set up a static IP address for stable network access to the Plex server.
- Organize music files into a structured folder hierarchy with consistent naming conventions.
- Configure Plex to recognize music file directories and enable automatic updates for library maintenance.
Preparing the Raspberry Pi
First, plug in your Raspberry Pi to the power supply. Confirm the power adapter is compatible with your chosen model. A 5V, 2A power adapter is recommended for a stable setup.
Next, insert an 8GB or larger MicroSD card, preferably class 10 for better performance. Ensure the micro SD card slot supports high-speed SDR104 mode for optimal storage performance. Boot up your Raspberry Pi and connect it to your network using an Ethernet cable or configure Wi-Fi during the initial setup. It’s also important to ensure you have a reliable power supply to avoid issues like SD card corruption.
Verify hardware compatibility by checking the enclosure and power adapter specifications. Set up a static IP address for enhanced network stability and easy access to your Plex server, utilizing the Raspberry Pi’s 1Gbit Ethernet port for reliable connectivity. Consider using a powered USB hub for external devices, such as hard drives or DACs, to enhance your setup.
Installing Raspberry Pi OS
After confirming your Raspberry Pi’s power adapter and network connectivity, it’s time to install Raspberry Pi OS. Start by downloading the necessary files: Raspbian OS from the official Raspberry Pi website and either Win32 Disk Imager or Raspberry Pi Imager for writing the OS to the SD card. Extract these files to a convenient location.
Obtain an 8GB class 10 SD card and format it using SD Card Formatter. Insert the SD card into your computer, identify its drive name, and format it without altering any other options. Ensure the SD card is compatible with ARMv7 feature sets to ensure optimal performance. It is also important to use a high-speed microSD card for better system performance.
Select the Raspbian OS image file in Win32 Disk Imager or Raspberry Pi Imager, choose the correct SD card drive, and start the writing process. Ignore any warnings that appear and wait for the completion. Once done, safely eject the SD card.
Insert the SD card into the Raspberry Pi’s SD card slot. Use Raspberry Pi Imager to configure initial boot settings like hostname, username, and password. Optionally enable SSH for remote access. The default OS includes a user-friendly desktop environment.
Apply any customization settings and power on the Raspberry Pi. It’ll boot from the newly configured SD card, completing the software installation process. Regular updates via APT will help maintain system integrity and security, ensuring you have access to the latest Kodi updates.
Installing Plex Media Server
By exploring the Plex downloads page, you can start by clicking on the downloads section. Select Linux or the appropriate platform for the Raspberry Pi from the dropdown menu. Click DOWNLOAD to start the download. The file will be saved to the default downloads folder or prompt for a location. Before diving into the installation, update the Raspberry Pi OS with: ‘sudo apt-get update’ ‘sudo apt-get upgrade’ and ensure that the Plex Media Server is compatible with the Raspberry Pi’s operating system. The Raspberry Pi, being a low-powered device, may require transcoding to handle higher resolution media.
Next, download and install the Plex Media Server package from Plex.tv. Follow the installer’s on-screen instructions. Confirm all dependencies are installed. This process ensures your Mini PC meets the necessary hardware requirements for smooth media streaming. Using a NAS can enhance this setup by providing centralized storage and easy access to your media files.
The Setup Wizard will launch to finalize the installation. Sign in to the Plex account or create a new one if necessary. Click GOT IT on the How Plex Works screen.
Proceed past the Plex Pass screen by clicking the X button or choose to upgrade. Customize the server name if desired. Detect and configure media libraries automatically or add them manually.
The Plex Media Server offers numerous features, including seamless media streaming, automatic metadata management, and server benefits like remote access and device compatibility. This setup leverages the energy efficiency and cost-effectiveness of using a Mini PC as a dedicated media server, similar to how a personal cloud simplifies media access across various devices.
Configuring Plex for Music
Now that you’ve successfully installed the Plex Media Server on your Raspberry Pi, you can focus on configuring it for music. First, launch the Plex Media Manager in a browser to add libraries. Click the plus symbol, select the music folder, browse for the folder, and add it to Plex. Name each library for easy identification. Plex will scan and populate the music library with metadata and covers. To access remotely via IP address and port, you can use http://XXX.XXX.XXX.XXX:32400/manage/.
To manage and update your music libraries efficiently, refer to the table below:
| Feature | Setting | Recommendation |
|---|---|---|
| Automatic Updates | Enable | Every 15 minutes |
| Include Music Sections | Enable | Yes |
| DTS Mix-down for Media Link | Enable | Yes |
| Update Frequency | Every 15 minutes | Regularly check and edit metadata |
Enable automatic updates to keep your library current. Set the update frequency to every 15 minutes and include music sections in automatic updates. Confirm “Enable DTS mix-down for Media Link clients” is enabled for ideal playback. Regularly check and edit metadata for accurate library information.
Storing and Organizing Music Files

A well-organized music library is the backbone of an efficient Raspberry Pi music server with Plex. To guarantee your music files are easily accessible and well-structured, follow these steps:
- Create a Main Folder: Start by establishing a main folder for your music library. Within this folder, divide it into subfolders based on categories such as artists, albums, and projects. This initial structure will help you maintain a clear and organized file organization. Additionally, populates metadata for music streaming platforms is crucial for ensuring that your music files are easily searchable and accessible.
- Implement Hierarchical Subfolders: Use hierarchical subfolders to represent different stages of production. For example, create subfolders for drafts, recordings, mixes, and masters. Additionally, organize these subfolders chronologically by years or release dates to streamline your file retrieval process.
- Adopt Consistent Naming Conventions: Utilize descriptive and consistent file names, including the project name, date, and version number. Incorporate standardized abbreviations for different categories (e.g., “V” for vocals, “BG” for background music, “FX” for sound effects) and include the producer or artist name for attribution. Use hyphens or underscores to separate file name information for better visibility and avoid special characters that might cause issues with file compatibility.
Frequently Asked Questions
Can I Use a Raspberry Pi 1 as a Music Server?
Using a Raspberry Pi 1 for a Music server is possible, but be aware of the Raspberry Pi performance and Music server limitations. The Raspberry Pi 1’s limited resources and slower performance may lead to slow streaming and cumbersome metadata editing. Consider upgrading to a newer model or exploring alternative solutions like Jellyfin or Kodi for better results.
How Do I Access Plex Media Server Remotely?
Access remote access by maneuvering to Settings > Server > Remote Access in the Plex Web App. Confirm server security by verifying the Plex Media Server is running version 0.9.15.0 or newer. If direct connection fails, use the Relay feature, though it may impact performance. Alternatively, consider Meshnet or Cloudflare for secure remote access.
Can I Use a MicroSD Card for Music Storage?
Don’t use a microSD card for music storage due to its limitations. Consider external hard drives or USB drives for storage alternatives, as they offer ample space for large media collections.
What Is the Best Way to Organize My Music Files?
To organize your music files, create a main folder for your library, divide it into subfolders by artists or projects. Within each, create subfolders for different production stages and file types. Use a consistent file naming convention, incorporating project name, date, and version number. For metadata management, use tools like ID3 tags to store and retrieve information efficiently. Organize subfolders chronologically and by type for easy retrieval.
Can I Stream Music to Multiple Devices Simultaneously?
Yes, you can stream music to multiple devices simultaneously, ensuring consistent streaming quality and device compatibility. Plex supports playback across various devices, including smartphones, tablets, smart speakers, and game consoles, all without interference.
Conclusion
Setting up a Raspberry Pi music server with Plex is like building a personal music library, where you can store and organize your tunes effortlessly. Once you’ve got your Raspberry Pi up and running, installing Raspberry Pi OS is as simple as downloading an image and flashing it to an SD card. From there, installing Plex Media Server is a breeze, taking just a few clicks. Configuring Plex for music is where the real magic happens. You can create your own personalized music library, complete with cover art and metadata. Imagine having your entire music collection at your fingertips, ready to play with just a few taps. With Plex, you can stream your music to any device, anywhere, making your music library a part of your life, not just a collection of files.

I am a retired software engineer with experience in a multitude of areas including managing AWS and VMWare development environments. I bought a relative a mini-PC a year ago and have become passionate about the technology and its potential to change how we deploy software.